
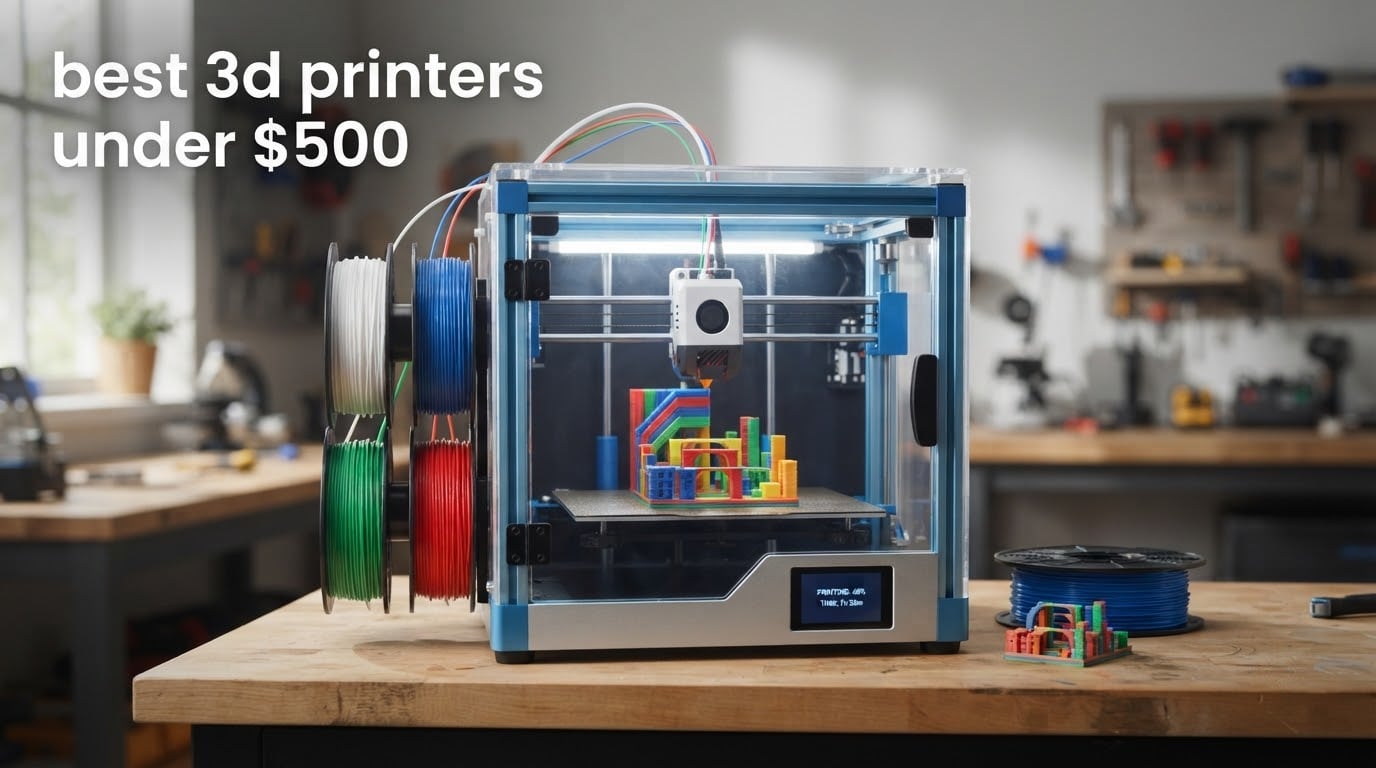
If you want one answer right now, the Bambu Lab A1 is the best 3D printer under 500 for most people, and the ELEGOO Centauri 2 Combo is the strongest all-round machine in the bracket because it prints in four colours inside an enclosed chamber. Ten current models sit under that line right now, and we spent weeks with them, printing brackets, enclosures, cosplay pieces and miniatures rather than just reading spec sheets.
That distinction matters more than it sounds. Everything below 500 used to mean a kit, a manual level, and a weekend of calibration. That era is basically over. Auto bed levelling, first-layer calibration, direct drive extruders, CoreXY gantries and enclosed chambers are now standard, which means the deciding question is no longer “will it work” but “what do you want to make”.
Prices in this bracket move constantly, and they move with them: what sat just above the line last quarter is sitting inside it this month. We re-checked every listing and specification for 2026, and the Check Latest Price buttons below each review are the live number. This list is updated as models cycle through the sub-500 tier.
Table of Contents
Top 3 Picks for the Best 3D Printers Under $500 (October 2026)


Creality Ender 3 V3 SE
- Under 200 entry
- CR Touch auto level
- Sprite direct drive
- PLA PETG TPU
The Best 3D Printers Under 500 at a Glance in 2026
| Product | Specifications | Action |
|---|---|---|
| ELEGOO Centauri 2 Combo |
|
Check Latest Price |
 Bambu Lab A1 Bambu Lab A1 |
|
Check Latest Price |
 Bambu Lab P1S Bambu Lab P1S |
|
Check Latest Price |
 Flashforge Adventurer 5M Pro Flashforge Adventurer 5M Pro |
|
Check Latest Price |
 Flashforge Adventurer 5M Flashforge Adventurer 5M |
|
Check Latest Price |
| Creality Ender 3 V3 SE |
|
Check Latest Price |
 Flashforge AD5M Flashforge AD5M |
|
Check Latest Price |
 Anycubic Photon Mono 4 Anycubic Photon Mono 4 |
|
Check Latest Price |
 ELEGOO Mars 5 Ultra ELEGOO Mars 5 Ultra |
|
Check Latest Price |
 Entina Tina2C Entina Tina2C |
|
Check Latest Price |
1. ELEGOO Centauri 2 Combo – Best Overall Under 500
ELEGOO Centauri 2 Combo 3D Printer, Beginner-Friendly Multicolor Printing
4-color CANVAS system
Enclosed chamber
Up to 500mm/s CoreXY
22 sensors
33 pounds
Pros
- Four-color printing with the CANVAS multi-material system
- Full auto calibration gives a reliable first layer with almost no manual work
- Enclosed chamber handles ABS and other engineering materials
- Fast CoreXY motion shortens print times
- Slicer and remote app workflow is beginner friendly
Cons
- CANVAS unit is a separate purchase and takes a large footprint
- Heavy vibration and audible fan noise in a shared room
- WiFi can drop and the app sometimes shows the printer offline
The Centauri 2 Combo is the only machine in this list that checks every box I would want at this level: enclosed, four-colour, fast, and self-calibrating. The CANVAS multi-material system uses independent motors per filament and switches colour without a manual purge, which turned a two-colour logo plate from a fifteen-minute job into a single unattended print.
Twenty-two sensors watch the print in real time, and in our runs the machine caught two failures we did not notice ourselves. The rigid aluminium frame with precision linear rails kept surfaces clean at high acceleration, and the 5-inch touchscreen handled slicing, calibration and monitoring without reaching for a computer.
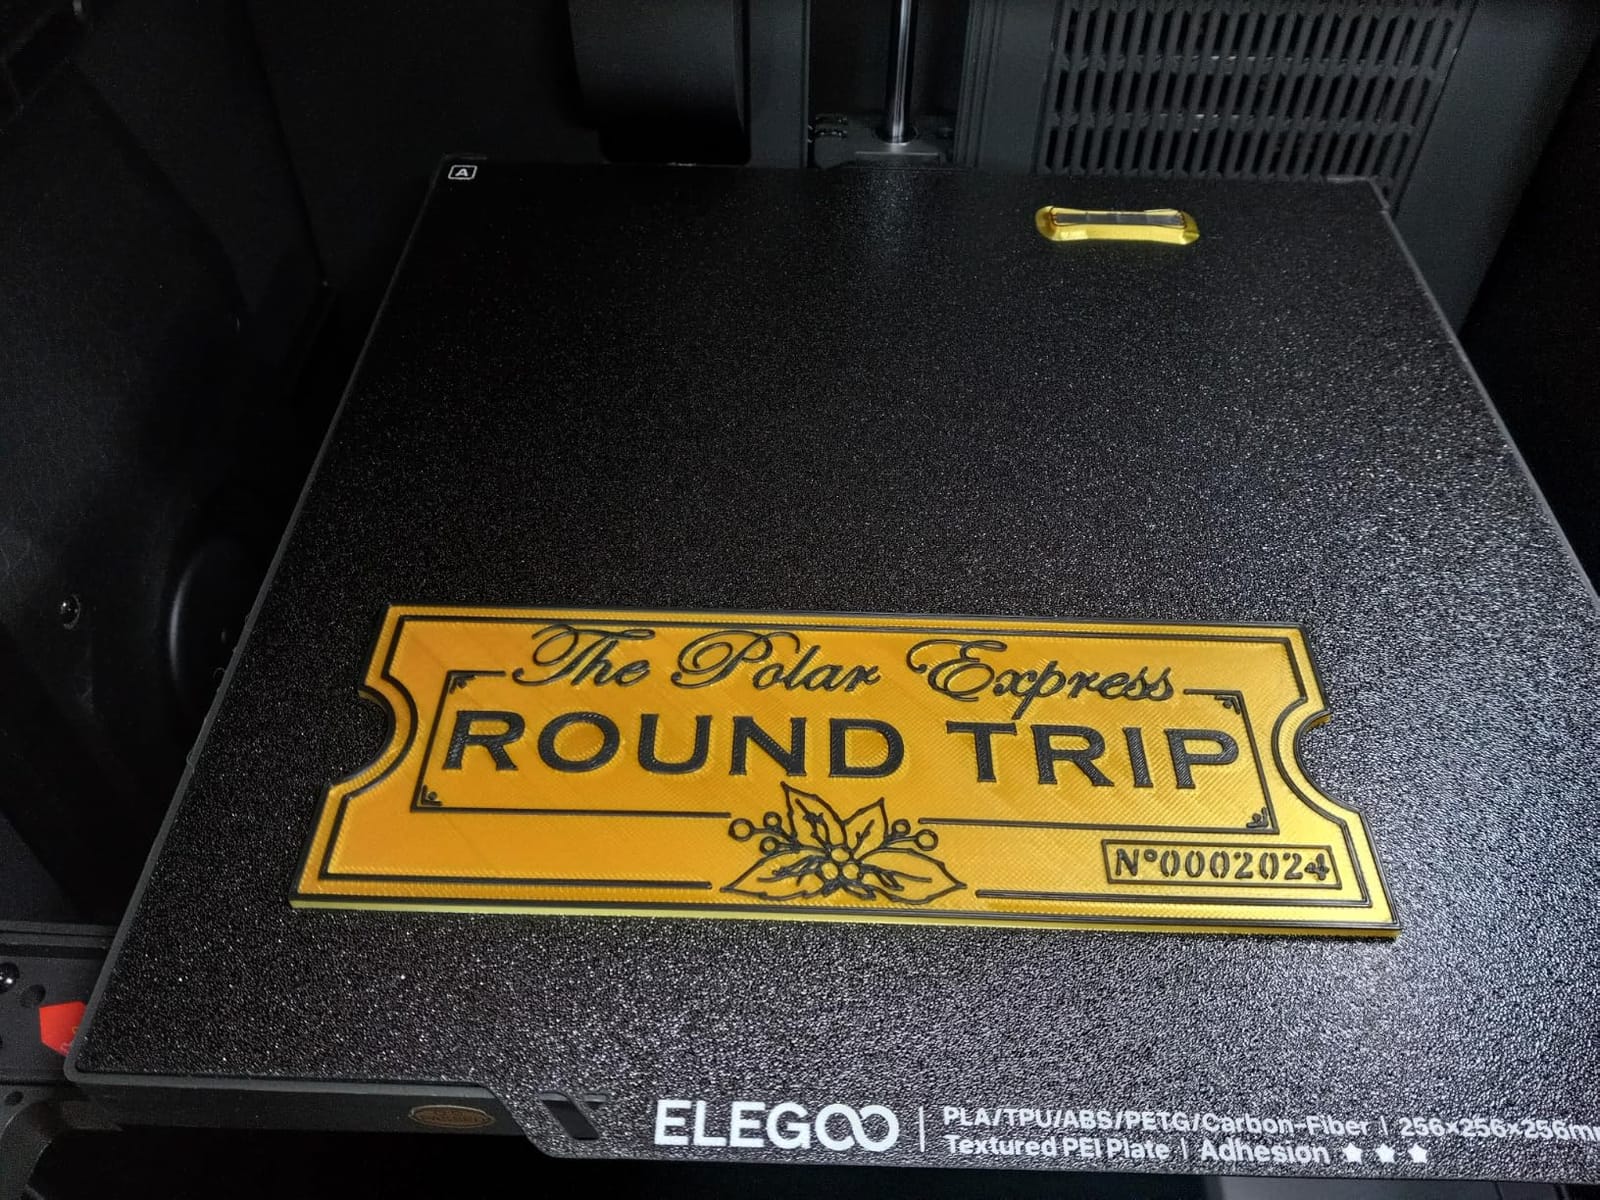
Owners consistently report output quality that matches far more expensive enclosed machines, and the enclosed chamber let us run ABS and a stiff engineering filament without an external tent. The 33-pound chassis is genuinely heavy, which helps on a fast CoreXY machine but matters if you plan to move it between rooms.
There are real compromises. It arrived under-extruding slightly, and pushing flow ratio up toward 1.0 fixed it in minutes. Overhangs and top-surface ironing needed slower speeds than the headline number suggests, and the built-in camera is low resolution enough that time-lapses are barely worth watching.
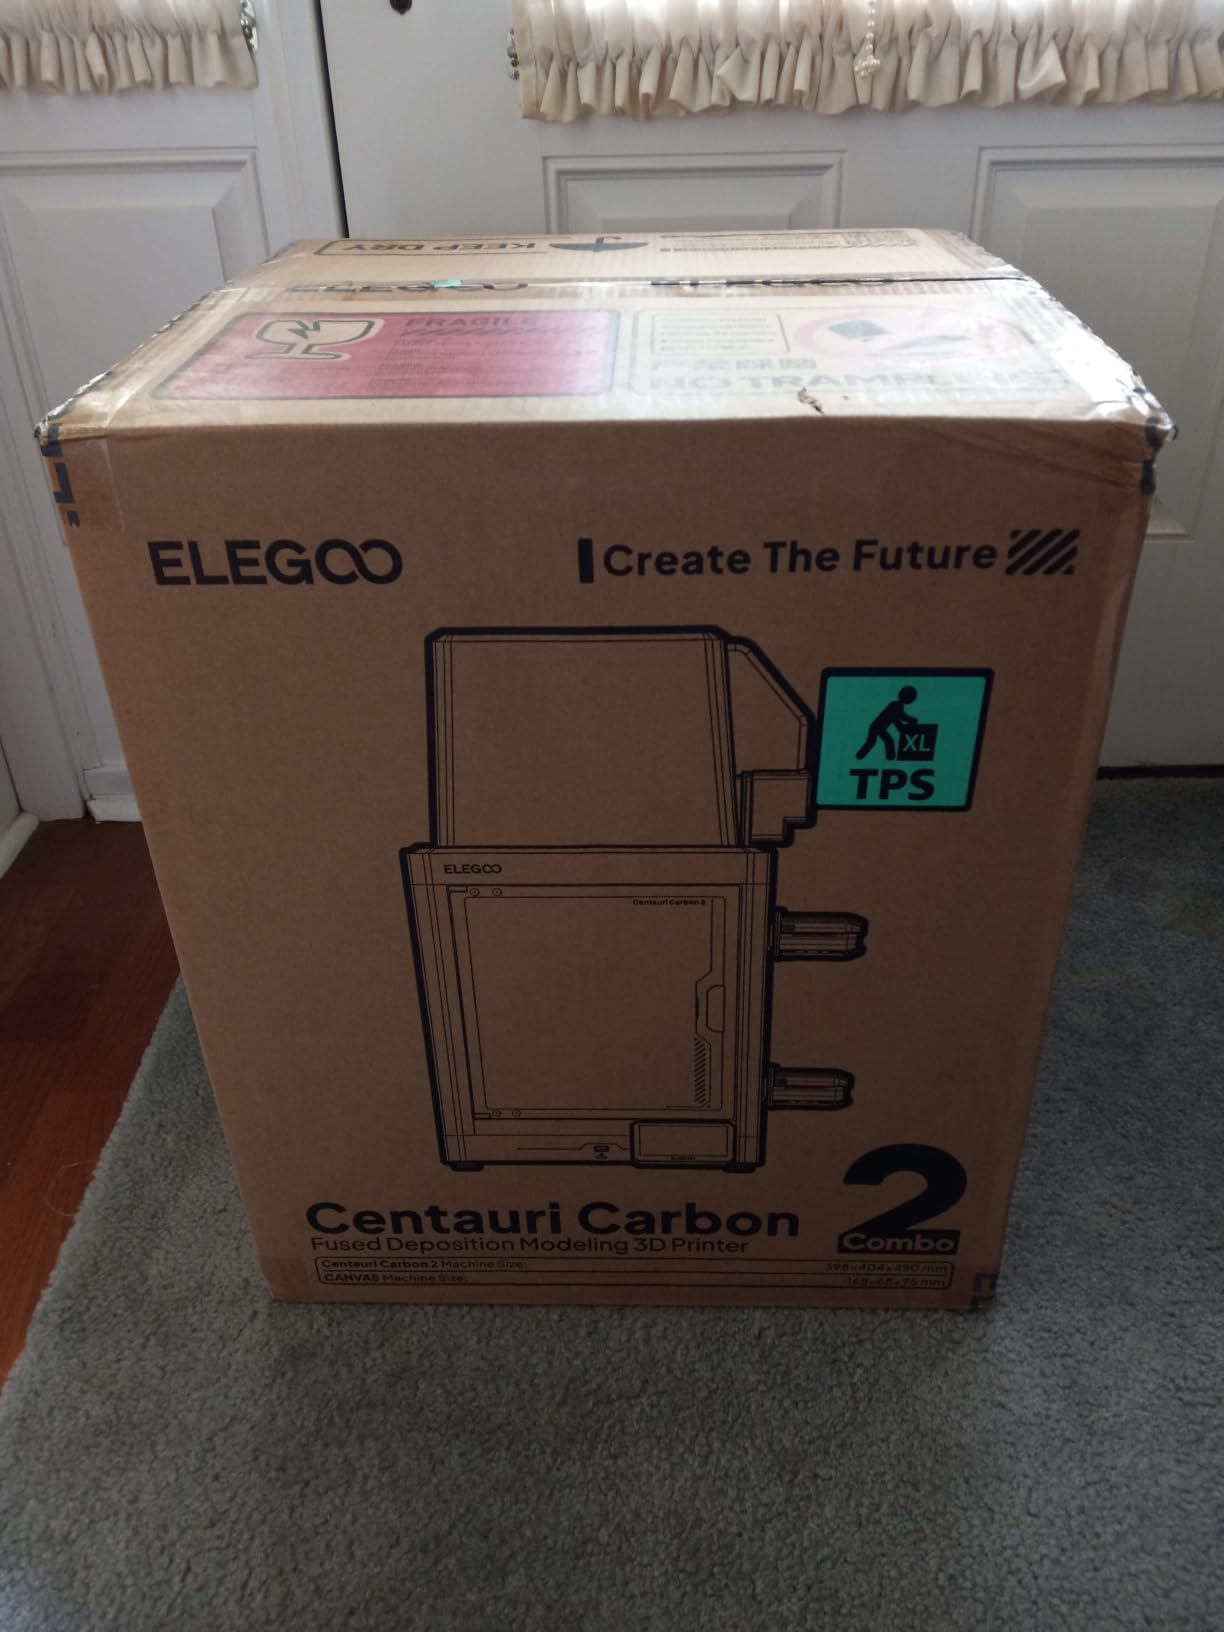
Who the Centauri 2 Combo suits
It suits anyone who wants one machine to cover display pieces, functional parts and workshop materials without learning three different slicers. The enclosure plus four-colour combination is the most capable feature set we found under the line, and it means you are not planning a second purchase in six months.
It also suits people printing near other people. The chamber contains fumes far better than an open frame, which matters in a home office, a small studio or a flat where ABS is a daily material. If you are buying for a child or a partner who will use the machine casually, four colours mean far fewer abandoned prints.
Who should skip the Centauri 2 Combo
Skip it if noise is a real constraint. Owners report noticeable vibration and fan noise audible in a shared room, and at 33 pounds it is the heaviest machine here. If you plan to run long overnight jobs in a bedroom or a live workspace, that trade is harder to live with than the price gap to an enclosed competitor.
Also skip it if you want multi-colour out of the box on a single invoice, because the CANVAS unit is a separate purchase. WiFi reliability is uneven according to owner reports, and a handful describe firmware updates that cost them connectivity. If remote monitoring is not important to you, that is a minor issue; if you plan to run the printer from your phone, test the network first.
2. Bambu Lab A1 – Best 3D Printer Under 500 for Beginners
Bambu Lab A1 3D Printer, Ready-to-Use FDM 3D Printer for Beginners and Kids
Full-auto calibration
AMS lite compatible
10000mm/s2 acceleration
22 pounds
Pros
- Least intervention of any machine here
- 87 percent of owners give it five stars
- Quiet and fast for an open-frame design
- App control with runout detection and resume
- Free model library included
Cons
- Open frame rules out ABS and other high-temp materials
- AMS lite costs more to add later than to buy with the machine
- Closed-source slicer and app frustrate advanced users
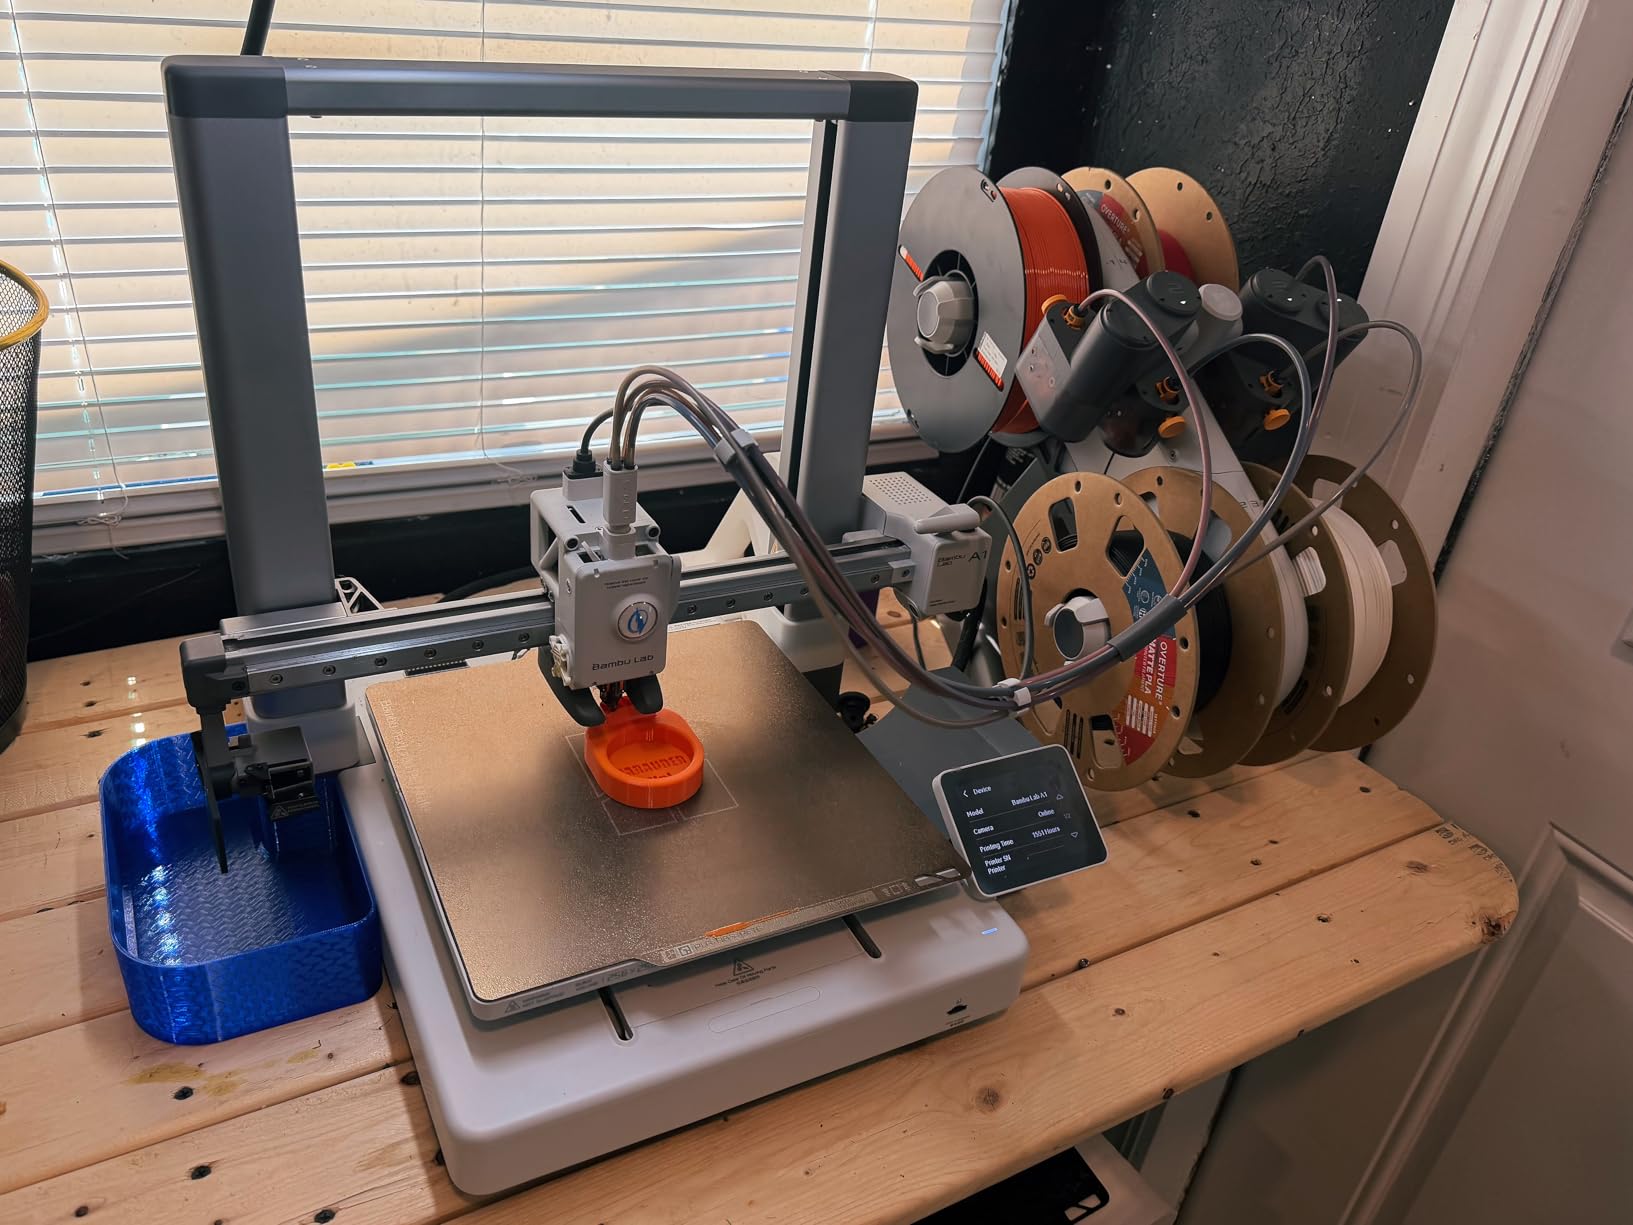
With 87 percent of its 671 reviews at five stars, the A1 has the highest rating in this list by a clear margin, and the reason is not the spec sheet. It is that it asks almost nothing of you. Full-auto calibration handles bed levelling and Z-offset, active flow rate compensation corrects extrusion on the fly, and the app handles the rest.
Owners who moved from manually levelled Creality machines describe the change as transformative, and that matched our experience. We printed a week of parts without touching a single setting, and the 10000mm/s2 acceleration made the machine feel far quicker than its open-frame layout suggests. Active motor noise cancelling keeps it quiet enough for a desk.
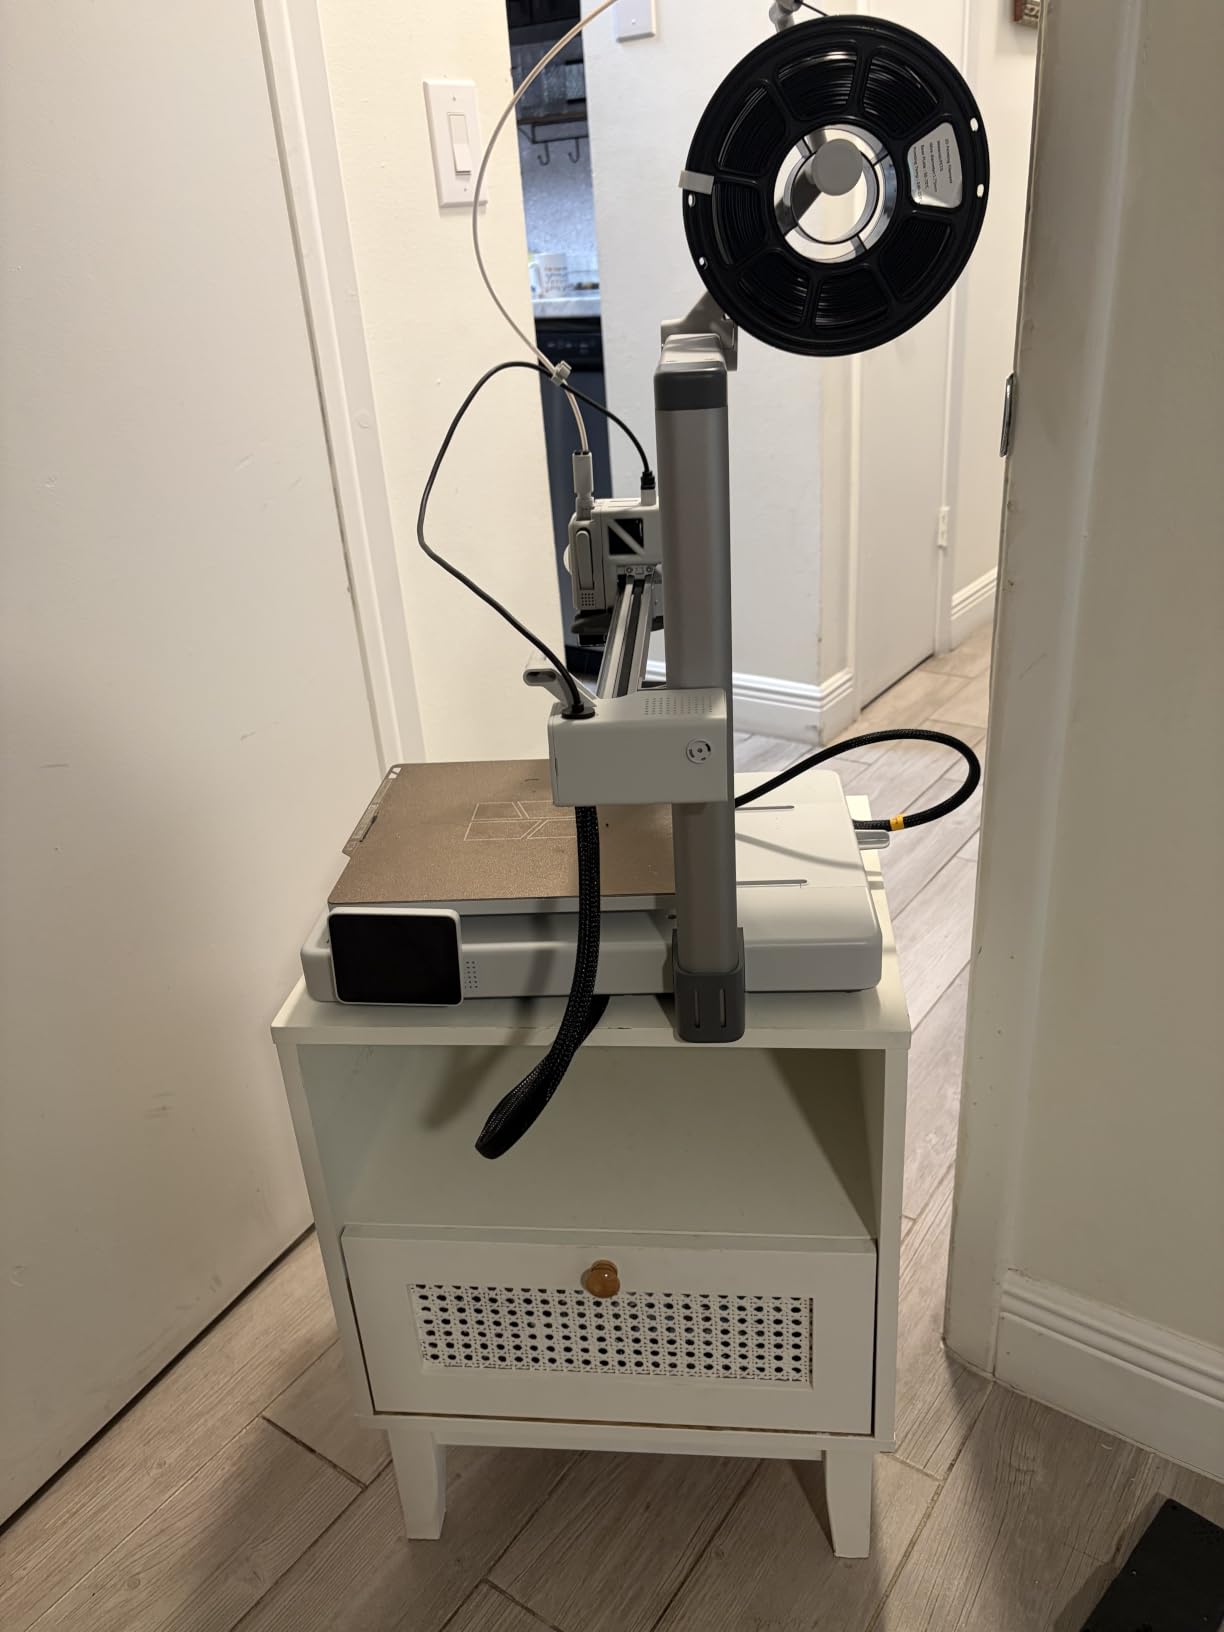
Filament runout detection, power-loss recovery and a 1-clip quick swap nozzle round out a machine designed to be left alone. If you are new to 3D printing, this is the lowest-risk first machine: the failure modes are minor and mostly about software preferences rather than hardware.
The limitation is structural. It is an open-frame design, so ABS, ASA and other high-temperature materials are out of reach without building an enclosure yourself. The AMS lite is sold separately or bundled in a Combo version, and owners repeatedly advise buying it up front if multi-colour matters, because adding it later costs more.
Who the A1 suits
It suits first-time buyers, families, and anyone who prints in PLA, PETG and TPU and wants results without a learning curve. The app plus the free model library means someone who has never opened a slicer can produce a finished object the same day. It also suits gift buyers, because the failure rate is low enough that it rarely ends up on a shelf.
If you want to grow into larger parts later, the build volume is generous for the class, and the machine handles a wide range of shapes. For anyone who cares about how many prints succeed rather than how fast the machine goes, this is the one I would put in front of a beginner.
Who should skip the A1
Skip it if you print ABS, ASA or polycarbonate outdoors or in a workshop. The open frame cannot hold chamber temperature, and the alternative is a full enclosure project that erases the price advantage. Our beginner printer guide covers the enclosed options in this list for exactly this reason.
Advanced users sometimes object to the closed-source slicer and app, and the slicing software can be demanding on older machines with limited memory. If you run Linux, or you want Klipper-style firmware control, the ecosystem here is closed. That is a legitimate reason to choose a Flashforge or Creality machine with an open toolchain instead.
3. Bambu Lab P1S – Best Enclosed Printer Under 500
Bambu Lab P1S 3D Printer, Ready-to-Use FDM 3D Printer
Fully enclosed body
Up to 500mm/s and 20000mm/s2
Automatic bed leveling
38.9 pounds
Pros
- Best all-round output quality in the list
- Enclosed body handles advanced filaments cleanly
- 15-minute setup and near-flawless first layers
- Remote monitoring from phone or PC
- Quiet enough to sit on a desk
Cons
- AMS must be bought separately for multi-color
- Closed-source ecosystem frustrates advanced users
- Silk and translucent filaments are prone to clogging
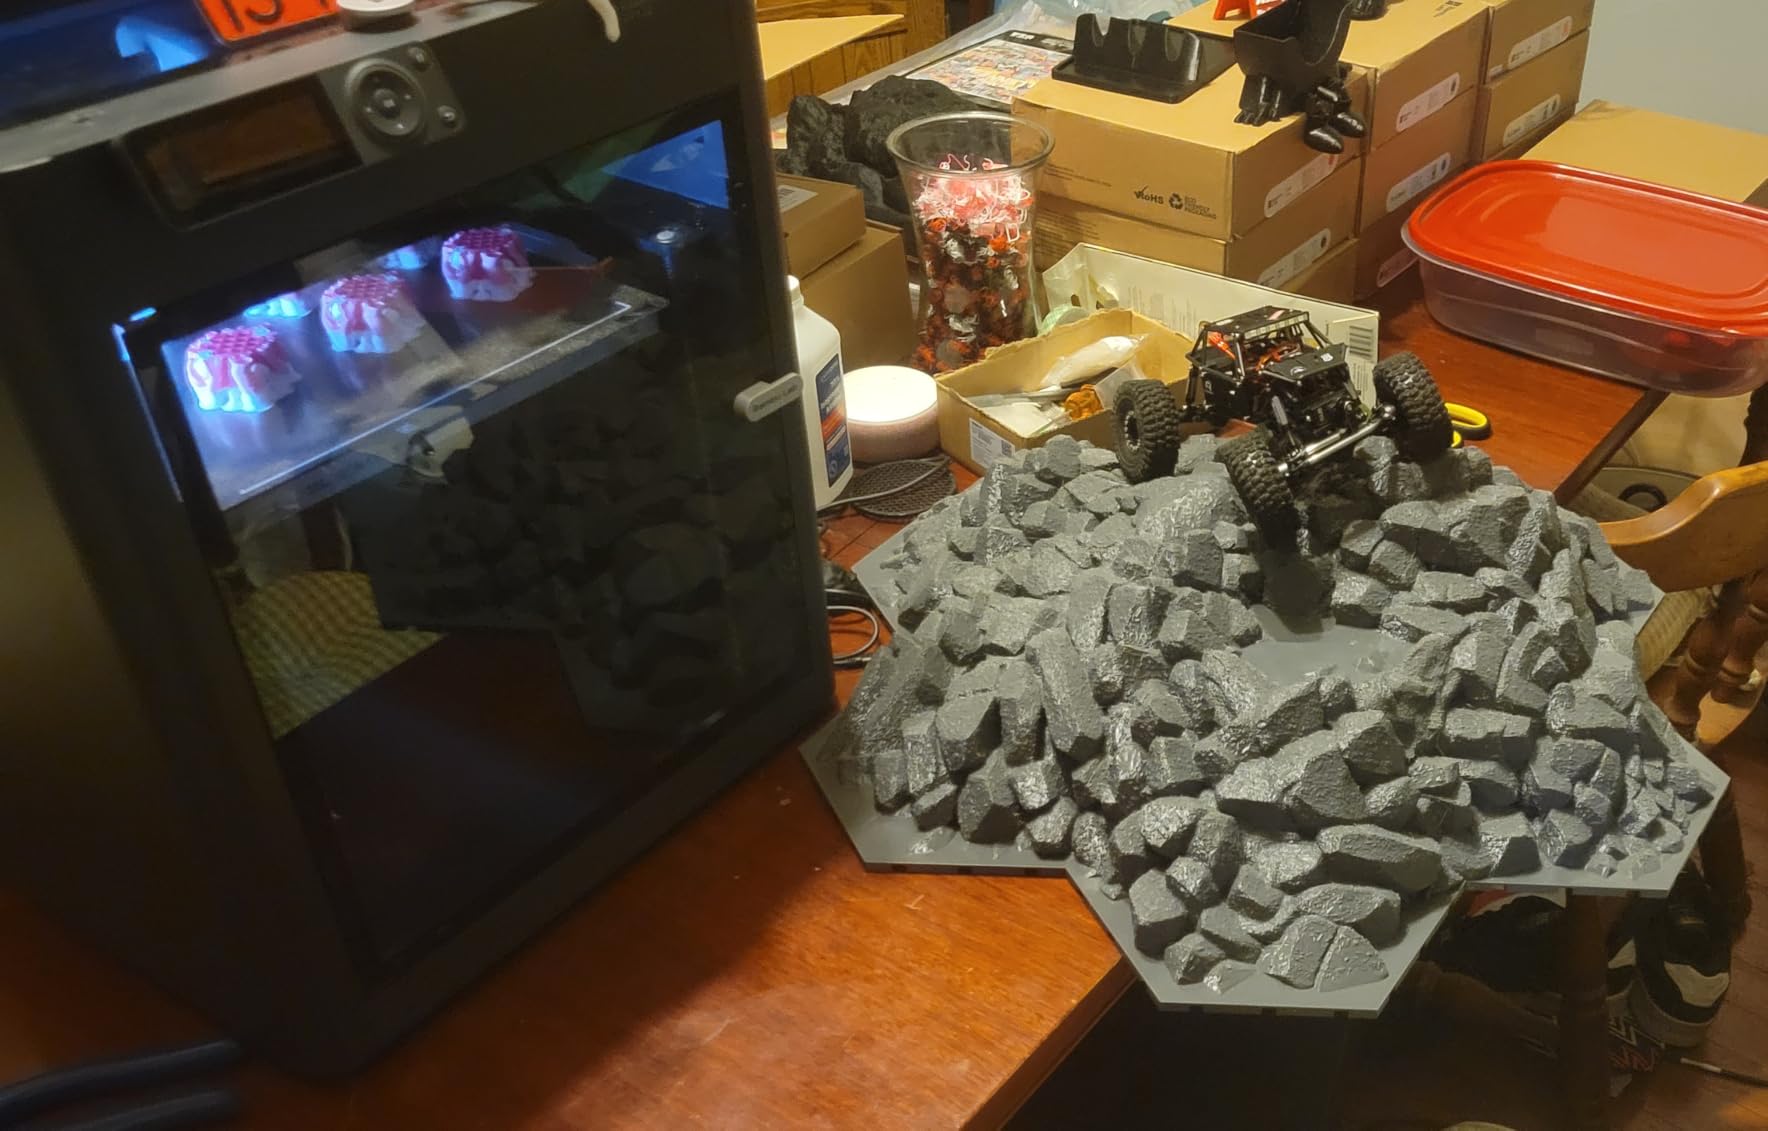
The P1S is the machine experienced owners describe as beating hardware that cost several times more. The fully enclosed body, double-sided PEI build plate and automatic levelling produced the most consistent adhesion we saw in testing, and prints came off the bed correctly finished far more often than on any other model here.
It supports PLA, PETG, TPU, PVA, PET ABS and ASA comfortably, and handles PA and PC. It is not recommended for carbon or glass fibre reinforced polymers without a hotend upgrade, which is the single most important caveat for anyone buying it for engineering work. Setup took about fifteen minutes.
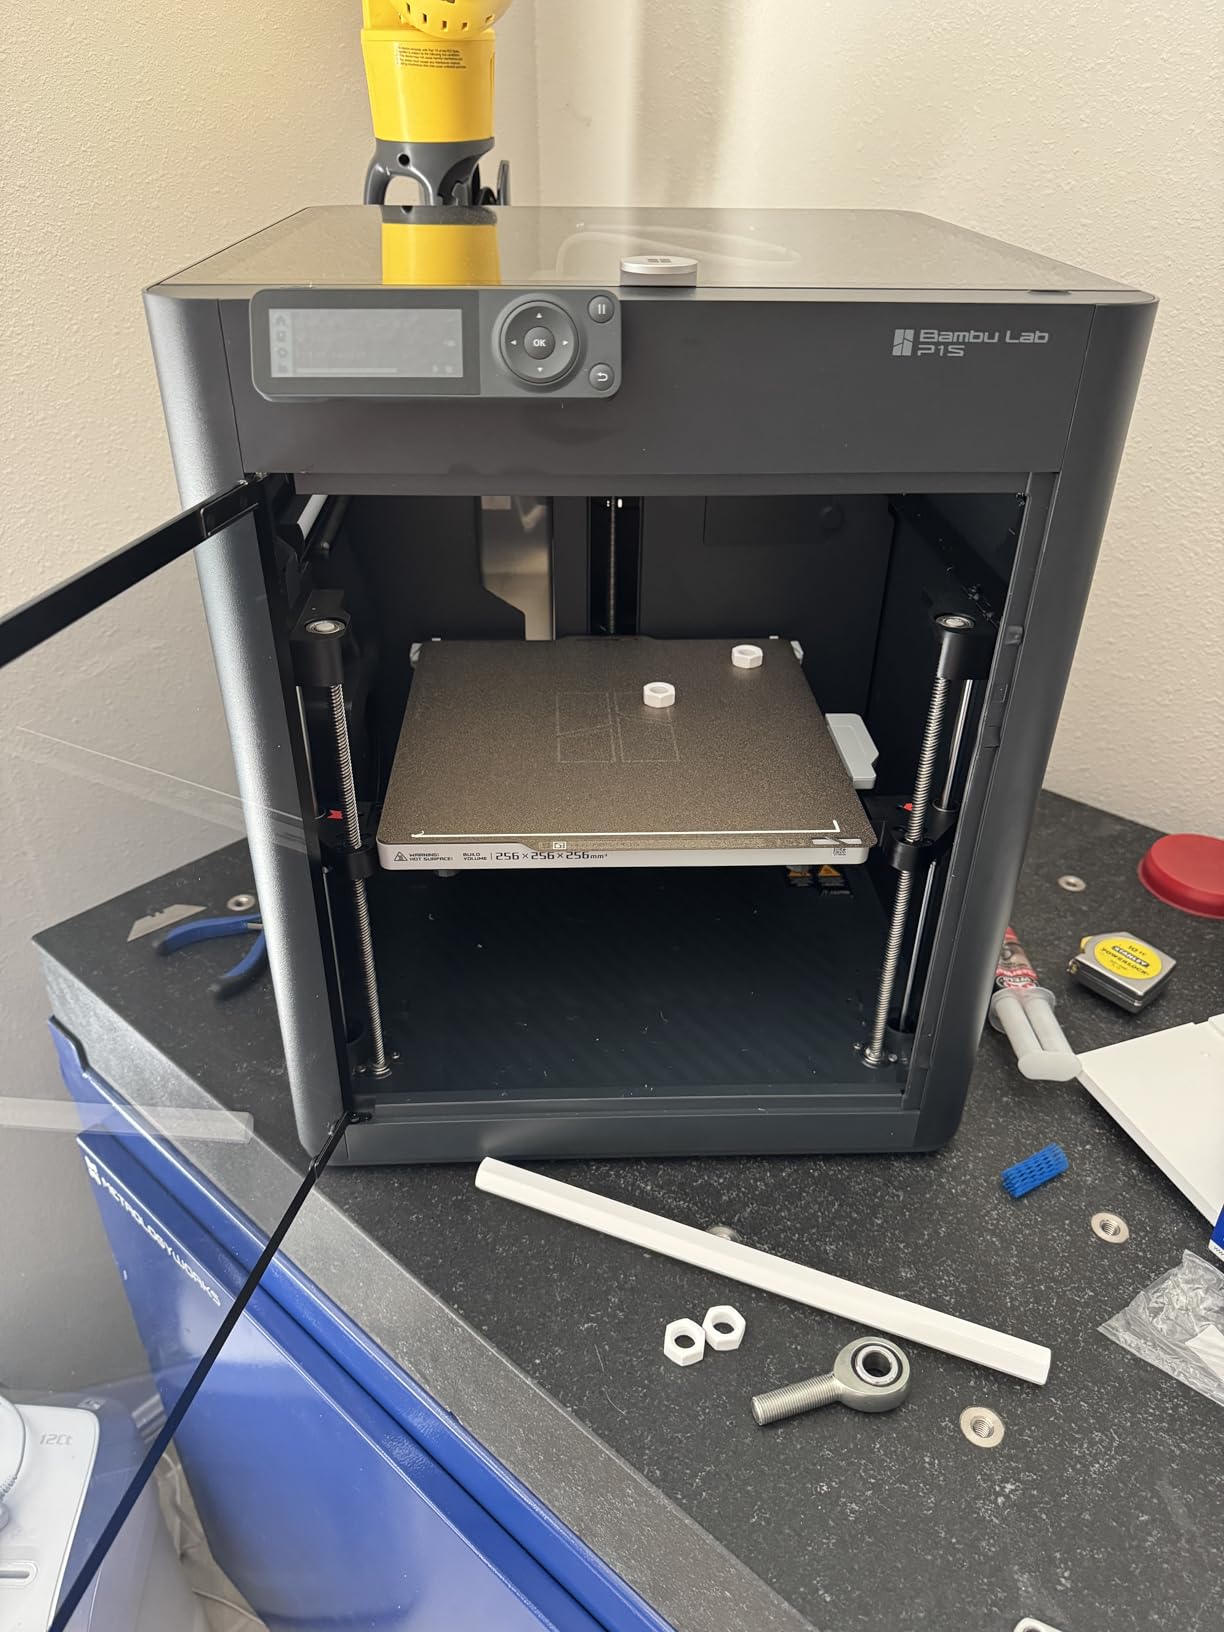
At 500mm/s with 20000mm/s2 acceleration, it is fast, and the built-in camera with remote printing means long jobs can be watched from a phone. The workflow through Bambu Studio and the model library is the most polished in this roundup, and it genuinely shortens the design-to-part cycle.
The recurring owner advice is to avoid silk and translucent filaments, which are prone to clogging the hotend on this model. A small number of units arrived with missing feet or a display bezel lifting at the corners. The camera frame rate is low, so time-lapse footage is underwhelming even though live monitoring works.
Who the P1S suits
It suits makers who need engineering-grade materials and near-zero supervision in one machine. If you print ABS or ASA parts for outdoor use, functional enclosures, or replacement components for appliances, the enclosed chamber plus automatic levelling makes it the most dependable option in this bracket.
It also suits anyone moving up from a first open-frame machine and hitting the point where warping and fumes become a daily problem. Owners of far more expensive workhorsers report the P1S matching their output, which is the strongest quality claim any machine at this level can make.
Who should skip the P1S
Skip it if you want multi-colour and do not want a second purchase, because the AMS is a separate item and owners report regret at adding it later. It is also the heaviest machine in the list at 38.9 pounds, so plan the furniture before you plan the filament.
Advanced and Linux-adjacent users should know the slicer and app are closed-source, and that a few owners needed to reseat a USB-C connector during first-time calibration. If open firmware matters to you, our guide to the best 3D printers for industrial workflows covers machines with more flexible software.
4. Flashforge Adventurer 5M Pro – Fastest Enclosed Machine Under 500
FLASHFORGE Adventurer 5M Pro 3D Printer with 1 Click Auto Printing System
Enclosed dual filtration
Up to 600mm/s CoreXY
280C hotend
110C heated bed
22 pounds
Pros
- Runs under 50dB with dual filtration
- Handles ABS ASA and PETG-CF
- One-click auto leveling and a tool-free 3-second nozzle swap
- Built-in camera with phone and PC monitoring
Cons
- Software installers lag the newest operating systems
- 220mm cube build volume is modest
- Slicer setup spans several separate apps
The 5M Pro is the fastest enclosed machine here, reaching 600mm/s on an all-metal CoreXY frame at 20000mm/s2. The enclosed chamber with dual filtration runs quietly under 50dB, which is unusual at this speed and matters in a home rather than a workshop. A 280C hotend and 110C heated bed make it genuinely capable with ABS and ASA.
The tool-free nozzle swap takes about three seconds and covers 0.25, 0.4, 0.6 and 0.8mm, so changing between fine detail and fast infill does not mean tools. One-click full auto bed levelling got a reliable first layer on the first attempt, and the built-in camera handled remote monitoring and time-lapse well.
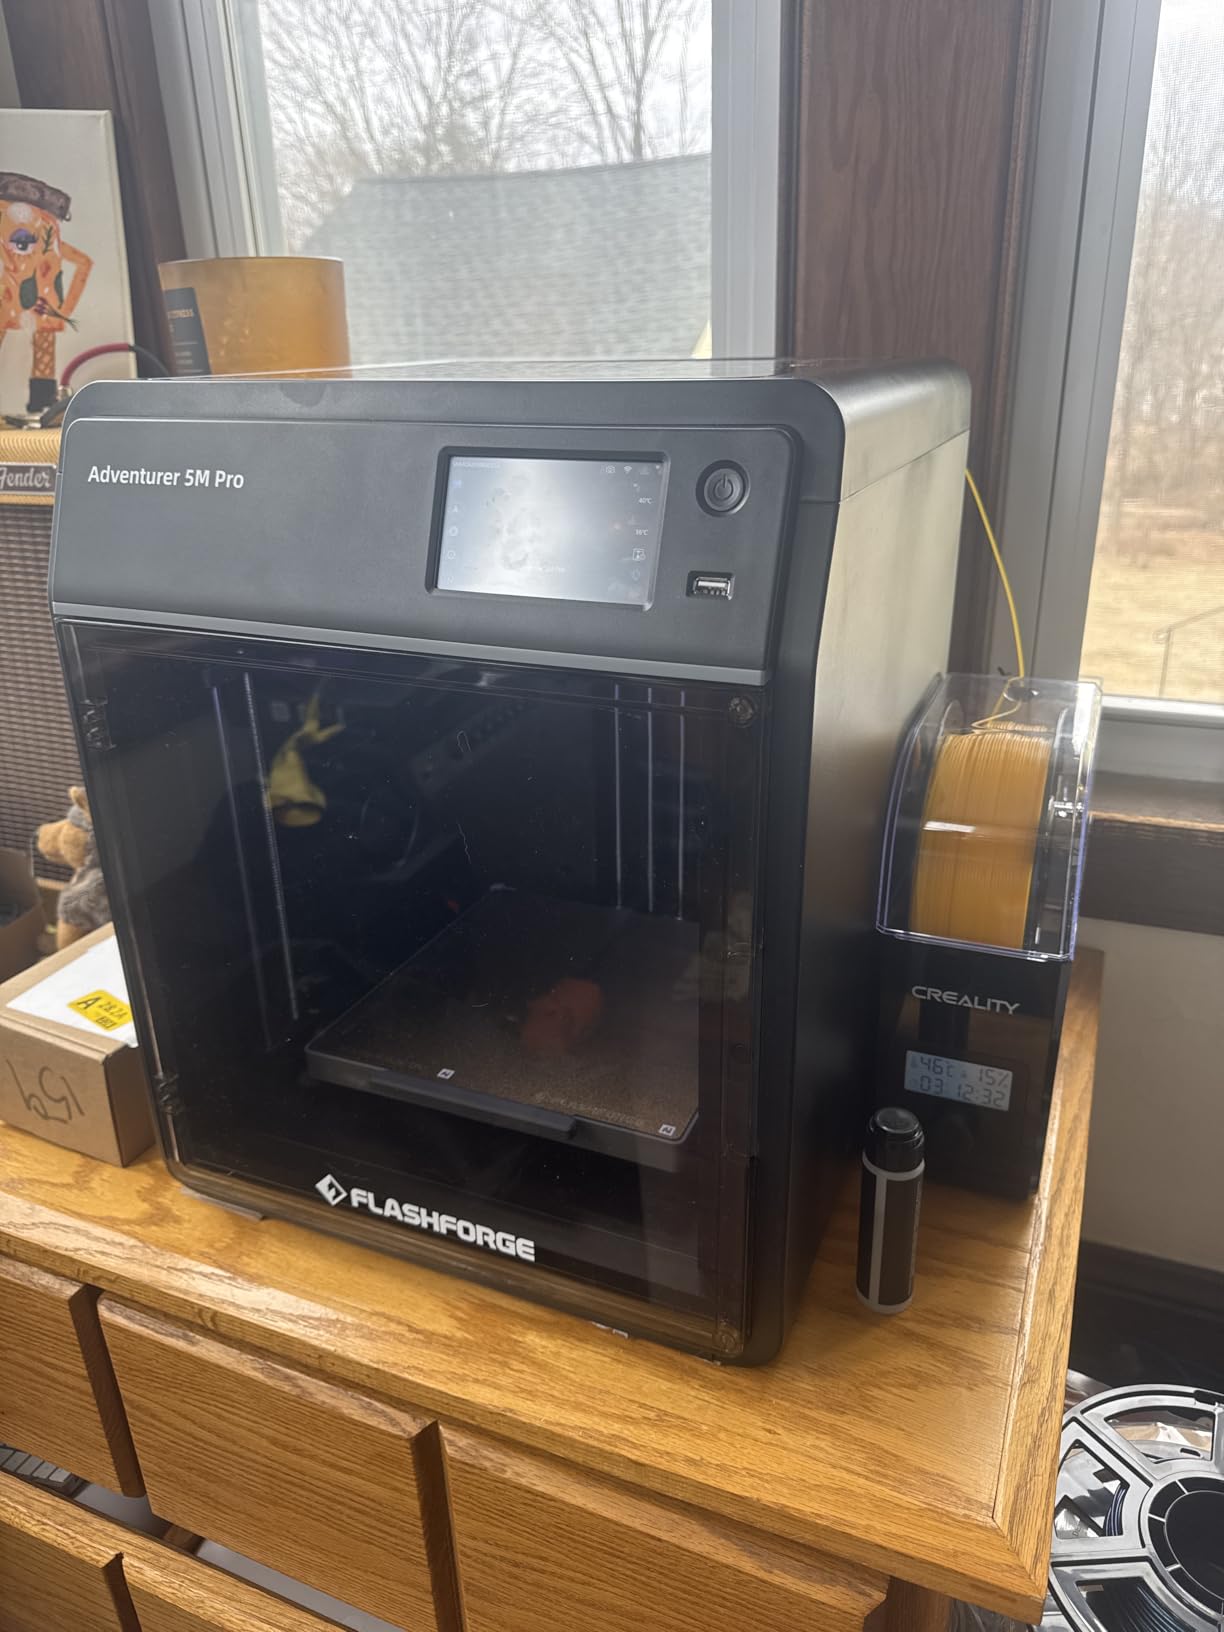
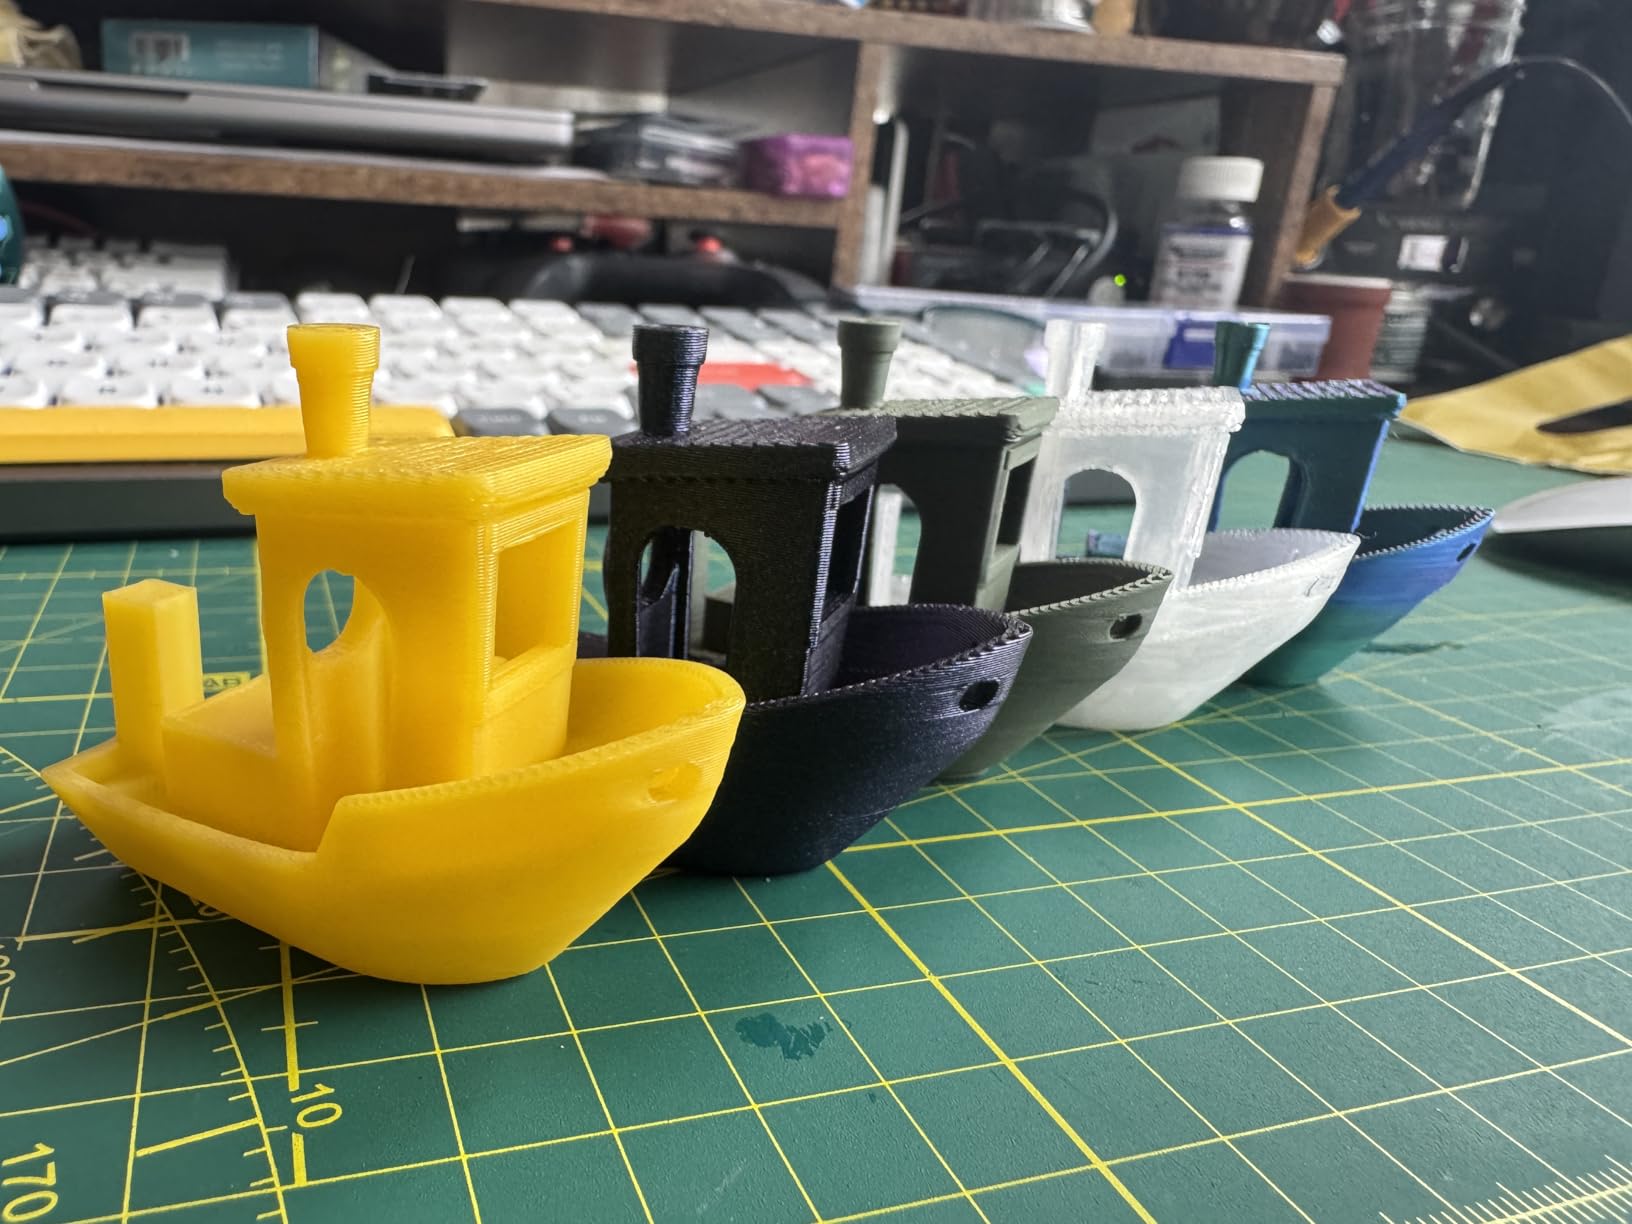
Owners describe it as an excellent first serious printer and a smooth transition from beginner to capable hobbyist. Support has a track record of replacing defective units quickly, which matters when you are committing to a new platform. Print quality was consistently impressive for the class in our runs.
The weakness is software, and it is not minor. FlashMaker, the slicer, and a separate design app mean several programs to learn, and installer files have lagged current operating system releases for some buyers. The 220mm cube build volume also feels restrictive once you start scaling up models.
Who the 5M Pro suits
It suits makers who want enclosure and speed in a quiet package, particularly anyone printing ABS or ASA who also works in a shared space. The filtration and sub-50dB operation mean you can run a long job without the fumes and noise that usually come with an enclosed chamber.
It also suits tinkerers who change nozzles often and value accessible spare parts. The ecosystem is more open than the Bambu machines, and standard nozzle sizes mean you are not locked into proprietary hardware. Our notes on small-format machines in the beginner roundup cover this class in more detail.
Who should skip the 5M Pro
Skip it if you print large objects. The 220 x 220 x 220mm cube is the smallest enclosed build volume here, and owners consistently ask for more room. Scaling a model up means splitting it into parts, which adds assembly and seam work to every project.
A meaningful minority of owners reported first-unit hardware faults, most often a damaged PEI plate during homing, abnormal extruder noise, random lockups, and print head assemblies crashing into the build plate. Several noted the brand replaced the unit or shipped parts promptly, but if you cannot tolerate any setup risk, pick a machine with a higher star share. ABS prints can also fail more often than PLA despite the chamber.
5. Flashforge Adventurer 5M – Best Plug-and-Play Under 500
FLASHFORGE Adventurer 5M 3D Printer, 600mm/s High-Speed, 1 Click Fully Auto Leveling, Upgraded Direct extruder Quick Detachable 280°C Nozzle, Dual-Sided PEI Coating Plate, Print Size 220x220x220mm
Up to 600mm/s CoreXY
10 minutes to first print
Run-out sensor
Power loss recovery
23.8 pounds
Pros
- About ten minutes from unboxing to first print
- CoreXY gantry keeps the bed level longer
- Quiet and compact for the build volume
- Responsive support with readily available spare parts
Cons
- Open frame means no ABS or high-temp materials
- Single colour only
- WiFi and the app are hit-or-miss
The 5M is the closest thing to genuinely plug-and-play in this bracket. Owners put setup at roughly ten minutes, and our experience matched: full-auto one-click levelling, a touchscreen with sensible presets, and a CoreXY gantry that reaches 600mm/s at 20000mm/s2. The nozzle reaches 200C in about 35 seconds, so you are not waiting on warm-up.
Long-term users report running it almost daily with very few failures, which is the real test of a budget machine. The dual-sided flexible PEI steel plate handled PLA, PETG and TPU at 0.4mm and stiffened variants at 0.6mm, and a filament run-out sensor with power loss recovery meant mid-print filament changes and outages were not disasters.
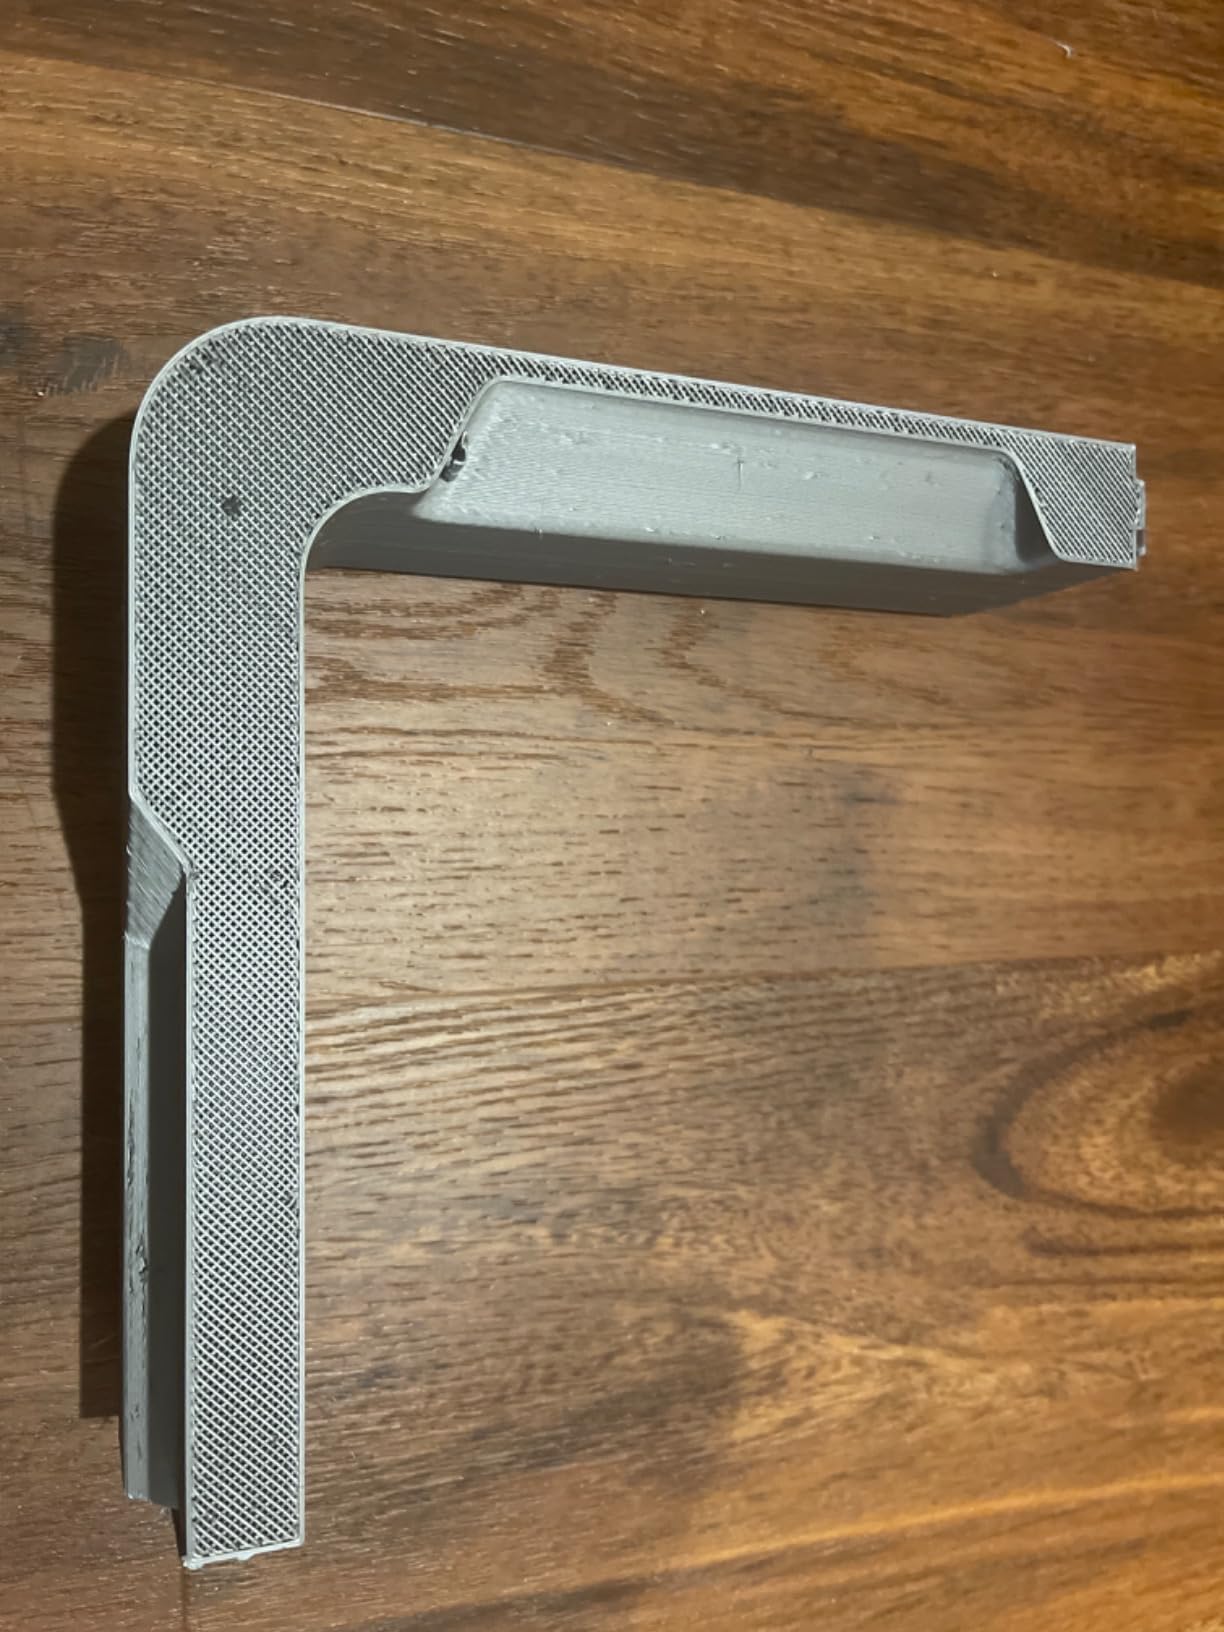
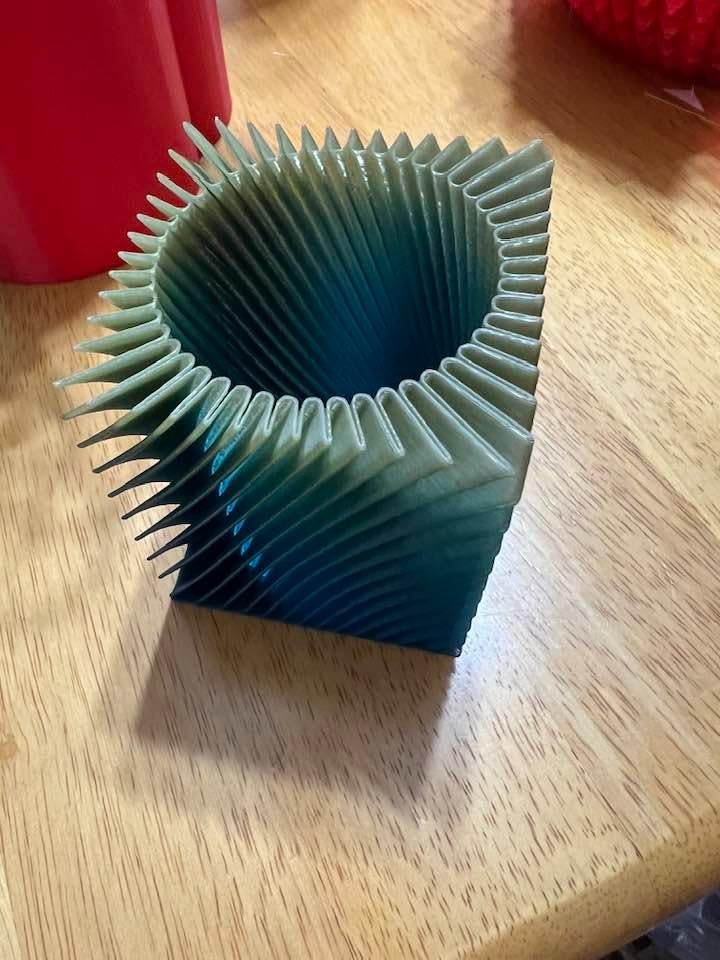
The CoreXY layout keeps the build plate level longer than a bed-slinger of the same class, and that showed up in tall prints. The footprint is small for the build volume delivered, and FlashForge support with readily available spare parts is repeatedly singled out as a differentiator.
The constraints are structural rather than fixable. It is an open frame, so ABS and other high-temperature materials are unsuitable. It is single colour, and the enclosed Pro version is required for multi-material. Networking is hit-or-miss and the app has limited features, and the small touchscreen has no manual positioning menu.
Who the 5M suits
It suits anyone who wants fast, clean PLA and PETG output with minimal setup and no intention of tuning firmware. It is a strong first machine for a teenager, a classroom, or a household where the printer needs to work reliably without an adult supervising every print.
It also suits people who have already had a bad experience with a cheap printer and are specifically looking for something that stops fighting them. The community consensus on the Flashforge Adventurer 5M is that it is a good introductory printer when multi-colour is not a dealbreaker, and our testing supported that.
Who should skip the 5M
Skip it if ABS, ASA or polycarbonate is on your list, because no amount of tuning fixes an open frame and chamber temperature. Skip it if you want multi-material, since this is a single-extruder machine. It is also a poor fit for anyone who relies on remote monitoring, because the connection is unreliable.
The touchscreen is small and sensitive with no manual positioning menu, which becomes annoying quickly if you do a lot of manual bed work. A small number of early buyers hit a failed XY homing sensor or a bowed build plate, though support resolved those cases. If you want the same speed with a closed chamber and a better camera, the Pro version costs more but removes most of these complaints.
6. Creality Ender 3 V3 SE – Best Budget Printer Under 500
Creality Ender 3 V3 SE Beginner-Friendly 3D Printer with Auto Leveling
Up to 250mm/s
CR Touch auto level
Sprite direct drive
19.8 pounds
Pros
- Lowest entry point in this roundup
- Assembles in about 20 minutes with an Allen key
- Reliable and low-maintenance once set up
- Handles TPU wood and nylon-infused filament
Cons
- Open frame rules out ABS and high-temp materials
- Build volume is small for larger projects
- Included USB drive has failed intermittently for some owners
The Ender 3 V3 SE is the cheapest way into a printer that auto-levels and holds calibration. CR Touch bed levelling with automatic Z-offset means you are not adjusting a bed by hand, and the Sprite direct drive extruder feeds filament smoothly enough for TPU. Assembly takes about twenty minutes with an Allen key, so it is a real assemble-it-yourself step rather than a plug-in purchase.
Owners consistently describe it as dependable and no-fuss, and it handles an unusually broad range of materials for the money, including wood-filled and nylon-infused filament. The flexible PC spring steel plate makes print removal easy, and the 32-bit silent mainboard keeps noise manageable in a normal room.
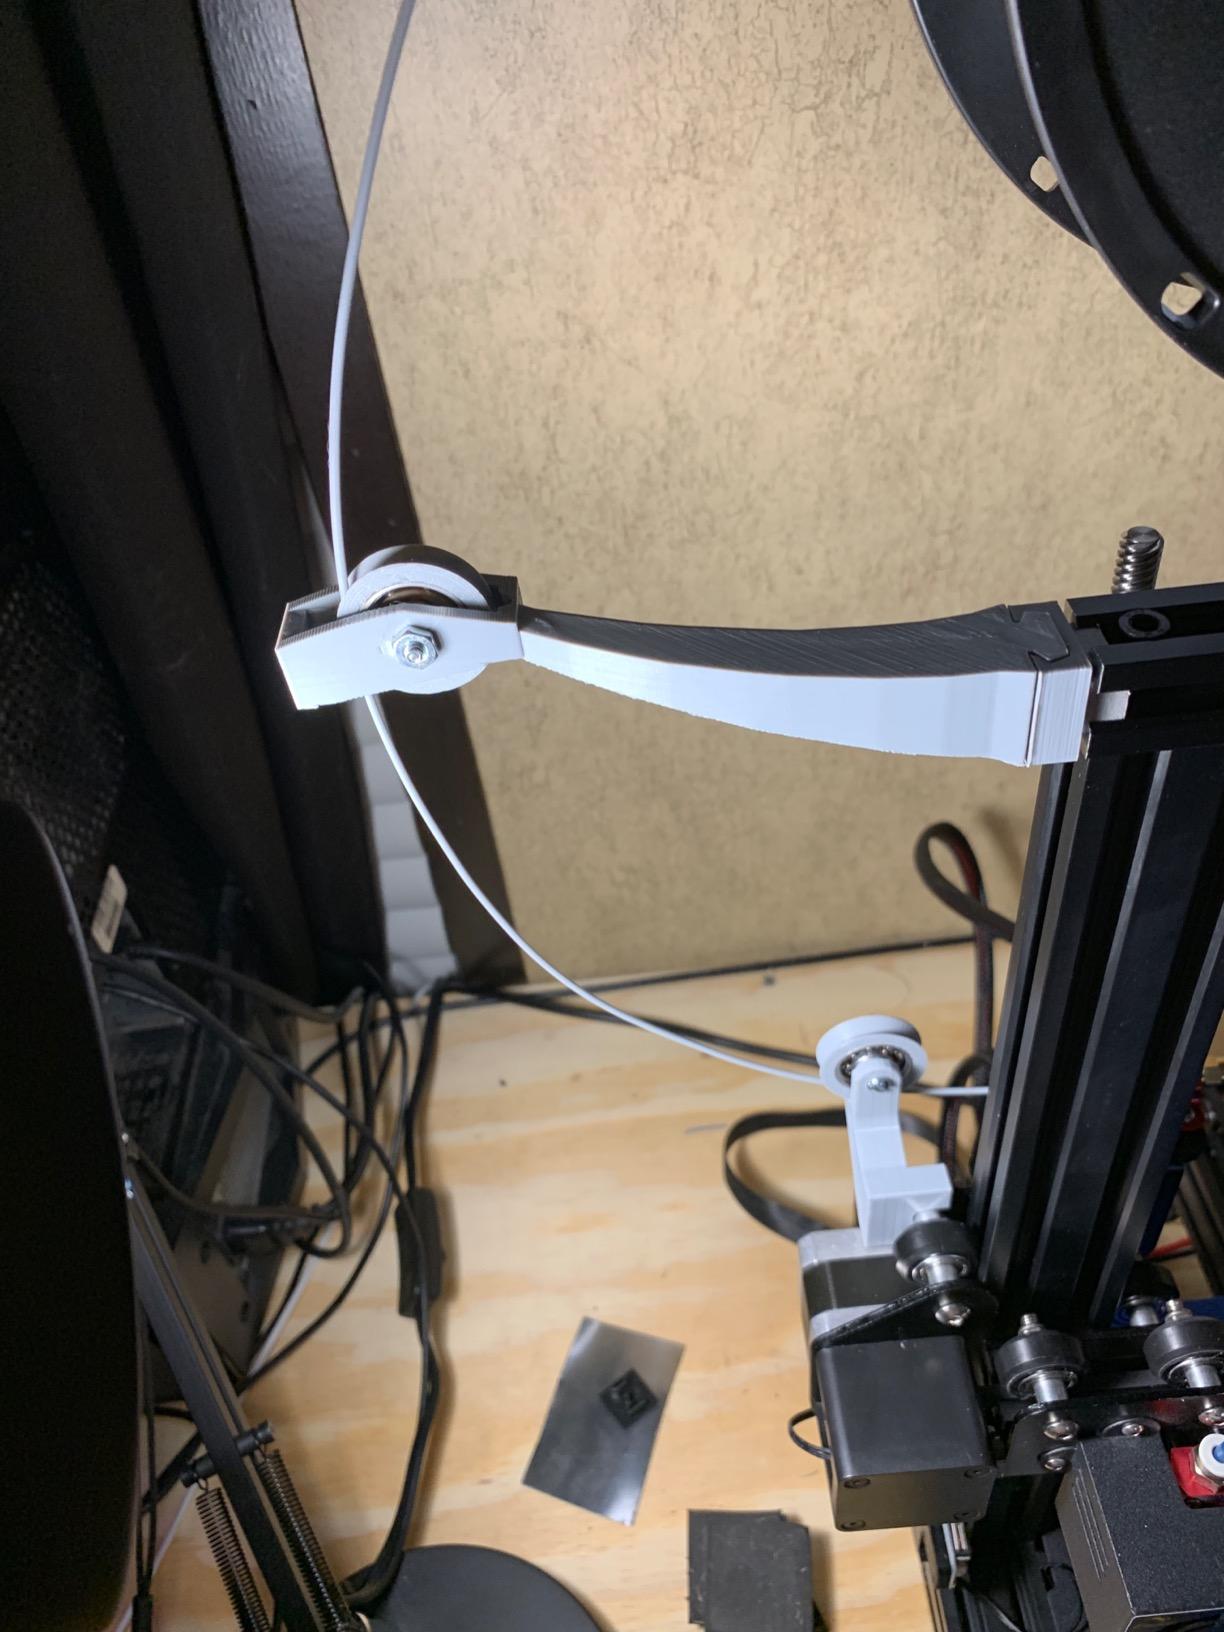
Long-time owners of Creality machines describe the Ender 3 line as one that has outlived several generations of competitors, and the community around it is large with clear documentation and spare parts everywhere. Speed is a modest 250mm/s at 2500mm/s2, which is plenty for functional parts and prototypes.
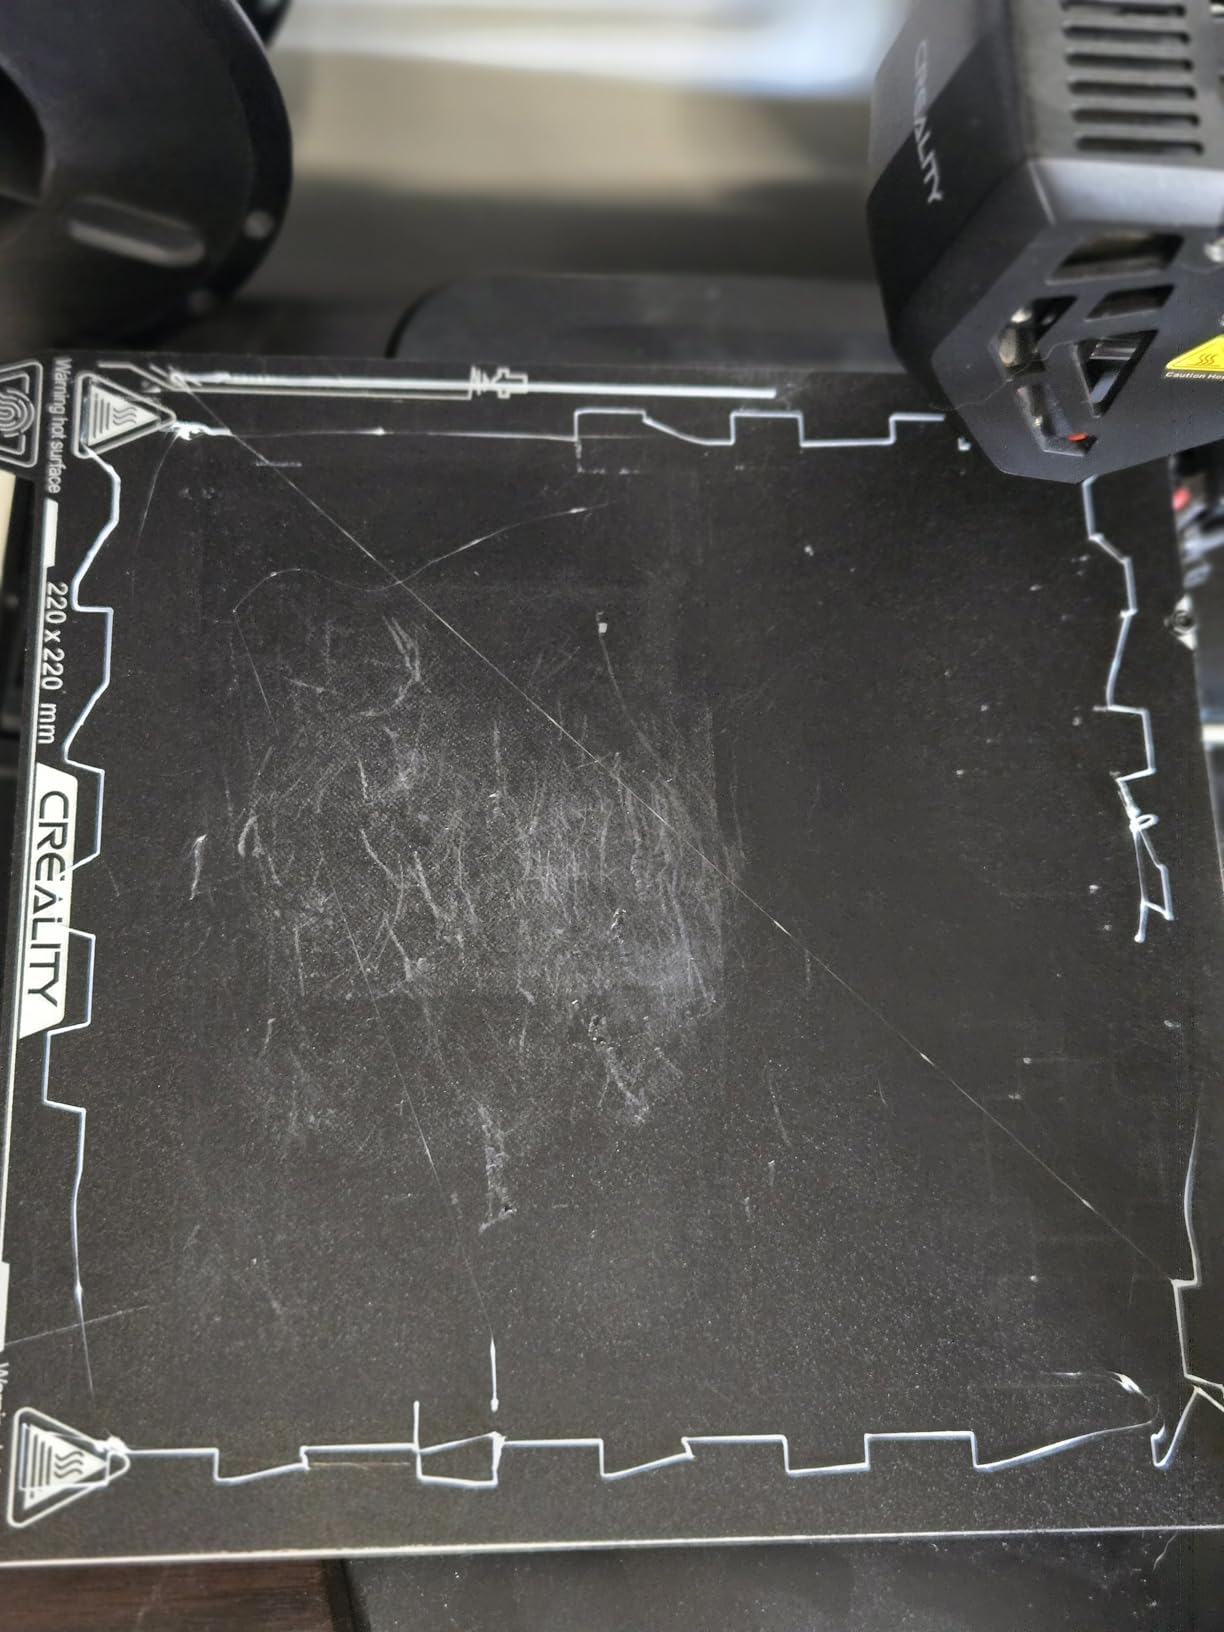
The recurring gripes are about longevity rather than capability. Some units develop noisy cooling fans and Y-axis bearing drag within weeks, and the included USB drive has failed intermittently for some owners. One easily-missed detail appears repeatedly: the unit is configured for 220V out of the box, so US buyers must switch it to 125V before first use.
Who the Ender 3 V3 SE suits
It suits buyers who want to spend as little as possible while still getting auto levelling and a direct drive extruder. If you are a student, building a parts inventory for a workshop, or buying a second machine so the first one never sits idle, the low entry cost makes this the sensible pick.
It also suits anyone who wants a broad material palette cheaply. TPU, wood-filled and nylon-infused filament all feed reliably, and because the machine is conventional in design, spare parts and community knowledge are abundant. A machine you can repair yourself is a real advantage at this budget.
Who should skip the Ender 3 V3 SE
Skip it if warping-prone or high-temperature materials matter to you, because an open frame with no enclosure rules out ABS and gives you no chamber filtering. Fumes from engineering filaments are a genuine concern in a home, and this machine does nothing about them.
Skip it if you print large objects; the build volume is small and you will outgrow it. Newer members of the community frequently describe it as a frustrating first machine, and the fan and bearing failures within the first weeks are worth planning for. If your priority is a machine you never have to think about, spend more on an enclosed CoreXY model instead.
7. Flashforge AD5M – Best for Classrooms and Shared Spaces
FLASHFORGE AD5M 3D Printer Fully Auto Calibration Print with 1-Click Max 600mm/s Speed, All-Metal CoreXY Structure Precise Printing, Easy-Maintenance Quick-Swap Nozzle, Print Size 220x220x220mm
All-metal CoreXY
Up to 600mm/s
One-click leveling
22 pounds
Pros
- Setup in roughly 15 to 20 minutes with almost no assembly
- Auto leveling is reliable and adhesion is easy to calibrate
- Quiet enough that some owners cannot hear it from another room
- Good value that leaves budget for filament
Cons
- Open frame for high-temperature materials
- WiFi and phone app connectivity is spotty
- Requires a Windows or Mac computer to slice
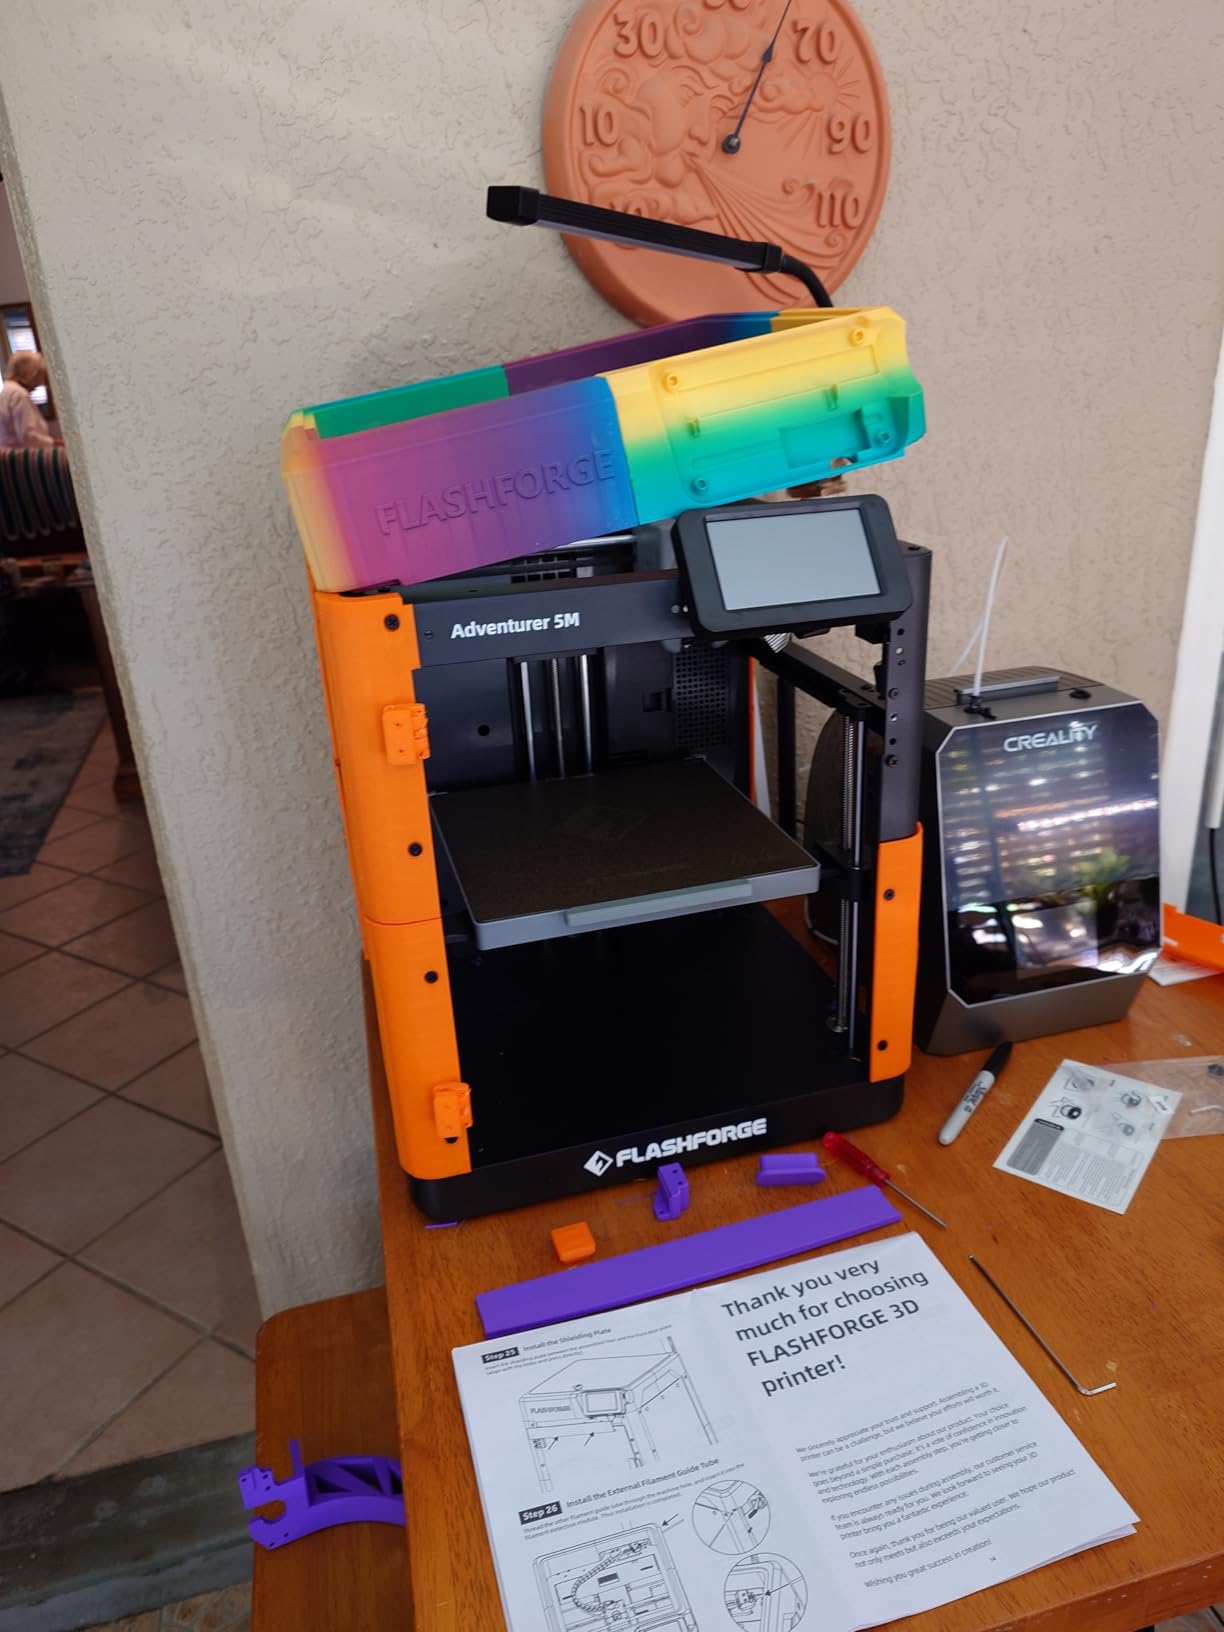
The AD5M is the version of the Adventurer formula that keeps the good parts and drops the price. All-metal CoreXY motion, one-click automatic levelling and offset calibration, and a tool-free quick-release nozzle that swaps across 0.25 to 0.8mm in about three seconds. Setup was 15 to 20 minutes with almost no assembly.
Owners recommend it specifically as a first or gateway printer, and particularly for children, noting that beginners get usable results within weeks and often buy a second unit to run a small farm. The double-sided flexible PEI steel plate has a reverse side designed for PETG, which helps when a classroom is switching materials.
Noise is a genuine strength here, with several owners reporting they cannot hear it from another room. Orca-flashforge has a short learning curve, power outage resume works from the saved layer, and the Flash Maker app allows remote device management and multi-printer monitoring.
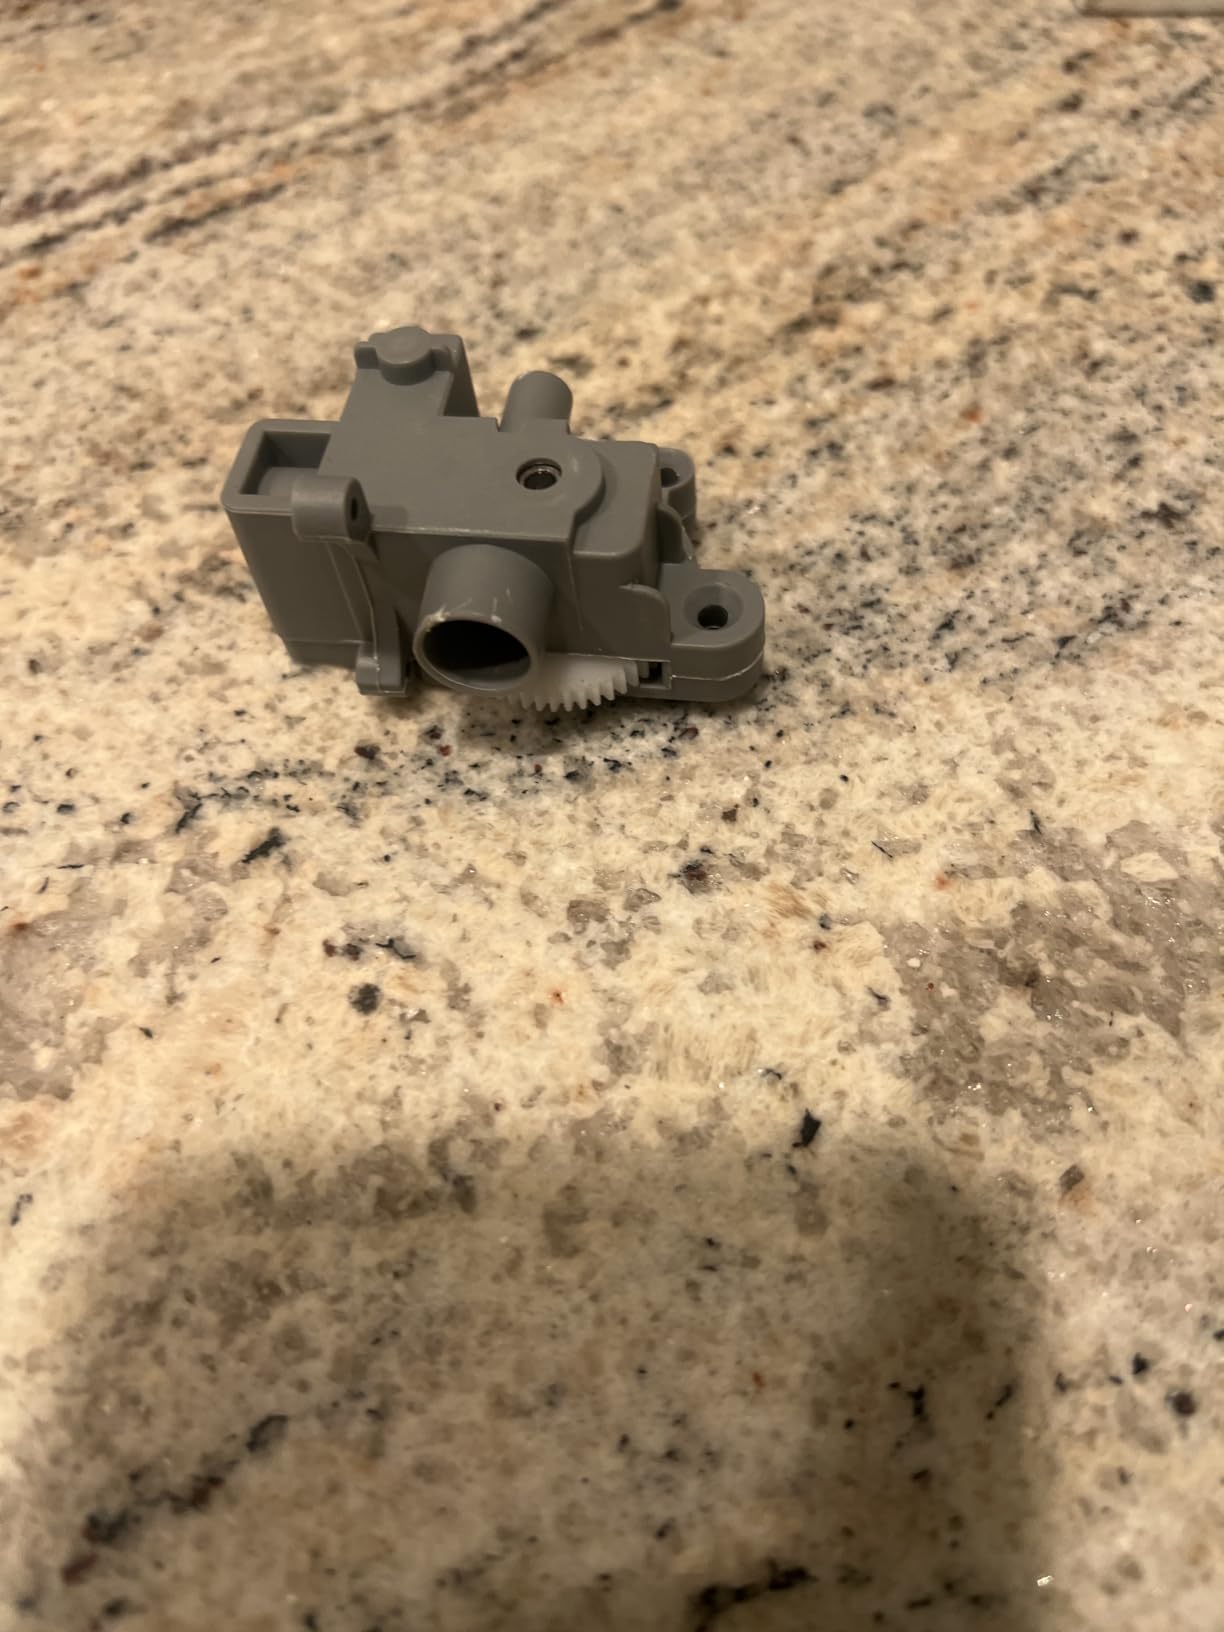
Connectivity is the standard complaint. The phone app is unreliable and Ethernet works better, and slicing still requires a Windows or Mac computer, which is a real problem for tablet-only households. Some third-party filaments feed poorly and give weaker bed adhesion, and a minority of units never completed even a test print.
Who the AD5M suits
It suits schools, libraries and homes where several people will share one machine and a small fleet makes sense. The combination of quick setup, low noise, reliable auto levelling and multi-printer monitoring in the app is unusual below this price, and it holds up when several machines run at once.
It also suits buyers who want headroom left in the budget for filament, since the printer costs less than its siblings and the running cost is where a first setup usually goes over. For miniatures and tabletop terrain it is more than capable, and our guide to the best printers for miniatures covers the detail tradeoffs in depth.
Who should skip the AD5M
Skip it if your household slices on a tablet or phone only, because the workflow assumes a Windows or Mac computer even though printing itself can be triggered from the app. Skip it if ABS or ASA is a target material; there is no enclosure and no filtration.
Some owners report it being noisier and slower to heat than expected, which contradicts the quiet reputation but is worth knowing. A small number received units that could not complete a test print and were effectively dead on arrival, so buy somewhere with straightforward returns. If you need an enclosure, budget for a different machine entirely.
8. Anycubic Photon Mono 4 – Best Resin 3D Printer Under 500
ANYCUBIC Photon Mono 4, Resin 3D Printer with 7” 10K Mono LCD Screen
7 inch 10K mono LCD
17x17um pixels
153x87x165mm build volume
7.7 pounds
Pros
- Detail far beyond anything an FDM machine can produce
- Compact and very quiet
- Printing within about 30 minutes of setup
- Laser-engraved platform reduces lifting and warping
Cons
- Small build volume limits larger models
- Resin vats and screens are consumables that can fail early
- Default profiles need real exposure and lift tuning
If your goal is miniatures, jewellery or props, no filament printer in this list competes with a good resin machine, and the Photon Mono 4 is the strongest resin option under the line. The 7-inch 10K mono LCD resolves 9024×5120 pixels at 17x17um, which is a genuine step up in surface detail, and the LighTurbo matrix light source keeps layer lines from reading as a texture.
Setup took about half an hour including the 4-point levelling, which is one-and-done after the first pass. The laser-engraved print platform improved adhesion enough that lifting was a non-issue on our test figure. At 7.7 pounds and roughly 10 x 10 x 15 inches, it fits on a home office desk without dominating it.
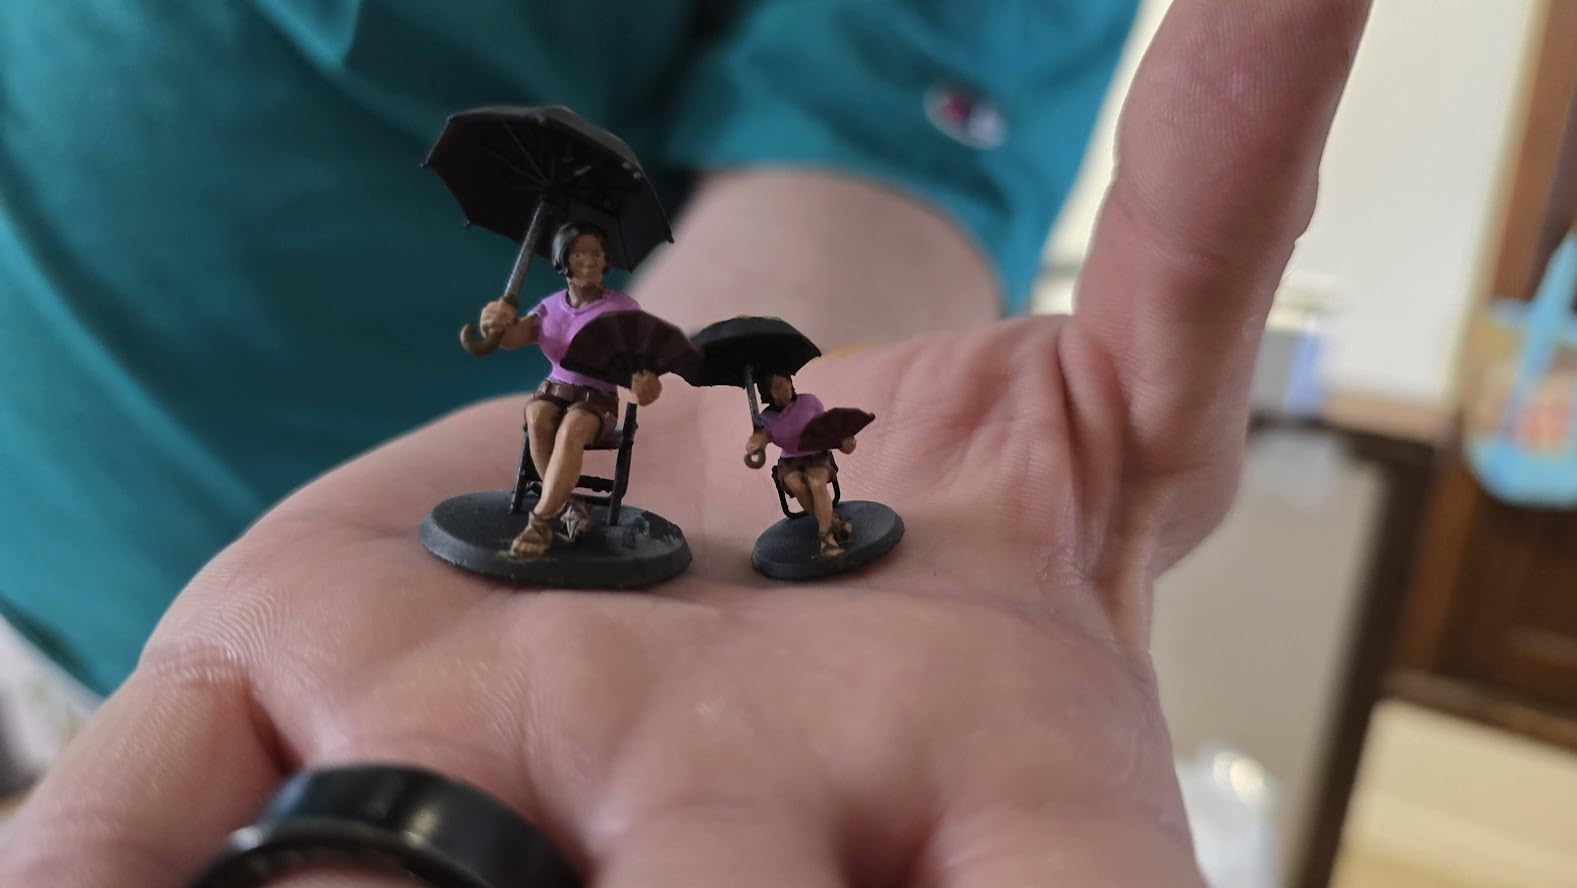
Owners cite it as a big step up for small detail work, and the difference between a 10K resin print and a well-tuned FDM print is obvious at arm’s length. Power-loss resume is a nice touch for long multi-part batches, and the machine runs quietly enough to work alongside a normal workspace.
The recurring criticism is reliability, not capability. LCD screens have failed within weeks for some owners, resin vats can crack, and larger builds warp even with the engraved platform. Default profiles need genuine tuning of exposure, lift speed and temperature before output is consistent, which is the hidden cost of resin printing.
Who the Photon Mono 4 suits
It suits tabletop gamers, artists and jewellery makers who print in PLA resin and need surface detail that layer lines ruin on filament machines. At this weight and price it is also the most approachable entry into resin, and the short setup time means you can be printing the same evening it arrives.
It also suits anyone who wants to keep a small, quiet machine for detail work while running a larger filament printer for everything else. If you already own a 3D scanner, our guide to scanners for makers pairs well with resin output for accurate miniature replicas.
Who should skip the Photon Mono 4
Skip it if you need to print anything large. The build volume is 153.4 x 87 x 165mm, which is small enough that most household objects need resizing or splitting. It is also not a general-purpose printer: there is no app support, the barcode-based connection flow is reported as unreliable, and the LCD and vat are consumables that add ongoing cost.
Resin has real handling requirements. It needs ventilation, gloves, and a wash and cure step before parts are finished, and support is often slow to resolve screen and warranty issues. If you want the low maintenance of filament and the forgiveness of a forgiving machine, this is the wrong purchase. Our resin printer guide for hobbyists goes further on the workflow.
9. ELEGOO Mars 5 Ultra – Best Resin Printer for High Volume
ELEGOO Mars 5 Ultra Resin 3D Printer
7 inch 9K mono LCD
18um XY resolution
Tilt release up to 150mm/h
AI camera
Pros
- Tilt release roughly doubles miniature throughput
- Self-leveling plate removes the most tedious resin chore
- 9K panel delivers strong detail
- Chitubox Pro subscription included
Cons
- Lid has no hinges so the whole top lifts off
- Rounded resin spout makes pouring messy
- Camera is blocked by tall prints and low resolution
The Mars 5 Ultra is a resin printer for throughput rather than for a single display piece. Tilt release technology peels the model away from the build plate at up to 150mm/h, and switchable fast and slow modes let you pick per-job. Owners with previous Mars experience describe roughly double the output on standard miniatures, and the self-leveling plate removes the most tedious part of resin printing.
The 7-inch 9K mono LCD resolves at 18um in XY, which is close to the resolution ceiling for consumer resin and more than enough for textured surfaces. Setup was trivial: a self-test, WiFi connection and simple exposure controls produced good results immediately. The bundled Chitubox Pro subscription is a frequently appreciated extra.
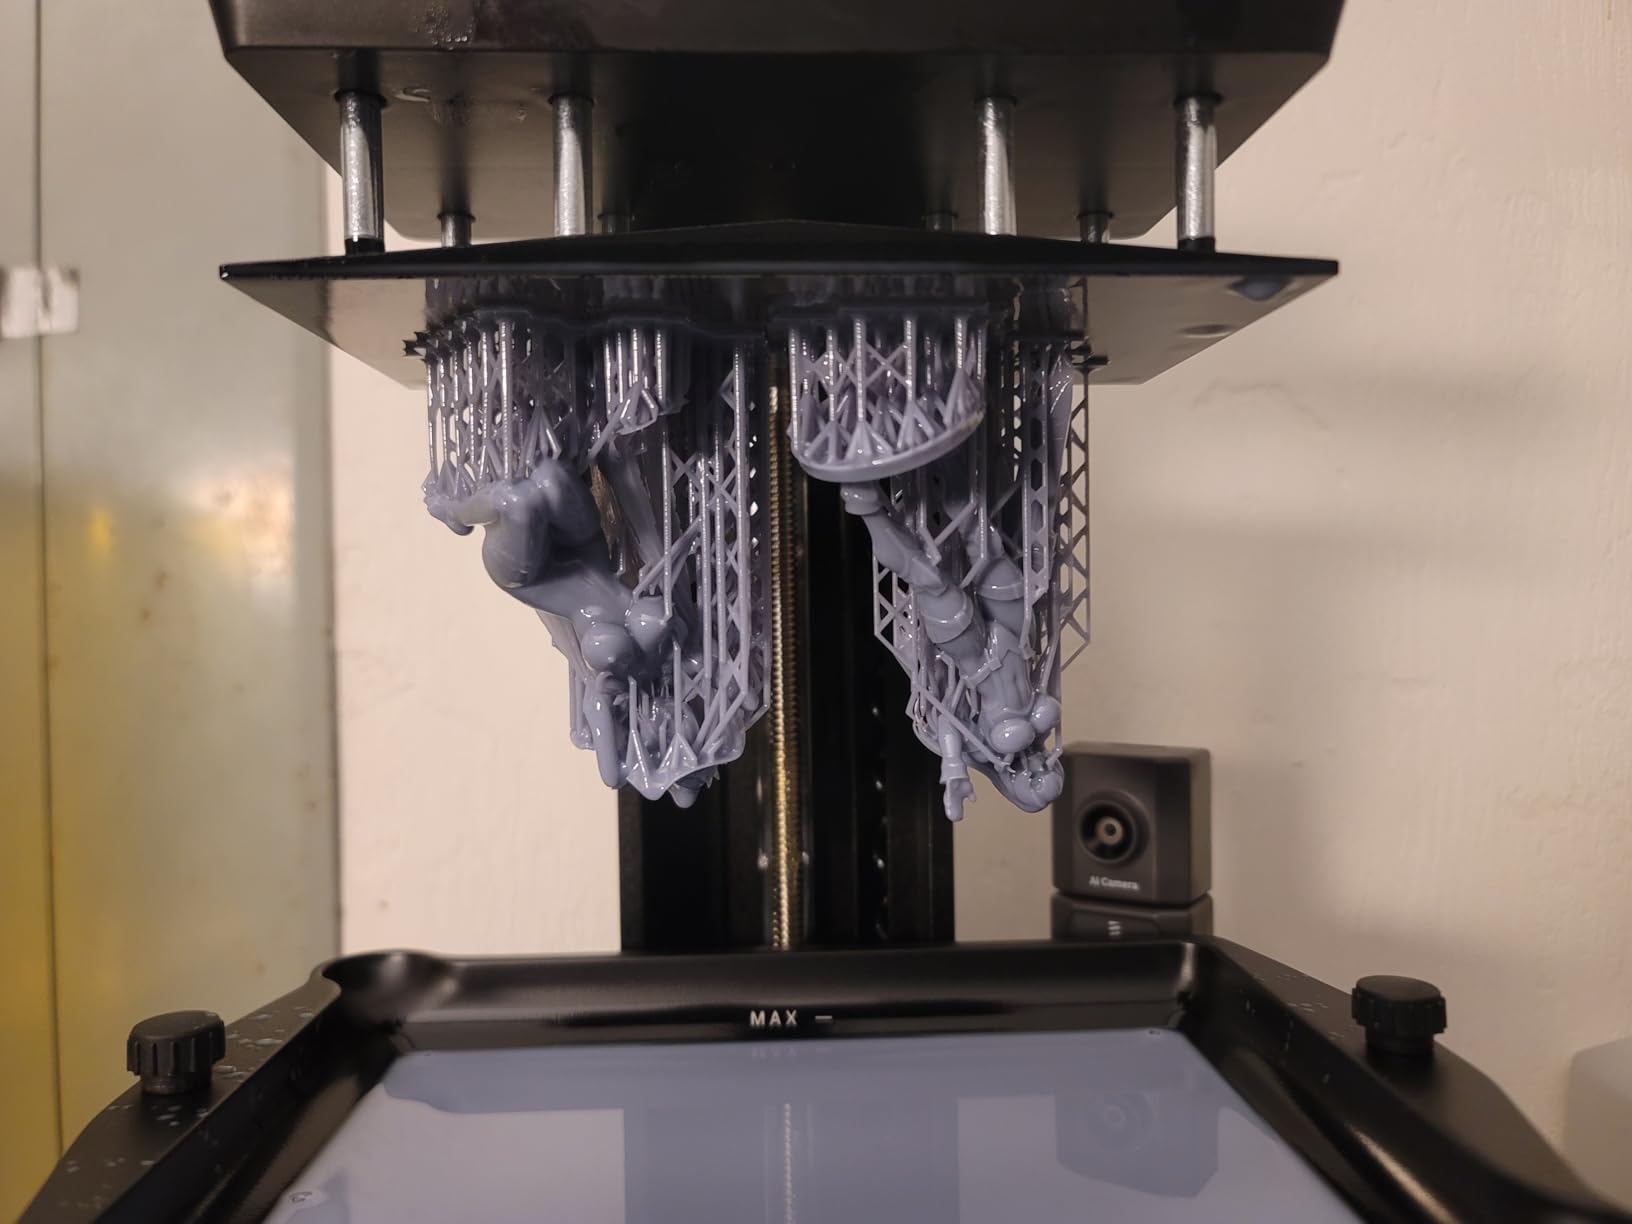
The AI camera provides real-time error detection for empty plates and model warps, and a mechanical sensor detects residue before it can damage the LCD. Alarms cover resin shortage and levelling failure, and WiFi cluster printing lets you run several machines from one device. That is genuinely useful if you print in batches.
The critiques are about physical design. The lid has no hinges, so the entire top must be lifted off to reach the vat, which is awkward in a wash station. The resin spout is rounded, making neat pouring difficult and spill-prone. The camera is easily blocked by tall prints and the low-resolution view is hard to read.
Who the Mars 5 Ultra suits
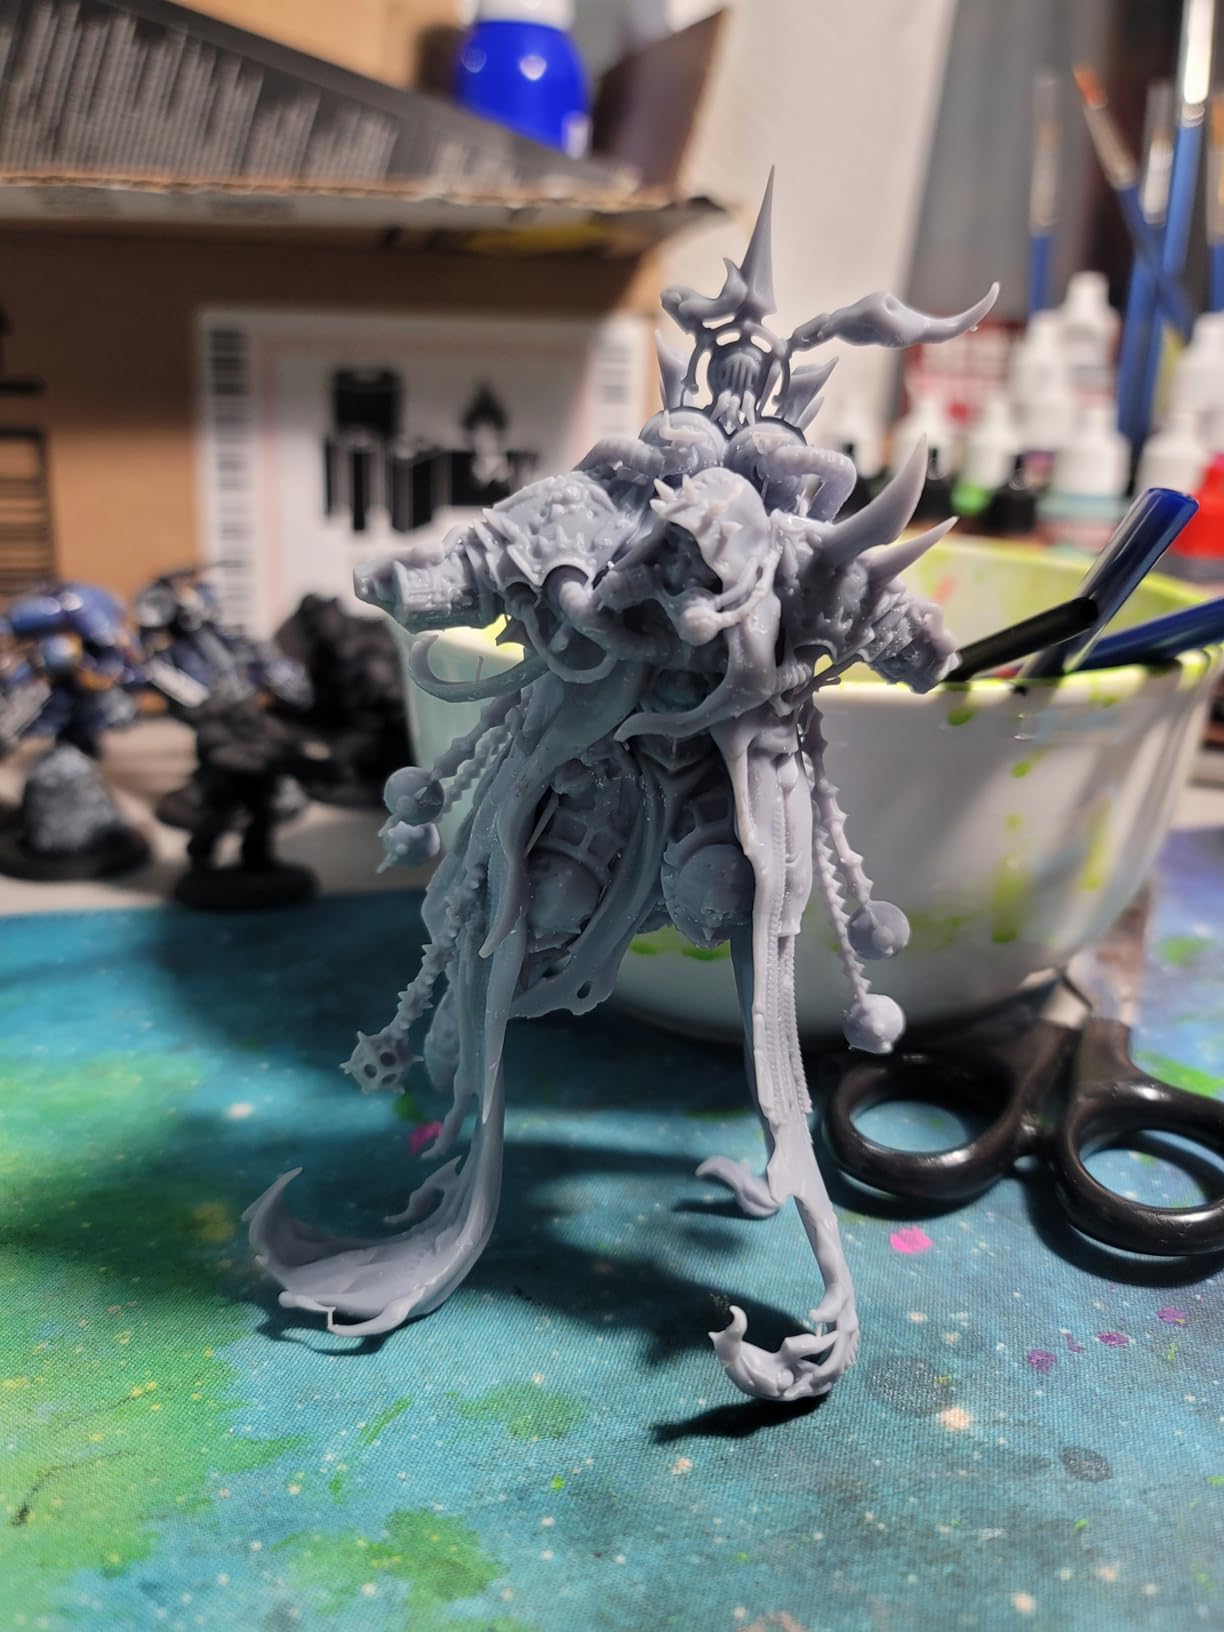
It suits hobbyists printing in quantity, or anyone who has already decided resin is their process and wants a machine that is fast and self-levelling. If you print dozens of miniatures, a terrain tile, or cosplay props, the tilt release mechanism pays for itself in saved time before the batch is finished.
It also suits multi-machine operators because cluster printing and the residue sensor protect your panels. The self-levelling plate means a new user can get consistent first layers without learning manual bed setup, which is the usual reason resin printing puts beginners off.
Who should skip the Mars 5 Ultra
Skip it if you print one item at a time on a small desk. The unhinged lid and rounded spout are daily friction if you are constantly opening the vat, and neither gets better with practice. The build plate is also small enough that larger items such as a cup will not fit.
It is a resin machine, so all the resin handling requirements apply: ventilation, protective equipment and a wash and cure step. One owner reported a build plate that would not hold first-layer adhesion and later cracked, so check the plate early. If detail is the goal but volume is not, the Photon Mono 4 is the quieter and simpler choice.
10. Entina Tina2C – Best 3D Printer Under 500 for Kids and STEM
Entina Tina2C 3D Printer for Kids & Beginners, Fully Assembled Starter Mini 3D Printer, Start in 8 Mins, App & WiFi Control, Auto Leveling, 3000+ Model Library, 20+ Creative DIY Modules for STEM, Home
3.9 inch cube build volume
Guided app setup
3500+ models
5.28 pounds
Pros
- Guided app setup gets children printing the same day
- Models print as single ready-to-use pieces
- Compact quiet body for a desk or small room
- Regularly updated model and STEM course library
Cons
- 3.9 inch cube is very limiting long term
- Filament can break and clog inside the extruder
- Nozzle runs near 200C so fine detail parts can deform
The Tina2C is a different category of machine from the other nine. It is a starter printer for children, classrooms and STEM programs, not a workshop machine, and evaluated on those terms it delivers. Guided setup through the Poloprint Cloud app gets a first print in about eight minutes, and the 3500-plus model library plus 25 or more creative STEM modules give children something to make on day one.
The models print as single ready-to-use pieces rather than dozens of parts to assemble, which matters enormously for a ten-year-old. At 5.28 pounds with a compact low-noise body, rounded edges and integrated LED lighting, it is safe and easy to place anywhere in a home, and it works with Windows, macOS, Linux and Chromebook.
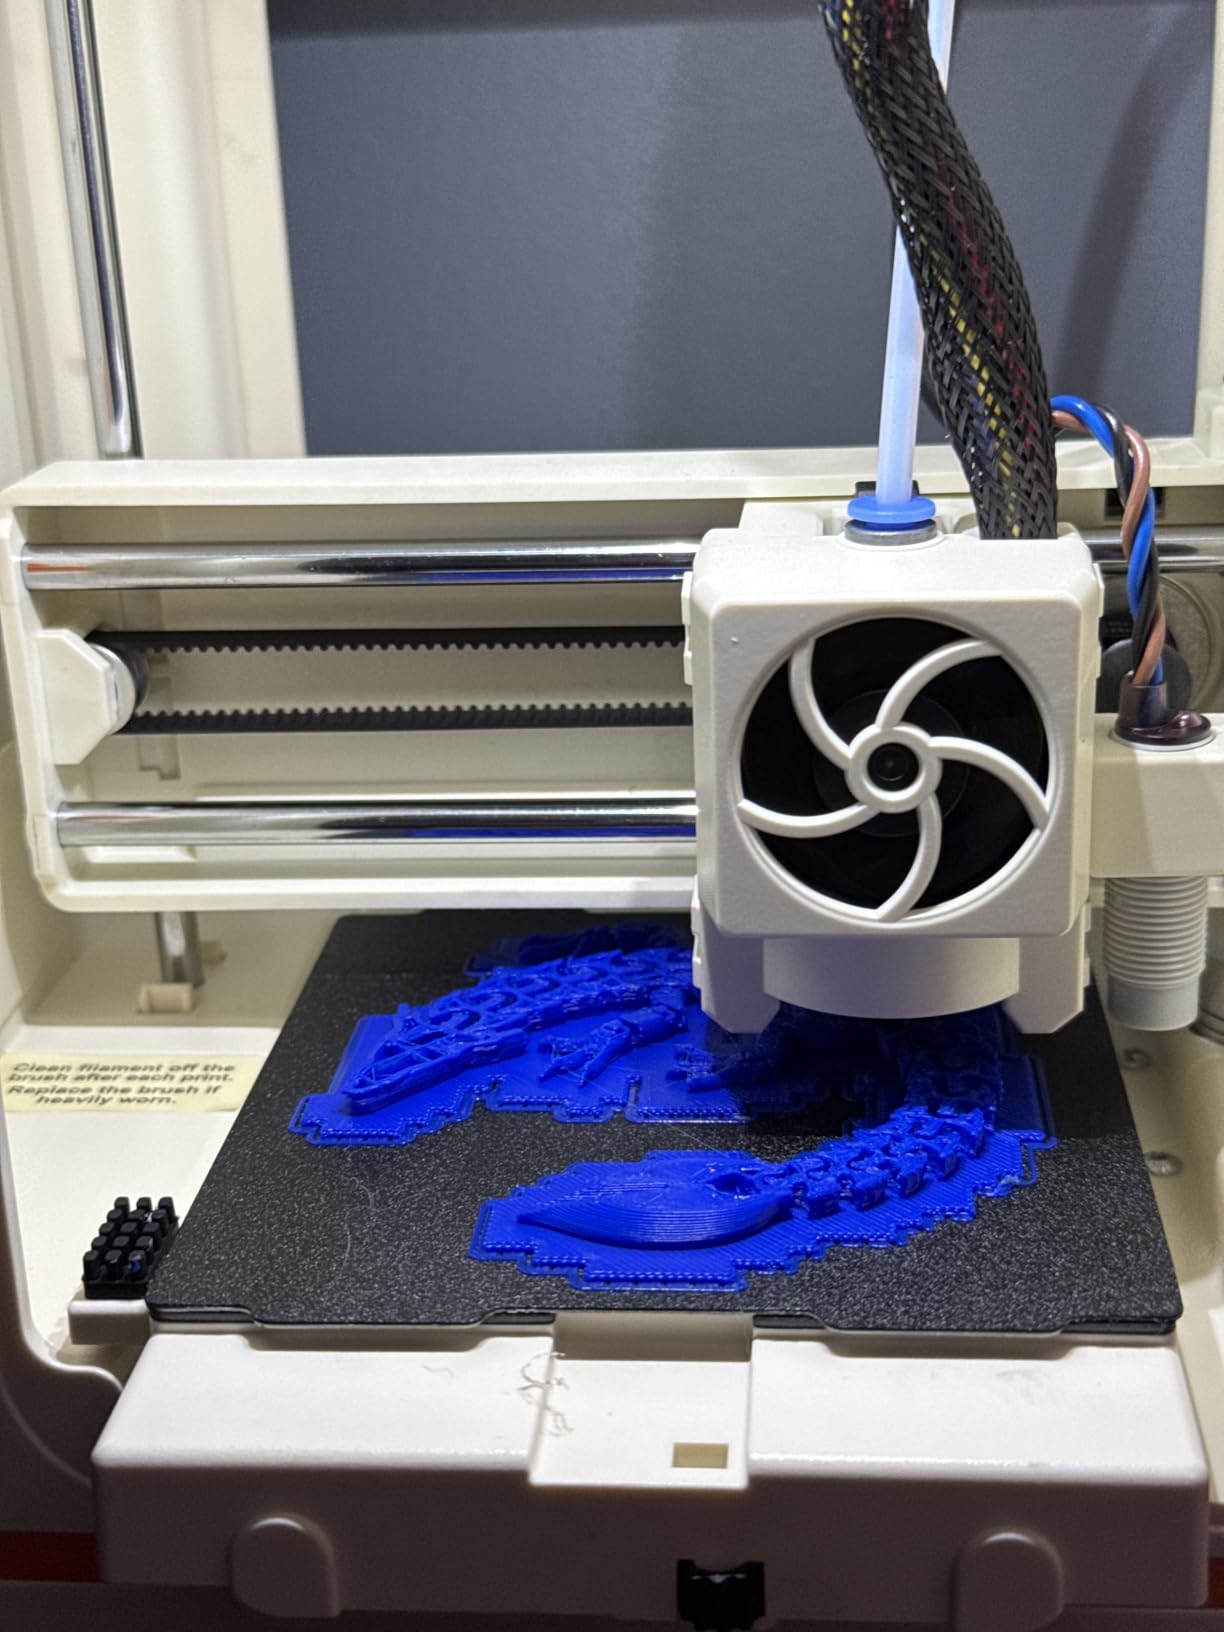
WiFi printing plus TF card offline mode gives flexible workflows, and the self-cleaning nozzle, quick-swap printhead, flexible magnetic build plate, auto levelling and power-loss recovery cover the usual beginner failure points. Buyers who evaluate it as a starter machine are consistently happy, and Entina support has been responsive.
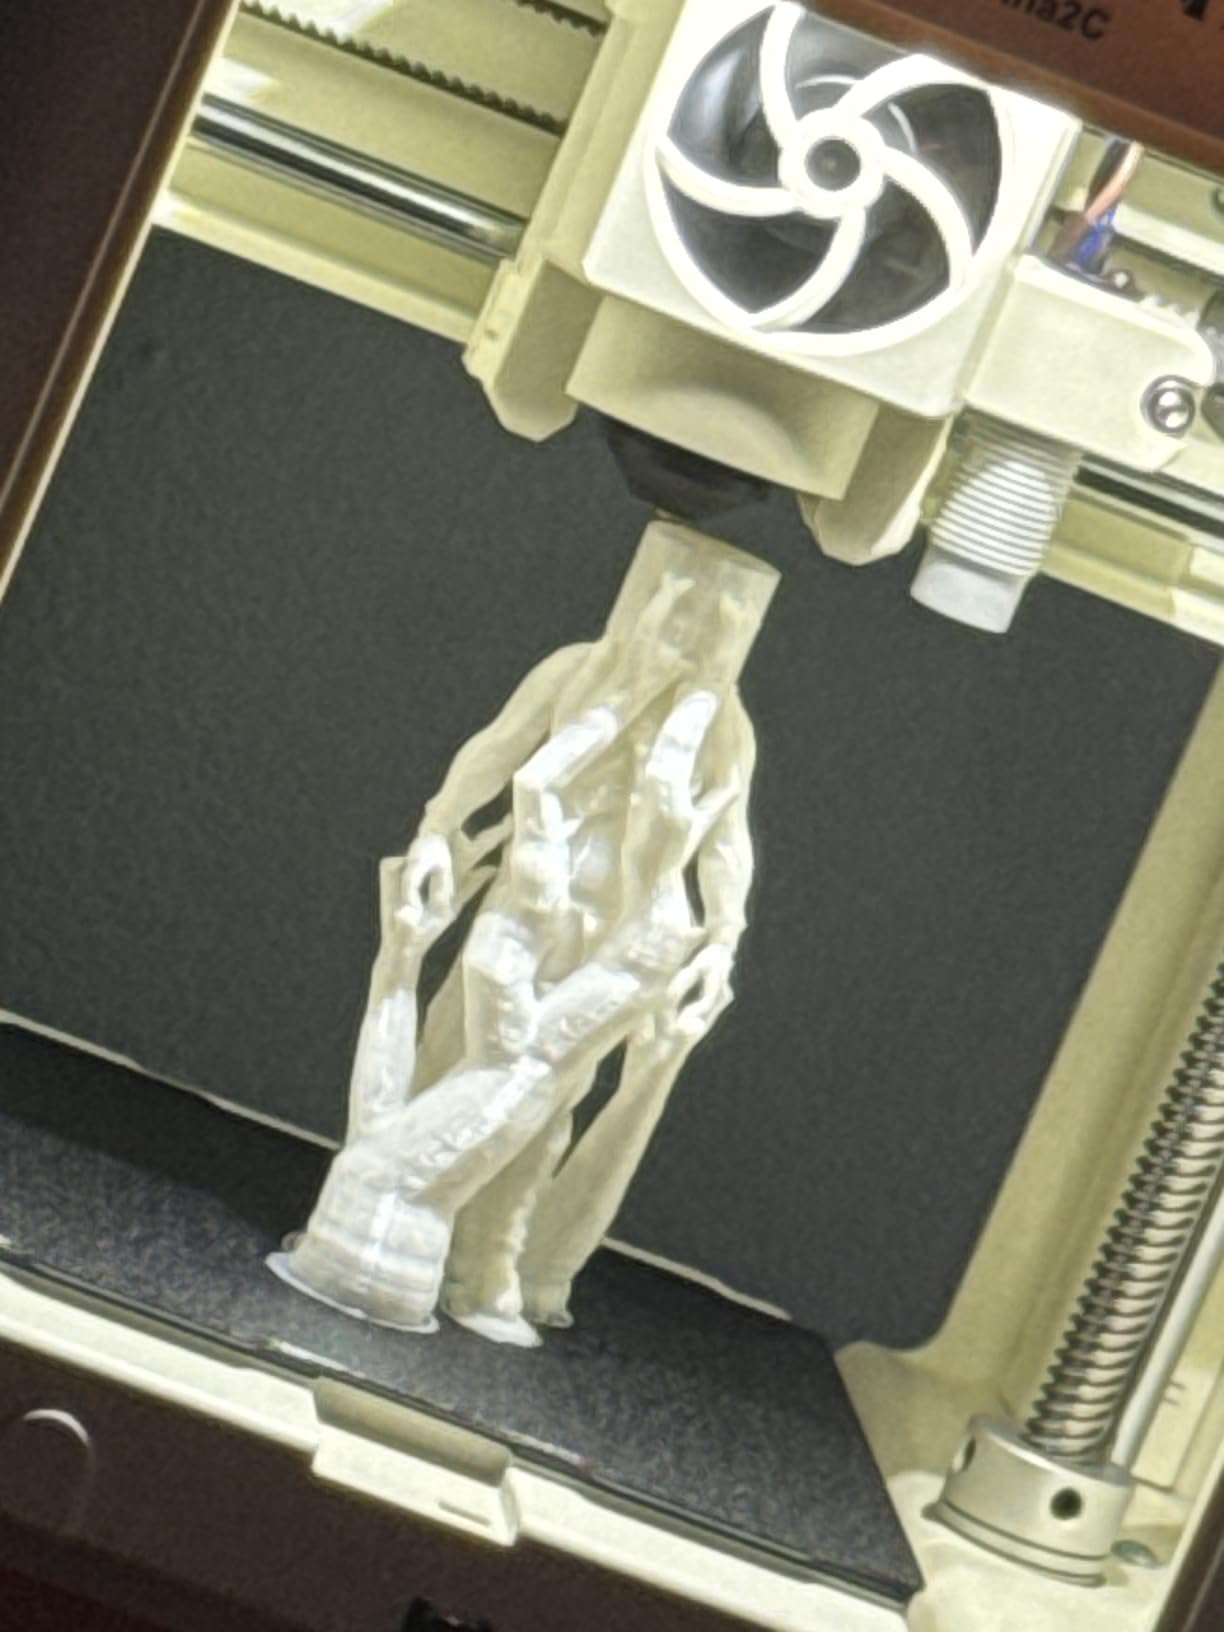
The limits are obvious and worth stating plainly. The 3.9 x 3.9 x 3.9 inch build volume cannot grow with the user, prints are sometimes wobbly and small parts need cleanup, filament can break and clog inside the extruder, and print times are long even for small objects.
Who the Tina2C suits
It suits parents buying a first machine for a child, teachers running a classroom set, and anyone who wants a gift that produces a finished object rather than a project. The app removes the slicing barrier that usually stops younger users, even though a computer is still needed for slicing in Cura or Simplify3D.
It also suits makers who want a small dedicated machine for simple parts, organizers or cosplay accessories, away from the larger printer in the house. The footprint means one person can hold and move it easily, and the low noise lets it run in a bedroom or study without complaints.
Who should skip the Tina2C
Skip it if you want to print anything larger than a mug-sized object, or if you plan to grow into larger projects. The cube is fixed and no upgrade path exists within this platform. The 200C nozzle also means fine detail parts can melt or deform, which limits the precision work the machine looks capable of.
Skip it if you want a silent, hands-off machine for long jobs: print times are long even for small objects, and filament breakage and clogs will happen. Long-term users will outgrow it within a year. If you want a first machine a child can grow into rather than start with, spend the difference on a full-size CoreXY model with auto levelling.
FDM or Resin: Which Process Do You Actually Need?
Filament printers melt 1.75mm plastic spooled on a holder and extrude it through a heated nozzle onto a levelled bed, layer by layer. Resin printers cure liquid photopolymer with a UV light source from below, which is why they produce detail that filament simply cannot reach. Neither is better in the abstract; they answer different questions.
If you are making functional parts, enclosures, cosplay armour, outdoor components or anything in engineering filaments, you want an enclosed filament machine. The two best options in this bracket are the ELEGOO Centauri 2 Combo for multi-colour and the Bambu Lab P1S for pure print quality and material range.
If you are making miniatures, jewellery, game pieces, figurines or very fine detail, resin wins decisively and the cost is manageable. The Anycubic Photon Mono 4 is the best resin 3D printer under 500 for detail work, and the ELEGOO Mars 5 Ultra is the better pick if you print in volume or run several machines at once.
The honest catch is that resin is not maintenance-free. You need ventilation, gloves, a wash and cure station, and you will replace vats and LCD films. None of the ten machines here includes a wash station in the box, and resin is a different expense line from filament.
What Your 500 Budget Really Covers
The printer is the cheapest part of getting into 3D printing. A realistic first-year budget needs the machine plus consumables, accessories and possibly a second tool, and the difference between budgeting for those and not budgeting for them is the difference between a satisfying hobby and a dusty box.
Filament. Plan on a multi-spool starter set in PLA and PETG, because you will go through a lot while calibrating and while discarding failed prints. A dry box or filament dryer matters more than most accessories, because wet filament causes popping, stringing and poor surface finish that beginners usually blame on the printer.
Spare consumables and tools. Brass and steel nozzles, a nozzle cleaning kit, and a spare build surface cover the overwhelming majority of hardware issues. Machines with tool-free nozzle swaps, like the FlashForge models, make this cheaper because you can change a nozzle in seconds without tools.
Enclosure upgrades for open frames. If you buy an open-frame machine and later want ABS or ASA, a printable or purchased enclosure kit is a real cost. If you think engineering materials are likely, buy the enclosed machine instead and skip the retrofit.
Resin extras. A wash and cure station, a silicone mat, nitrile gloves, a fan for ventilation, spare vats and replacement LCD films are all required for a resin machine. Our resin roundup covers the workflow these machines need.
Electricity and spares you cannot predict. Long prints add up on the meter, and every machine here will eventually need a part. Machines with standard hotends and non-proprietary feeders, like the FlashForge and Creality options, cost less to keep running over a few years. That is a real difference nobody puts on a spec sheet.
How to Choose the Right 3D Printer Under 500
Pick your material first, because it eliminates half the list. PLA and PETG work on everything here. TPU needs a direct drive extruder, which all ten have. ABS, ASA and polycarbonate need an enclosed chamber, which leaves you four machines: the Centauri 2 Combo, the P1S, the Adventurer 5M Pro, and the resin options if you are willing to change process.
Then pick your frame. Open frames are quieter, cheaper and lighter, and they are the right choice for PLA, PETG and TPU in a home. Enclosed frames cost more, weigh more, and are quieter, and they are the only sensible answer for high-temperature materials or long prints in a cold room.
Build volume is the third filter, and the largest single dimension matters more than the cube. A machine with a smaller cube but a taller Z can print a lamp or a shelf section that a compact cube machine cannot. The 220mm cubes here suit small functional parts, props and miniatures; the larger Bambu build volumes suit enclosures and panels.
Speed matters less than vendors imply. Headline figures describe motion capability, not finished quality, and every one of these machines produces its best results below its maximum. Look instead at acceleration and frame rigidity, because that is what determines whether fast moves still land accurately.
Layer height is the resolution dial. Standard 0.4mm nozzles at 0.2mm layer height handle general parts, 0.25mm nozzles improve fine text and small features, and resin at 18um resolution is a different category entirely. Do not buy a smaller nozzle you will not use; the tool-free quick-swap nozzles on the FlashForge machines make experimenting cheap.
Finally, think about multi-colour and software. Multi-colour under 500 usually means a separate feeder unit, so budget for that and for the purge waste it creates. For software, closed ecosystems such as Bambu Studio are easier for beginners, while OrcaSlicer-based tools and Klipper-compatible firmware suit anyone who wants control. Our beginner guide covers this trade-off in more detail.
Your First 30 Days With a New Printer
Day one: level the bed, run the machine’s own calibration or first-layer routine, and print the manufacturer’s test object. Resist the urge to print something complicated immediately. Confirm the first layer sticks and the machine runs a full test cleanly before you judge it.
Week one: print three things in PLA at a conservative speed, then repeat the same object in PETG. Buy a dry box now, because wet filament is the most common cause of poor surface quality and it is a cheap fix. Keep a spare nozzle and a spare build plate on hand from the start.
Week two: calibrate flow rate and temperature for one filament brand before switching. If you print TPU, slow down and confirm the extruder can handle it. If you plan to use ABS or ASA on an open-frame machine, stop and buy an enclosure or an enclosed printer instead.
Month one: only now try higher speeds, larger layer heights, or a multi-colour feeder. By this point you know how your machine behaves, so pushing it is informed rather than experimental. This is also the point to decide whether you need a second machine, and the cheapest way to find out is to watch where the failures actually come from.
Frequently Asked Questions
What is the best 3D printer for a reasonable price?
At this budget, the ELEGOO Centauri 2 Combo is the strongest all-round machine: an enclosed chamber, four-colour printing with the CANVAS system, up to 500mm/s CoreXY motion and full auto calibration. For the lowest-friction first experience specifically, the Bambu Lab A1 is the answer most owners recommend, with the highest rating in our roundup and almost no ongoing intervention.
What is the best printer under 500?
The best printer under 500 for most people is the ELEGOO Centauri 2 Combo, because four-colour output and an enclosed chamber are both normally found well above this line. The best enclosed-only option is the Bambu Lab P1S, and the best budget entry is the Creality Ender 3 V3 SE, which auto-levels for well under the bracket.
Which 3D printer has the least amount of problems?
The Bambu Lab A1 has the least amount of problems in our testing and in owner reports, with the highest star share of any machine here. Its full-auto calibration, flow rate compensation, runout detection and power-loss recovery mean it rarely needs attention. The ELEGOO Centauri 2 Combo is a close second, with heavier vibration and less reliable WiFi as its main drawbacks.
What is the best resin 3D printer under $500?
The Anycubic Photon Mono 4 is the best resin 3D printer under 500 for detail work, with a 7-inch 10K mono LCD at 17x17um pixels that no filament machine here can match. If you print in volume rather than one piece at a time, the ELEGOO Mars 5 Ultra is faster, with tilt release at up to 150mm/h and a self-leveling build plate.
What is the best 3D printer under $500 for beginners?
The Bambu Lab A1 is the safest first machine because it calibrates itself, detects filament runout, resumes after power loss and is quiet enough for a desk. If you want the lowest entry cost with real auto-leveling, the Creality Ender 3 V3 SE assembles in about twenty minutes and handles PLA, PETG and TPU. For a child, the Entina Tina2C guides setup through an app.
Do I need an enclosed 3D printer?
You need an enclosure only if you plan to print ABS, ASA or polycarbonate, or if you print long jobs in a cold room where warping becomes a problem. For PLA, PETG and TPU in a home, an open frame is quieter, lighter and cheaper. If fumes are a concern, an enclosed chamber with filtration is the only real answer.
Is there anything illegal to 3D print?
Printing is legal in most places, but the rules follow the object rather than the process. Items that would be illegal to buy are generally illegal to make, and there are also patent, copyright and consumer-safety rules that apply to what you sell. This is general context rather than legal advice, so check local rules before selling printed parts commercially.
The Best 3D Printers Under 500 in 2026, Final Verdict
The best 3D printers under 500 have genuinely changed. The ELEGOO Centauri 2 Combo takes our top slot because four-colour printing, an enclosed chamber and full auto calibration in one machine is a combination nothing else in this bracket matched. The Bambu Lab A1 is the pick for beginners who want the least intervention, and it carries the highest owner rating in the roundup.
Choose the Bambu Lab P1S if print quality and material range matter more than multi-colour, the Flashforge Adventurer 5M Pro if you want speed with filtration in a quiet package, and the Creality Ender 3 V3 SE if you want to spend as little as possible while still getting auto levelling. For detail, the Anycubic Photon Mono 4 is the resin answer, and the Entina Tina2C is the one to buy for a child.
Budget for filament, a dry box and spare nozzles alongside the printer, and you will get far more out of the first year than the machine cost alone suggests. Check the current price on each listing before you commit, because this bracket reclassifies models constantly.