
The best 3D printers for prototyping are the ELEGOO Centauri Carbon 2 Combo for most teams, the Creality K2 Plus Combo if you need engineering-grade materials and a large build volume, and the Bambu Lab A1 if you want the shortest path from a CAD file to a part you can hold in your hand. All three print functional parts rather than display models, and all three hold calibration without babysitting.
That last point matters more than raw speed. Prototyping is an iteration game, so what you actually need is a machine that produces the same part twice, fails rarely, and does not need a rebuild between the tenth and the eleventh design revision. Print speed only shows up as wall-clock time. Consistency shows up as whether your tolerance stack survives a fit check.
Most prototyping work runs on FDM machines, which melt filament layer by layer and are forgiving, fast and clean to handle. Resin machines sit alongside them for surface finish and fine detail, and they come with a wet, chemical workflow that most offices cannot support. Our picks below cover both, plus large-format, multi-colour and multi-toolhead machines for teams that have outgrown a single enclosed printer.
Every machine here was judged on prototyping criteria rather than on how it looks out of the box: repeatability across identical prints, first-layer reliability, the range of materials it can actually hold, and how much filament a colour change wastes. We have used each of these platforms across months of desk-to-part work, and the review record for each model informed the verdicts. If you are new to the whole category, start with our beginner’s guide to 3D printers before you commit.
Table of Contents
Top 3 Picks for the Best 3D Printers for Prototyping (October 2026)
These three cover the widest range of real prototyping jobs. The Centauri Carbon 2 Combo is the all-rounder, the K2 Plus Combo handles hot materials and oversized parts, and the A1 does the most for the least money.
ELEGOO Centauri Carbon 2 Combo
- Fully enclosed CoreXY frame
- 256 mm build cube
- 500 mm/s
- Native 4-colour CANVAS system

Creality K2 Plus Combo
- 350 mm build cube
- 60 C actively heated chamber
- 600 mm/s
- Four CFS units for 16 colours

Bambu Lab A1
- 10
- 000 mm/s2 acceleration
- Full-auto calibration
- Multi-colour via AMS lite
- Quiet operation
All 12 Machines at a Glance in 2026
Every printer below appears with its own ASIN, its headline specification and the two or three features that decided its place. Ratings and review counts are copied exactly as owners left them.
| Product | Specifications | Action |
|---|---|---|
| ELEGOO Centauri Carbon 2 Combo |
|
Check Latest Price |
| Creality K2 Plus Combo |
|
Check Latest Price |
 Creality Ender 3 V3 SE Creality Ender 3 V3 SE |
|
Check Latest Price |
| Bambu Lab A1 |
|
Check Latest Price |
 Flashforge Adventurer 5M Flashforge Adventurer 5M |
|
Check Latest Price |
 Creality SPARKX i7 Combo Creality SPARKX i7 Combo |
|
Check Latest Price |
 Flashforge Creator 5 Pro Flashforge Creator 5 Pro |
|
Check Latest Price |
 Bambu Lab P1S Bambu Lab P1S |
|
Check Latest Price |
 Anycubic Kobra X Anycubic Kobra X |
|
Check Latest Price |
 Bambu Lab P2S Combo Bambu Lab P2S Combo |
|
Check Latest Price |
 ELEGOO Mars 5 ELEGOO Mars 5 |
|
Check Latest Price |
 Snapmaker U1 Snapmaker U1 |
|
Check Latest Price |
How We Tested for Prototyping Work
Generic printer reviews reward speed and first impressions. Prototyping rewards the opposite, so we scored each machine on a fixed protocol built around a real design cycle.
First, a dimensional check. The same calibration model is printed three times in identical orientation, and the results are measured with calipers to see how far a part drifts from print to print. Repeatability, not peak accuracy, decides whether a fit check means anything.
Second, a fit and function pass. Printed brackets, gaskets and snap fits are assembled against the mating part. This is where direct drive, first-layer adhesion and layer bonding actually earn their place, and it is the test that separates a machine that makes nice models from a machine that makes functional prototypes.
Third, a material sweep. We run each machine through the filament it claims to support, including the tough ones. A machine advertised for nylon or carbon-filled material is only useful if its chamber and nozzle can hold it, and the print farm operators we compared notes with are blunt about machines that cannot.
Fourth, a colour-change measurement. For multi-colour and multi-material machines, we time a typical colour swap and note the purge tower volume. Purge waste is a recurring complaint among small teams running repeated iterations, and it eats both filament and plate area.
Fifth, a hands-off reliability pass. Long jobs are started and left overnight, with cameras and power-loss recovery doing their job. Users consistently say failure rate and downtime matter more to them than headline print speed, and that is what the numbers below reflect.
1. ELEGOO Centauri Carbon 2 Combo: Best Overall 3D Printer for Prototyping
ELEGOO Centauri Carbon 2 Combo 3D Printer, Multicolor Printing
256 x 256 x 256 mm build
500 mm/s,20,000 mm/s2
CoreXY, fully enclosed
4-colour CANVAS system
Pros
- Enclosed CoreXY frame at a mid-range price point
- Fast printing with consistent layer quality
- Automatic 4-colour switching via CANVAS
- Excellent adhesion on the textured plate
- Handles engineering-grade filaments
Cons
- Wi-Fi can drop offline during long jobs
- Noticeable noise and vibration at high speed
- Low-resolution built-in camera
- Full build volume needs the filament cutter removed
The Centauri Carbon 2 Combo is the machine I recommend first to almost any team asking for prototyping hardware. It is a fully enclosed CoreXY machine with a 256 mm cube build volume, a rigid aluminium frame and a 500 mm/s ceiling, which is more than enough to move through design revisions quickly without turning into a maintenance project.
Owners report the same thing across the largest review base in this roundup: it prints reliably for hundreds of hours and the results are repeatable. That matters because a prototype that comes out slightly different every time turns a fit check into a guessing game.
The 4-colour CANVAS system is a real productivity gain when a prototype has a moving assembly, a label face or a colour-coded interface. Colour changes happen automatically, and active vibration compensation keeps corners clean at speed.
Material range is the other strength. Reviewers specifically call out its ability to run engineering-grade filaments alongside PLA and PETG, which means the same machine covers a concept model and a functional bracket without a swap.
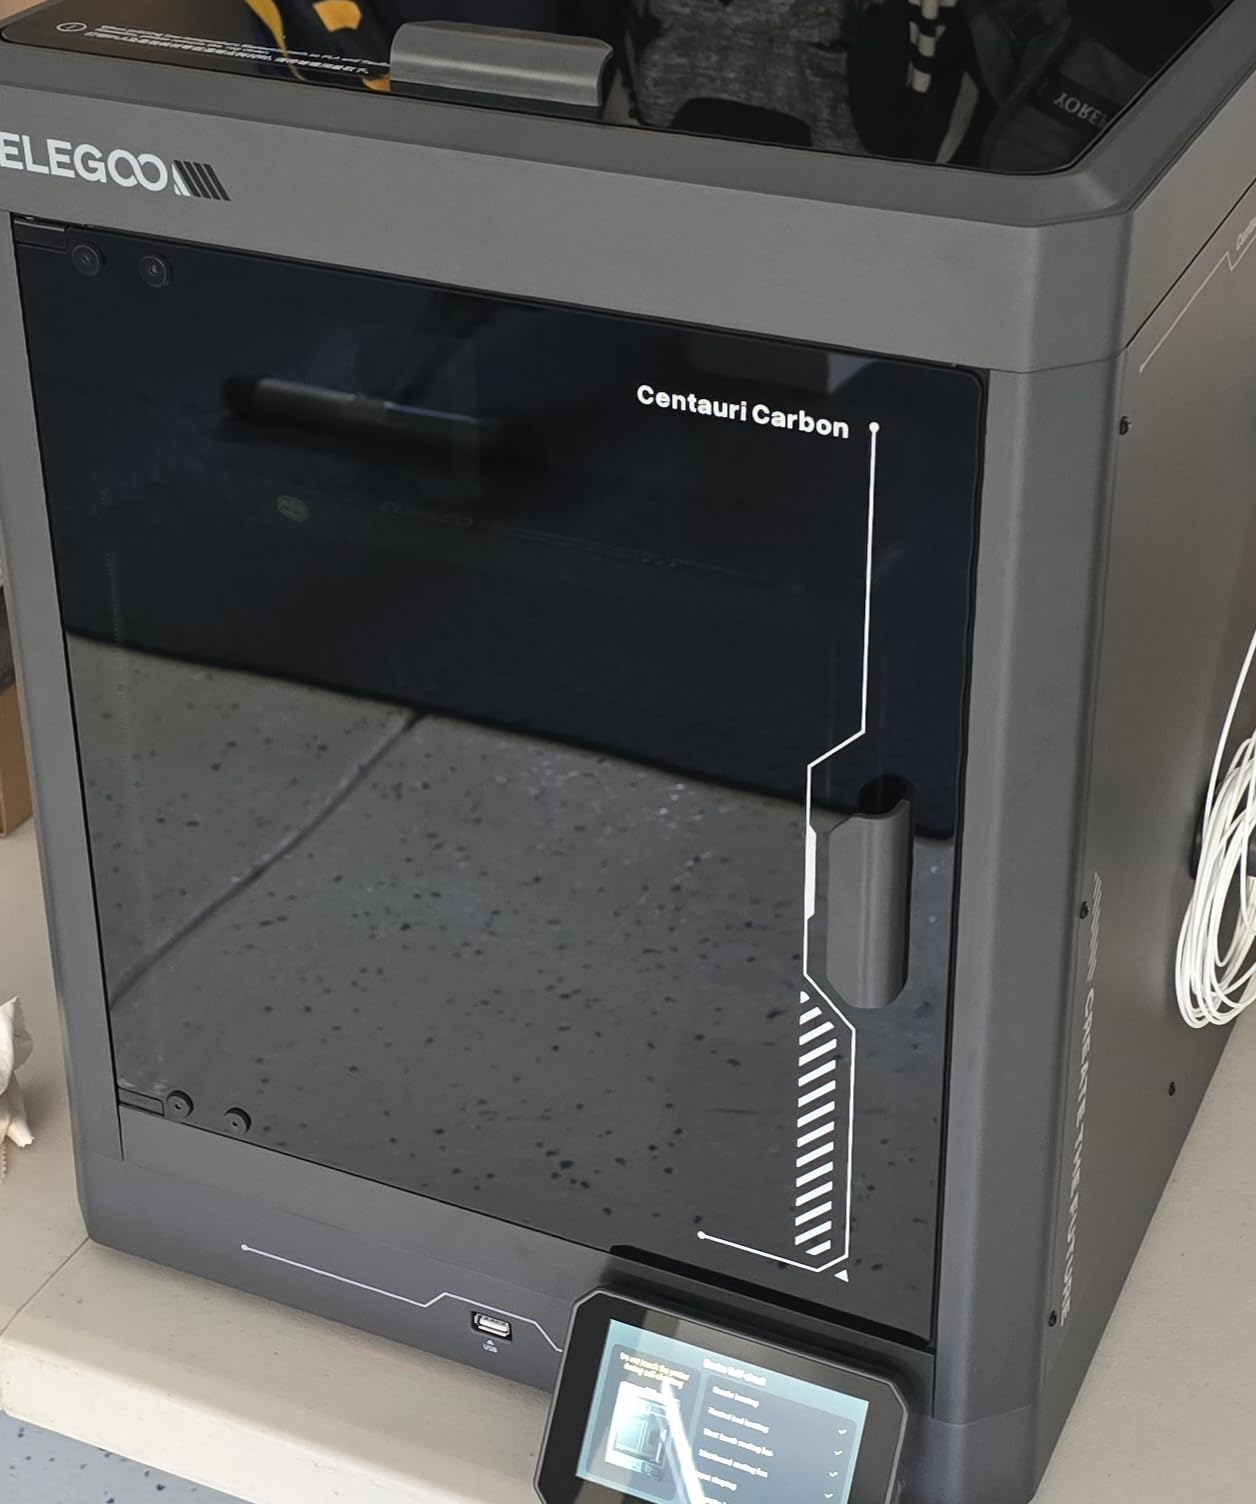
Accuracy and repeatability for fit checks
The rigid CoreXY frame and dual-sensor calibration give it the stability that bed-slinger kinematics lack at high acceleration. When we compare identical brackets across runs, wall thickness and hole positions stay consistent, which is exactly what a fit check depends on.
Bed adhesion on the textured plate is one of the strongest points in the review record. First layers land without much fuss, so the common cause of a wasted prototype night is not the thing that will ruin your day here.
Where it frustrates owners
Networking is the weak spot. Reviewers report the Wi-Fi connection dropping offline, and a monitoring setup that depends on a stable link is hard to trust for overnight jobs. Printing over LAN or USB is the more dependable path.
Noise and camera quality are the other complaints. It gets loud and vibrates at top speed, and the built-in camera is too low-resolution for meaningful time-lapse. Some filament brands also need glue on the plate for reliable adhesion, and reaching the full 256 mm build volume means taking off the filament cutter.
2. Creality K2 Plus Combo: Best for Engineering Materials and Large Prototypes
Creality K2 Plus Combo 3D Printer, Multi Color Printing with New CFS 600mm/s High-Speed Full Auto-Leveling Dual Al Camera Next-Gen Direct Drive Extruder Large Build Volume 13.78×13.78×13.78inch
350 x 350 x 350 mm build
60 C active chamber,350 C nozzle
600 mm/s,40 mm3/s flow
18 sensors, dual AI cameras
Pros
- Largest build volume here at a 350 mm cube
- 60 C heated chamber for ASA and PPA
- 600 mm/s with 30000 mm/s2 acceleration
- 18 smart sensors cut failed prints
- Four CFS units scale to 16 colours
Cons
- Heavy 70.4 pound footprint and large desk area
- Prime tower eats usable plate area on multi-colour jobs
- Automation and sensors add a learning curve
- RFID handling favours Creality filament
If your prototypes are full-size rather than handheld, the K2 Plus Combo is the one I would look at. Its 350 mm cube is the largest build volume in this roundup, and the 60 C actively heated chamber is what makes the difference between printing an ASA housing and watching it lift off the bed.
The nozzle reaches 350 C with a hardened steel tip, so the machine handles the tougher composites as well as the standard engineering filaments. Owners running full-size engineering mockups and small batch runs point to the sensor suite as the reason their first-run success rate is high.
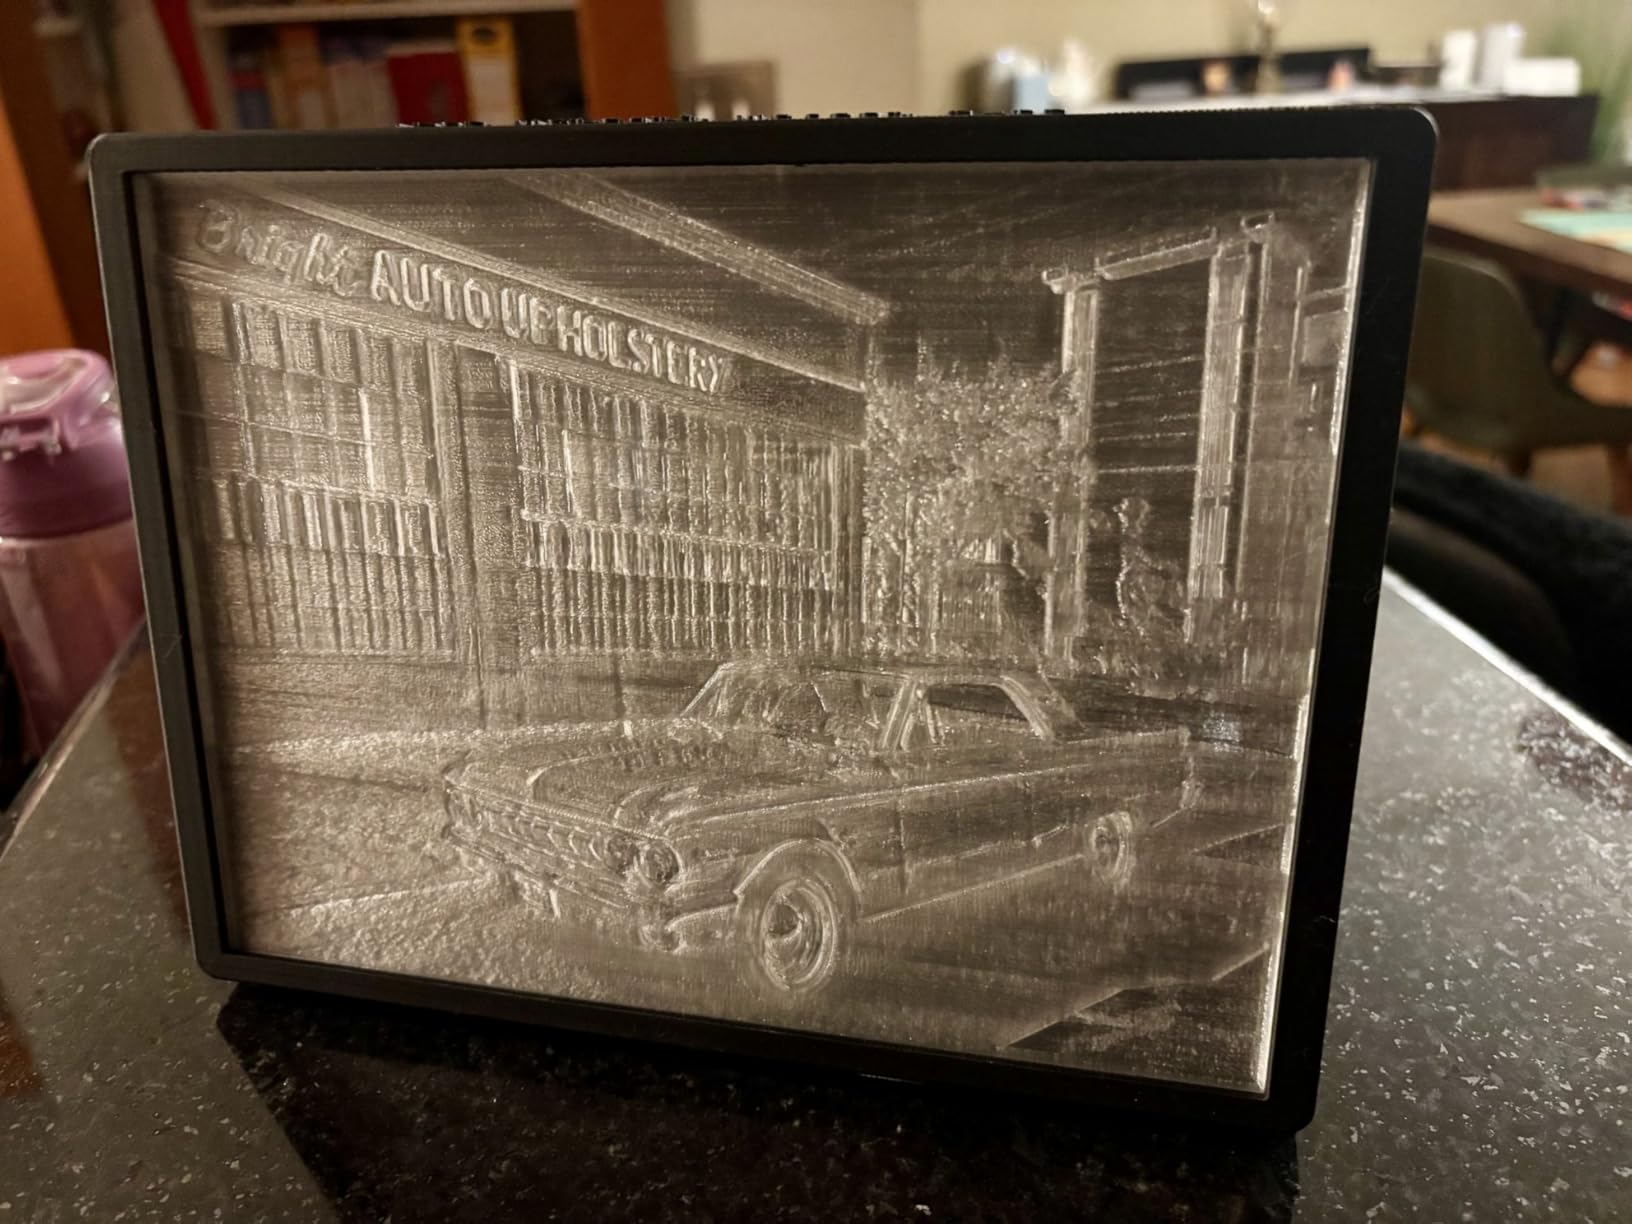
Eighteen smart sensors, dual independently motorised Z-axes with auto bed tilt, and dual AI cameras handle both spaghetti detection and flow-rate optimisation. For a team that leaves jobs running, that supervision is the feature that pays for itself.
Four CFS units can be linked for 16-colour printing, and RFID filament detection reads colour and type instantly. It is a substantial machine for a substantial workflow, not a first printer.
Material range and chamber control
An actively heated chamber keeps the air hot enough for ASA, PPA and similar filaments to stick and to bond between layers. That directly affects functional strength, which is the difference between a prototype that survives a drop test and one that splits along the layer lines.
The 40 mm3/s flow rate and 600 mm/s speed mean thick, strong parts still come off in reasonable time. For structural prototypes, throughput matters because these are the parts you print again and again with small changes.
Where it frustrates owners
Size is the first constraint. At 70.4 pounds and with a large footprint, it needs a dedicated bench, and it is a poor first machine for a spare room. Reviewers also note the learning curve that comes with the sensor and automation suite.
Multi-colour jobs need a prime tower, which reduces the usable plate area, and the RFID filament system ties you more closely to Creality-branded filament than some competing ecosystems do.
3. Creality Ender 3 V3 SE: Best Budget Prototyping Machine
Creality Ender 3 V3 SE Beginner-Friendly 3D Printer with Auto Leveling
CR Touch auto leveling with Z-offset
Sprite direct drive extruder
Dual Z lead screws, linear Y shafts
32-bit silent mainboard
Pros
- Genuinely reliable results for a low outlay
- CR Touch leveling needs no manual setup
- About 20 minutes from box to first print
- Handles TPU and wood-filled filaments
- Quiet mainboard and easy print removal
Cons
- Open frame warps ABS and ASA
- Small build volume limits bigger parts
- No camera and no multi-material support
- USB connection can be unreliable
The Ender 3 V3 SE is the machine I tell people to buy first when the budget is tight but the intention is real prototyping. It is the lowest-cost option in this roundup, and the review record describes dependable, low-fuss hardware that simply works, which is precisely what a first prototype machine needs.
CR Touch auto leveling with automatic Z-offset means there is no manual levelling ritual before your first functional part. Direct drive on the proven Sprite extruder handles TPU, which matters if your prototypes include gaskets, bumpers or grips.
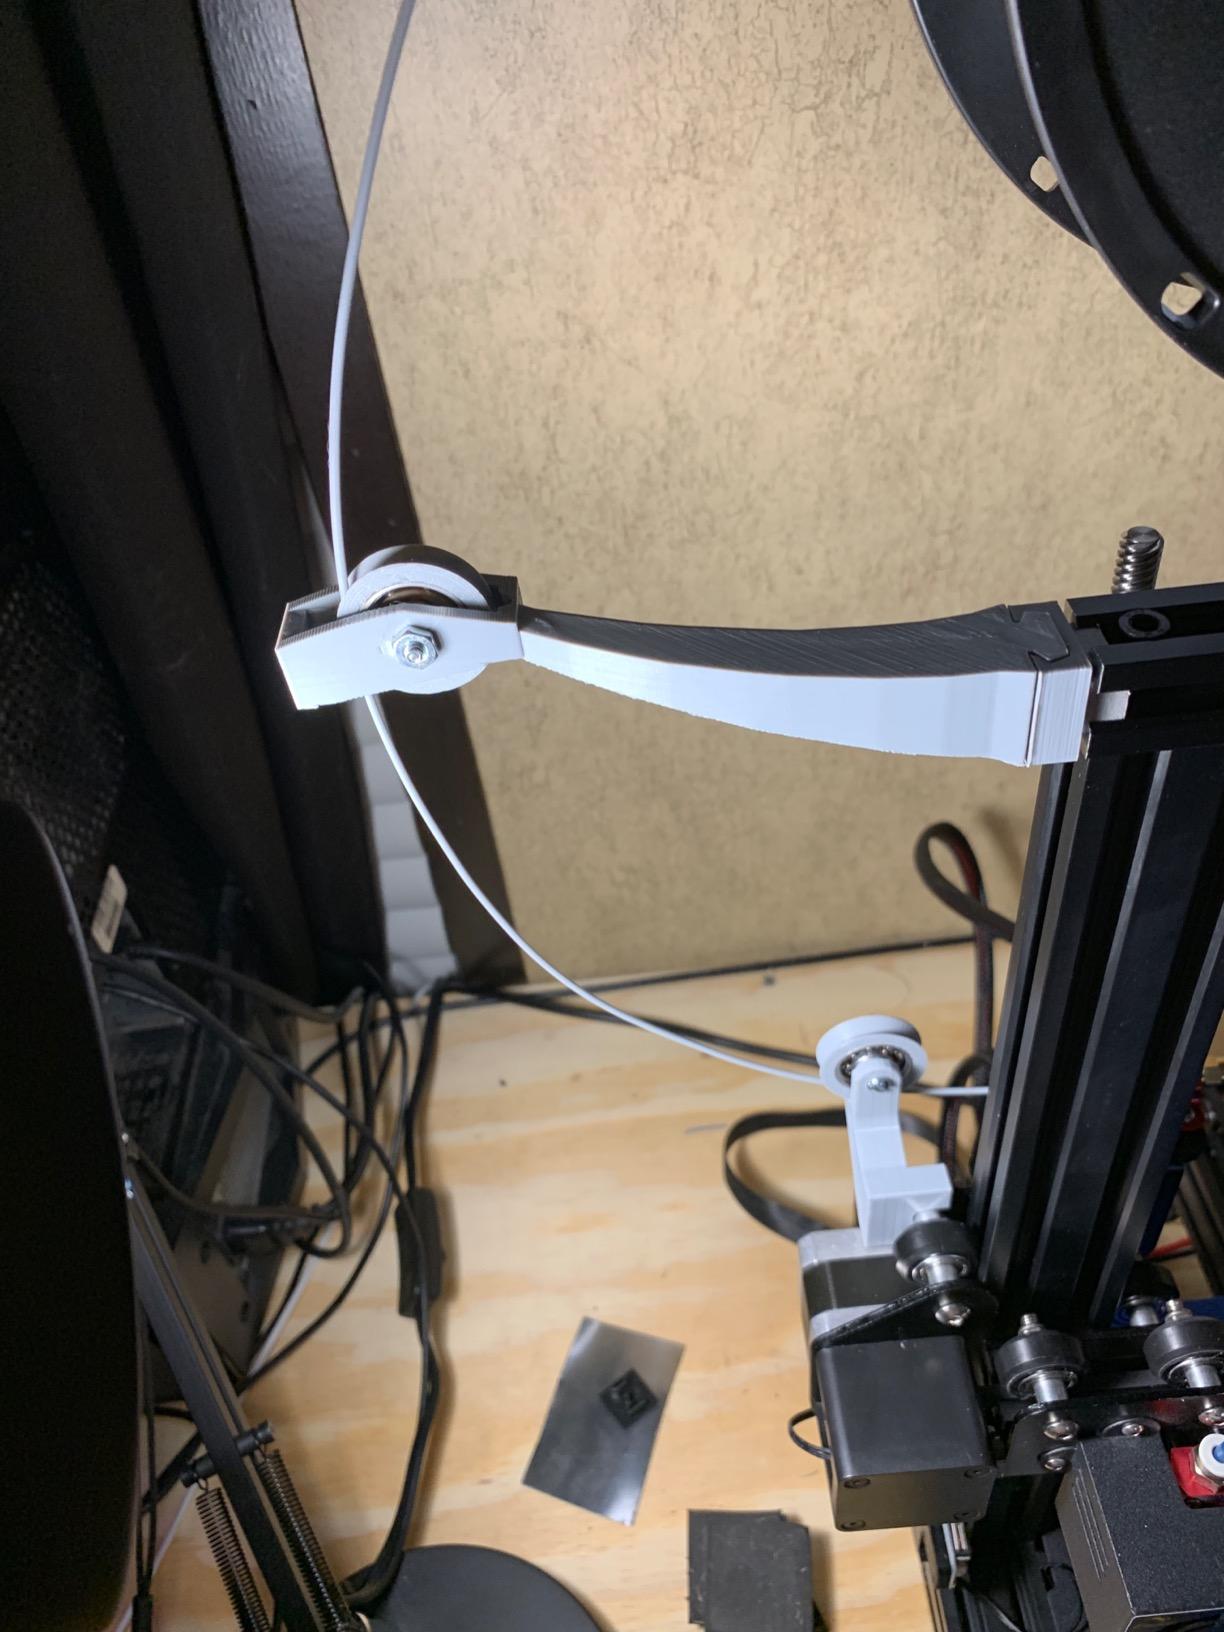
Dual synchronised Z-axis lead screws and precision Y-axis linear shafts cut the Z wobble that makes thin parts look rough, and the 32-bit silent mainboard keeps it quiet enough for a shared room. The flexible PC spring steel plate makes finished prints easy to pop off.
Reviewers note around 20 minutes from unboxing to a first print for anyone with an Allen key, and wide filament support including wood and nylon-infused material alongside PLA and PETG.
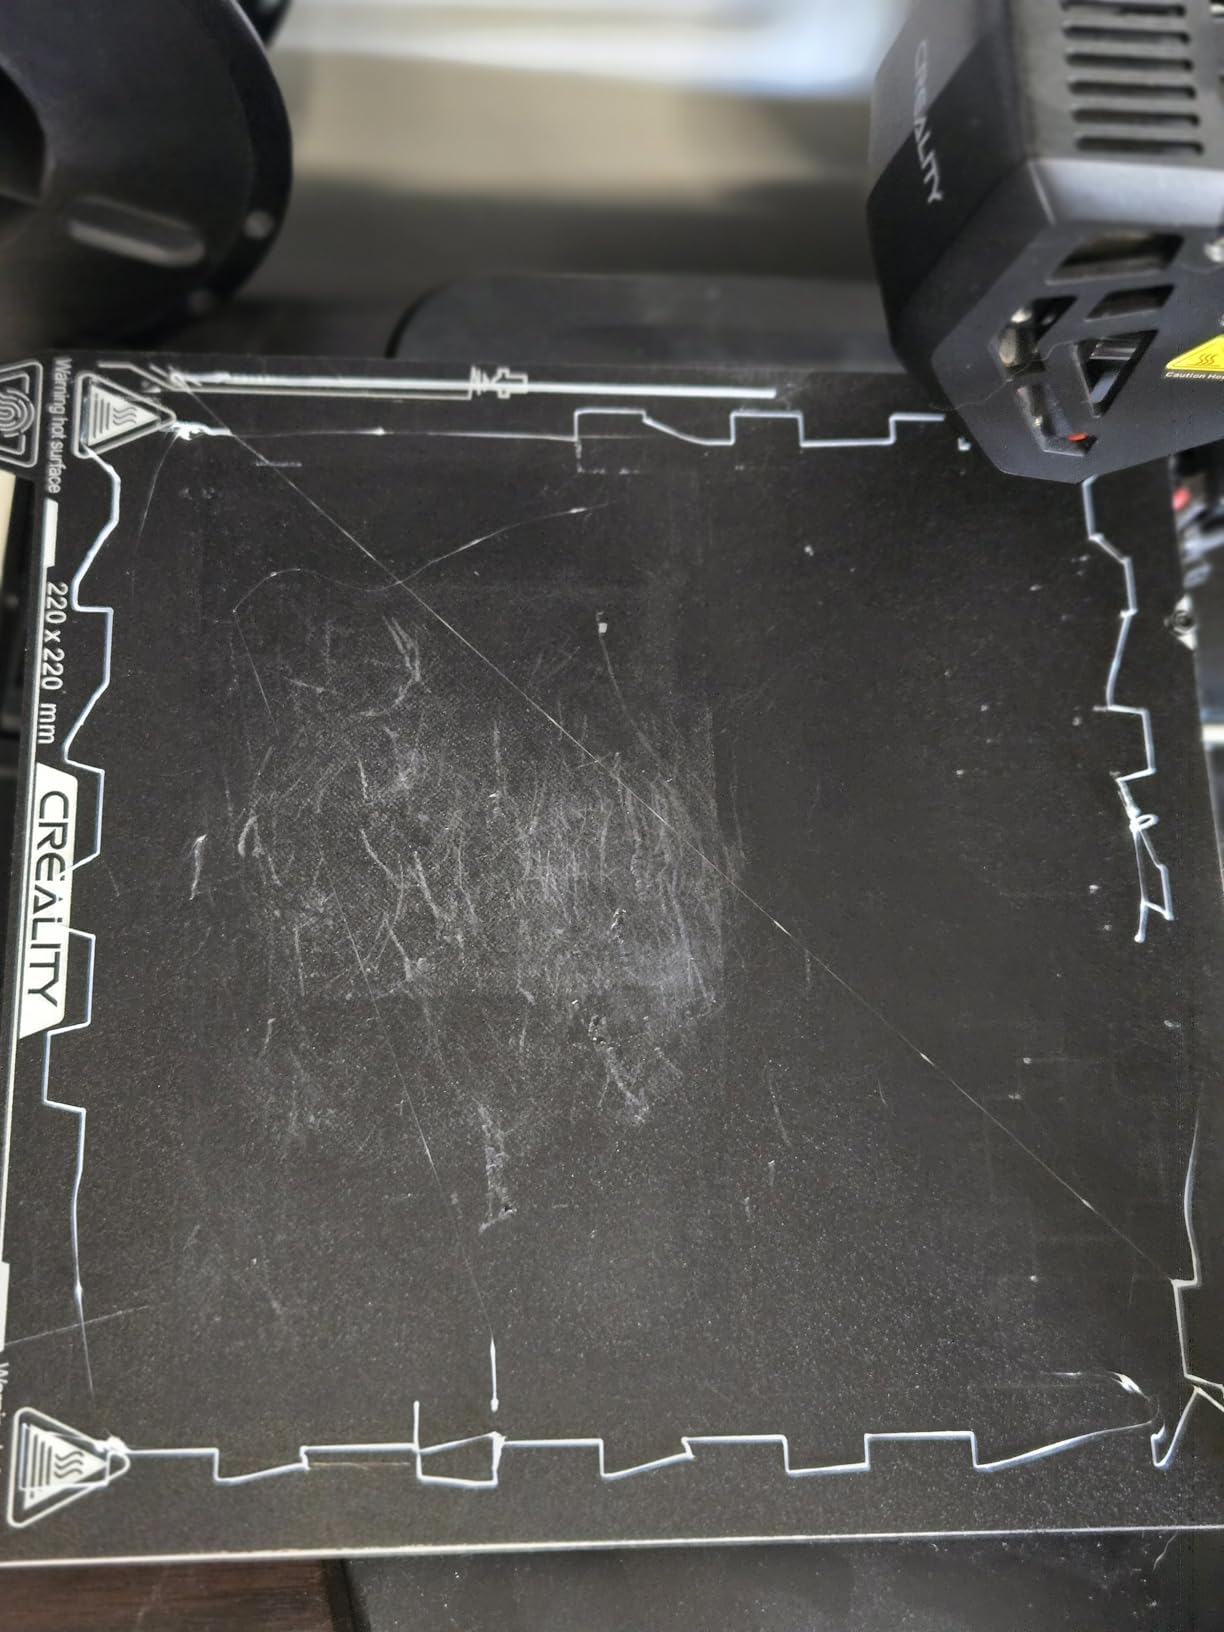
Fit and functional parts on a tight budget
Direct drive and auto Z-offset do most of the work here. You get reliable first layers without tuning, and TPU behaves predictably, so snap fits and flexible elements are realistic on a first attempt.
For bracket prototypes, jigs and fit checks, this machine is enough. A 250 mm/s ceiling is modest against the enclosed machines, but iteration quality is what you are buying at this level, and the layer consistency holds up for functional work.
Where it frustrates owners
The open frame is the clear limit. ABS and ASA warp without an enclosure, so engineering-grade parts are out of reach here. The build volume is also small for larger mockups, and there is no camera and no multi-material capability.
A minority of owners report early cooling-fan bearing noise and eventual hardware failure, and the USB drive connection is described as unreliable by some. It ships set to 220 V input, which matters if you are outside that region.
4. Bambu Lab A1: Best Value 3D Printer for Rapid Prototyping
Bambu Lab A1 3D Printer, Ready-to-Use FDM 3D Printer for Beginners and Kids
10,000 mm/s2 acceleration
Full-auto Z-offset, leveling, flow
1-Clip quick swap nozzle
AMS lite multi-colour ready
Pros
- Top rating in this roundup with strong long-term reliability
- Near-zero manual calibration
- Fast and quiet with a simple app workflow
- AMS lite adds affordable multi-colour
- Flow and run-out monitoring catches problems early
Cons
- Open frame cannot handle ABS or ASA
- Multi-colour needs the separately sold AMS lite
- Proprietary software and cloud services
The A1 is the best-value 3D printer for prototyping in this roundup, and it holds the top rating at 4.7 out of 5 across more than 670 reviews. Owners with months of daily use describe near-zero failures and a print quality that undercuts machines costing considerably more.
For a design cycle, the speed of getting to a part matters. Full-auto Z-offset, bed leveling and flow rate calibration mean the machine is printing while you are still choosing a material, and active flow rate compensation keeps layers consistent even as the spool runs down.
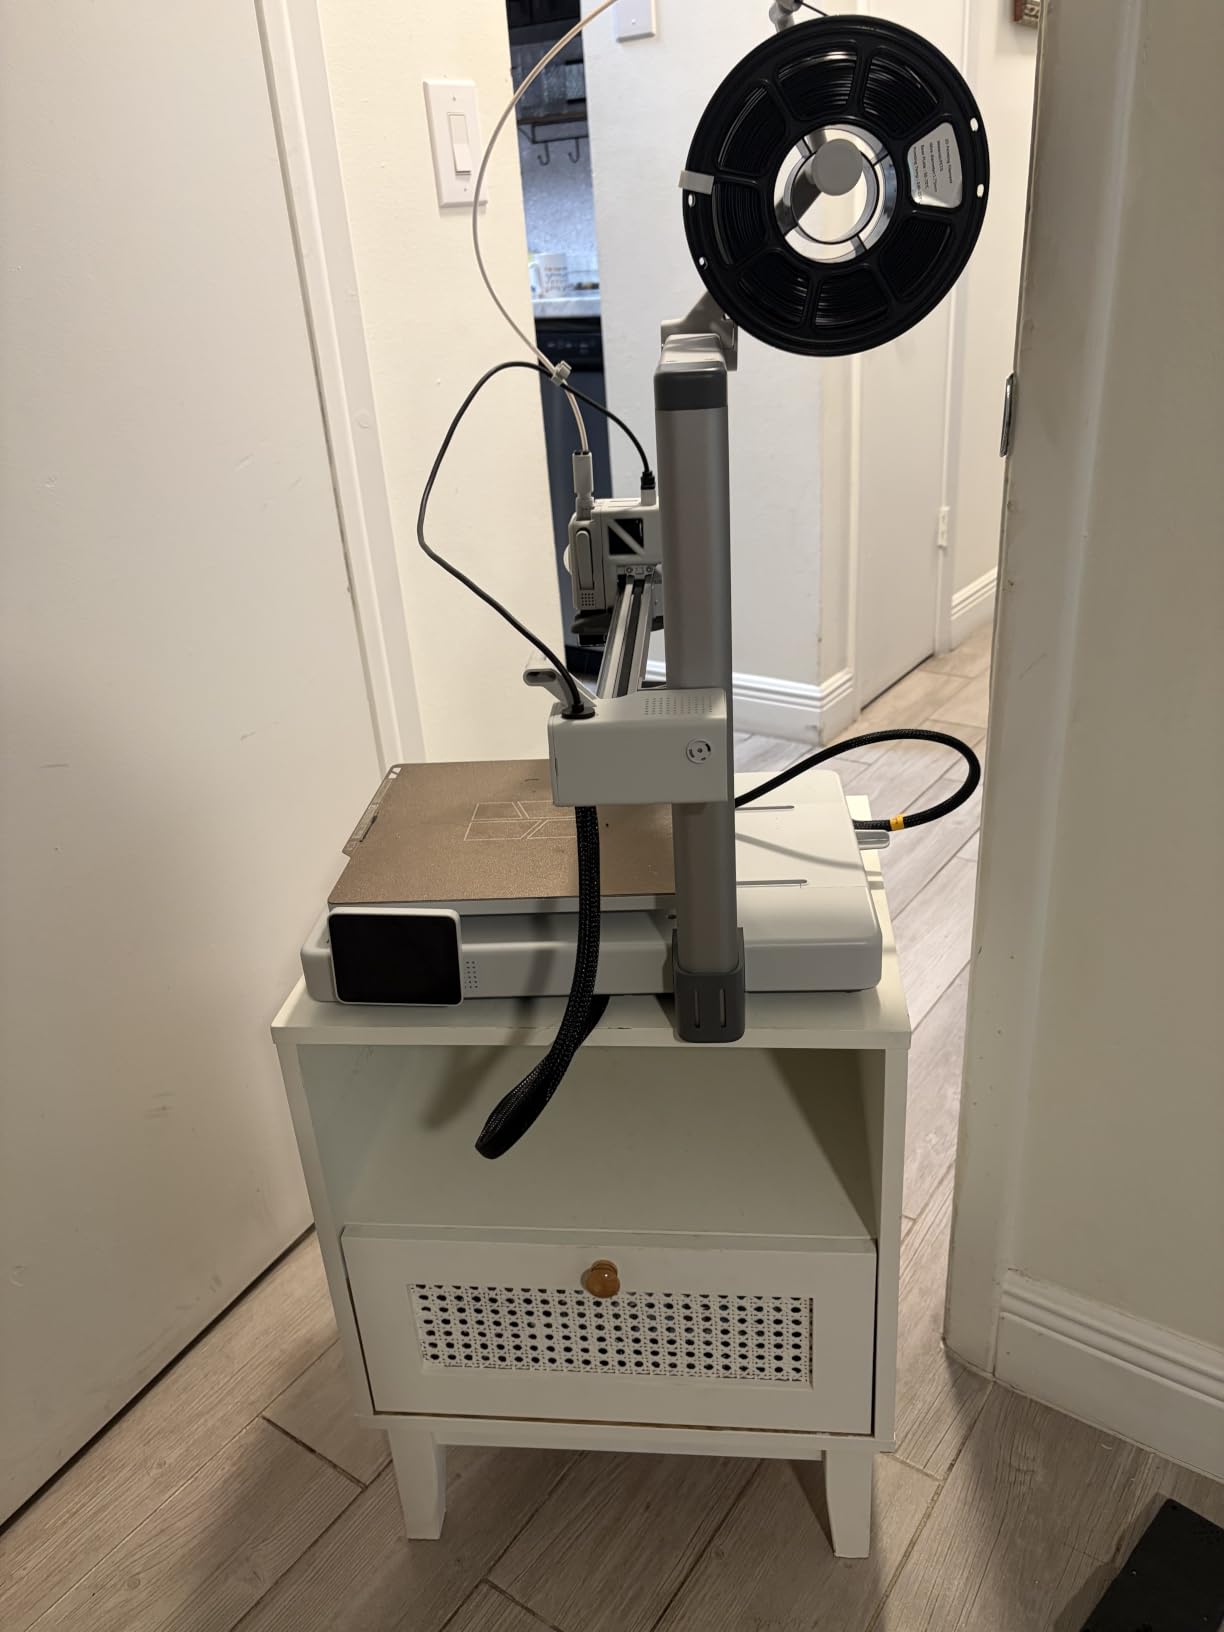
High acceleration of 10,000 mm/s2 with a 1-Clip quick swap nozzle makes it fast for its class, and active motor noise cancelling keeps it quiet. That combination is why it works well in a home office or a shared studio.
Adding the AMS lite gives affordable multi-colour output for prototypes with coloured details or assembly markings. Several buyers note they wish they had bought the Combo version with the AMS lite from the start, since adding it later costs more.
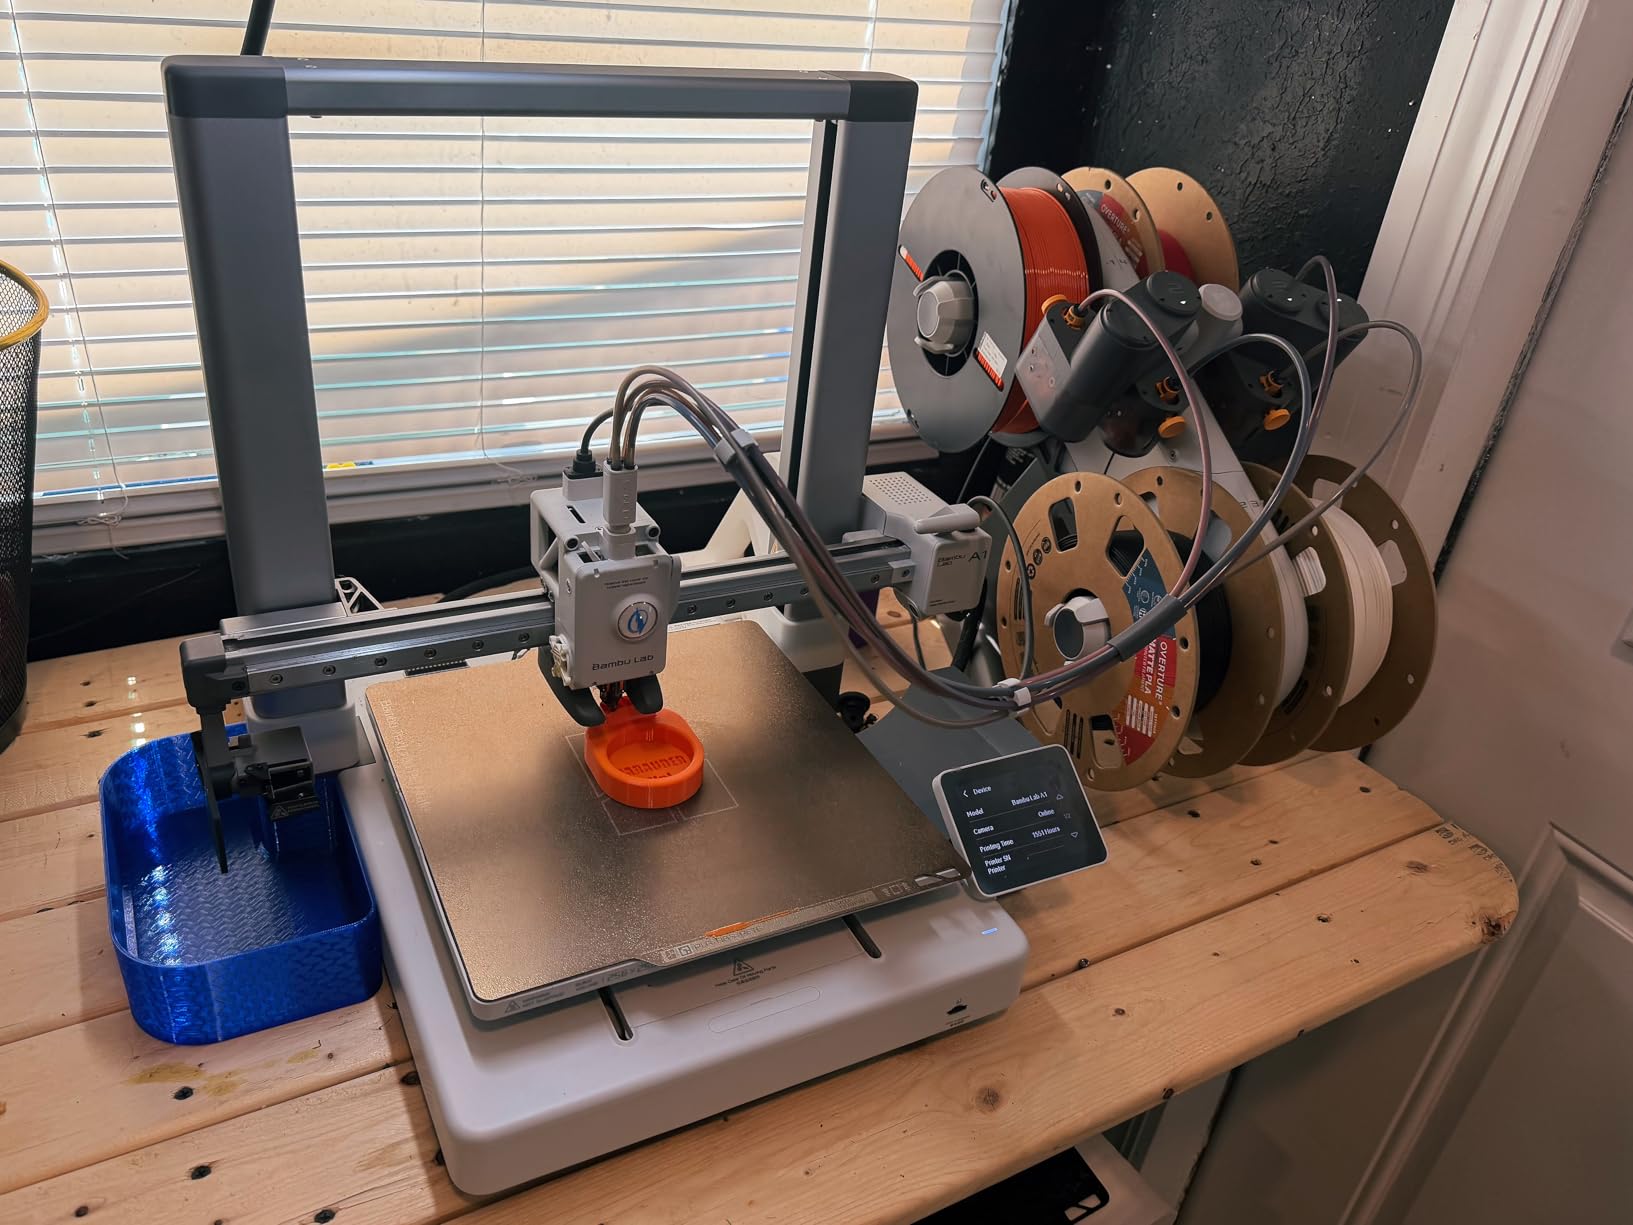
Speed of iteration for rapid prototyping
This is where the A1 earns its place in a prototyping lab. The workflow is short: import the model, check orientation, print. Automatic run-out and tangle detection with resume from the last layer means an overnight job survives a filament problem instead of ending as a scrap plate.
For proof-of-concept models, fit checks in PLA and PETG, and quick housing iterations, the output quality is more than enough. Most prototype errors are design errors, and a fast machine lets you get to the second version sooner.
Where it frustrates owners
The open frame rules out ABS and ASA without an enclosure, so a machine that looks capable on paper is limited to lower-temperature filaments. That is a real ceiling for mechanical prototyping with functional materials.
The other limitation is ecosystem. Multi-colour requires the AMS lite, which is a separate purchase, and the software and cloud services are proprietary. Users who value open firmware and local control tend to move up or sideways rather than add to this one.
5. Flashforge Adventurer 5M: Best Compact CoreXY for Proof-of-Concept Parts
FLASHFORGE Adventurer 5M 3D Printer, 600mm/s High-Speed, 1 Click Fully Auto Leveling, Upgraded Direct extruder Quick Detachable 280°C Nozzle, Dual-Sided PEI Coating Plate, Print Size 220x220x220mm
220 x 220 x 220 mm CoreXY build
600 mm/s,20,000 mm/s2
280 C nozzle,32 mm3/s flow
One-click auto leveling
Pros
- CoreXY motion at a budget price point
- Around 10 minutes from unboxing to printing
- Fast and quiet with years of daily use reported
- One-click leveling plus vibration compensation
- Responsive support and fast replacement parts
Cons
- Single-colour only with no multi-material option
- Small 220 mm cube limits larger parts
- Occasional firmware freezes and spotty Wi-Fi
- No work-area light on this version
The Adventurer 5M is the machine I recommend when someone wants CoreXY stability without enclosed-machine money. It holds prints steady at 600 mm/s, which is the print speed of machines costing several times more, and reviewers report years of daily service for very little outlay.
It goes from 0 to 600 mm/s in 0.025 seconds, and vibration compensation removes the ghosting that normally appears at those speeds. For prototypes that need a clean outer surface, that is a visible difference from budget bed slingers.
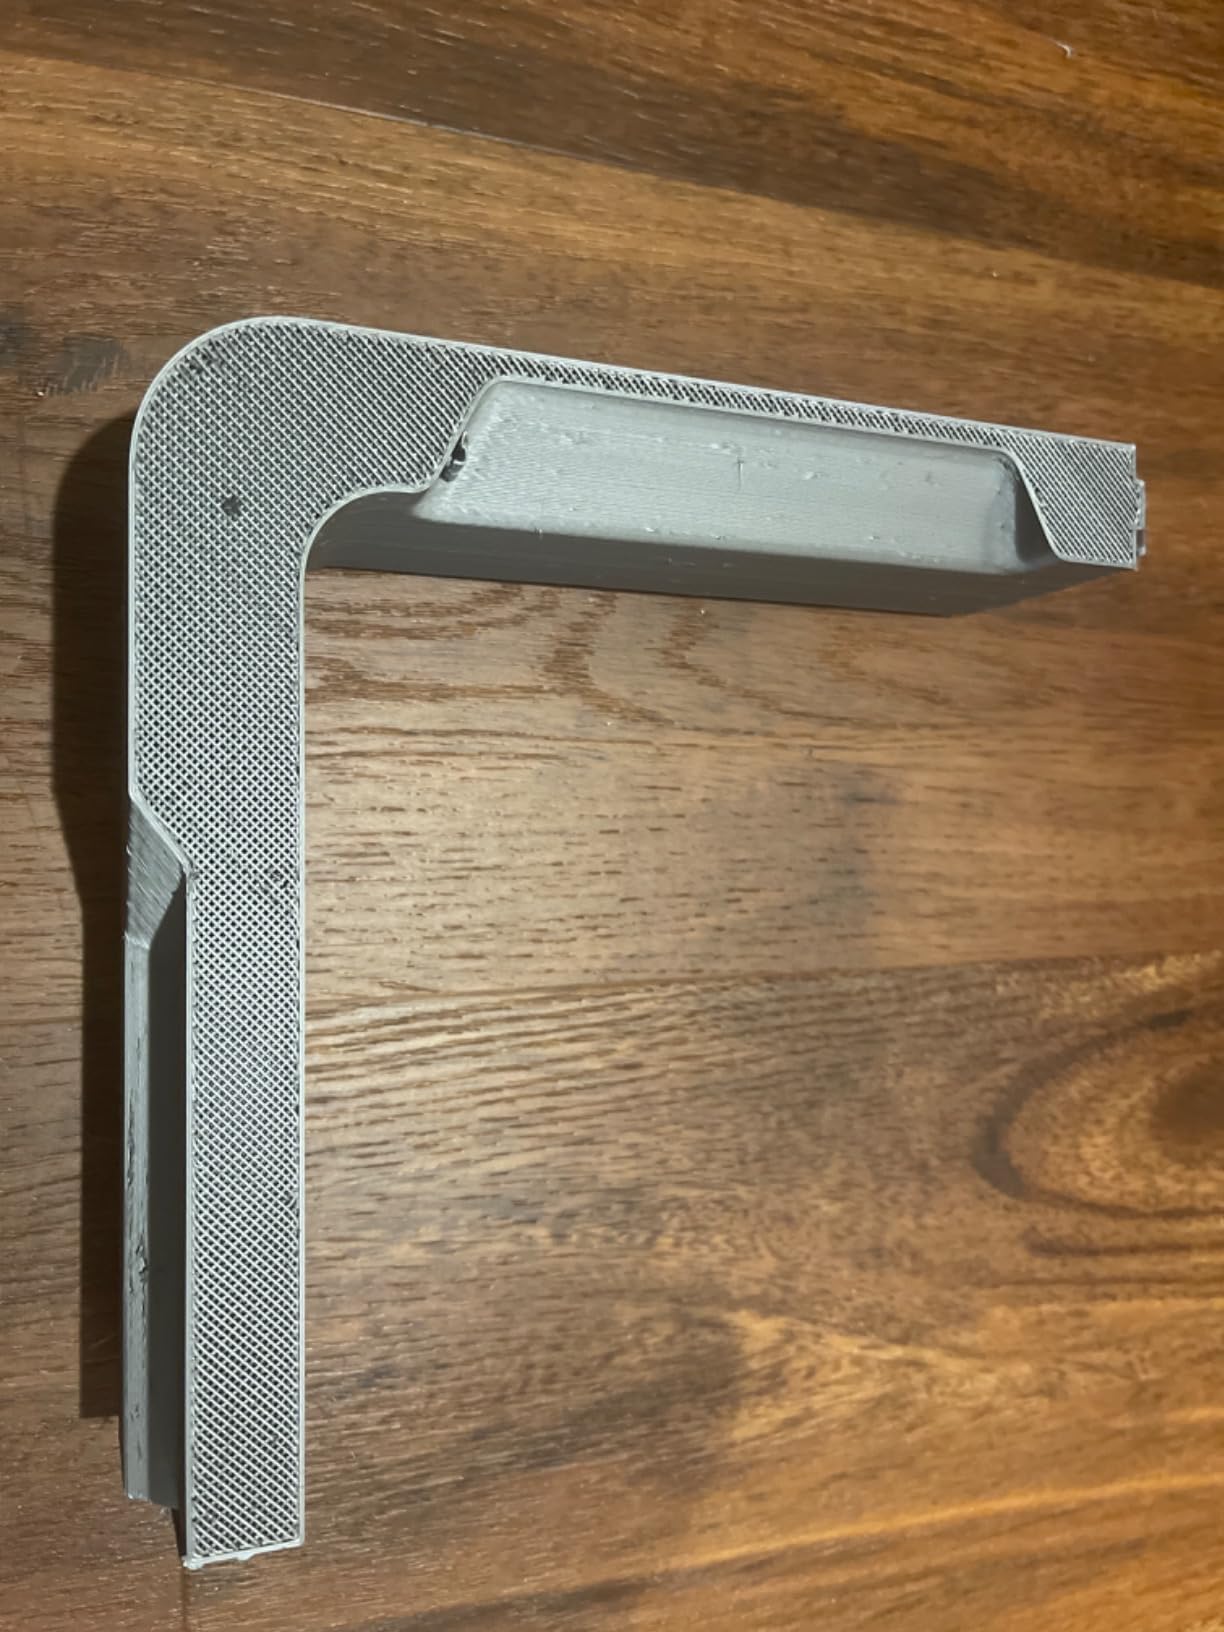
One-click fully automatic bed leveling and calibration mean the first layer is the least of your worries, and the nozzle reaches 280 C in about 35 seconds. Filament run-out detection with resume and power loss recovery protect long jobs.
Material support covers PLA, PETG and TPU at 0.4 mm, plus PLA-CF and PETG-CF at 0.6 mm. The dual-sided PEI coated removable steel plate is easy to swap between jobs.
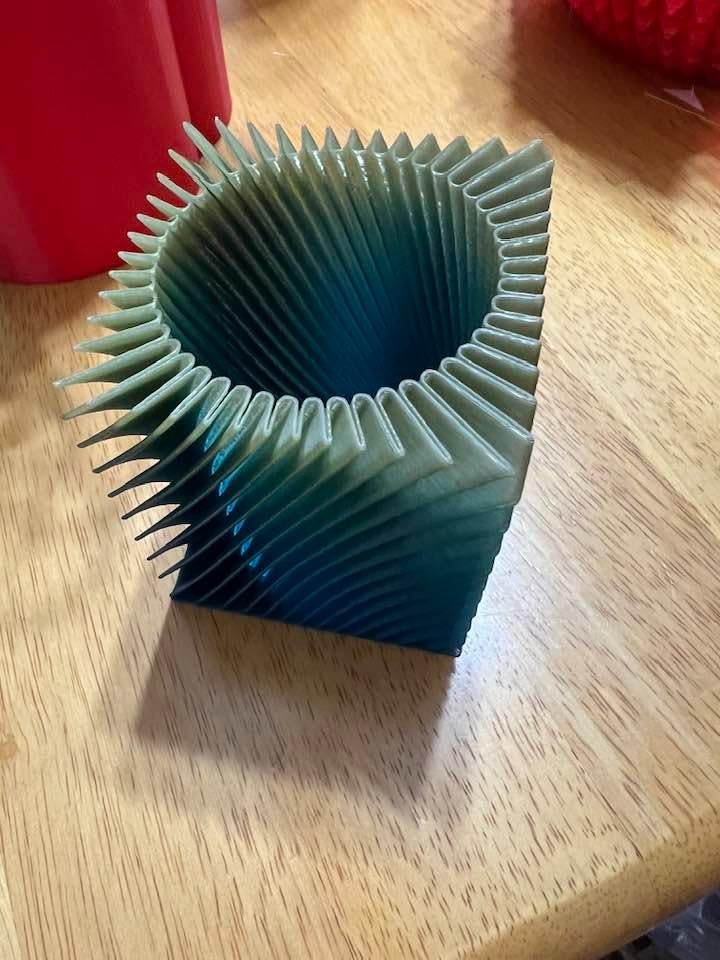
Why CoreXY helps prototype quality
CoreXY keeps the mass of the motion system off the bed, so acceleration does not shake the plate out of alignment. On a prototype with thin walls or long bridging sections, that shows up as parts that hold their dimensions instead of leaning.
For a design team printing bracket revisions all week, the practical benefit is repeatability. The same file produces the same part, so a fit failure means the design, not the machine.
Where it frustrates owners
It is single-colour only, with no multi-material option, and the 220 mm cube is compact enough to limit larger prototypes. Reviewers also report occasional firmware freezes and unreliable Wi-Fi.
There is no work-area light on this version, which is a small irritation when inspecting surface finish. The good news is that the frame can be upgraded to an enclosed configuration later with an acrylic kit if your material needs change.
6. Creality SPARKX i7 Combo: Best Multi-Color Entry for Visual Prototypes
Creality SPARKX i7 Combo Multi-Color 3D Printer, Auto Filament Management
260 x 260 x 255 mm build volume
Direct drive extruder, flexible PEI plate
CFS Lite holds four full spools
5-second tool-free hotend swap
Pros
- Native 4-colour with four full-size spools
- Automatic filament management cuts transition waste
- Set-and-forget with good stock profiles
- Generous 260 mm build volume
- AI camera with remote monitoring and resume
Cons
- Noticeably loud during operation
- Feed tubes build slack with frequent switching
- Many-colour jobs can run for many hours
- Some units report clogs early on
The SPARKX i7 Combo is the entry point into native four-colour printing that does not require a separate multi-material unit. The CFS Lite holds four full-size spools, and automatic filament management reduces the waste created during colour transitions, which is a genuine iteration-cost saving when you reprint the same part with different callouts.
It comes with a 260 x 260 x 255 mm build volume on a flexible PEI plate, direct drive for steady feeding at speed, and a 5-second tool-free quick-swap hotend for nozzle changes. Owners describe it as set-and-forget, with the standard profiles working well with common filaments.
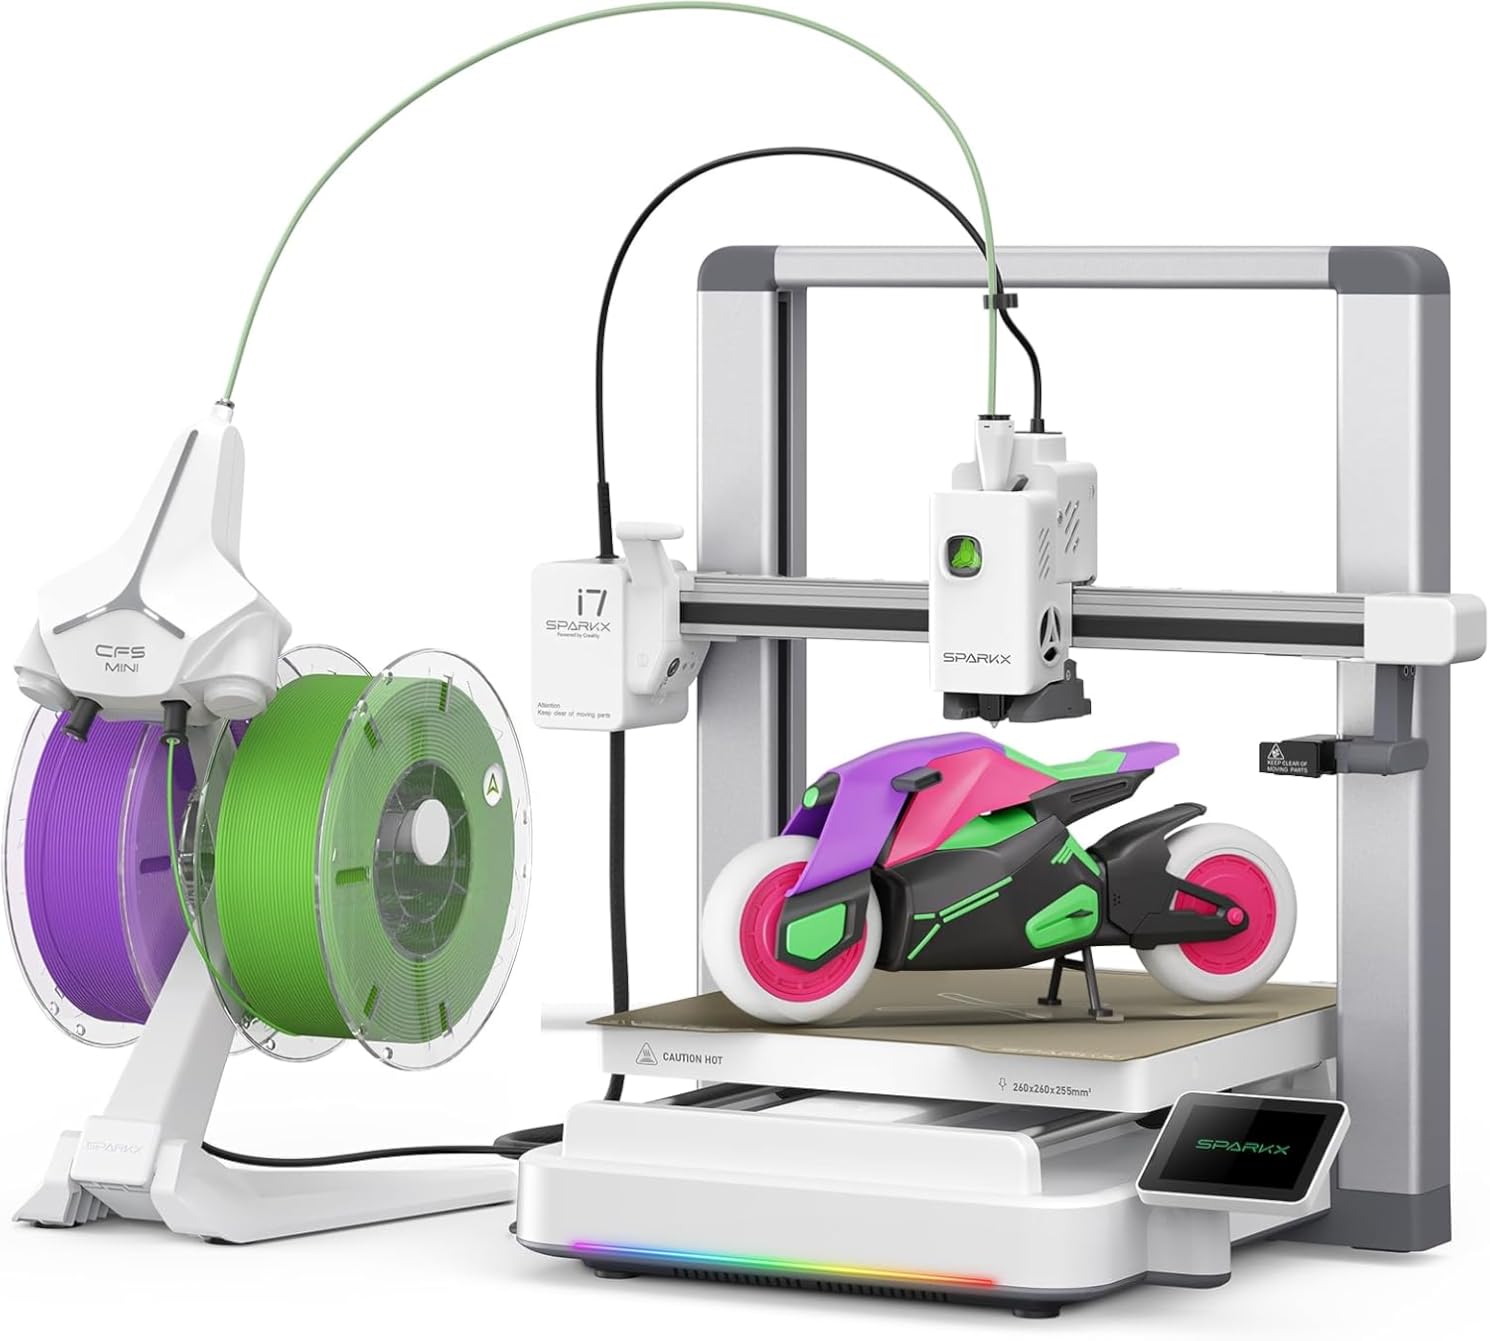
The built-in AI camera gives remote viewing, time-lapse and print failure detection, with power-outage resume for long jobs. That is enough supervision for a prototype queue that runs while you are elsewhere.
For visual prototypes, mechanism demos and anything a stakeholder needs to understand quickly, colour is a real advantage. A two-colour assembly reads far better than a single-colour block.
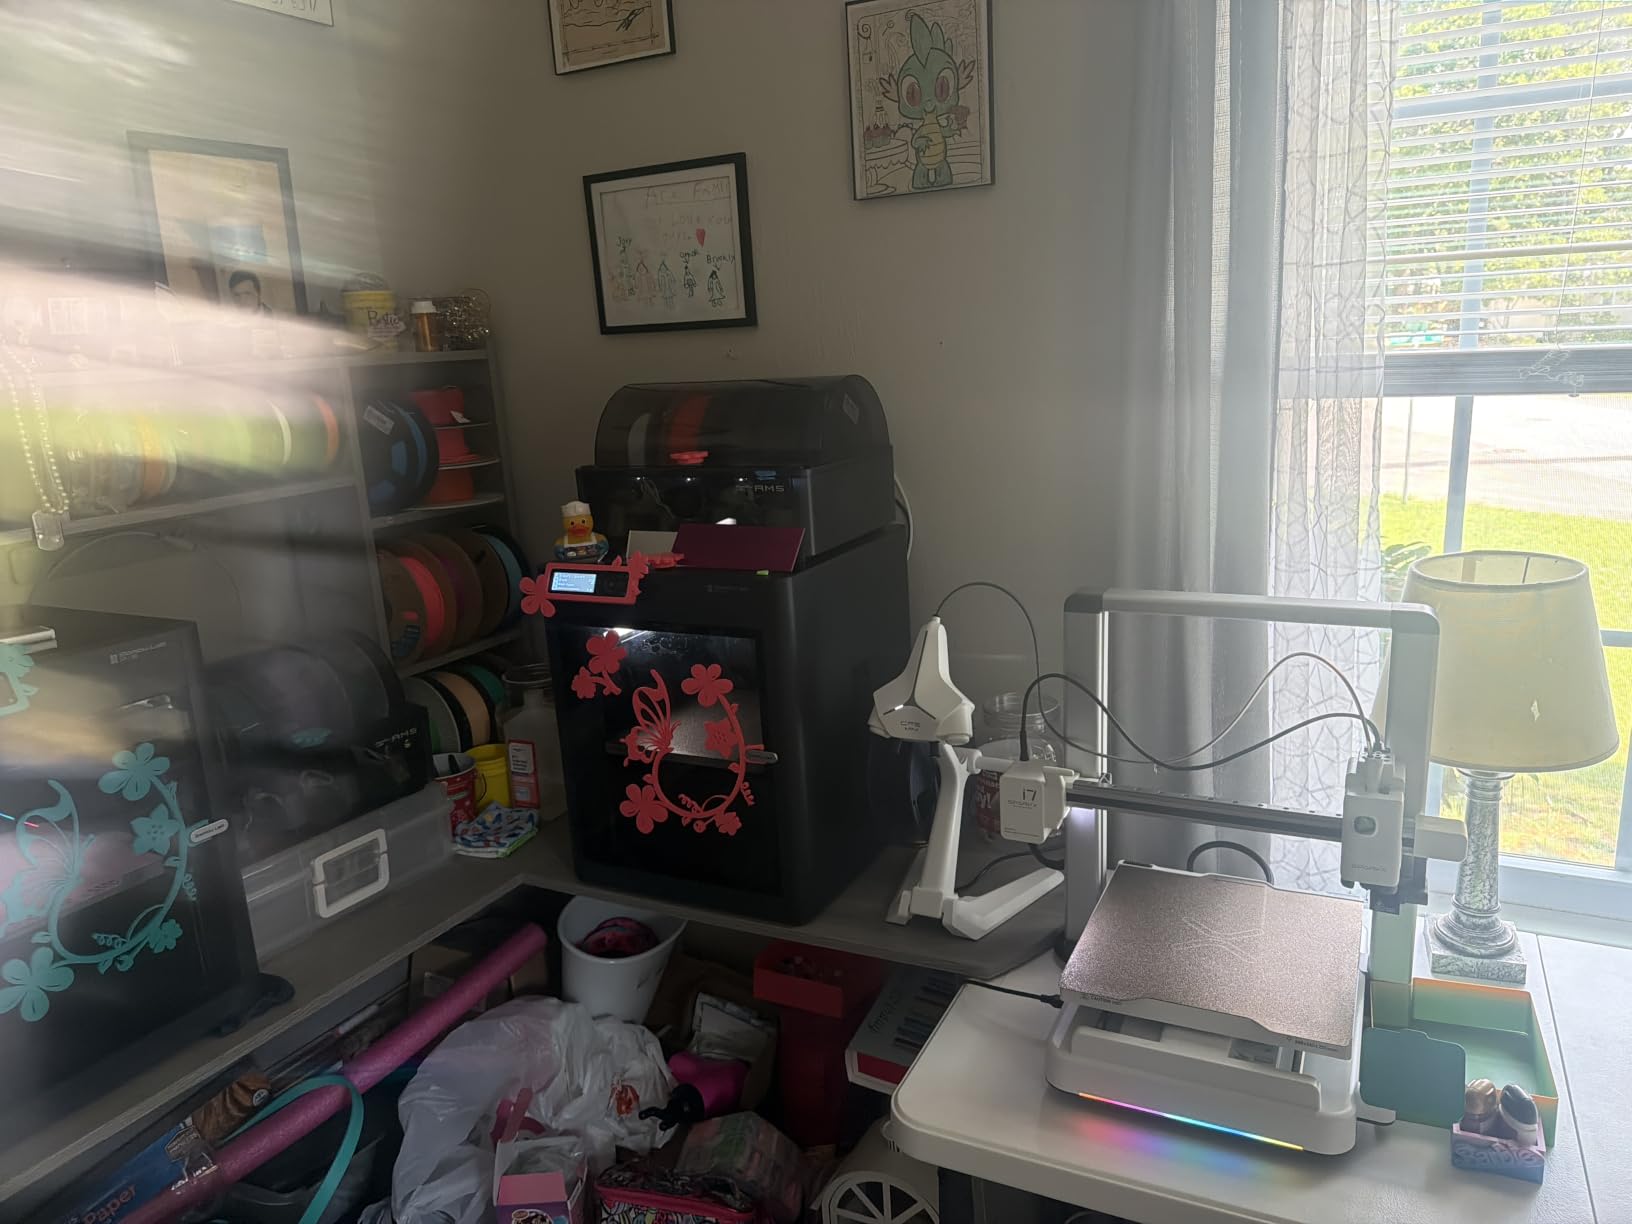
Colour changes and iteration cost
Automatic filament management is the feature to watch. Purge waste is a recurring cost driver for teams printing multi-colour prototypes repeatedly, and reducing what goes into the purge tower lowers both filament use and effective plate area per job.
Four colours cover most real designs. Moving beyond that means accepting the trade-off below, or looking at a toolchanger machine, which handles colour by swapping nozzles instead of purging.
Where it frustrates owners
Acoustics and durability are the weak points in the review record. Owners report the machine is noticeably loud during operation, and a small number report filament clogs within the first month.
Switching colours frequently can build slack in the feed tubes, and projects using many colours can run for many hours. US buyers also have to download the app directly because the printed QR code points to an overseas server.
7. Flashforge Creator 5 Pro: Best Four-Toolhead Printer for Mixed-Material Work
FLASHFORGE Creator 5 Pro 3D Printer, 4 Toolheads with 7s Toolchanger, Industrial Multi-Material & Mixed-Material Printing, Fully Enclosed CoreXY 65°C Active Chamber Heating Better Engineering Prints
Four preloaded preheated toolheads
7 second FlashSwap tool change
65 C active chamber,320 C nozzle
Enclosed CoreXY
Pros
- Four preheated toolheads enable true mixed-material prints
- 65 C chamber and 320 C nozzle handle ABS ASA and composites
- 7-second tool changes cut time and waste
- Adaptive airflow keeps overhangs and bridges sharp
- Calibration adapts to nozzle wear and filament moisture
Cons
- Higher price and larger footprint than single-toolhead machines
- More toolheads mean more spares to maintain
- Adaptive chamber airflow takes time to learn
The Creator 5 Pro is the dedicated engineering pick in this roundup. The reason is the toolchanger: four preloaded, preheated toolheads swap in about 7 seconds instead of unloading, purging and reloading filament, which is what makes a genuinely mixed-material prototype practical in a single job.
A rigid bracket in hard plastic next to a TPU gasket, or a model with soluble PVA supports alongside standard filament, all happen in one print without a purge tower. For mechanical prototypes that need more than one material property, that is the difference between possible and impractical.
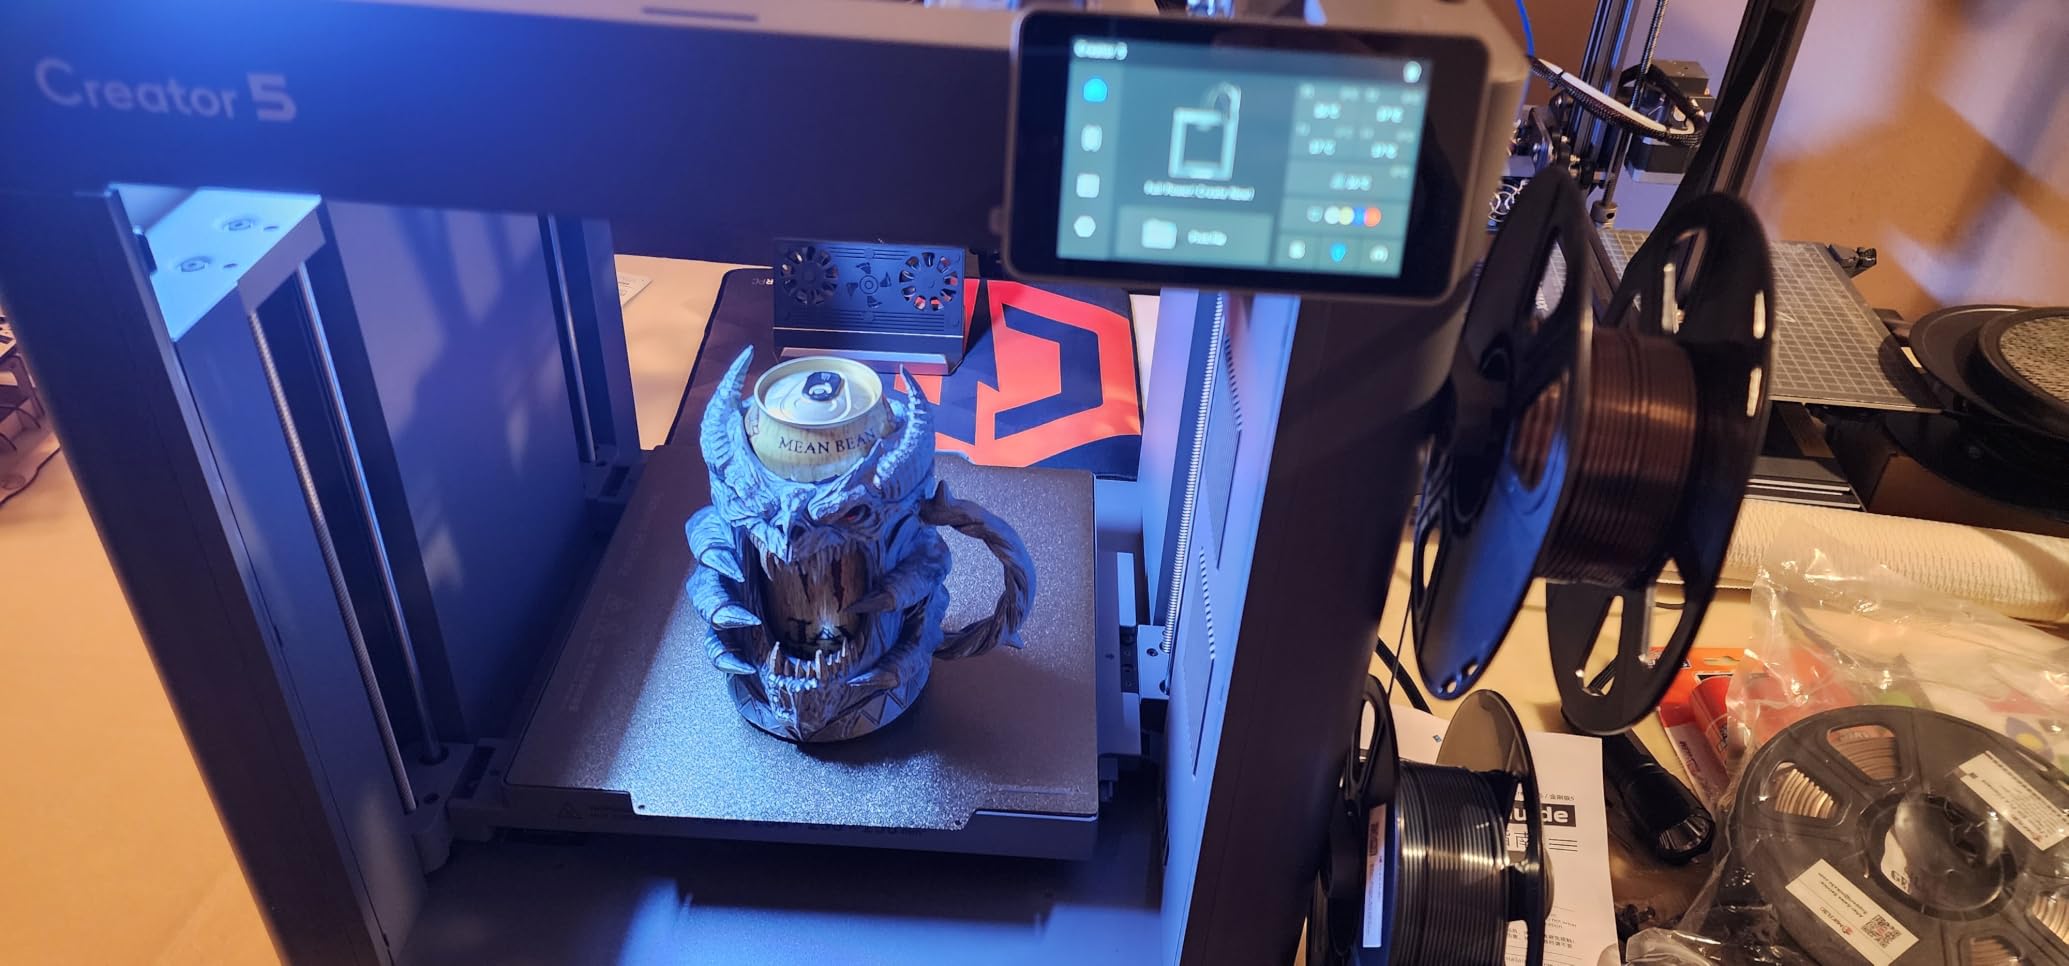
The 65 C actively heated chamber and 320 C hardened nozzle unlock materials other machines at this level cannot print, including ABS, ASA, PVA and a long list of carbon-filled filaments such as PA-CF, PET-CF, PPA-CF and PPS-CF.
Flow Dynamics Calibration models extrusion as a dynamic system and compensates for nozzle wear, residue and filament moisture. For repeatability across many iterations, that is a quiet but important feature.
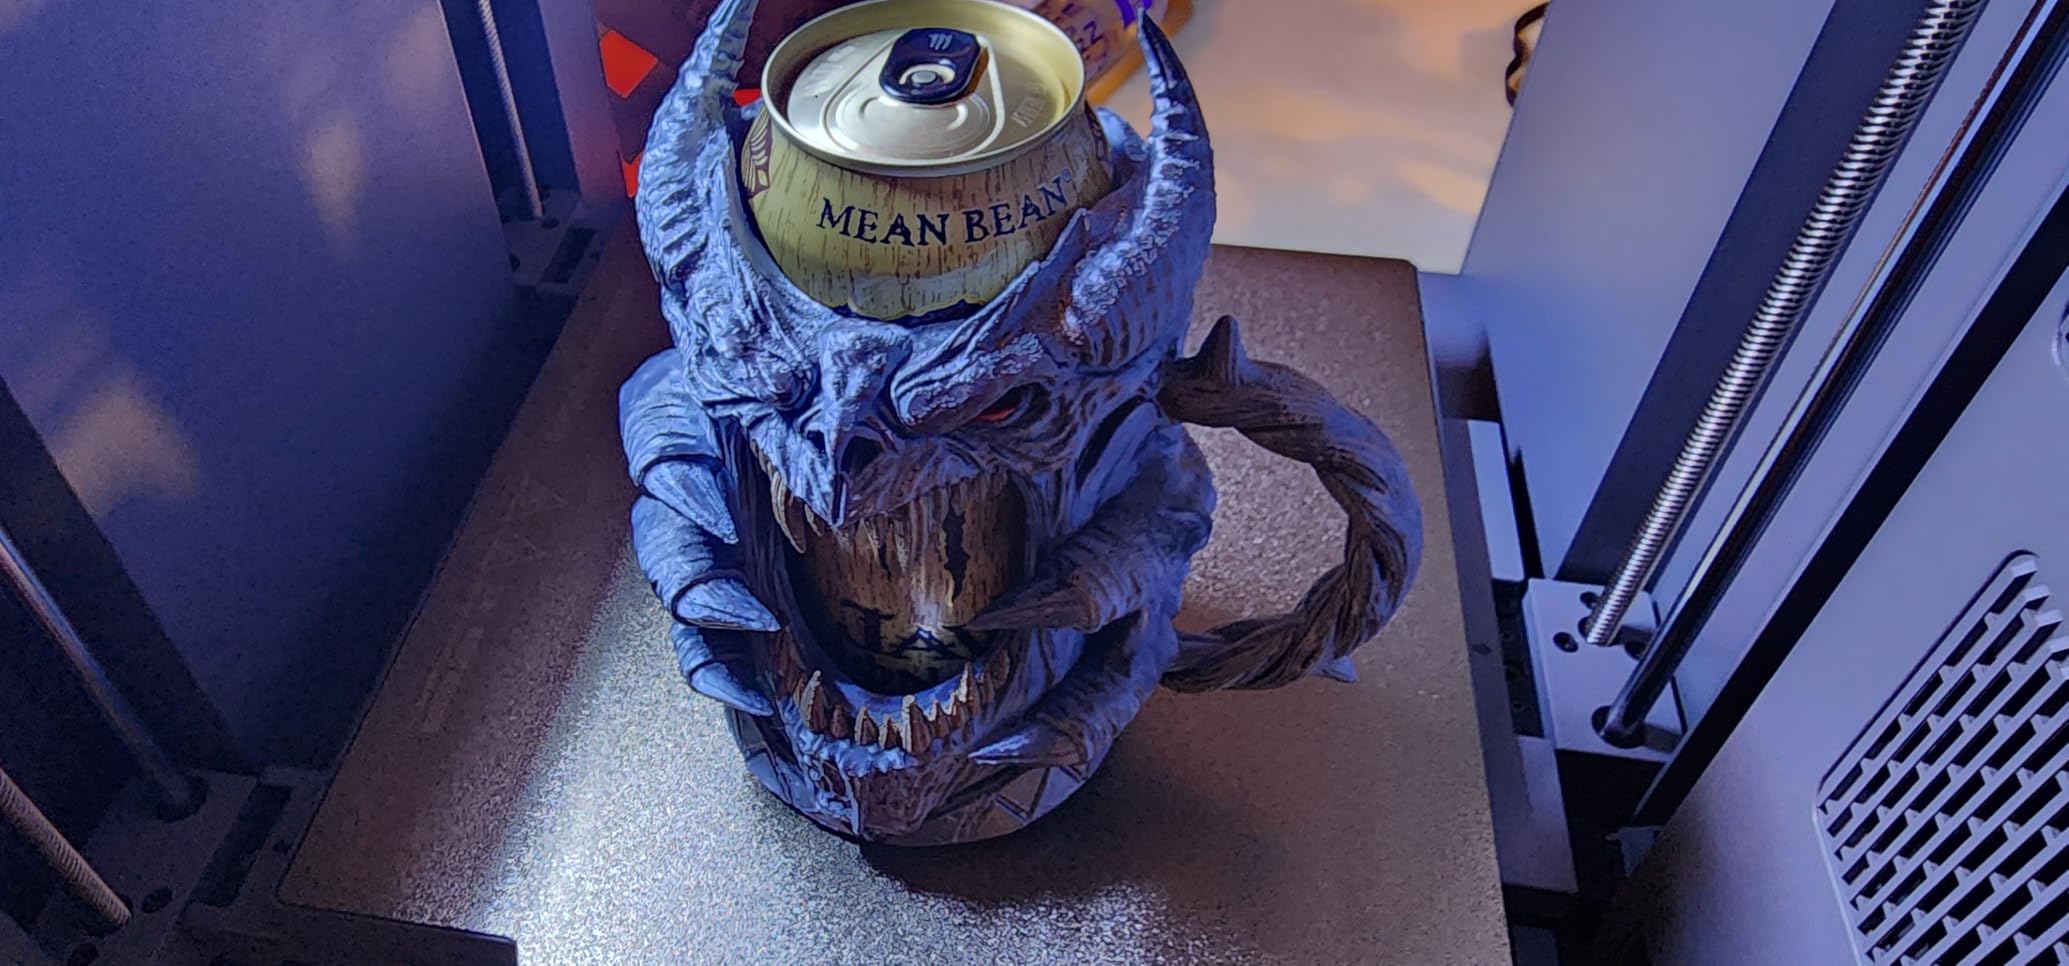
Mixed rigid and flexible prototypes
The adaptive airflow system refreshes the chamber with cool air rapidly, which keeps overhangs and bridges crisp even on low-temperature materials, while the heated chamber preserves bonding on high-temperature ones. That combination is what stops a functional prototype from looking good and falling apart in the hand.
If your designs routinely combine a stiff load-bearing wall with a compliant interface, this is the machine class designed for it. Single-extruder enclosed printers can do it with dual nozzles, but not with the same range of materials in one job.
Where it frustrates owners
Cost and complexity are the trade-offs. It carries a higher price and a larger footprint than single-toolhead enclosed machines, and four toolheads mean more consumables and spare parts to maintain.
The adaptive chamber airflow is a learning curve for new owners, and the review base, while positive, is smaller than the established platforms. Budget for the parts bin early.
8. Bambu Lab P1S: Best Enclosed Printer for Small Product Teams
Bambu Lab P1S 3D Printer, Ready-to-Use FDM 3D Printer
Fully enclosed CoreXY body
500 mm/s,20,000 mm/s2
Supports PLA PETG TPU PVA PET ABS ASA
Automatic bed leveling, built-in camera
Pros
- Ranks at the top of the 3D Printers category
- Excellent print quality and bed adhesion
- Enclosed body handles ABS and ASA
- About 15 minutes from box to printing
- Bambu Studio and MakerWorld shorten the design cycle
Cons
- No built-in screen so control is app or computer
- Low camera frame rate disappoints on time-lapse
- Silk and translucent filaments can clog the hot end
- Carbon fiber filaments need a hot end upgrade
The P1S is the enclosed workhorse I recommend to small product teams that need ABS and ASA without moving to an industrial platform. It combines a fully enclosed body, 500 mm/s speeds and 20,000 mm/s2 acceleration with the software workflow that shortens design-to-part time.
Owners describe it as the most refined enclosed printer in its class, with reliable print quality and double-sided bed adhesion. The enclosure is what makes ABS and ASA practical, and that is often the line between a cosmetic model and a functional housing.
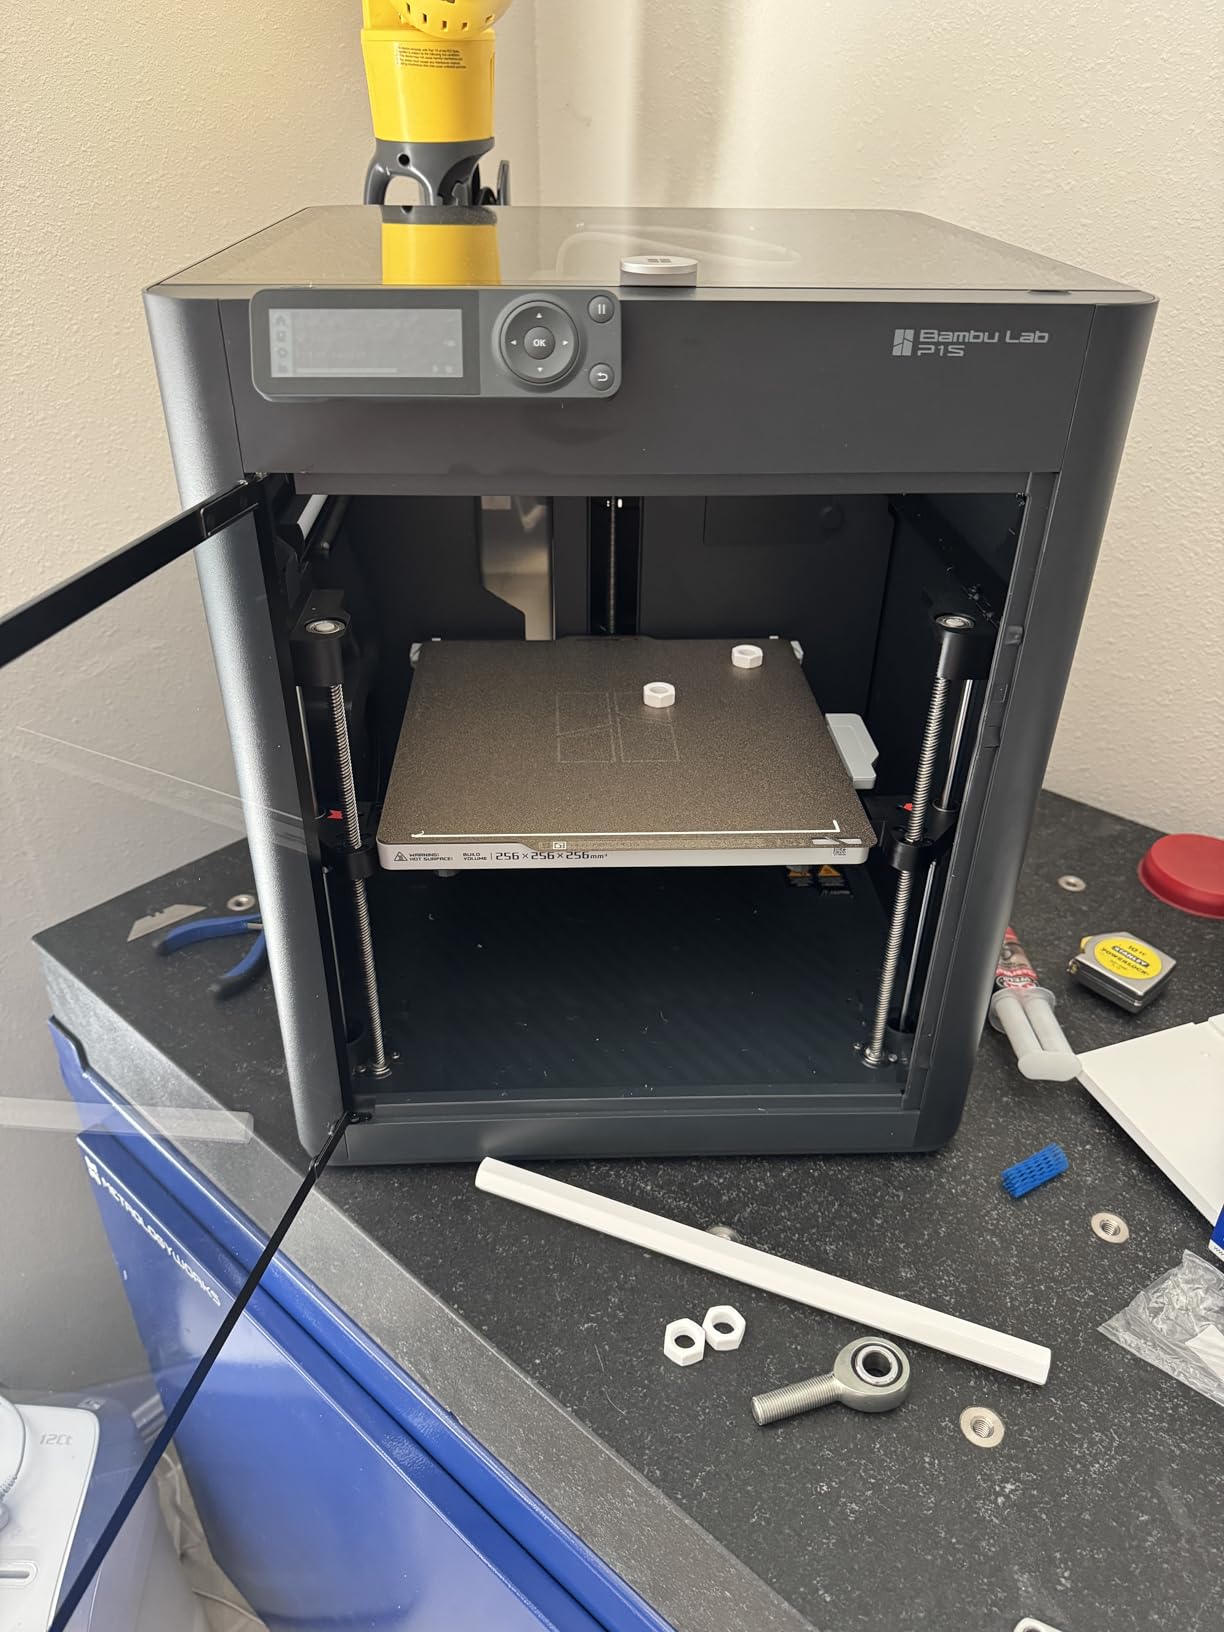
Filament support covers PLA, PETG, TPU, PVA, PET, ABS and ASA, with PA and PC capable on longer prints. Connecting an AMS takes it to 16 colours, and the P1S Combo bundles it from the start, which avoids the retrofit cost buyers on other platforms complain about.
Setup takes about 15 minutes. For a team that ships prototypes on a schedule, that is a meaningful difference against machines that need a day of tuning before the first usable part.
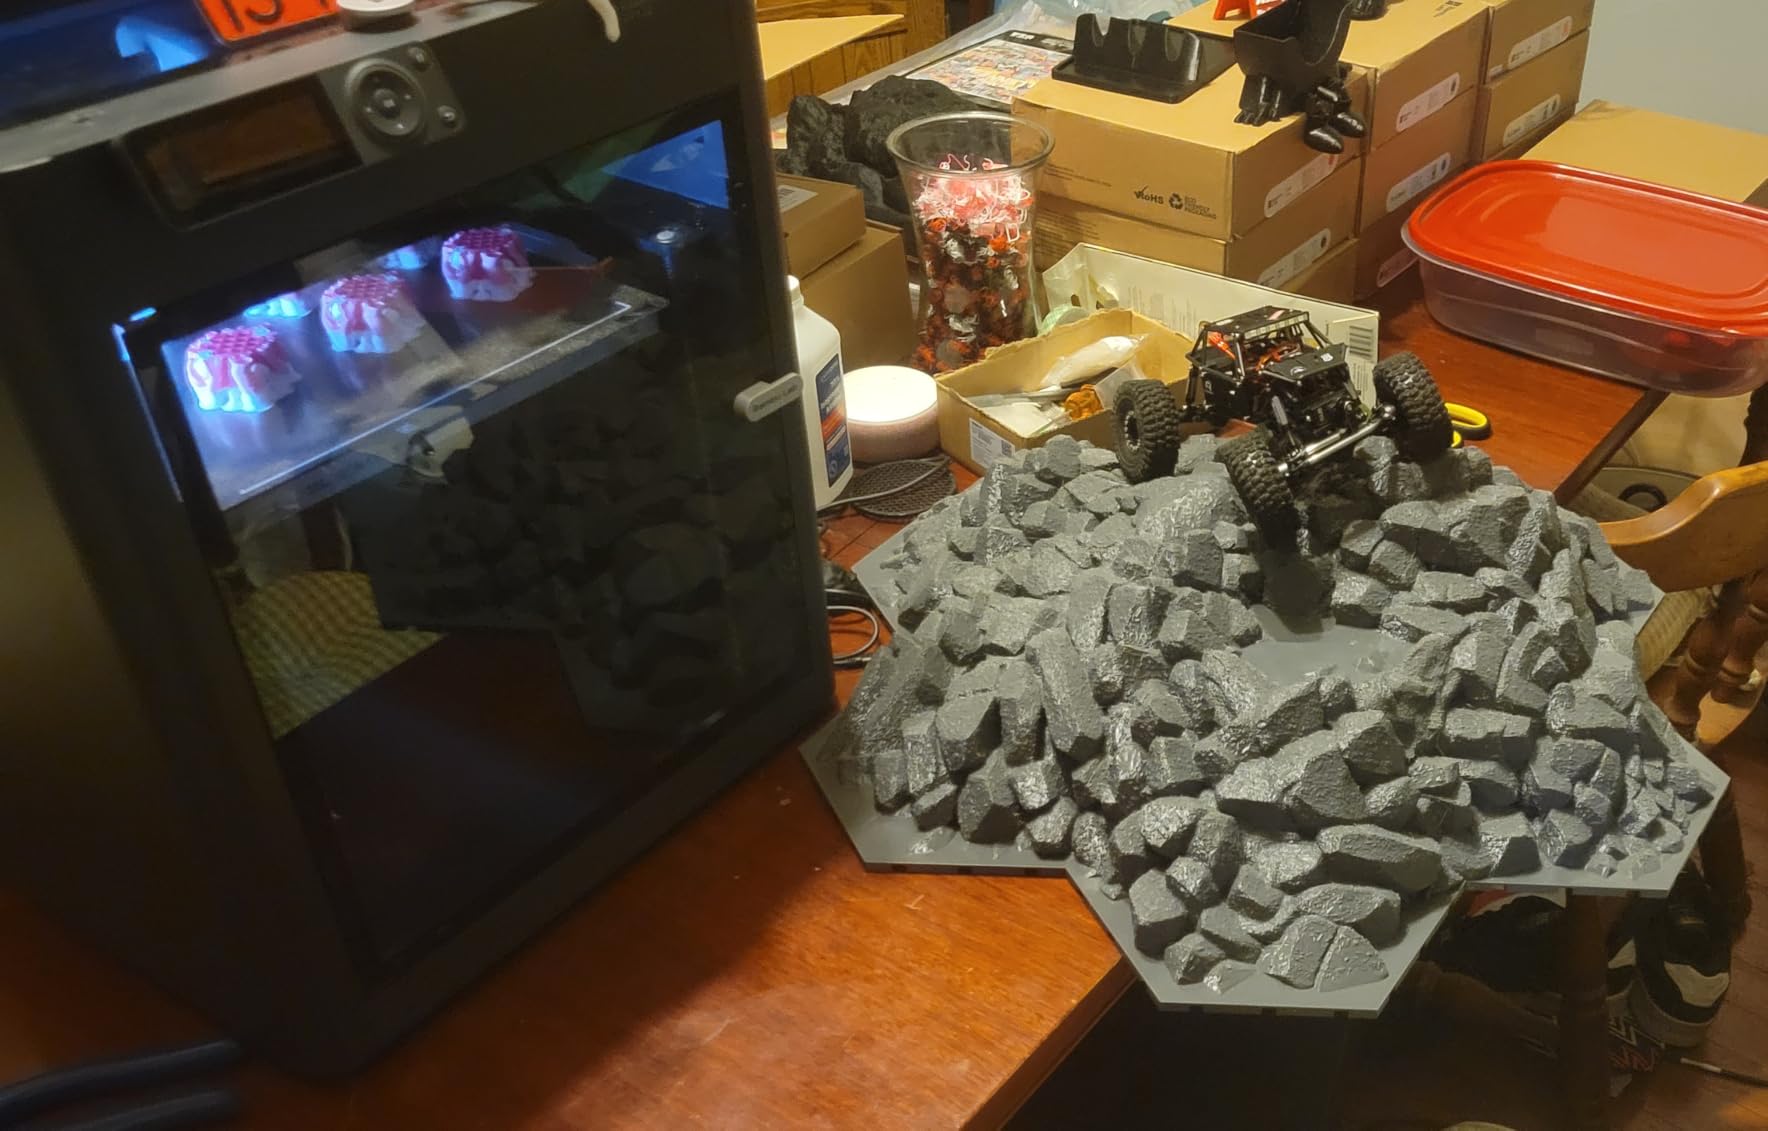
Enclosure and material performance
A fully enclosed chamber with glass panels holds heat in, so high-temperature engineering filaments bond between layers instead of delaminating. For a bracket that has to carry load, layer bonding is the specification that matters.
Automatic bed leveling and app-based monitoring mean a job can be launched and tracked without touching the machine, which is what you want when several prototypes are queued at once.
Where it frustrates owners
There is no built-in screen, so every control is through the app or a computer. That is a genuine annoyance for a shared workshop machine, particularly for anyone who does not want an account on the network.
The camera frame rate is low for time-lapse, silk and translucent filaments are prone to clogging the hot end, and carbon fiber reinforced polymers are not recommended without a hot end upgrade. The ecosystem is proprietary and cloud-dependent, which some teams dislike for design confidentiality.
9. Anycubic Kobra X: Best Quiet Multi-Color Printer for an Office Desk
Anycubic Kobra X Multicolor 3D Printer, Easy Setup, Native 4-Color
260 x 260 x 260 mm build volume
Native 4-colour, expandable to 19
600 mm/s,300 C hardened nozzle
LeviQ 3.0 49-point bed leveling
Pros
- Native 4-colour with 600 mm/s and a 260 mm cube
- Fast colour changes with RFID filament pairing
- Very quiet for a machine in this class
- One of the better touchscreen menus available
- Open ecosystem without compatibility walls
Cons
- Some units report jams and clogs with limited jam warranty
- Support is largely automated and redirects to guides
- TPU prints string heavily
- Z-axis issues reported on some units
The Kobra X is what I suggest when the printer will live on a desk in a shared office. It is the quietest machine in this roundup relative to its capability, and owners running it heavily report hundreds of hours across PLA, PETG and TPU with a clean record.
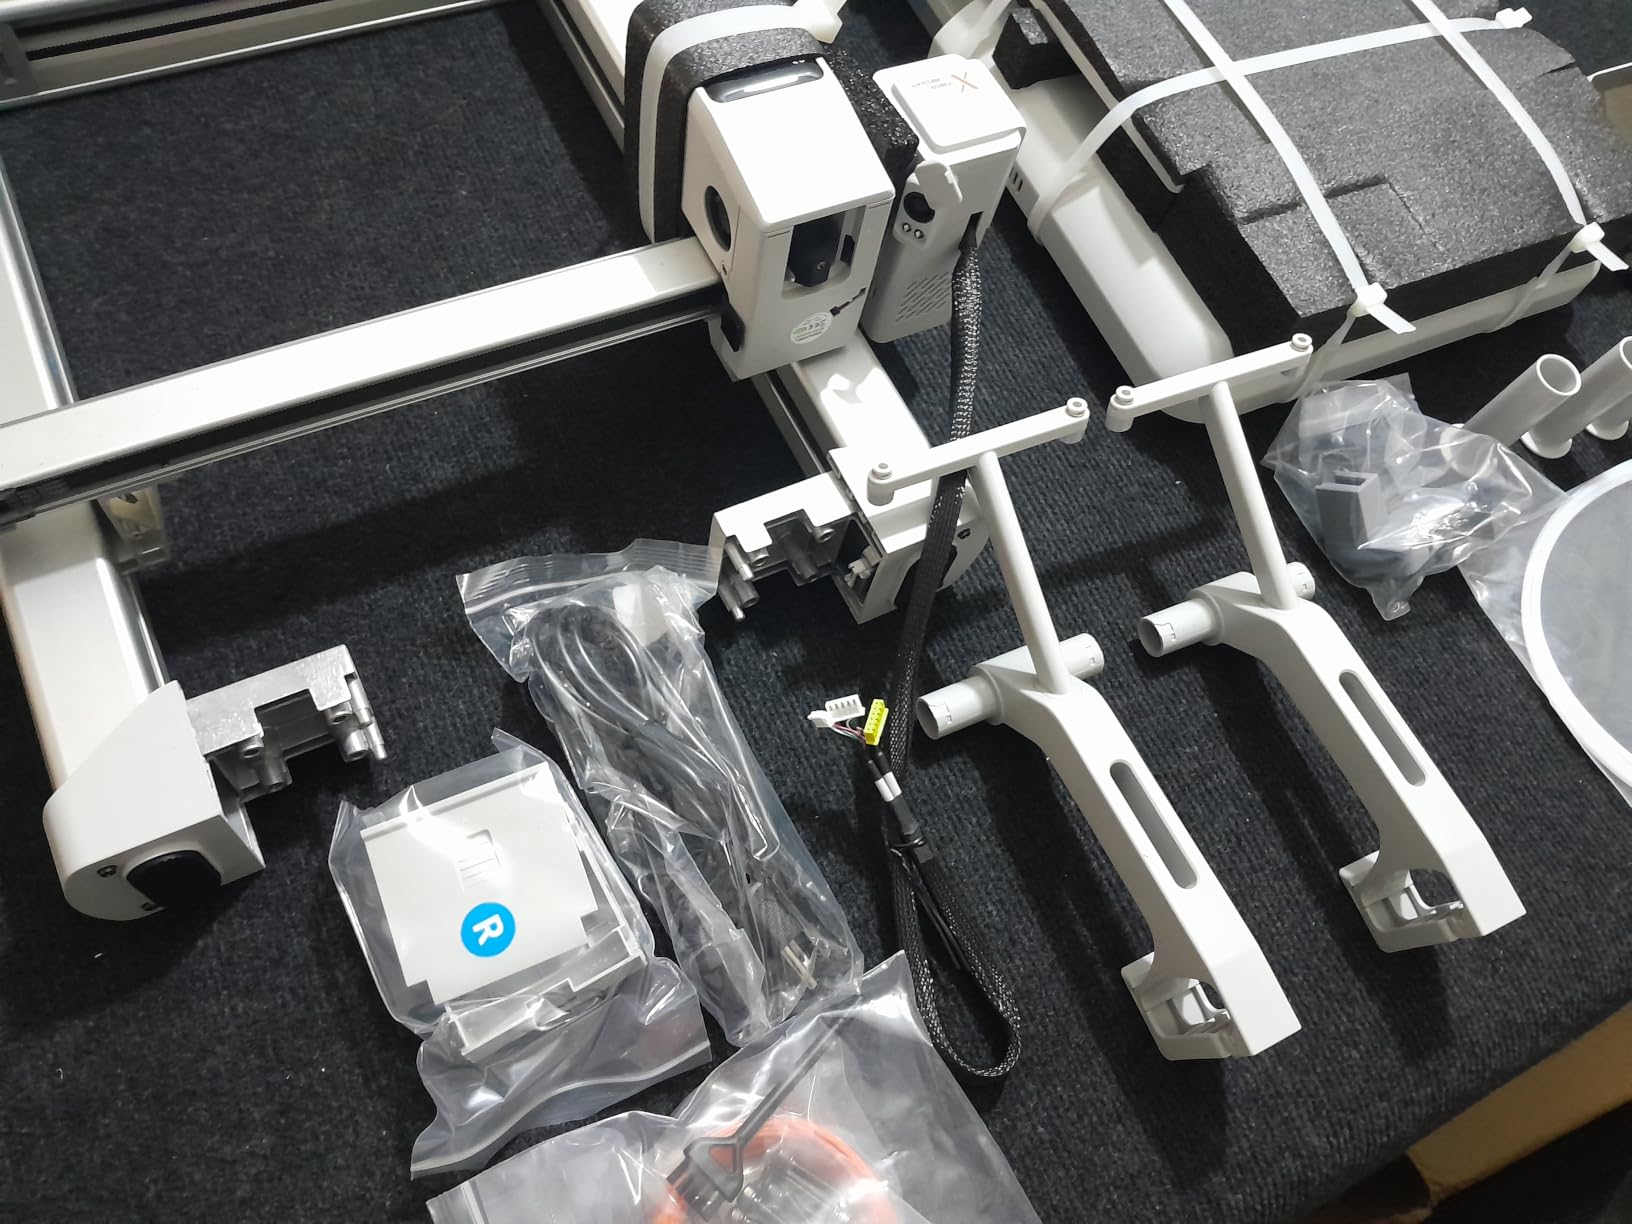
Native four-colour comes in the box, and it expands to 19 colours with four ACE 2 Pro units. LeviQ 3.0 does 49-point auto bed leveling, which gives full-bed flatness, and the hardened steel nozzle reaches 300 C for tougher materials.
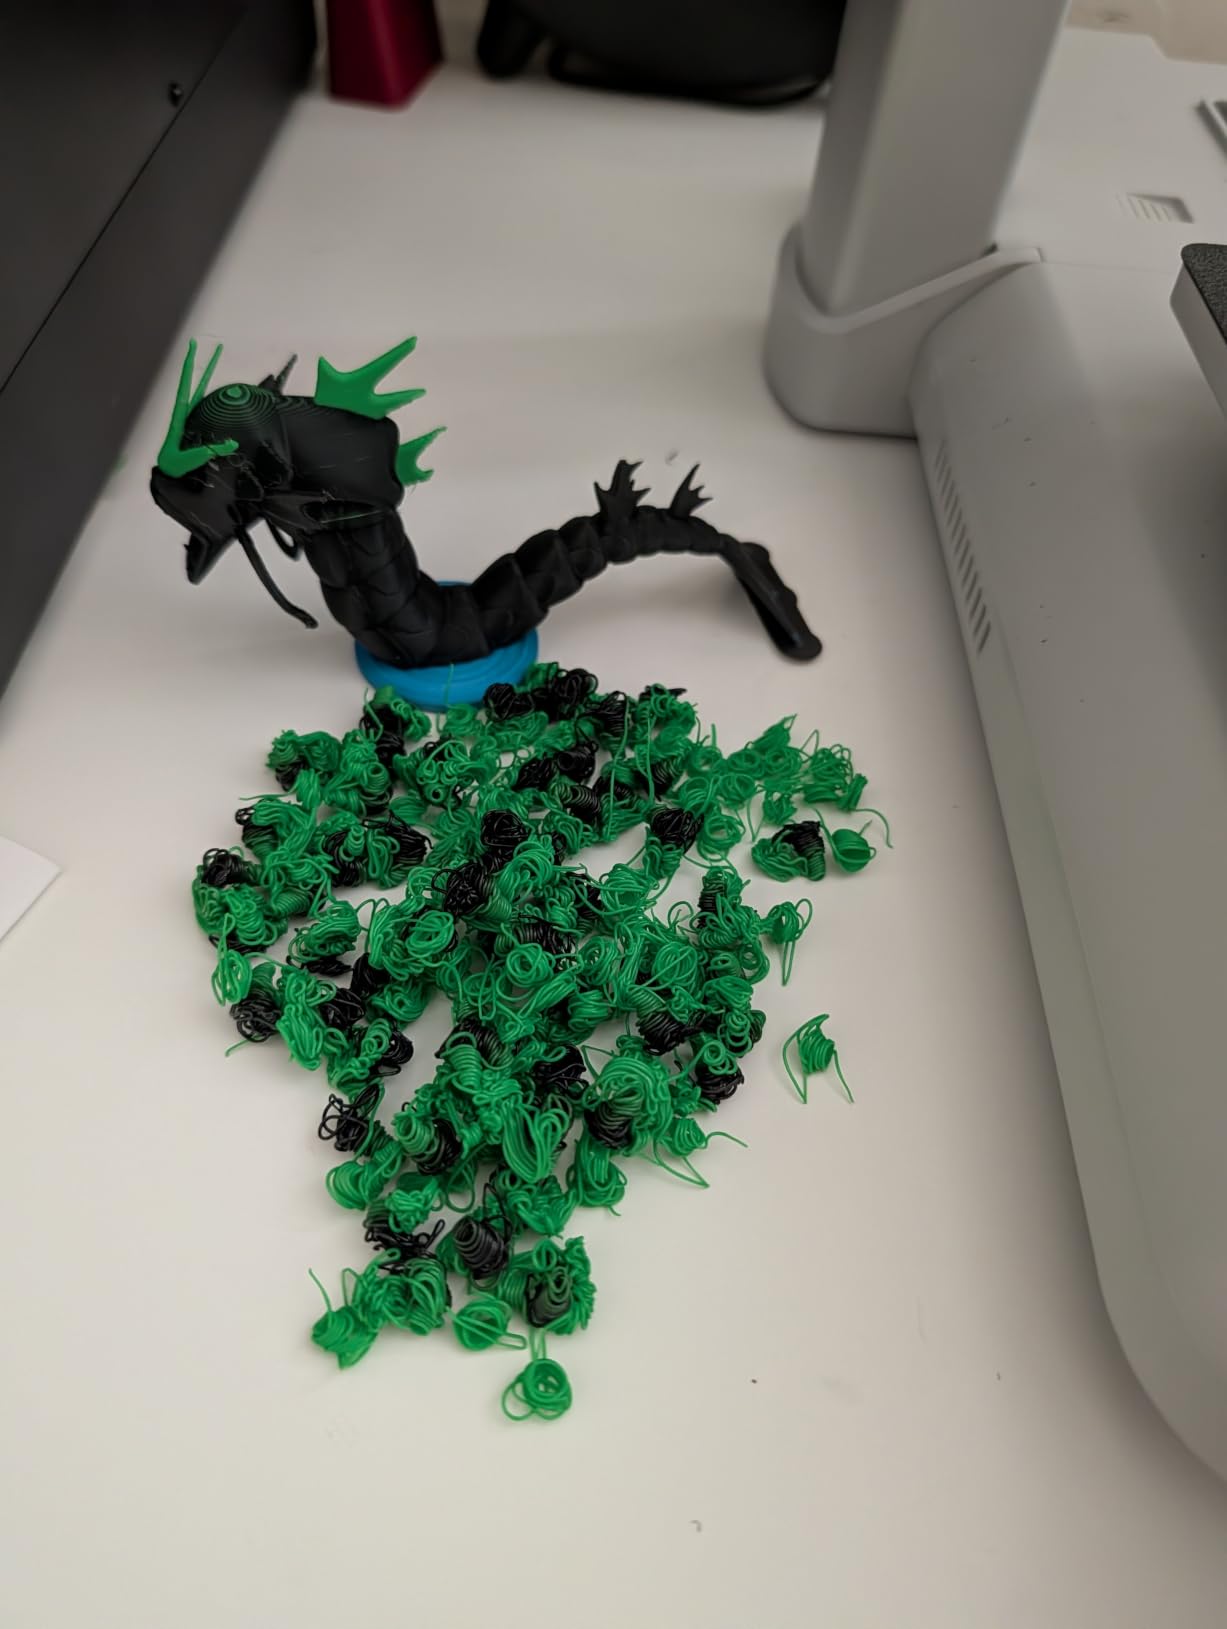
The 81.25 percent shorter purge path cuts purge time roughly in half compared with a conventional multi-material path, and a Benchy test model prints in about 14 minutes at up to 600 mm/s. For iteration-heavy work, shorter colour changes add up quickly across a week.
AI monitoring includes spaghetti detection and foreign object detection, plus dual-band 2.4G and 5G Wi-Fi with LAN connectivity, which helps in a crowded office network.
Multi-colour without the purge tax
Shortening the purge path is the important detail for prototyping. Less purge means less filament thrown away per colour change, a smaller prime tower on the plate, and shorter cycle times when you are printing the same part in several colourways to compare options.
RFID filament pairing speeds setup because the machine reads the material on spool insertion, and PVA is supported, which gives you soluble supports for complex internal channels on the same machine.
Where it frustrates owners
Quality control variance is the main complaint. Some units report jams and clogs, and warranty coverage for jams is limited, which matters if a jam ruins an overnight queue. A minority also report Z-axis issues that can block filament removal.
Customer support is largely an AI-driven system that redirects to public guides, and TPU prints are reported to string heavily. Filament is not included in the package.
10. Bambu Lab P2S Combo: Best for Unattended Multi-Material Runs
Bambu Lab P2S Combo, P2S 3D Printer & AMS 2 Pro, Multi-Color 3D Printing
600 mm/s with PMSM servo extruder
50 C chamber for engineering materials
AMS 2 Pro dries filament to 65 C
Carbon filter, AI failure detection
Pros
- Prints in about 15 minutes with automatic calibration
- AMS 2 Pro adds multi-colour plus drying to 65 C
- 600 mm/s with active flow rate compensation
- Adaptive airflow balances cooling and heat
- Carbon filter suits indoor use
Cons
- AMS 2 Pro cable and sensor have failed early for some owners
- Multi-colour only comes with the Combo bundle
- Higher total cost than single-colour enclosed options
- Audibly louder than some enclosed rivals
The P2S Combo is the newest machine here, and the review record is dominated by how little setup and tuning it asks for. Owners with long print histories describe it as a step change, which is the reaction you want from a machine meant to run unattended through a prototype queue.
The PMSM servo extruder drives 600 mm/s printing, and active flow rate compensation keeps corners sharp and layers consistent at that speed. A 50 C chamber covers engineering-grade materials, and the adaptive airflow system balances cooling against heat retention automatically depending on the filament.
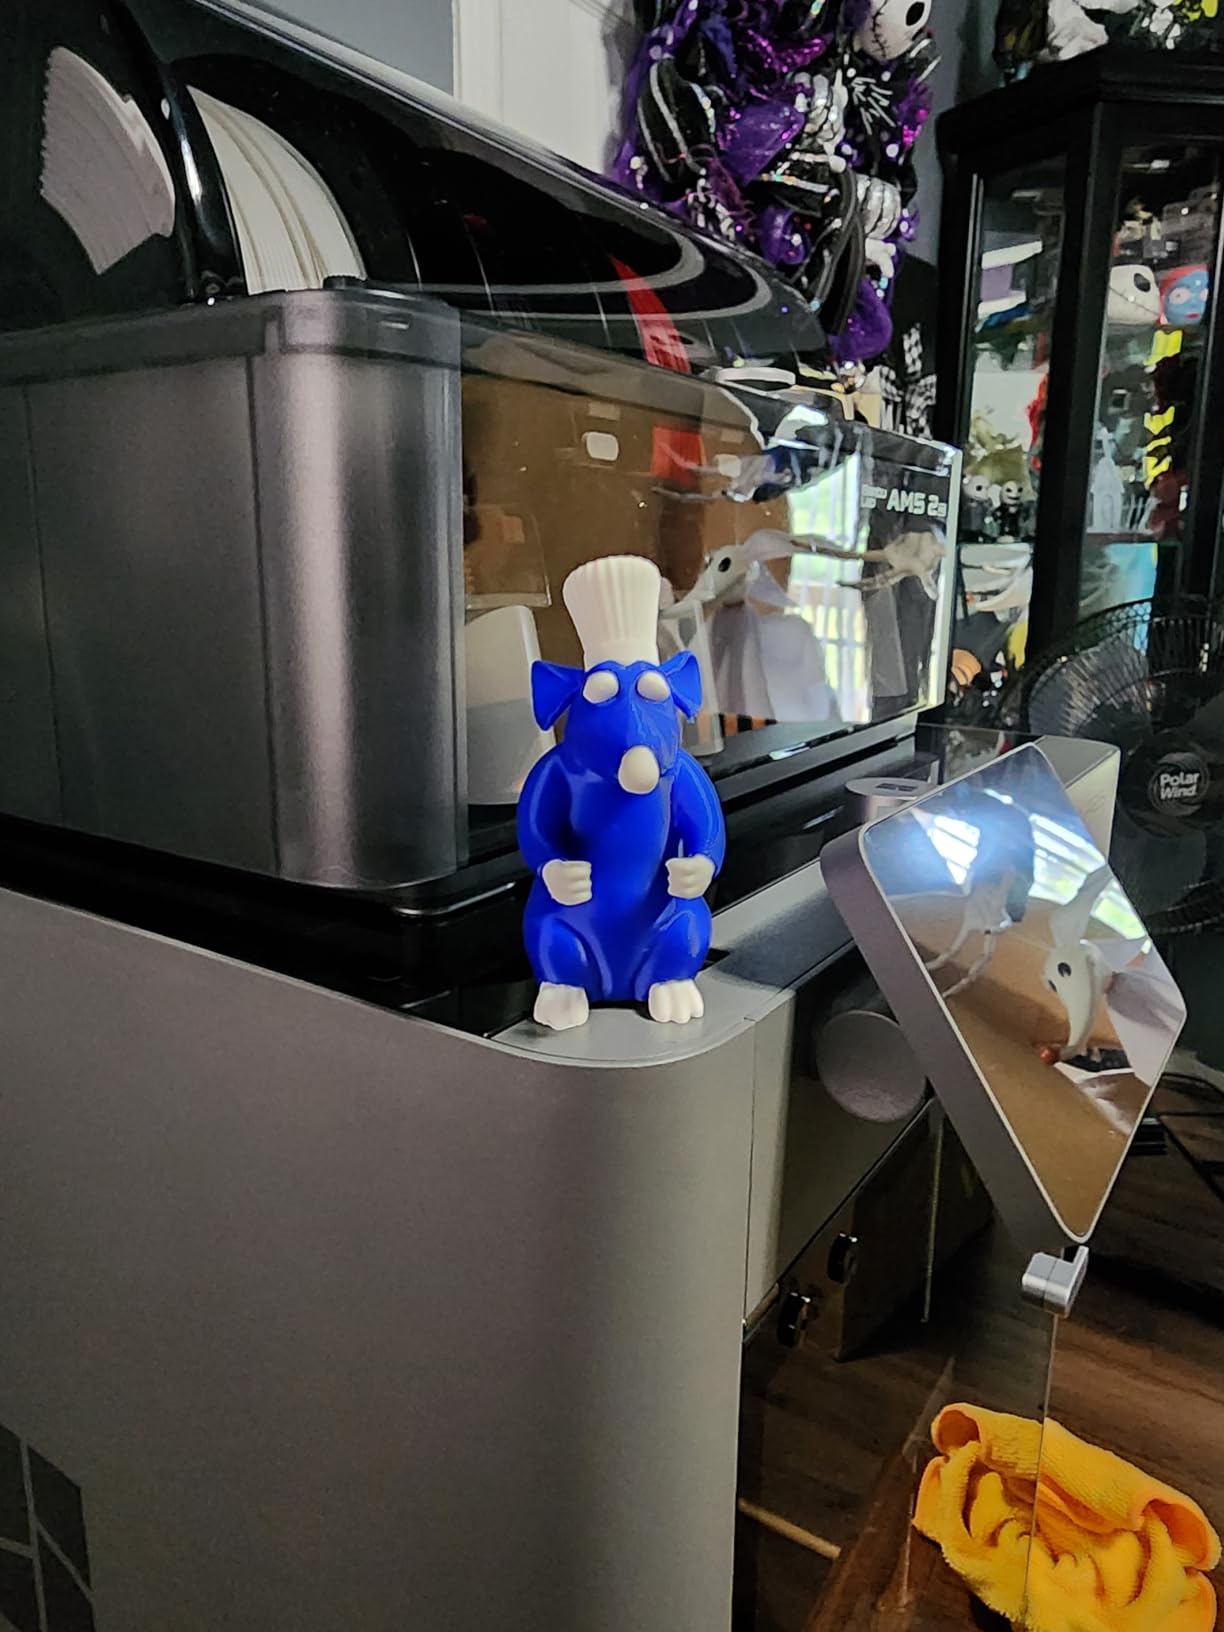
The AMS 2 Pro is the important component here. It enables multi-colour and multi-material printing with built-in drying up to 65 C, and drying filament before printing is the difference between a clean surface and a stringy one on hygroscopic materials.
A carbon filter keeps the enclosed chamber safe to run indoors, and AI failure detection plus quick-swap nozzles mean a long job can be left alone. Access to the MakerWorld model library keeps the workflow inside one ecosystem.
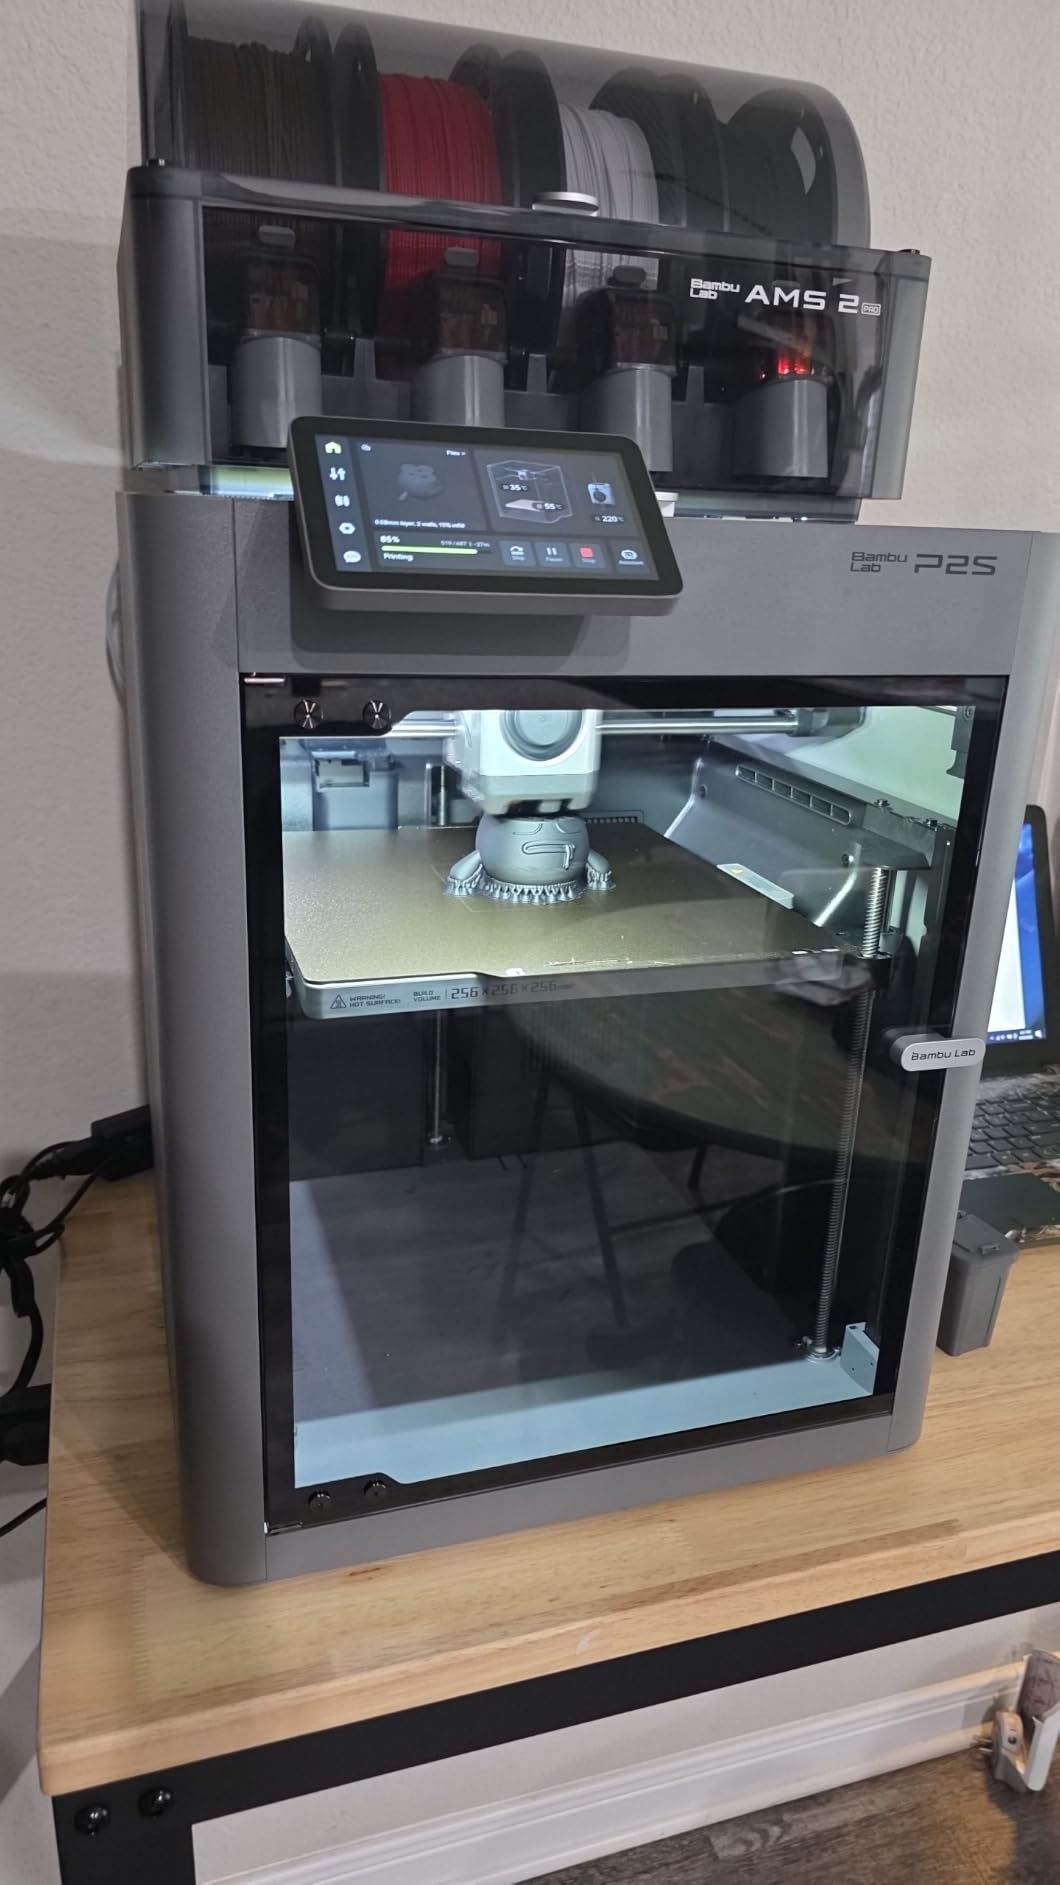
Unattended and overnight prototyping
Unattended operation is where a modern enclosed machine earns its cost. AI failure detection catches a failed first layer or a jam before a whole plate is wasted, and the servo extruder holds flow consistency over a long print where a cheaper extruder drifts.
Built-in drying is the underrated feature for prototyping. Engineering and composite filaments absorb moisture quickly, and a wet spool produces the stringing and layer separation that gets mistaken for a machine fault.
Where it frustrates owners
The early review base is smaller than the established platforms, and the main negative thread is durability of the AMS 2 Pro filament sensor and ribbon cable, which has broken on a small number of units within days of delivery, though replacement service is reported as responsive.
Multi-colour capability only comes with the Combo bundle, not the base printer. It also carries a higher total cost than single-colour enclosed alternatives and is louder than some of them.
11. ELEGOO Mars 5: Best Resin Printer for Fine-Detail Prototypes
ELEGOO Mars 5 Resin 3D Printer
4K mono LCD with COB light source
One-click automatic leveling
Residue and resin shortage detection
Overheat protection above 80 C
Pros
- Surface detail far beyond FDM at this level
- Automatic leveling and self-check remove manual setup
- Sensors protect the LCD and reduce waste
- Overheat protection extends screen life
- Compact and the lightest machine in this roundup
Cons
- Resin handling needs gloves
- ventilation and post-curing
- No multi-colour and no enclosed build volume
- Brittle resin is unsuitable for load-bearing parts
- Slower than FDM for larger part volumes
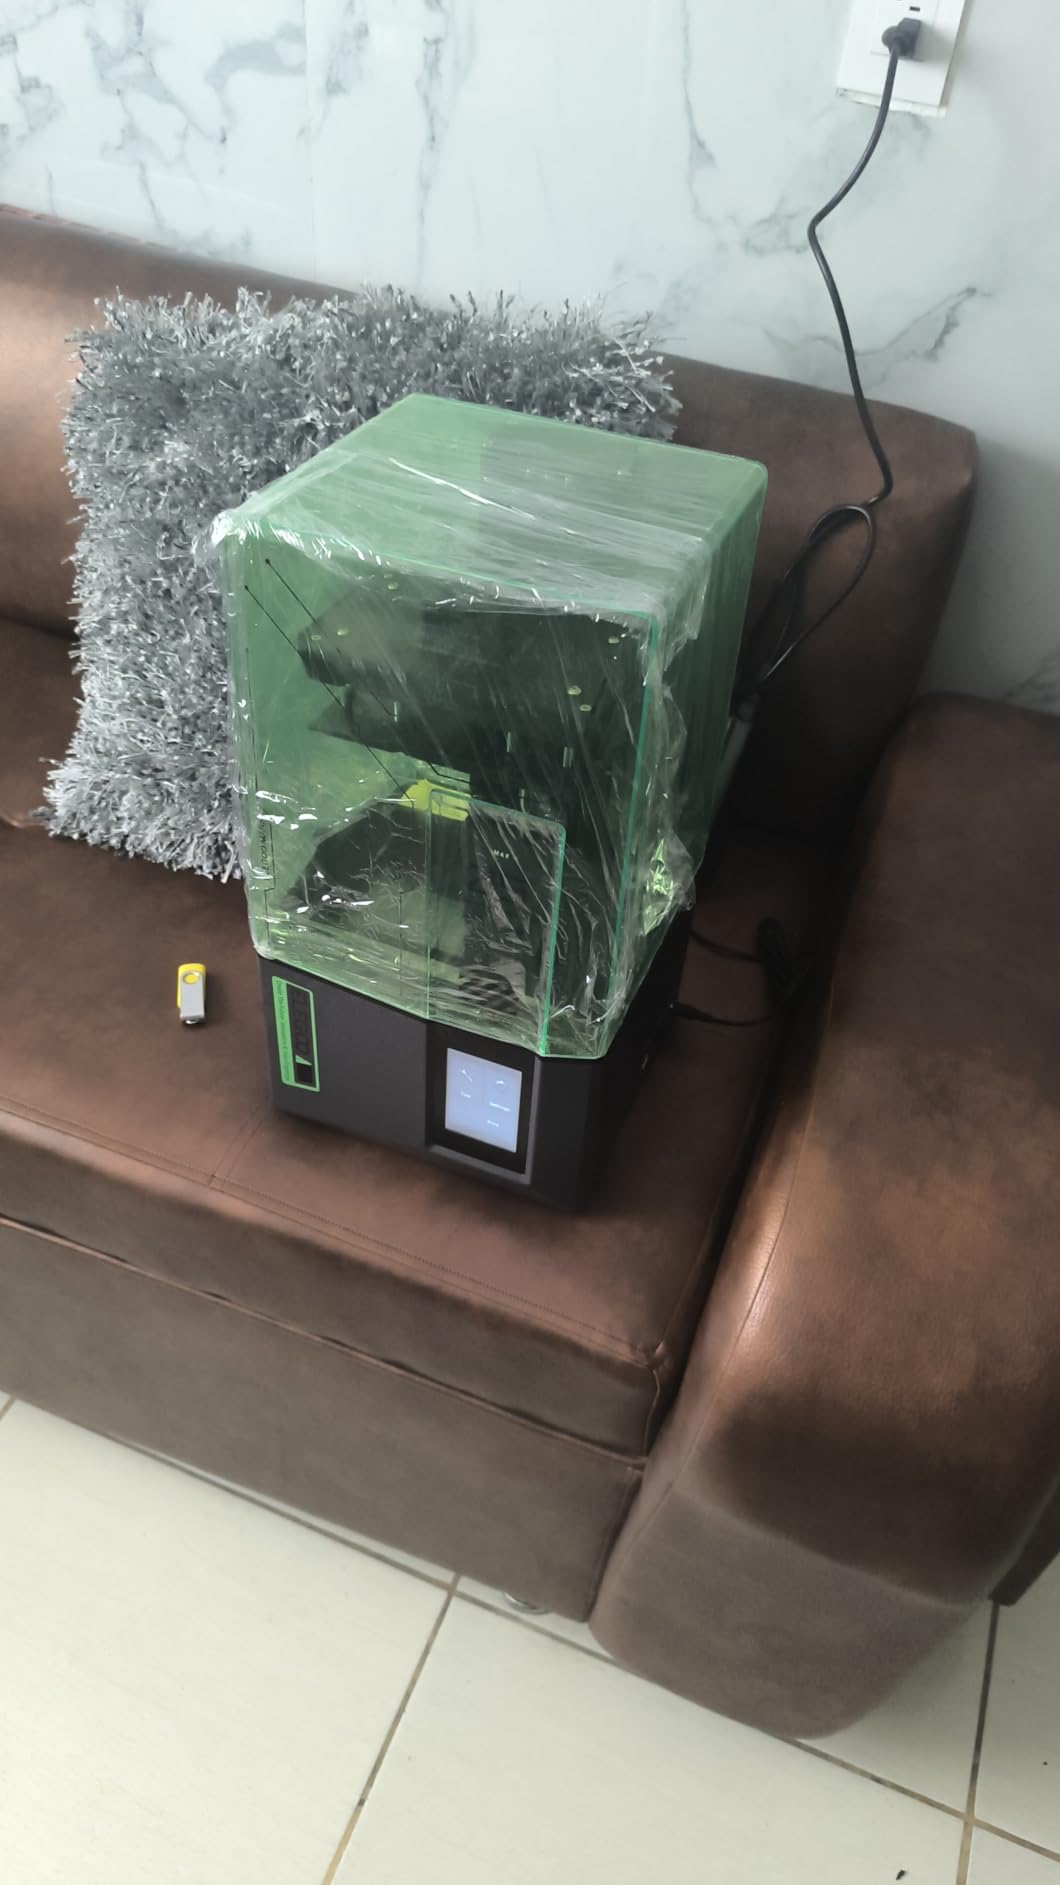
The Mars 5 is the resin option, and it earns its place when a prototype has to look like the finished part. The 4K mono LCD with a COB light source reproduces fine detail and texture that FDM machines in this price range cannot reach, and the machine is also the lightest option in this roundup.
For surface finish, fit and clearance testing of small features, and presentation models, resin still wins on geometry. One-click automatic leveling removes the manual calibration that usually makes resin machines fiddly, and a one-click self-check verifies components before each print.
Residue detection, resin shortage alerts and leveling failure warnings protect the screen and reduce wasted material. Advanced overheat protection halts printing and alarms above 80 C LED temperature, which is what extends LCD lifespan over years of use.
As a companion to an FDM machine, the pairing works well: functional bodies in filament, presentation surfaces and fine features in resin. Many teams end up with exactly this setup.
Surface finish and small-feature accuracy
Where fit and clearance checking depends on small features, resin geometry is the deciding factor. Layer lines that are visible in filament can hide an interference you are trying to detect, and the 4K screen keeps those features where you designed them.
It is a good fit for snap-fit evaluation and appearance prototypes that will be shown to a client, and for masters that will be cast or moulded rather than used directly.
Where it frustrates owners
The workflow is the trade-off, and reviewers acknowledge it without exception. Resin handling needs gloves, ventilation and post-curing, and the fumes are a genuine barrier in an open-plan office. Post-processing is manual and slow.
There is no multi-colour capability, and brittle resin prints are not suited to functional load-bearing parts. It is also slower than FDM once you need a volume of parts, so it complements rather than replaces a filament machine.
12. Snapmaker U1: Best Four-Toolhead Printer for Low-Waste Color Changes
Snapmaker U1 3D Printer,4-Toolhead with 5s Toolchanger,Multi-Color Printing
Four toolheads, 5 second SnapSwap
270 x 270 x 270 mm build volume
500 mm/s CoreXY with carbon fiber rails
3.5 inch touchscreen, one year warranty
Pros
- Four dedicated nozzles mean almost no purge waste
- 5-second tool changes cut multi-colour job times
- Open Linux-compatible ecosystem with no cloud requirement
- Under 20 minutes to set up with guided calibration
- Quiet with thick glass front and back panels
Cons
- Open top means a cover must be printed or added
- Less streamlined than Bambu for one-click cloud printing
- Slicer conversion for third-party models is under-documented
- Weighs 59 pounds for a desk machine
The Snapmaker U1 takes the toolchanger idea and pushes it toward low waste. Four independent toolheads swap in about 5 seconds with the filaments preloaded and preheated, and the locking mechanism has been validated over 1,000,000 swaps with zero failures, which is the kind of endurance claim prototyping depends on.
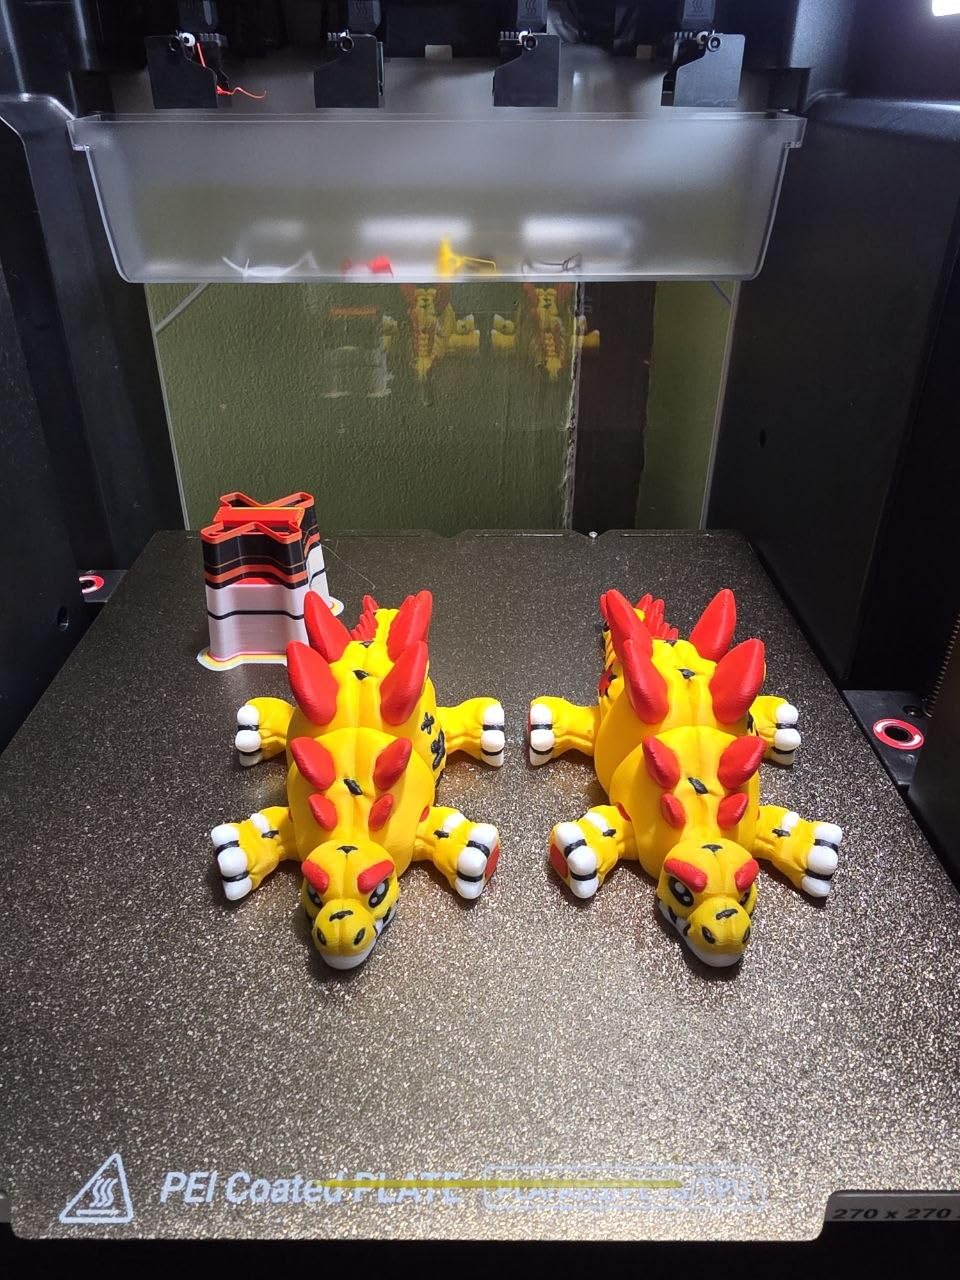
Because it swaps nozzles instead of purging, filament waste is reduced by up to five times compared with single-nozzle systems, and multi-colour job times drop sharply. Owners cite a 32-hour job against roughly 58 hours on a single-nozzle machine for the same work.
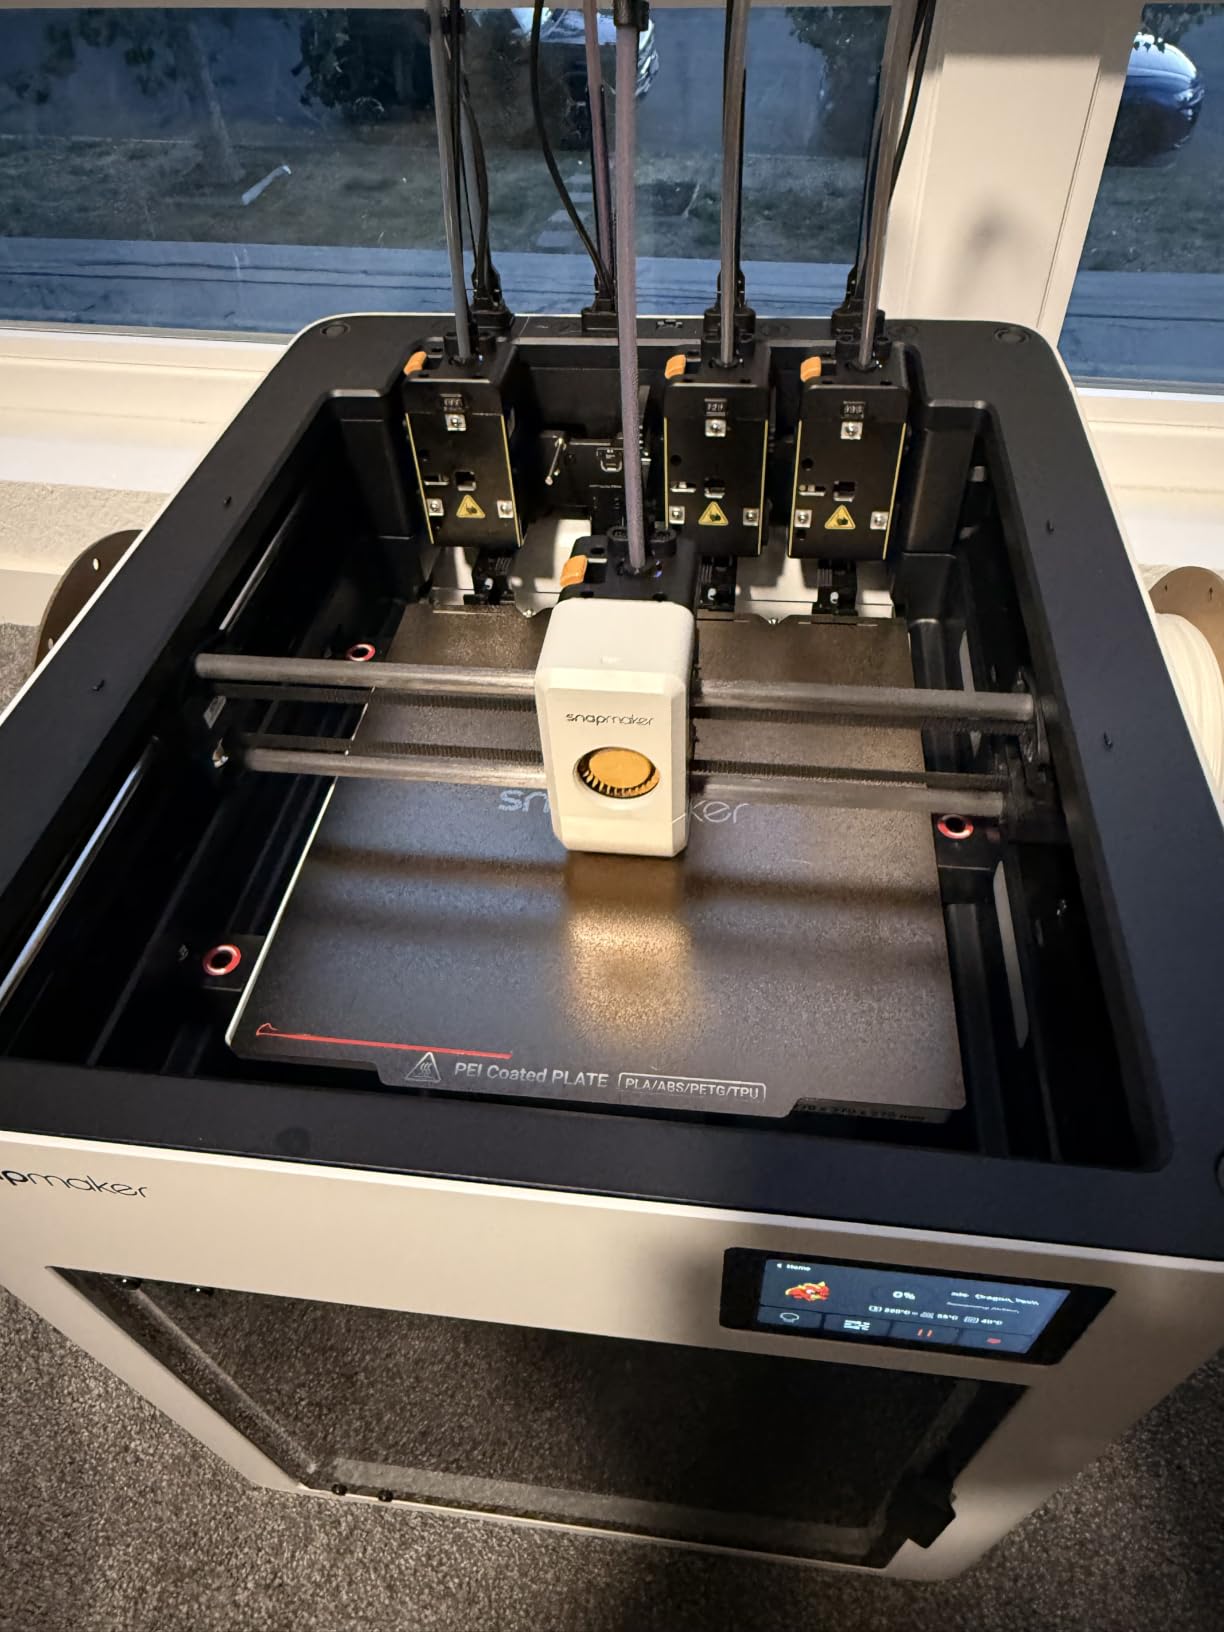
Material range is genuinely broad: PLA, PVA, TPU, PETG, PCTG, ABS, ASA, PA and PC. PVA support means soluble supports for complex internal channels, and a rigid material can be combined with TPU in one print, which is what mixed-material prototypes need.
The 270 mm cube CoreXY frame with carbon fiber X-axis rails prints at 500 mm/s, with automatic toolhead offset calibration, vibration compensation and extrusion fine-tuning handled automatically.
Workflow, ownership and data control
The open Linux-compatible ecosystem is a real differentiator for teams that do not want mandatory cloud accounts. Self-hosted print farm operators consistently value open-source firmware for control and data security, and this machine is built for that preference.
Setup takes under 20 minutes with guided touchscreen calibration, and the AI print monitoring, built-in camera and remote app control cover the usual oversight needs. Non-punishing spaghetti detection protects a beginner print rather than cancelling it.
Where it frustrates owners
The top is open, so a cover has to be printed or purchased for best results, which is a strange omission on a machine aimed at multi-material work. The workflow is also less streamlined than Bambu for one-click cloud printing, because models must be imported into Snapmaker Orca.
Slicer conversion for third-party models is less clearly documented, and at 59 pounds it is a heavy machine for a desk. It comes with a one-year warranty, shorter than some competitors in this class.
Buying Guide: How to Choose a 3D Printer for Prototyping
The right machine depends less on peak speed than on the materials your prototypes need and how often you change them. Work through these factors in order and the choice usually makes itself.
FDM or resin for prototyping
Choose FDM for functional parts, fit checks, jigs, fixtures, brackets, and anything that needs to survive being handled. Filament machines are cleaner, safer indoors, and produce parts you can drill, tap and load.
Choose resin for surface finish, fine features, appearance models and presentation pieces. Resin geometry is more precise, but the post-processing and ventilation requirements are a real constraint in an office. Most teams that outgrow one eventually run both, and our resin printer guide covers that side in detail.
Match the machine to your material list
PLA is the fastest to print and the least accurate under load, so it suits proof-of-concept models and fit checks early in a design cycle. PETG is the sensible default for functional prototypes, with better heat and impact resistance and no enclosure required.
ABS and ASA need a fully enclosed chamber and a heated bed, or they will warp and split. Nylon and PA need more still: a hot nozzle, a sealed chamber, and dry filament. Polycarbonate and carbon-fiber reinforced filaments need a hardened nozzle at high temperature, which is exactly what the enclosed machines in this roundup provide.
TPU is flexible and forgiving of layer adhesion, but it needs a direct drive extruder. A Bowden tube path makes flexible filament buckle and jam, which is the single most common reason a TPU prototype fails.
Our industrial 3D printer guide goes deeper on engineering filaments and the chamber requirements that go with them.
Build volume versus part size
Size the machine to your largest realistic part, not your largest imagined one. A 220 mm cube covers most handheld prototypes, a 256 to 270 mm cube covers larger panels and mechanisms, and a 350 mm cube covers full-size mockups that would otherwise need to be printed in sections and bonded together.
Leave headroom for multi-colour work. A purge tower consumes plate area, so a job that fits on paper can fail to fit once colour changes are included. If you plan to print many colours, size up.
Enclosure and heated chamber
An enclosure holds heat in and fumes out; a heated chamber goes further and keeps the air hot enough for the toughest filaments. If ABS, ASA, PA or PC appear anywhere in your material list, skip open-frame machines entirely.
Look for a carbon filter or HEPA filtration if the machine will run in a shared space. Engineering-grade filaments produce an unpleasant smell, and that is a reason people stop printing rather than a technical footnote.
Multi-material systems and purge waste
There are two architectures, and the difference in waste is large. AMS and CFS style units feed multiple spools into one nozzle and purge between colours, which costs filament, time and plate area on every change.
Toolchanger systems swap preloaded, preheated toolheads in seconds instead, so colour and material changes cost almost no filament. If your prototypes repeatedly change material or colour, that difference shows up in cost per part within weeks.
Reliability, servicing and parts
Users care most about failure rate and downtime, not headline speed. Long-term owners put availability of spare parts, self-repairability and hotend accessibility near the top of their list, and hotend servicing difficulty is a recurring complaint about machines whose toolheads are hard to reach.
Check the warranty length and whether firmware is open source. Print farm operators in particular distrust forced cloud accounts, and a machine that requires a permanent vendor login is a liability for confidential design work. If you are still deciding on a first machine rather than a dedicated prototyping unit, our guide to 3D printers under 500 dollars is a useful starting point, as is our pick for small-detail machines if your parts are miniature.
One machine or several
For a single designer, one enclosed machine handles the whole cycle. For a small team running many iterations, several mid-range machines often beat one expensive one, because a queue of four cheaper printers running overnight delivers more design cycles per week than one printer working alone.
That reasoning also applies to mixed fleets. An open-frame machine for PLA proof-of-concept work and an enclosed machine for ABS functional parts is a common and effective pairing, provided you can live with the two different slicer workflows.
Frequently Asked Questions
Which 3D printer is best for prototyping?
For most teams, a fully enclosed FDM machine with automatic bed leveling and a direct drive extruder is the best 3D printer for prototyping, because it delivers repeatable functional parts without constant adjustment. In our testing the ELEGOO Centauri Carbon 2 Combo is the strongest all-round option, while the Creality K2 Plus Combo leads for engineering-grade materials and oversized parts. Add a resin machine only when surface finish matters more than part strength.
Is 3D printing a good way to make prototypes?
Yes, for most hardware work. A printed part appears in hours rather than the weeks a machine shop needs, so a fit or tolerance error is caught on one design cycle instead of three. The trade-off is that FDM prototypes carry visible layer lines and small dimensional variation, so fit checks need slightly generous allowances. Resin prototypes give better surface finish and finer detail, at the cost of a messier, ventilated workflow.
What is the best 3D printer for engineering prototyping?
Engineering prototyping needs an enclosed machine with a heated chamber, an all-metal hotend and direct drive. The Creality K2 Plus Combo reaches a 60 C chamber and a 350 C hardened nozzle across a 350 mm build volume, and the Flashforge Creator 5 Pro adds four preheated toolheads and a 65 C chamber for mixed rigid, flexible and carbon-filled parts in one job. Both hold layer bonding far better than open-frame machines.
FDM or resin for prototyping?
Use FDM for functional parts because it is cleaner, safer indoors and produces parts that can be drilled, tapped and loaded. Use resin when surface finish, fine features or snap-fit geometry decide the outcome, since a 4K mono screen resolves details filament cannot. Resin also requires gloves, ventilation, post-curing and manual support removal, which is why many teams keep one machine of each type rather than choosing between them.
Which 3D printer is best for printing small parts?
Small parts reward dimensional accuracy and a small XY footprint, so a machine with a 49-point bed leveling routine and a short purge path works well. The Anycubic Kobra X uses 49-point calibration and a 260 mm cube while staying quiet on an office desk, and the ELEGOO Mars 5 covers small resin details on a 4K mono screen. Thin walls and small holes still need generous tolerances in any material.
Do I need an enclosed 3D printer for prototyping?
Only if your prototypes use ABS, ASA, nylon or polycarbonate. Those materials warp and split on an open frame because the layer cools too fast, which is a frequent complaint from users who learn it the hard way. PLA, PETG and TPU prototype reliably on open machines, so an enclosure is a materials decision rather than a quality decision. A carbon filter matters too if the machine runs in a shared room.
Conclusion: Which 3D Printer Should You Buy for Prototyping?
The ELEGOO Centauri Carbon 2 Combo is our pick as the best 3D printer for prototyping overall. It is enclosed, fast, holds calibration without intervention, and carries the largest review base in this roundup at more than 2,500 ratings, with owners reporting hundreds of hours of consistent output.
Choose the Creality K2 Plus Combo if your parts are large or your material list runs to ASA, PPA and carbon composites. Choose the Bambu Lab A1 if the priority is the shortest, cheapest path to a first functional part. For mixed rigid and flexible work in a single job, the Flashforge Creator 5 Pro and the Snapmaker U1 both swap nozzles instead of purging filament, which is the cheapest way to cut purge waste.
Whichever you pick, judge it on repeatability rather than peak speed. The machine that prints the same part twice, fails rarely and holds its materials is the one that will shorten your design cycle in 2026.