
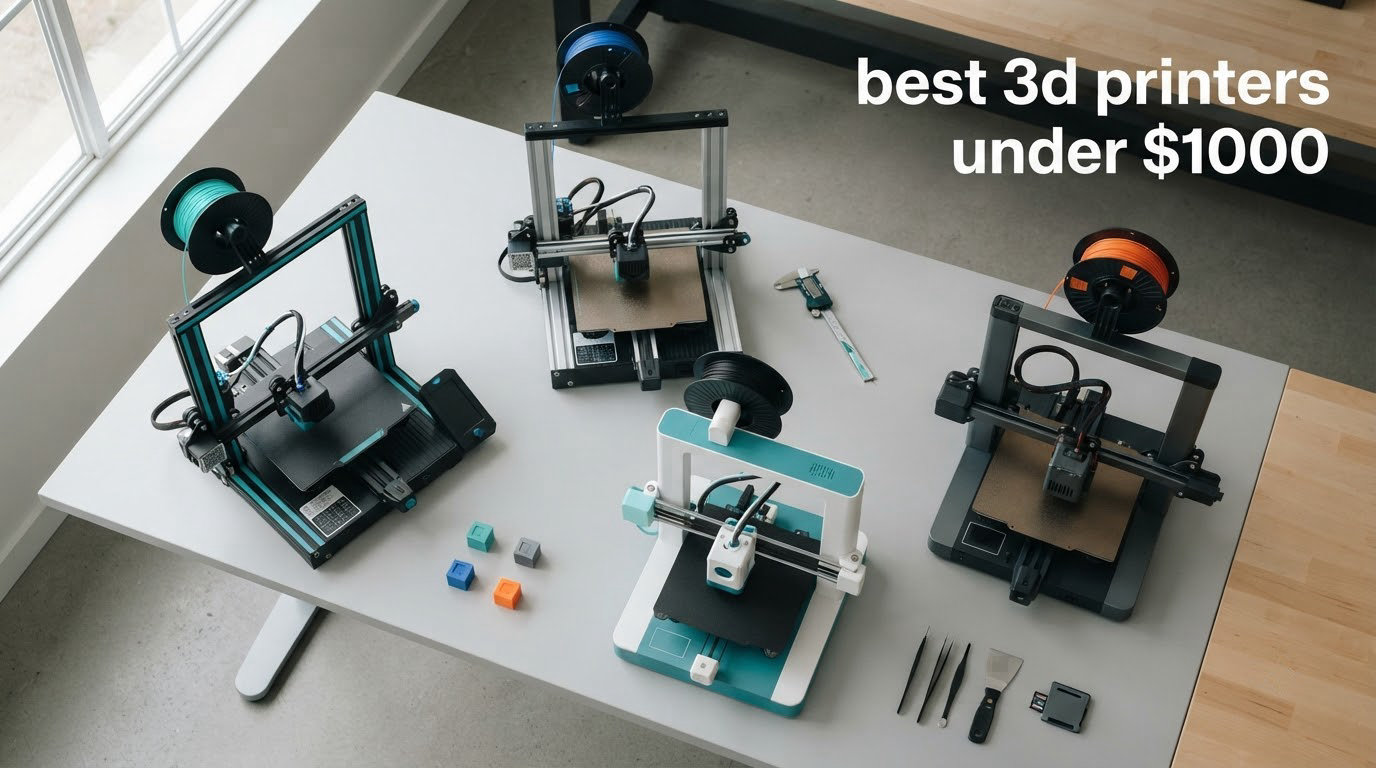
If you want one printer that simply works, the Bambu Lab A1 is the best 3D printer under 1,000 Dollars in 2026 for most people. It auto-levels, prints out of the box with no assembly beyond plugging it in, and carries the highest average rating in our group across more than 670 owner reviews. Everything else on this list is a specialist version of that same idea, and several of them cost several times as much.
That is the honest shape of this price bracket in 2026. A thousand dollars buys an enclosed chamber, a heated bed, CoreXY travel speeds of 500 to 600 mm/s, a camera, Wi-Fi, and in some cases a multi-spool feeder that automates color changes. None of that was true of hobby printers three years ago. What it did not buy is guaranteed perfection, and the machine that prints the best parts for your project is rarely the most expensive one on the shelf.
Our team pulled eight machines that sit inside this ceiling, read the owner feedback closely, and ranked them on the things buyers actually complain about: whether the first layer sticks, whether you have to babysit it, what filament it takes, and what it costs to keep running. We also flagged, for every pick, who it is wrong for. If you are still narrowing the field, start with our beginner printer guide and our printer picks for miniatures before you commit.
Table of Contents
Top 3 Picks for the Best 3D Printers Under 1,000 Dollars in 2026
The Bambu Lab A1 wins because the deciding factor for most new owners is not peak speed or build volume. It is how many prints get ruined before the machine feels familiar. The P1S and K1C take the next two spots for people who already know what they are doing and want an enclosed machine with genuine throughput.

Bambu Lab A1
- Full-auto calibration with auto Z-offset
- 10000 mm/s2 acceleration
- AMS lite multi-color option
- Touchscreen and phone app

Bambu Lab P1S
- Fully enclosed chamber
- 500 mm/s with 20
- 000 mm/s2 acceleration
- Built-in camera
- PLA through ASA plus PA and PC

Creality K1C
- 600 mm/s CoreXY travel
- Tri-metal unicorn nozzle for abrasive filaments
- One-tap auto calibration and Z-offset
- 45 dB silent mode
Quick Overview: Best 3D Printers Under 1,000 Dollars in 2026
Two of these machines sit far below the ceiling, and that is deliberate. Four of them exceed it once you add a multi-spool feeder, which is where most of the confusion in this category comes from. The table below is the whole lineup with the differentiating spec for each.
| Product | Specifications | Action |
|---|---|---|
| Bambu Lab A1 |
|
Check Latest Price |
| Bambu Lab P1S |
|
Check Latest Price |
| Creality K1C |
|
Check Latest Price |
 Creality K2 Pro Combo Creality K2 Pro Combo |
|
Check Latest Price |
 FLASHFORGE Creator 5 Pro FLASHFORGE Creator 5 Pro |
|
Check Latest Price |
 FLASHFORGE Adventurer 5M Pro FLASHFORGE Adventurer 5M Pro |
|
Check Latest Price |
 ELEGOO Mars 5 Ultra ELEGOO Mars 5 Ultra |
|
Check Latest Price |
 Creality Ender 3 V3 SE Creality Ender 3 V3 SE |
|
Check Latest Price |
1. Bambu Lab A1 – Best 3D Printer Under 1,000 Dollars for Beginners
Bambu Lab A1 3D Printer, Ready-to-Use FDM 3D Printer for Beginners and Kids
10,000 mm/s2 acceleration
Auto leveling and auto Z-offset
AMS lite multi-color
22 pounds
Pros
- Highest average rating in our group at 4.7 across 671 reviews
- Full-auto calibration removes manual leveling and Z-offset steps
- Prints reliably from unboxing with no assembly
- Quiet operation from active motor noise cancellation
- 22 pounds makes it easy to move or shelve
Cons
- Open frame cannot print ABS or ASA reliably without an enclosure
- AMS lite is a separate purchase
- Closed-source slicing software is disliked by some experienced users
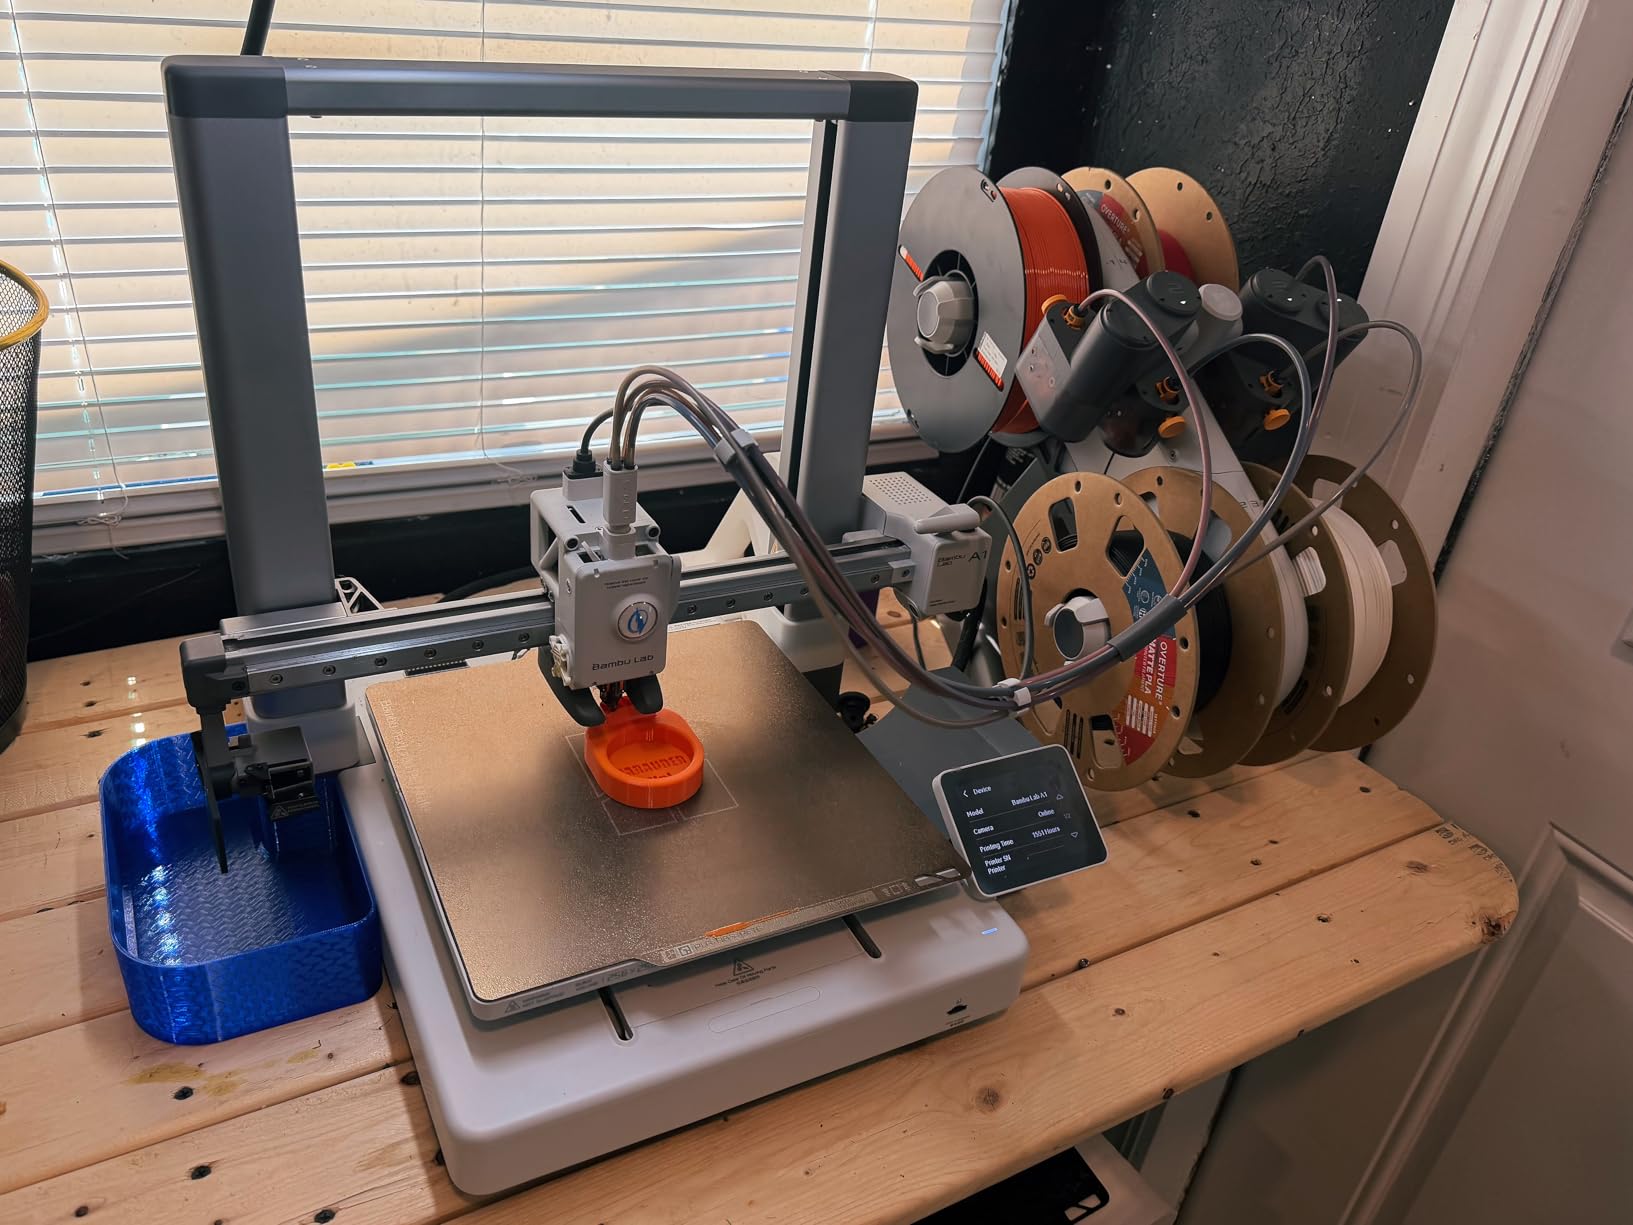
I put the A1 first because it answered more first-week questions than anything else I looked at. There is no assembly, no manual leveling, and no first-run calibration ritual. The machine levels the bed, sets its own Z-offset, and starts printing, which removes the exact failure point that forum threads name most often when beginners describe a bad first month.
The engineering underneath is more serious than the price suggests. Acceleration is rated at 10000 mm/s2, there is active flow rate compensation to keep extrusion consistent, and a one-clip quick swap nozzle makes changing a clogged hotend a thirty-second job rather than a teardown. It also carries a touchscreen, which sounds minor until you realize how much faster local control is than digging out your phone.
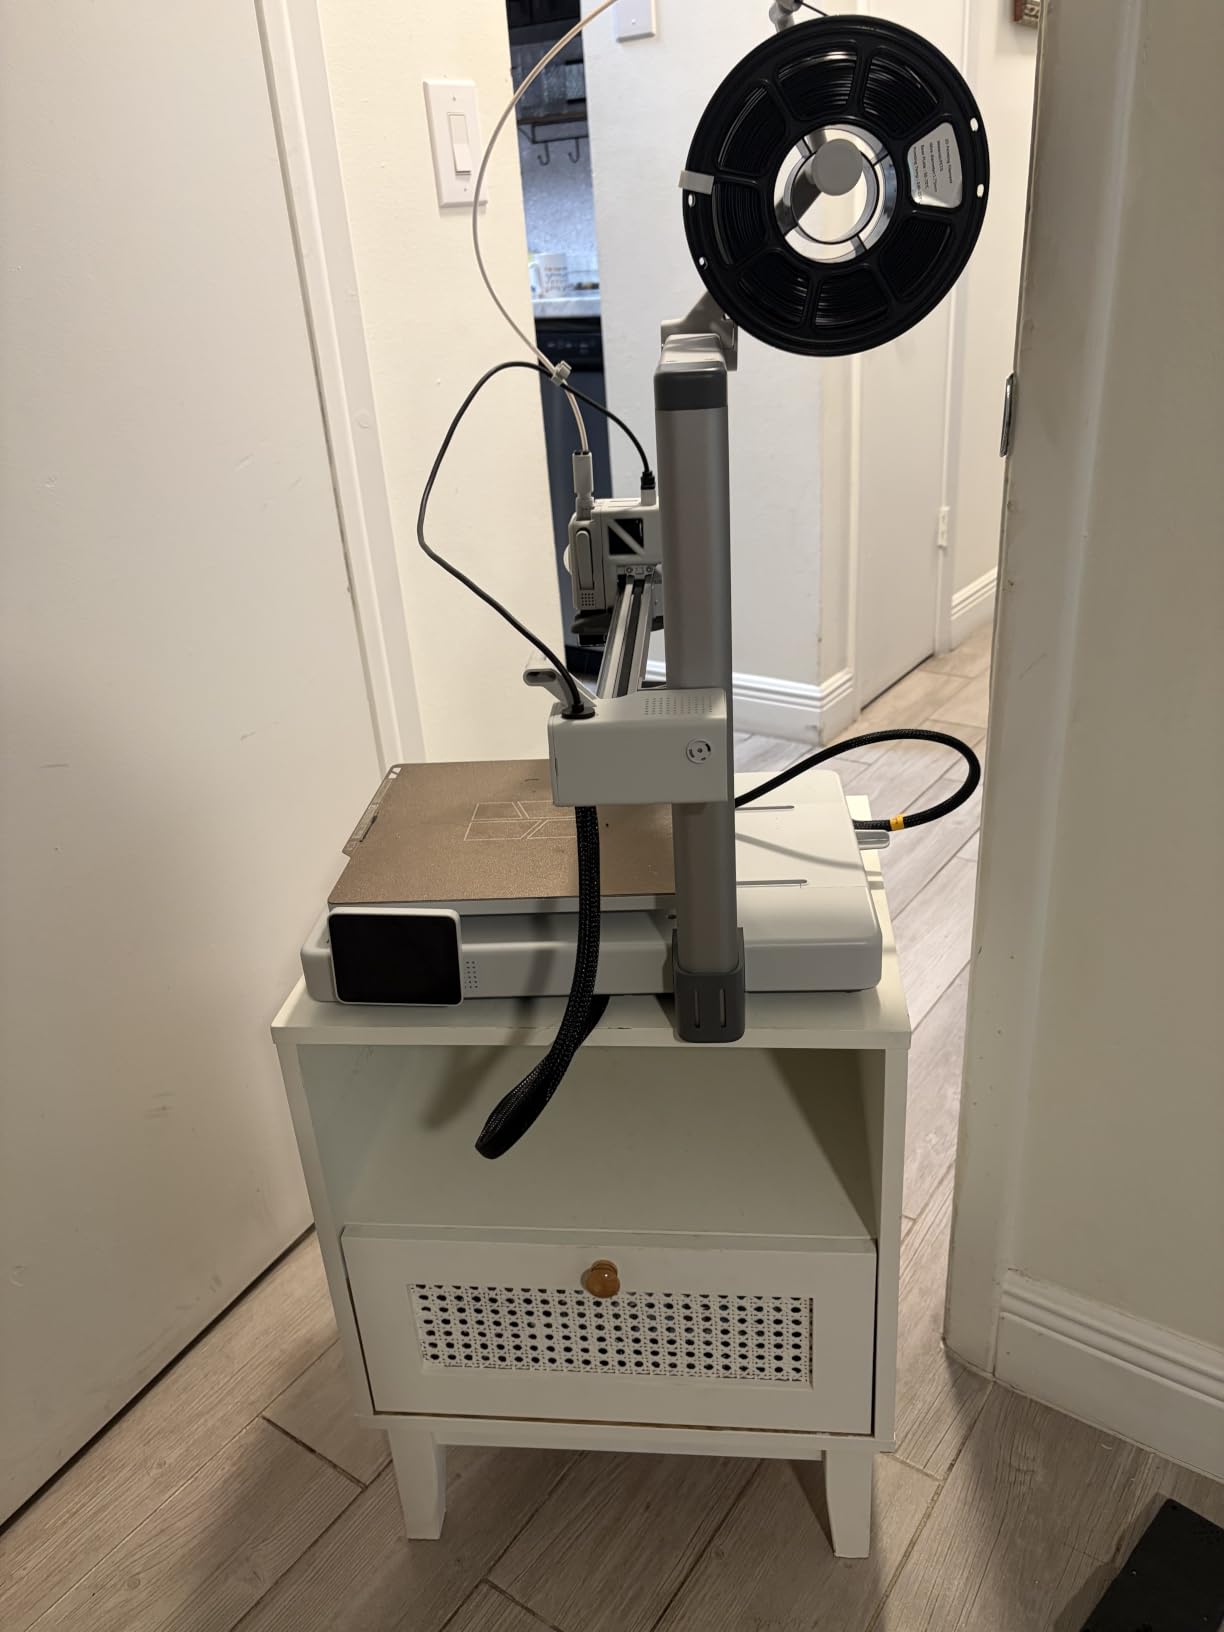
Multi-color is available through the AMS lite feeder, and owners frequently describe buying a second machine rather than upgrading. The strongest regret in the owner feedback is not the printer itself. It is people wishing they had ordered the bundle version with the feeder attached from day one, since retrofitting it later is the main thing people redo.
One detail worth knowing before you order: the A1 ships as an open-frame machine. It handles PLA, PETG and TPU beautifully, but ABS and ASA need a heated chamber this chassis does not have. A small number of machines also report a Z-axis fault on first power-up that traces back to a loose USB-C connector, which is a two-minute fix if it happens to you.
Who the Bambu Lab A1 suits best
It suits anyone buying their first printer, families sharing a machine, and classrooms where a student needs to start printing without supervision. If you mostly make phone cases, planters, hooks, organizers and small functional parts, this is the right machine and the rest of this list is money you do not need to spend.
It also suits people who want multi-color without managing a feeder themselves. The AMS lite handles the color changes and dries filament as a side benefit, which is the single feature most likely to make you actually print in color rather than owning a machine you keep printing gray parts on.
Who the Bambu Lab A1 suits badly
It suits nobody who prints ABS, ASA or anything else that warps without a heated chamber, and that is a real limitation rather than a nitpick. If your project list runs to outdoor parts, car interiors or anything that has to survive heat, you need an enclosed machine.
It also frustrates tinkerers. The slicer is closed-source and heavily integrated, which is exactly why it works so well for beginners and exactly why people who want to modify firmware profiles or re-tune motion settings tend to move on. If that describes you, read the multi-color and open-source sections of the buying guide before settling.
2. Bambu Lab P1S – Best Enclosed 3D Printer Under 1,000 Dollars for Home Use
Bambu Lab P1S 3D Printer, Ready-to-Use FDM 3D Printer
Fully enclosed body
500 mm/s and 20,000 mm/s2
Built-in camera
PLA through ASA, plus PA and PC
Pros
- Out-of-box ready with roughly 15-minute automated setup
- Enclosed chamber handles ABS and ASA far better than open frames
- 500 mm/s travel speed cuts print times noticeably
- Bambu Studio and the model library streamline the whole workflow
- Built-in camera gives remote monitoring and time-lapse capture
Cons
- No touchscreen
- control runs through the app or slicer
- Camera preview runs at a low frame rate
- Multi-color requires a separately purchased feeder
The P1S is the machine I recommend when someone asks what to print in a spare room without joining a hobby that eats their evenings. It arrives ready to go, sets itself up in roughly fifteen minutes, and the fully enclosed body means ABS and ASA parts stop curling away from the build plate.
Travel speed is rated at 500 mm/s with 20000 mm/s2 acceleration, which is a meaningful jump over anything in the open-frame category and noticeably faster than what a first-time owner is used to. Build plate adhesion out of the box was strong across the owner feedback, and 81 percent of reviewers gave it five stars.
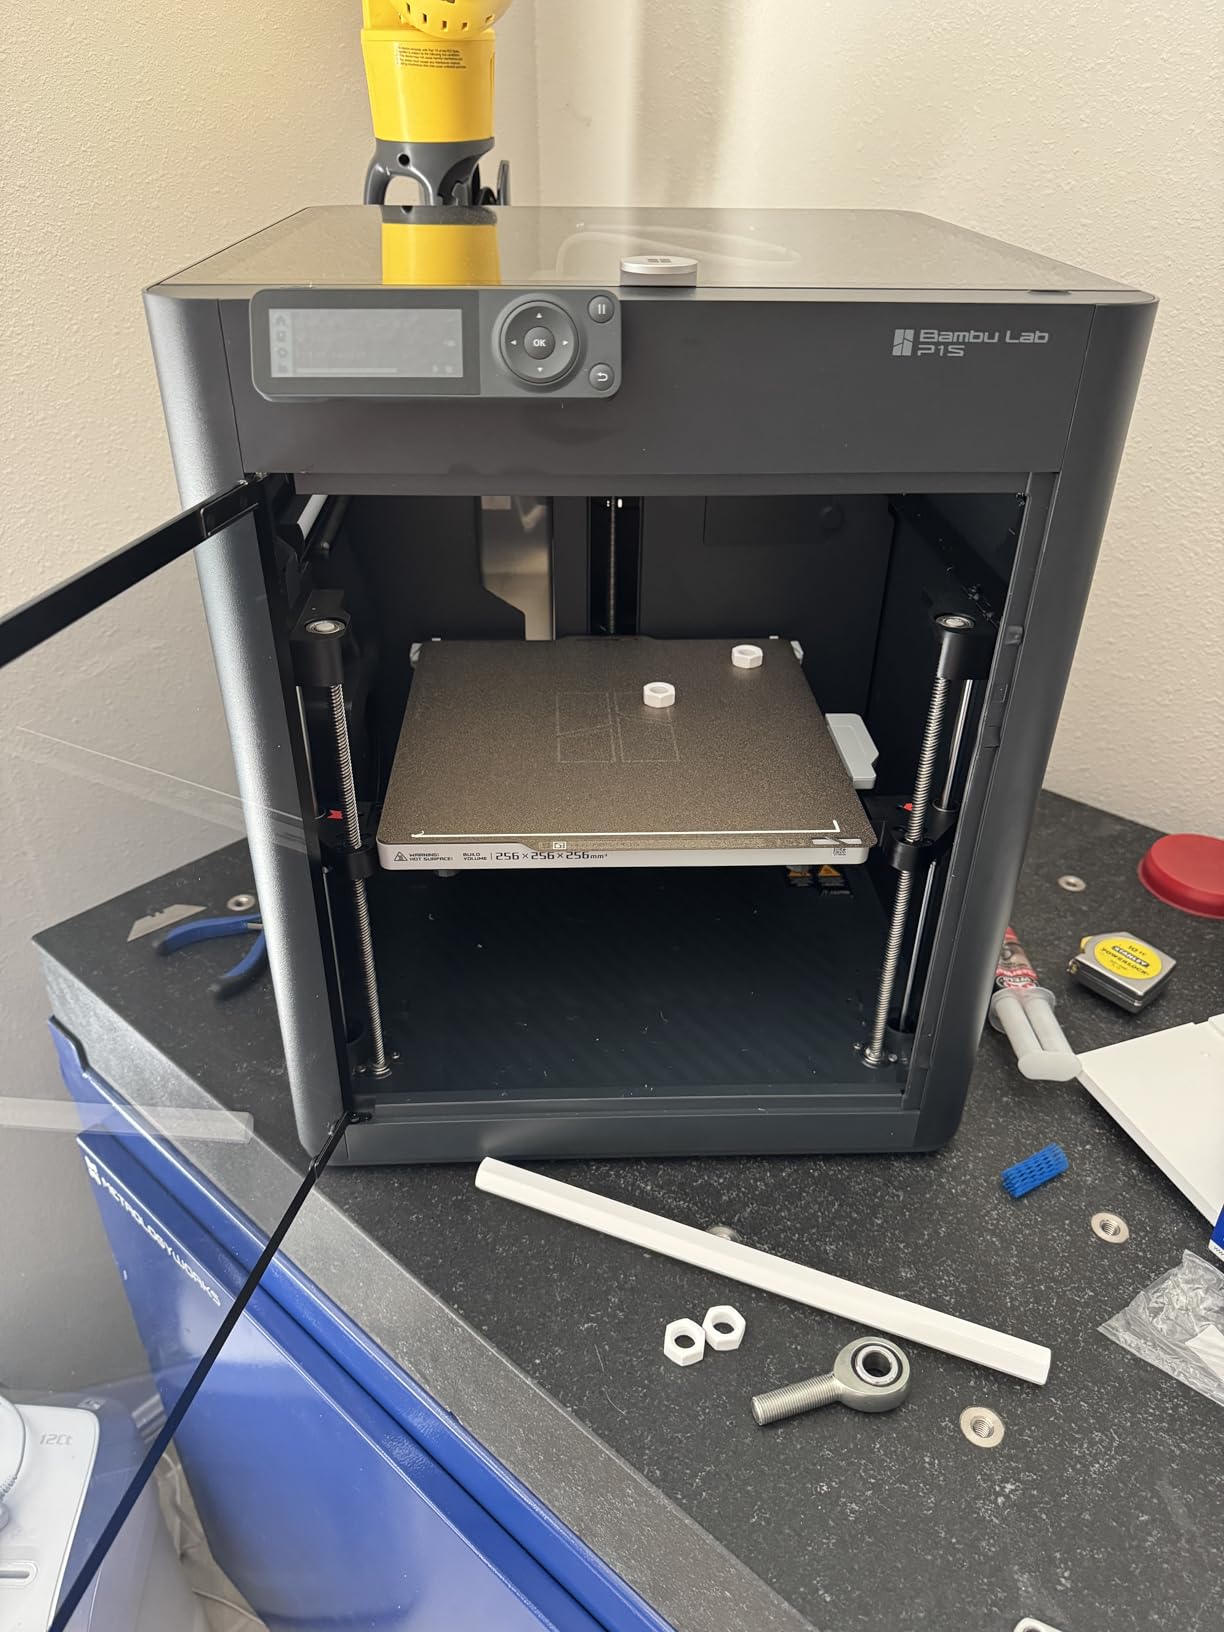
The main workflow difference from the A1 is the enclosure, and it changes what you can make rather than how fast you make it. Materials listed as ideal run from PLA and PETG through TPU, PVA and PET up to ABS and ASA, with capability for PA and PC. Fiber-filled polymers are not recommended, which tells you where the limits sit.
Two things annoy owners. There is no touchscreen, so every job starts from the app or slicer, and the camera preview is low frame rate, which makes it useful for checking on a print rather than watching one. Reviewers also report that silk and translucent filaments clog the hot end on this model, so if iridescent or clear filament is your goal, buy a hardened nozzle first.
What the P1S gets right for home use
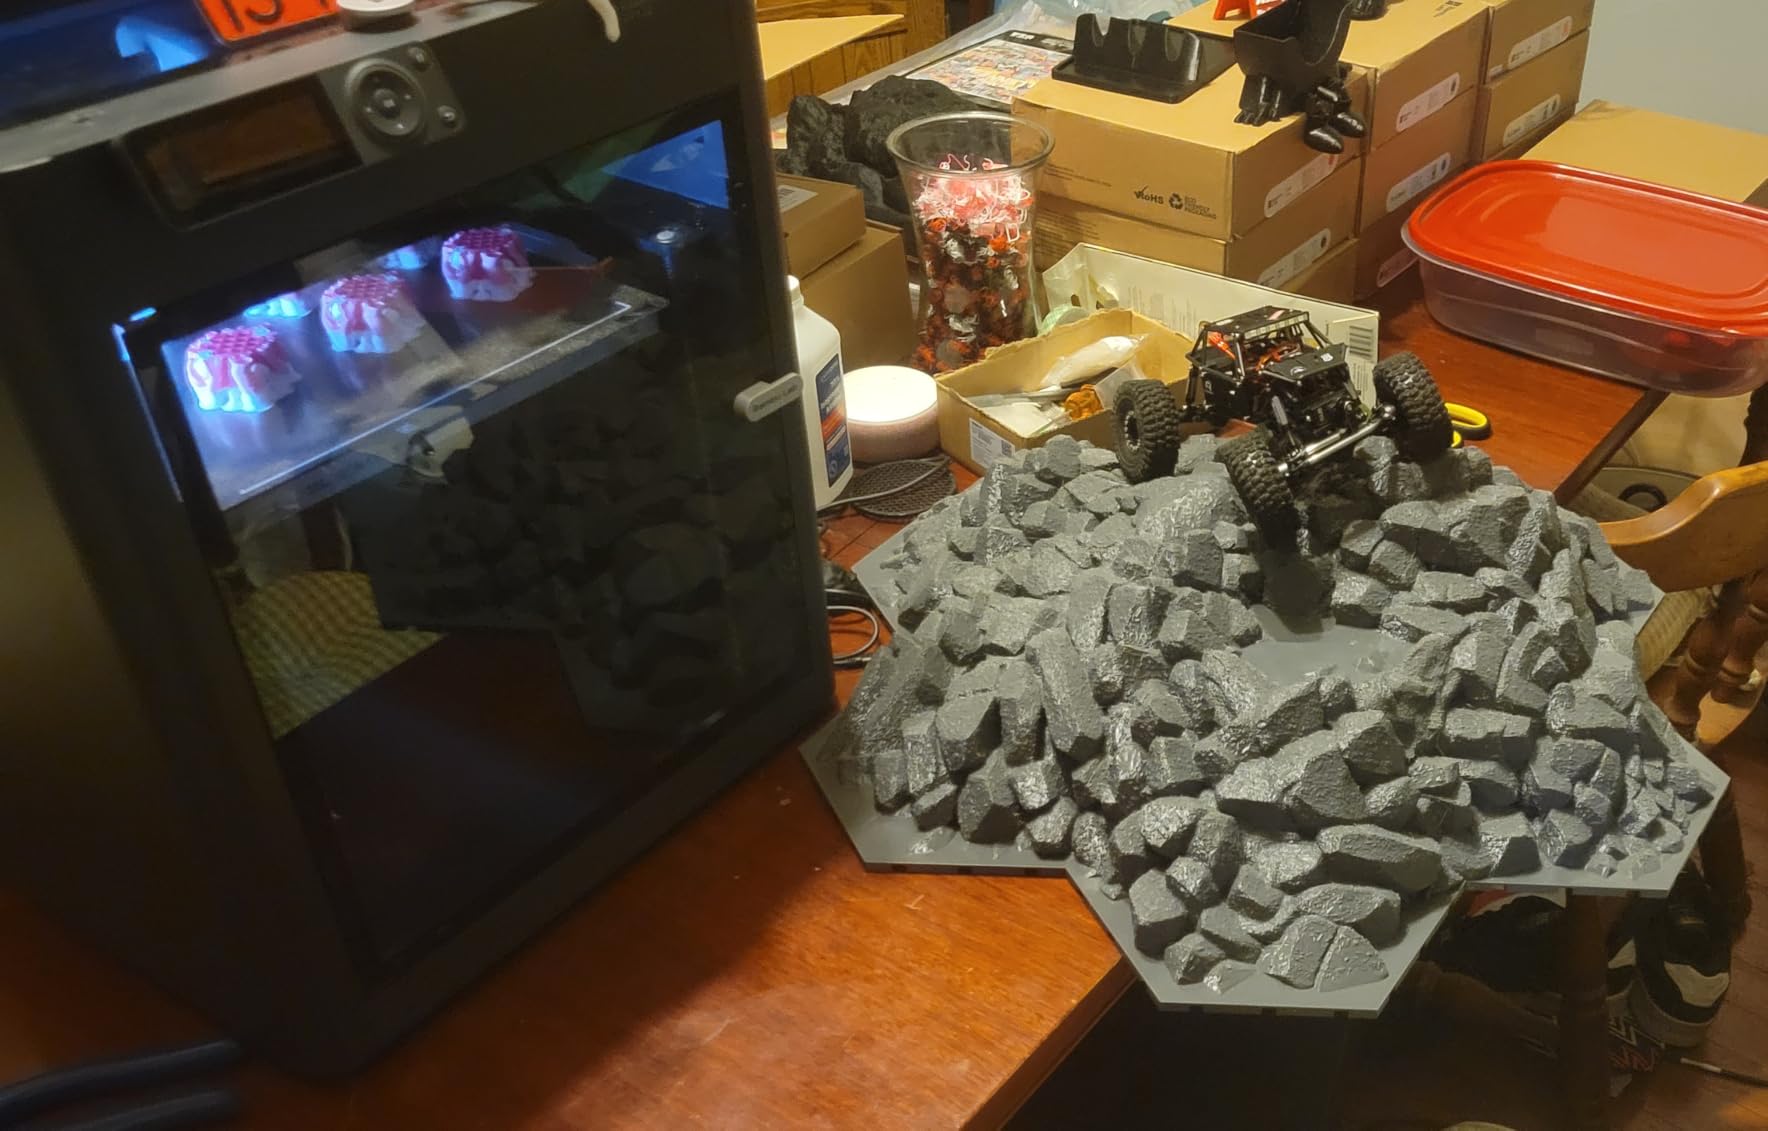
It handles the materials people actually want in a house: PLA for quick models, PETG for functional parts, TPU for grips and bumpers, and ABS or ASA for anything that lives near heat or outdoors. The enclosure is what separates it from cheaper open-frame machines, and it is the reason I keep recommending it as a second machine.
The camera is the quiet win. Being able to check a ten-hour print from your phone while you are at work is the difference between owning a printer and running a printer, and the P1S does it without extra hardware.
Where the P1S falls short
It falls short on multi-material work, because the AMS feeder is a separate purchase that pushes this machine out of a tight budget. It also falls short for anyone who wants local touchscreen control, since the app-and-slicer workflow is the only route in.
If your projects are small and mostly decorative, the A1 handles them at a fraction of the outlay with better owner satisfaction scores. The P1S earns its place when the enclosure opens up materials the cheaper machine simply cannot print.
3. Creality K1C – Best for Carbon Fiber Filament and the Biggest Support Trail
Creality K1C 3D Printer, 600mm/s with AI Camera and Auto Leveling
600 mm/s CoreXY
20,000 mm/s2 acceleration
Tri-metal unicorn nozzle
45 dB silent mode
Pros
- 600 mm/s CoreXY travel with 20000 mm/s2 acceleration
- Tri-metal nozzle handles abrasive and high-temperature filaments
- One-tap auto calibration and automatic Z-offset
- Balanced printhead fan reduces ringing and ghosting
- 45 dB silent mode with activated carbon odor filtration
Cons
- Closed Creality OS ecosystem is less open than alternatives
- No multi-material capability
- Camera monitoring is basic next to dedicated app ecosystems
The K1C is the pick to make when support is your top concern, and that concern is legitimate. At more than 2700 owner reviews this is by a wide margin the most examined machine in our group, which means almost any problem you hit has already been diagnosed and answered somewhere by someone who has hit it first.
The hardware is fast. CoreXY motion at 600 mm/s and 20000 mm/s2 acceleration puts real parts on the bed quickly, and the tri-metal unicorn nozzle is the reason to buy it if you intend to print carbon fiber or other filled filaments that chew through a brass nozzle in a weekend.
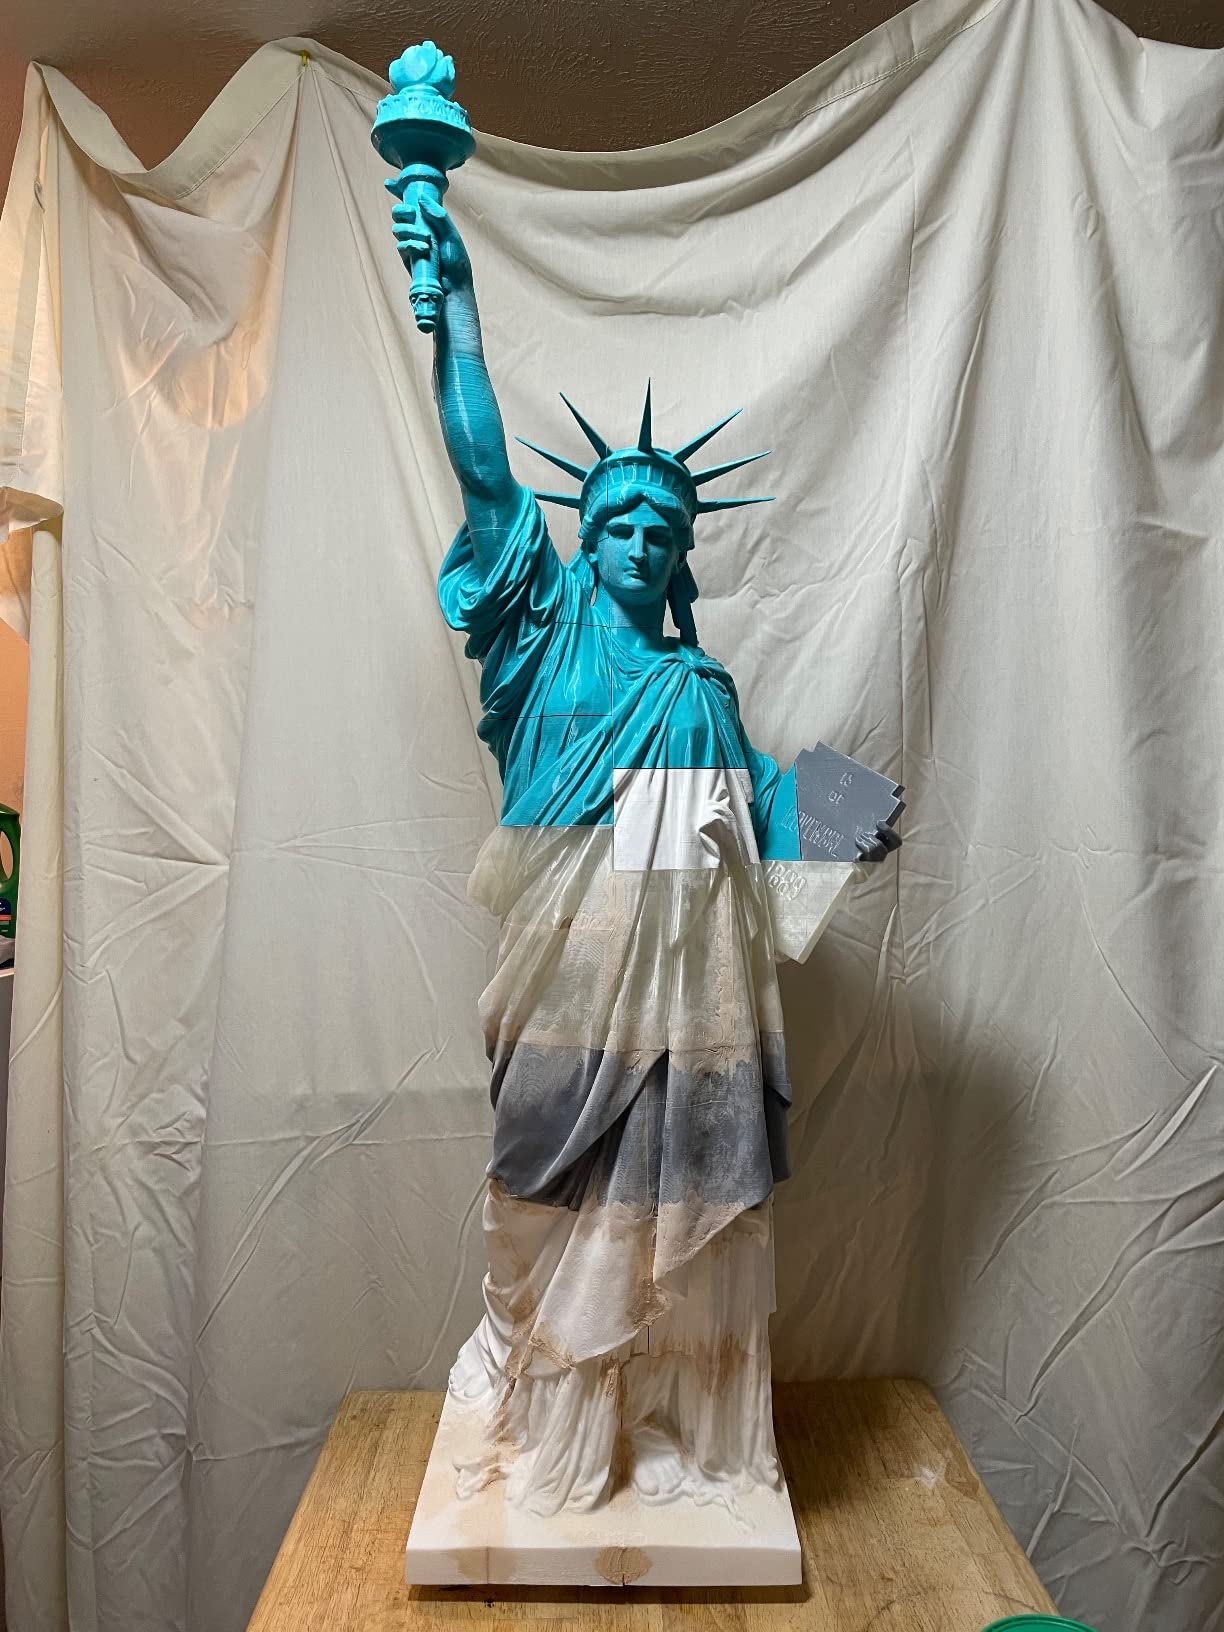
Automation is handled by one-tap auto calibration with automatic Z-offset, and a dynamically balanced printhead fan reduces the ringing artifacts that normally show up on fast prints as faint ghosting on vertical surfaces. Silence mode holds it to 45 dB or below with activated carbon filtration for odor.
The honest criticism is the software. Creality OS is less open than the alternatives, which matters if you want to modify firmware, run custom macros, or avoid a vendor account. Some owners also report firmware quirks or nozzle clogs that need maintenance, and the camera view is simpler than what a dedicated app ecosystem provides.
Where the K1C earns its place
It earns its place for abrasive filaments, high-temperature materials, and anyone who wants a fast enclosed printer with a large body of troubleshooting knowledge behind it. If you are the kind of person who searches a forum before asking a question, that search index is a genuine product feature.
It also suits batch printing of many small functional parts, where 600 mm/s travel speed across a large bed pays for itself in fewer babysitting hours.
Where the K1C is the wrong choice
It is wrong for anyone who wants multi-color, because a single extruder means every color change is a stop, a swap and a purge. It is also wrong if closed software is a deal breaker for you, and if you cannot find community answers for a model you have never heard of.
It is also simply more machine than a first-time buyer needs. If you plan to print PLA models and small organizers, an open-frame machine with auto leveling will serve you better and cost a fraction of this one.
4. Creality K2 Pro Combo – Best Large-Format 3D Printer Under 1,000 Dollars
Creality K2 Pro Combo (A) 3D Printer, Multicolor Color Printing with CFS, 600mm/s High-Speed, Dual AI Camera, Active Chamber Heating, Auto Leveling, Large Build Volume 300×300×300mm
300 x 300 x 300 mm build volume
CFS 16-color feeder
600 mm/s, 40 mm/s3 flow
Active chamber to 60C
Pros
- 300 mm cube build volume suits batch printing of many small parts
- 600 mm/s with 20000 mm/s2 acceleration cuts print times
- CFS feeder handles up to 16 colors with moisture-proof storage
- Active chamber heating to 60C keeps ASA and PPA stable
- Dual AI cameras cover failure detection and flow tuning
Cons
- 61.6-pound machine needs a dedicated bench
- 17 x 20 x 18 inch footprint is the largest here
- Setup and multi-color learning curve is steeper than simpler machines
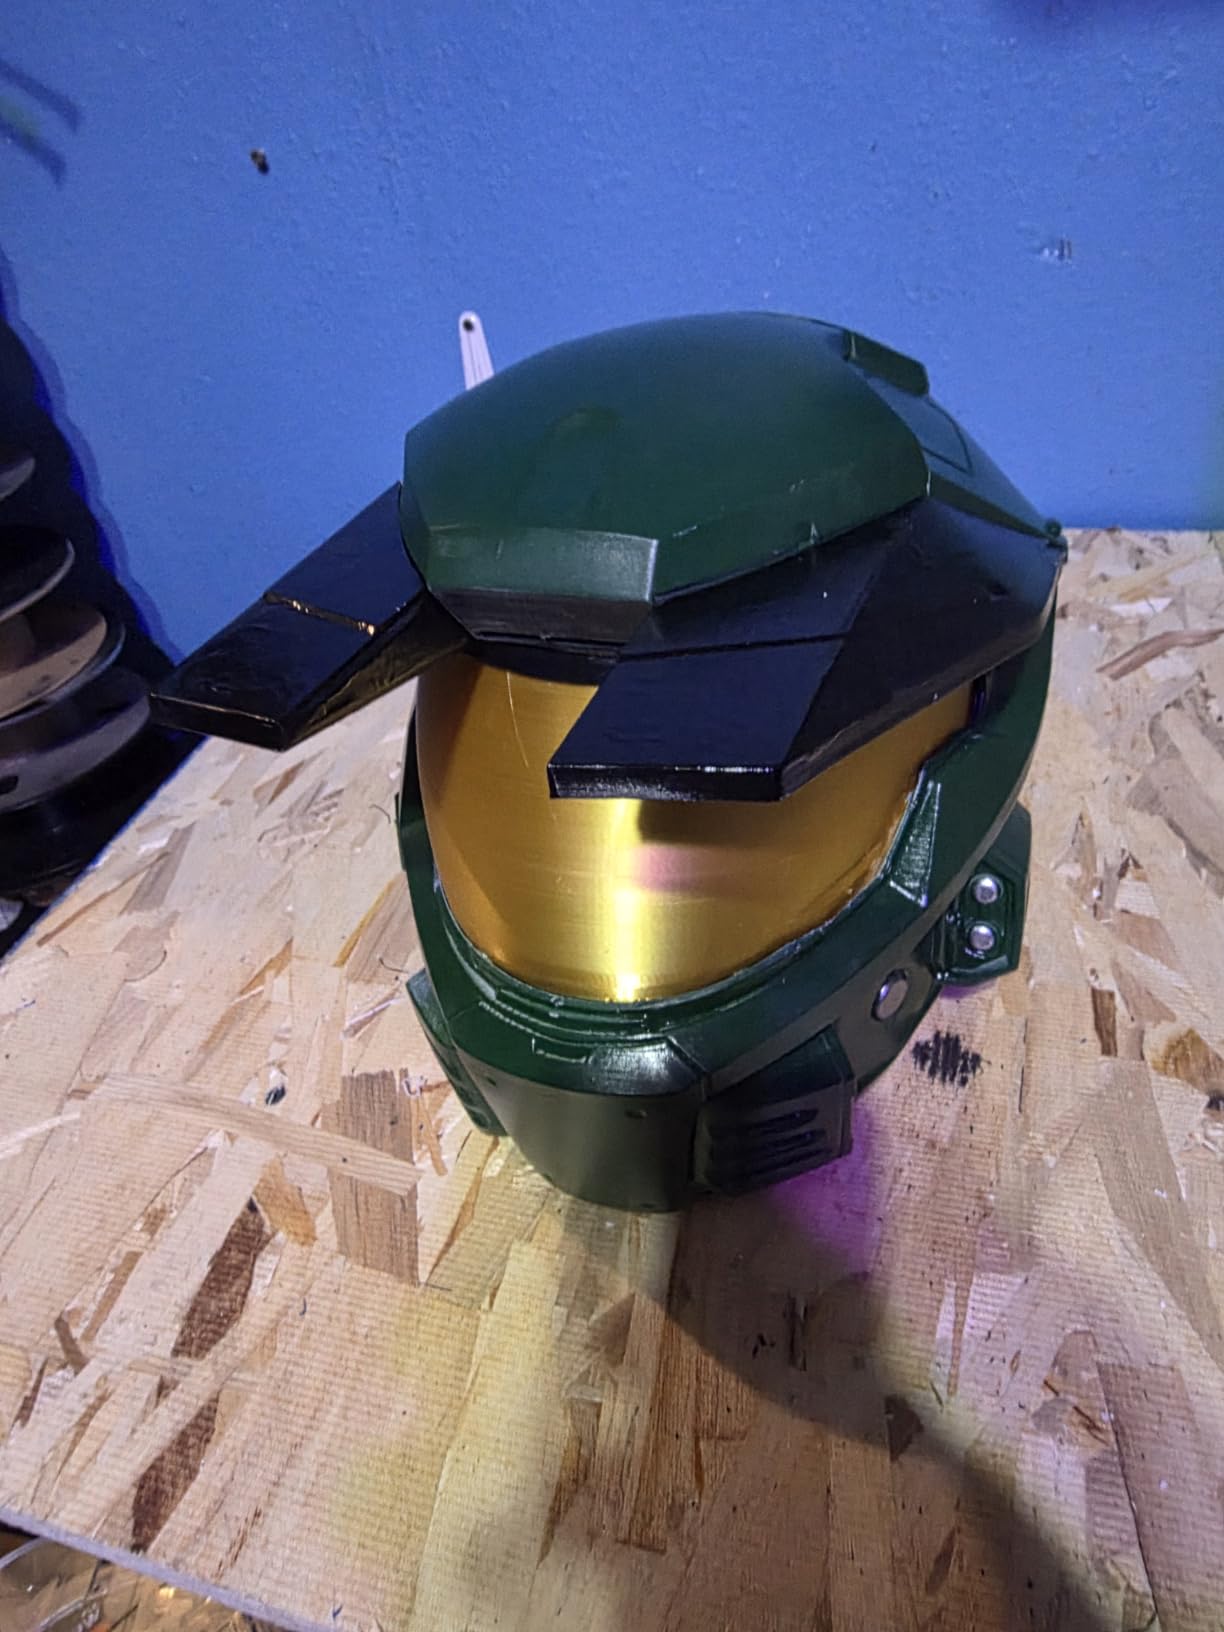
The K2 Pro Combo is the one to look at when your projects are bigger than a small printer can hold. A 300 x 300 x 300 mm build volume means cosplay helmets, large prop pieces, and full batches of small parts all fit in a single run rather than being split across a dozen jobs.
Everything about it is scaled up. Travel speed is 600 mm/s with 20000 mm/s2 acceleration, extrusion flow is rated at 40 mm3/s, and the hotend is a hardened steel geared direct drive with a filament cut sensor and a quick-swap hotend assembly. Supported materials run from PLA and ABS through ASA, PPA-CF and PET-CF composites.
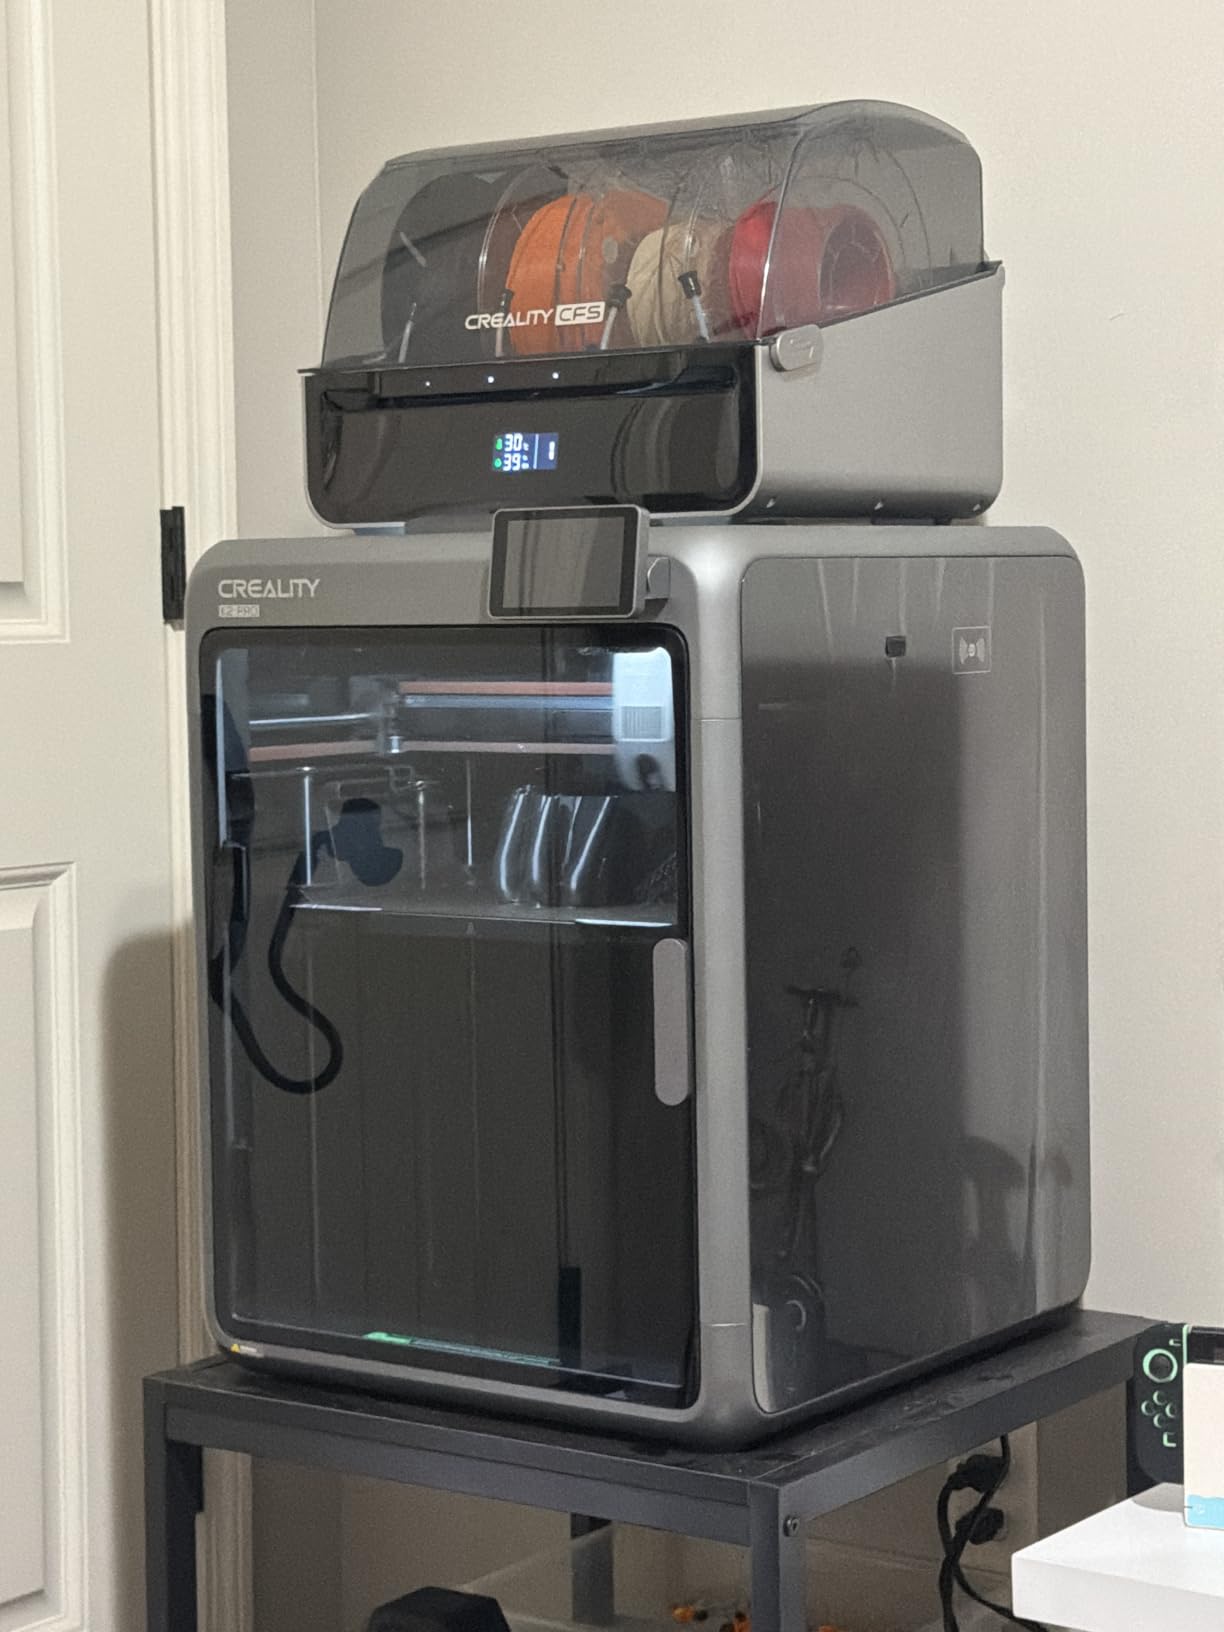
The active chamber heating to 60C is the feature that separates it from a large open frame. Engineering filaments warp without a controlled environment, and this is the machine in the group where that problem is genuinely solved rather than managed. Two AI cameras cover it, one watching the chamber for failures and one watching the nozzle to tune flow in real time.
The CFS smart filament system handles up to 16 colors in moisture-proof storage, so color changes happen without you and filament arrives dry. What it does not do is make the machine simple. Owners report a steeper setup curve than simpler enclosed models, and the 1-star share in our group sits at 17 percent, the highest of the eight.
Who should buy the K2 Pro Combo
It suits cosplay and prop builders, small-batch product runs, and anyone printing batches of small identical parts where print time is the real cost. The 40 mm3/s flow and high acceleration mean large volumes finish faster than the same job on a smaller machine.
It also suits anyone who has outgrown a small printer and does not want to print a helmet in eight stitched sections. The chamber heating and the hardened hotend are what make this a tool rather than a toy.
Who should skip the K2 Pro Combo
Skip it if your desk space is tight. At 61.6 pounds and 17 x 20 x 18 inches, this is a dedicated-bench machine, and it is the heaviest thing in this roundup by a wide margin.
Skip it if you want a walk-away first experience. The setup complexity and the 17 percent one-star share both point the same direction. If you have never printed before, an auto-calibrating smaller machine will get you to a finished part this weekend instead.
5. FLASHFORGE Creator 5 Pro – Best Multi-Color 3D Printer Under 1,000 Dollars
FLASHFORGE Creator 5 Pro Multi-Color 3D Printer,4-Toolheads,Fully Enclosed
Four independent toolheads
7-second color switches
Zero purge waste design
65C chamber, HEPA 13 filter
Pros
- Four independent toolheads print multiple colors and materials in one pass
- Zero purge waste design keeps every gram of filament in the print
- 7-second color switching without flush waits
- Enclosed 65C chamber and 120C bed for warp-free engineering materials
- 55 dB or below with HEPA 13 and carbon filtration
Cons
- Four-toolhead architecture is the most complex to maintain here
- Over 20 inches per side and 39.6 pounds occupies substantial bench space
- Newer listing with a shorter review history
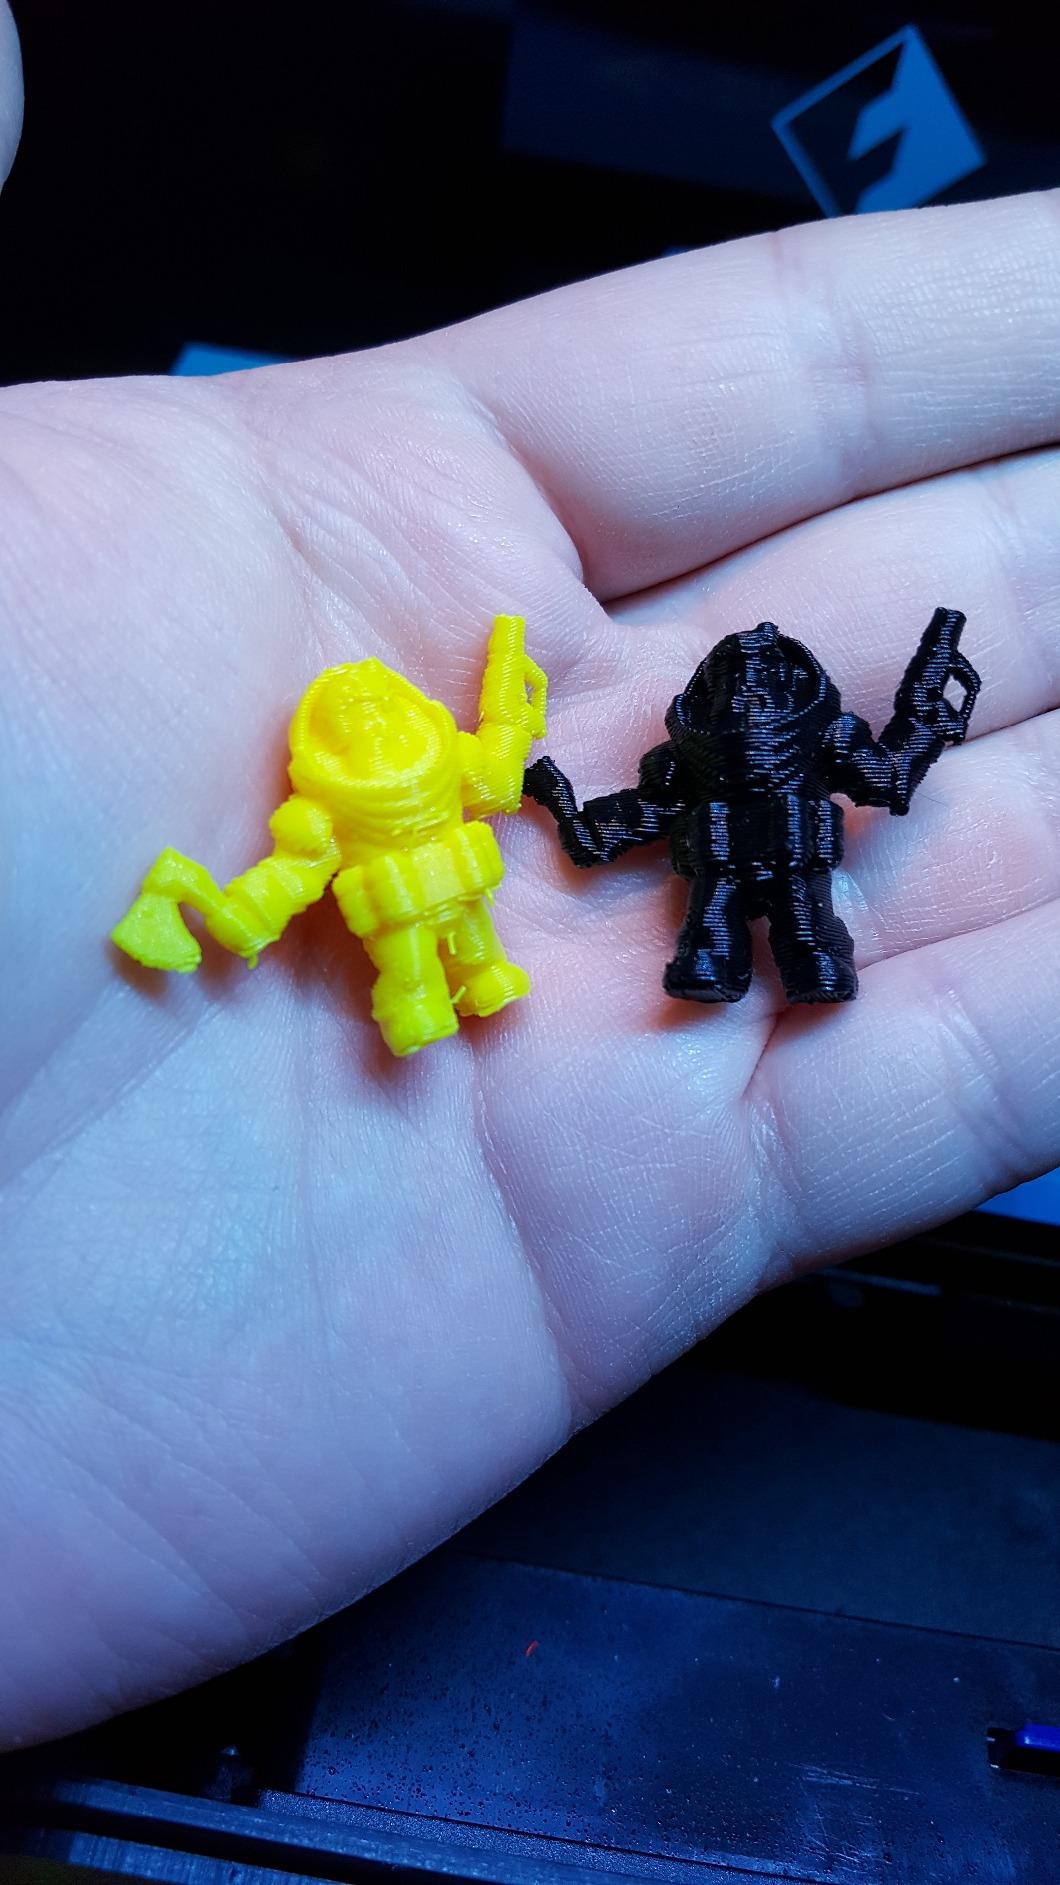
This is the machine for anyone who has decided that single-color printing is the thing they are tired of. Four independent toolheads run in a single pass, so the machine can lay down different colors or different materials without stopping, swapping, and purging.
That last part is the real innovation. Most multi-color machines waste a length of filament every time the color changes. The zero purge design means no flush waste, so a decorative multi-color print costs close to what the same print in one color costs. Color switching takes seven seconds between toolheads.
The motion system is a CoreXY bed rated at 600 mm/s travel and 30000 mm/s2 acceleration, which is the highest acceleration figure in this group. Fully automatic calibration and dynamic flow compensation run per toolhead, so each nozzle stays consistent without manual adjustment as filament batches change.
Materials are the second draw. The chamber is fully enclosed and heated to 65C with a 120C heated bed, and ABS, ASA, PC and Nylon are supported. A HEPA 13 filter paired with activated carbon handles particulates and fumes, and operation stays at 55 dB or below.
When the Creator 5 Pro is the right machine
It is right for signage, painted-scale models, multi-material prototypes, and anyone whose finished part needs two or more colors or materials without looking like a color-blocked mess. The 1339 owner reviews give it the largest review base among the multi-color-capable machines here.
It is also right for high-temperature work, since a 65C heated chamber and 120C bed cover ASA, PC and Nylon that a single-extruder enclosed printer struggles with.
When the Creator 5 Pro is the wrong machine
It is wrong if you only ever print one color. Four toolheads is the most complex hardware in this roundup, with the most surfaces that can need cleaning and the most consumables to keep an eye on.
It is also physically large at over 20 inches per side and 39.6 pounds, and it carries a shorter review history than the established models here. On a first purchase, most people would rather learn one extruder properly than maintain four.
6. FLASHFORGE Adventurer 5M Pro – Best 3D Printer Under 1,000 Dollars for Classrooms and Shared Rooms
FLASHFORGE Adventurer 5M Pro 3D Printer with Camera & Light
Enclosed with HEPA 13 and carbon filtration
600 mm/s CoreXY, 20,000 mm/s2
280C hotend, 32 mm/s3 flow
4.3-inch touchscreen
Pros
- Enclosed
- filtered chamber suited to home
- classroom and office use
- 600 mm/s CoreXY with vibration compensation for clean surfaces
- 280C hotend with 32 mm/s3 flow reaches temperature in 35 seconds
- Three-second tool-free nozzle swaps across four diameters
- Handles carbon fiber as well as standard thermoplastics
Cons
- 32.1 pounds and an enclosed body take more bench space
- Screen and app workflow is less integrated than some rivals
- Run-out and tangle detection still need a manual reload after a stop
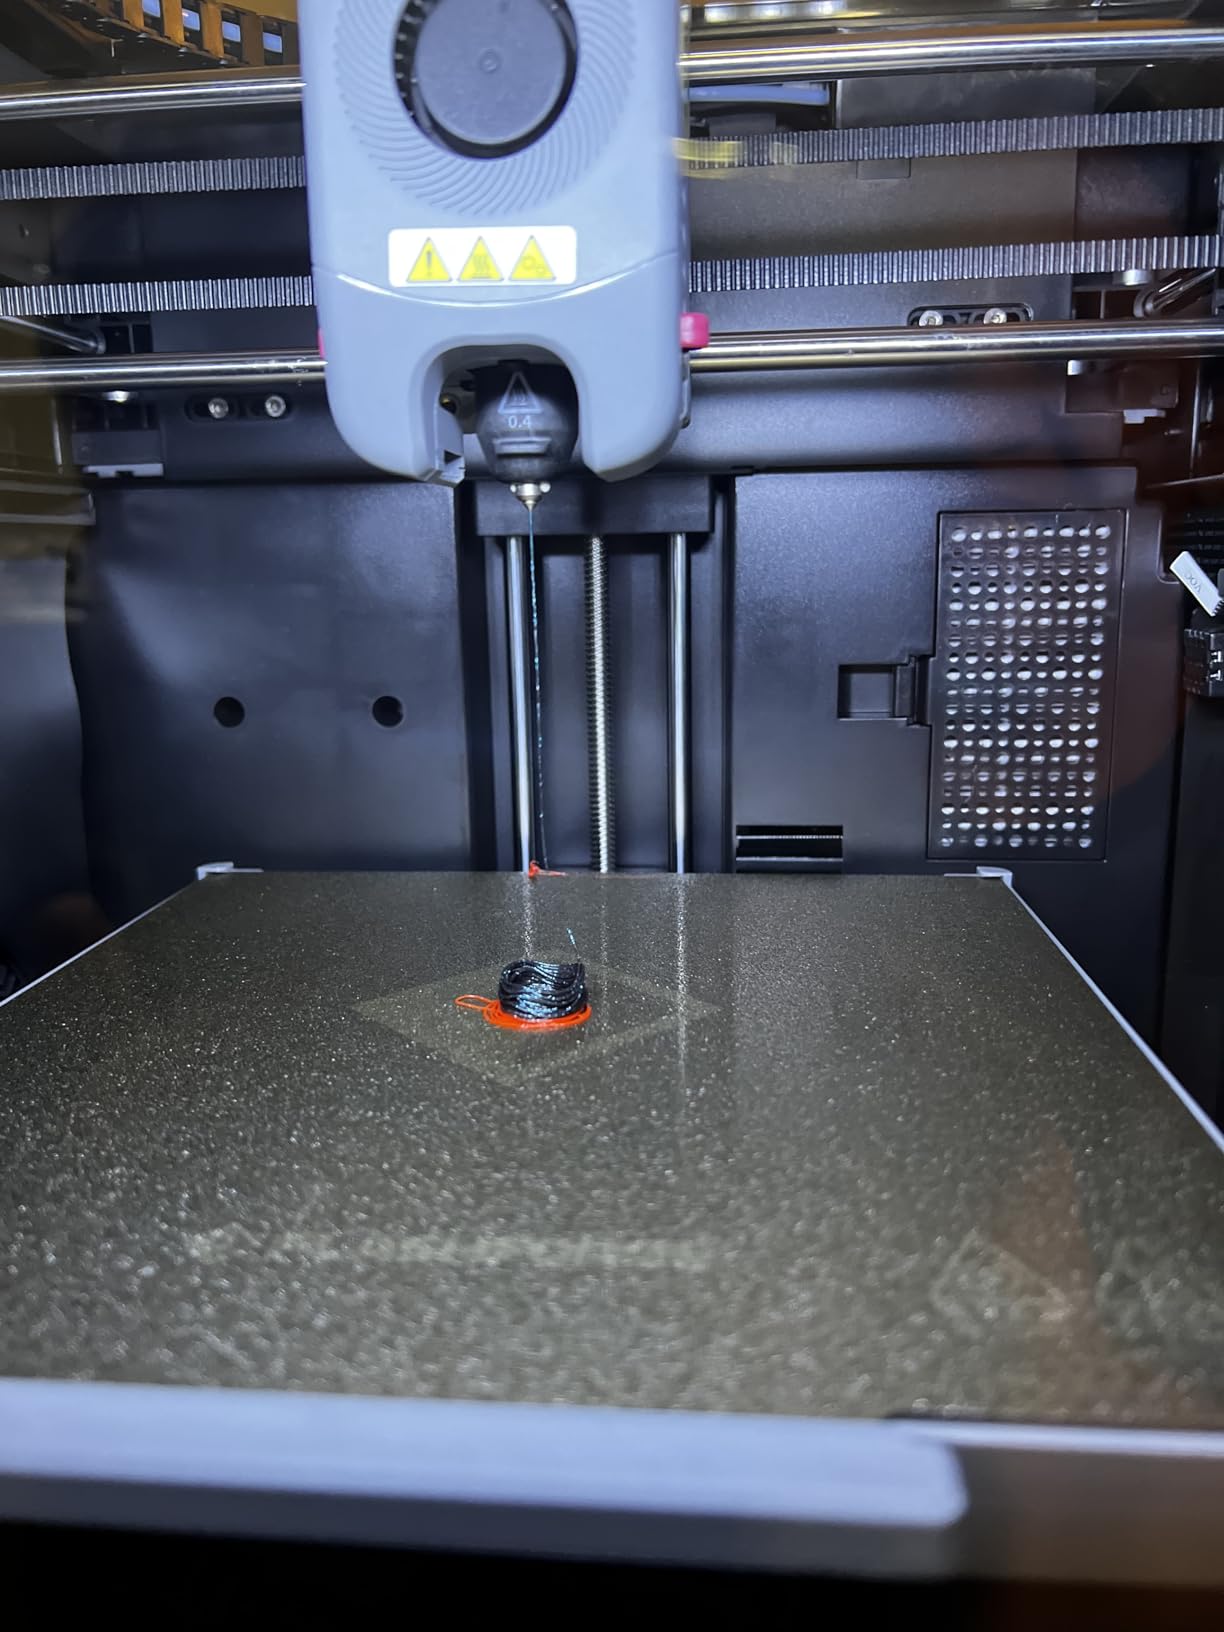
The Adventurer 5M Pro is the pick when the printer will not live alone in a hobby room. A fully enclosed chamber with HEPA 13 and activated carbon dual filtration handles the fumes and particles that make filament printing unwelcome in a bedroom, classroom or small office.
The all-metal CoreXY motion system runs at 600 mm/s with 20000 mm/s2 acceleration and vibration compensation to keep surfaces clean at speed. The 280C direct drive extruder pushes 32 mm3/s and reaches temperature in 35 seconds, which matters more than it sounds when you are cycling through short jobs all day.
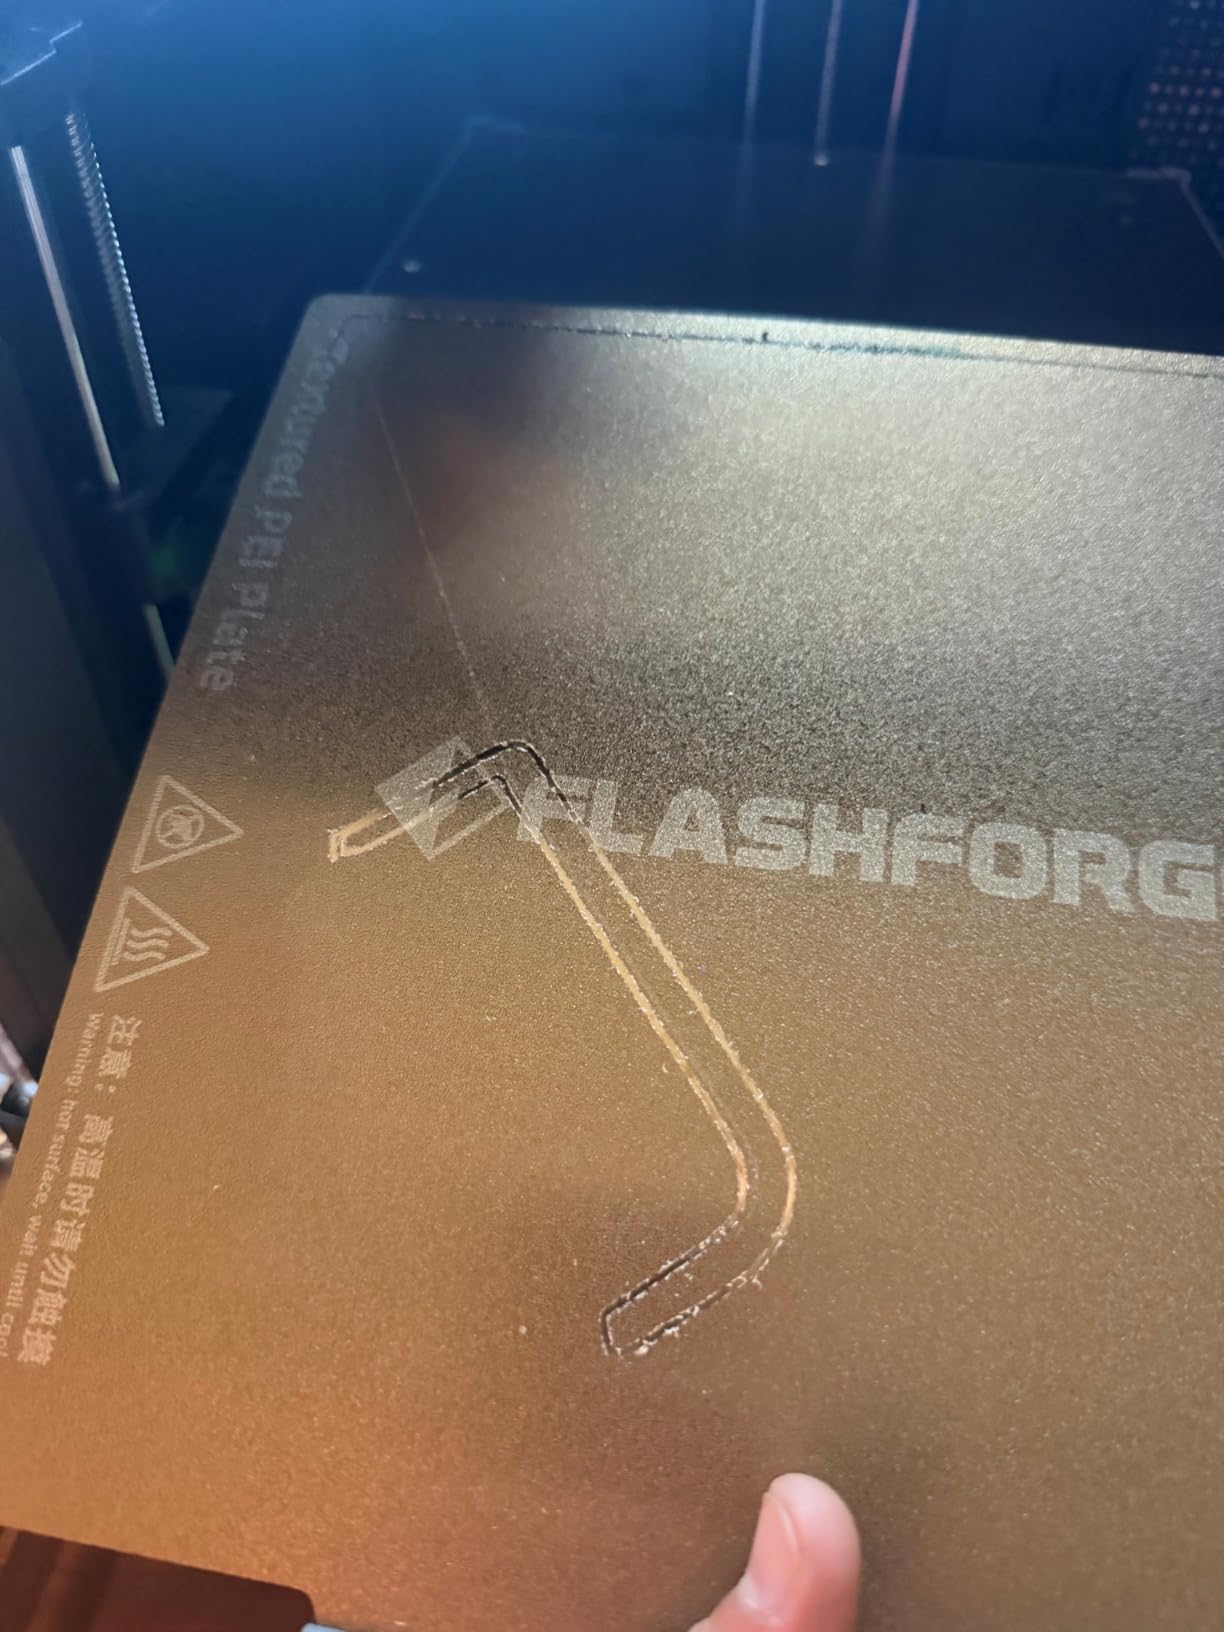
The maintenance story is genuinely good. Tool-free nozzle swaps take three seconds and accept 0.25, 0.4, 0.6 and 0.8mm tips, so switching between fine detail and fast infill does not involve tools or guesswork. One-click pressure sensing handles auto leveling, and there is run-out and tangle detection to catch the two failures that waste the most filament.
Material support is broad: PLA, ABS, PETG, ASA, TPU, PC, PLA-CF and PETG-CF. A 4.3-inch touchscreen, power-off resume and a double-sided PEI build plate round out a setup that takes about ten minutes from box to first layer and carries a one-year warranty.
Where the Adventurer 5M Pro works best
It works best in classrooms, shared makerspaces and any home where someone who is not you has to tolerate the noise and smell. Dual filtration and an enclosed chamber solve a problem open-frame machines create, and quiet operation at 50 dB or below keeps it civil.
It also suits anyone who prints a lot of short jobs, because the fast hotend and instant nozzle swaps remove the two biggest time sinks between prints.
Where the Adventurer 5M Pro falls down
It falls down on footprint. At 32.1 pounds with an enclosed body it needs more bench than an open-frame machine, and it will not stack into a small office corner the way the A1 does.
It also falls down for anyone who wants multi-color, since there is a single extruder here, and for people who want the tightest possible app integration. Owners commonly note that the screen and app feel less polished than competing ecosystems, and after a run-out or tangle stop you still reload by hand.
7. ELEGOO Mars 5 Ultra – Best Resin 3D Printer Under 1,000 Dollars for Detail Work
ELEGOO Mars 5 Ultra Resin 3D Printer
7-inch mono LCD at 9K
18 micron XY resolution
Up to 150 mm/h tilt release
AI camera and residue sensor
Pros
- Resin detail that filament machines cannot approach
- 18 micron XY resolution captures fine surface texture
- 150 mm/h tilt release roughly halves print time versus earlier models
- Self-leveling build plate removes the most common beginner frustration
- AI camera plus residue and resin shortage sensors reduce failed prints
Cons
- Requires washing
- curing and hand-painting after printing
- Resin handling demands gloves and good ventilation
- Small build plate and an unhinged lid must be fully removed
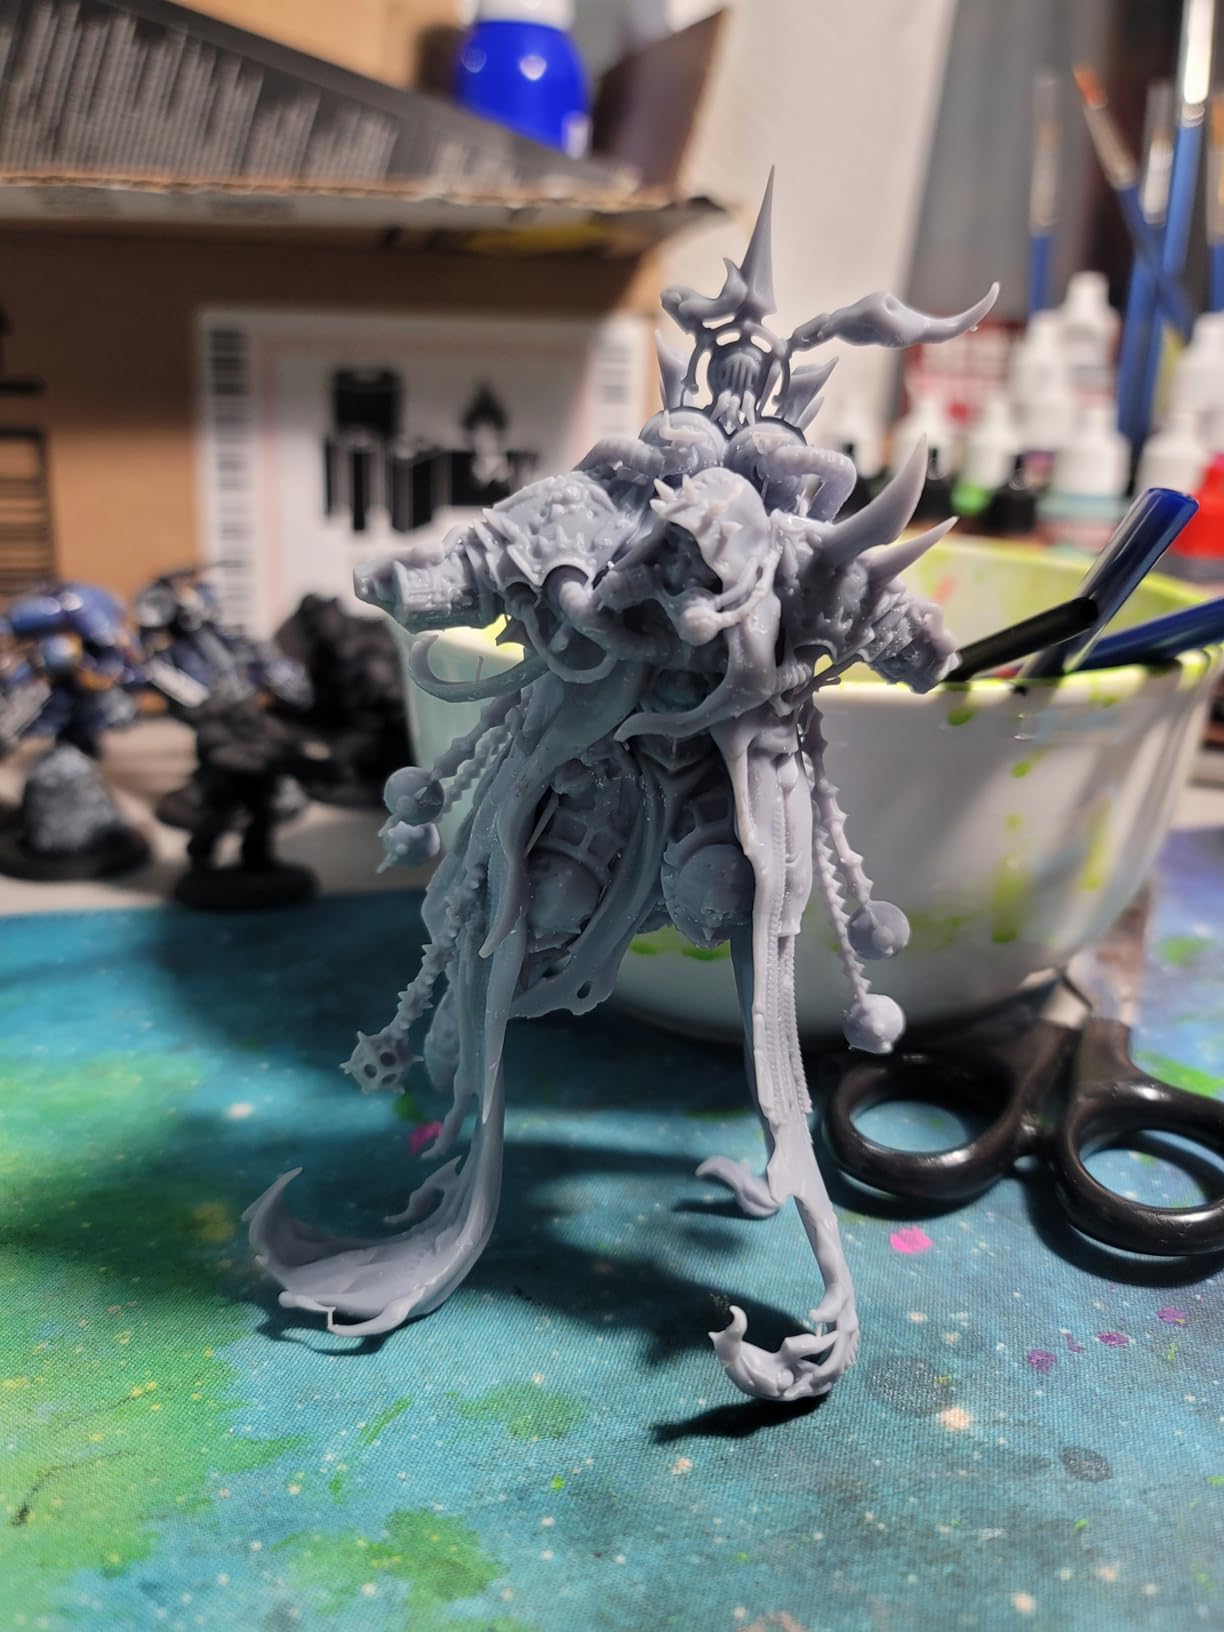
None of the filament machines in this roundup can produce what the Mars 5 Ultra produces. The 7-inch monochrome LCD runs at 9K resolution with 18 micron XY detail, which is the difference between a smooth surface and a visibly printed one on a miniature, a figurine or a highly detailed model.
This is a resin machine, not a filament machine, and that changes the workflow completely. You pour liquid resin into a vat, expose it with light layer by layer, then wash and cure the part before finishing it. The build plate self-levels, which removes the single most common beginner frustration in resin printing.
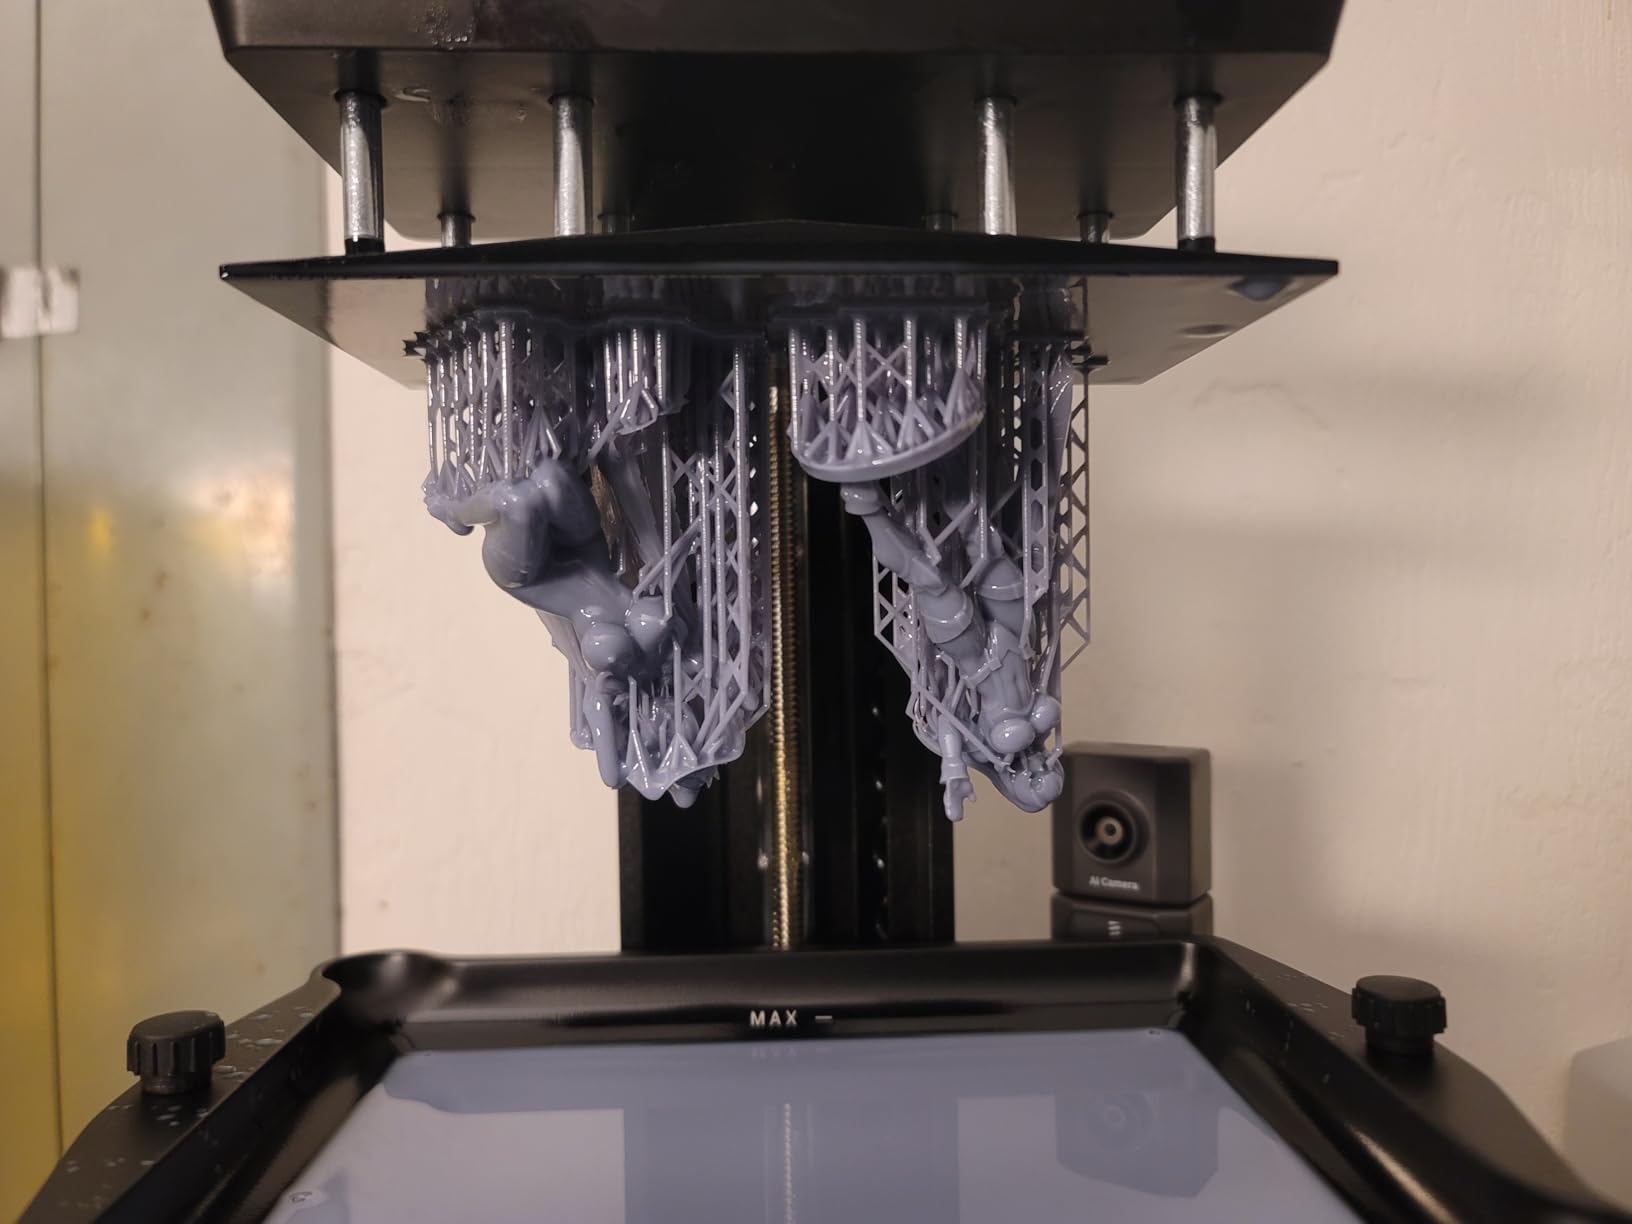
Speed has improved a lot. Tilt release film peeling pushes output to 150 mm/h, roughly half the time of earlier Mars models, and switchable fast and slow modes let you trade speed for detail per job. Owners report first prints within an hour of unboxing.
Failure protection is the quiet strength. An AI camera watches the print for real-time errors, a mechanical sensor detects LCD residue before it damages the screen, and alarms cover resin shortage and leveling failure. Wi-Fi cluster printing also lets several machines run from one device, which is useful if you take commissions.
Who should buy the ELEGOO Mars 5 Ultra
It suits tabletop gamers, miniature painters, model builders and anyone who has hit the resolution ceiling of an FDM machine and does not want to spend five times more to get past it. For those prints the detail difference is not subtle, it is the whole reason for the machine.
It also suits people who make their own characters and terrain, where the fine XY resolution and smooth surfaces matter more than build size. Our miniature printer guide goes deeper on that use case.
Who should buy an FDM printer instead
Anyone who wants to print functional parts, prototypes, cosplay shells or anything in a standard filament should skip resin entirely. Resin is brittle, more expensive per volume, and cannot produce a useful large part on a plate this size.
Safety matters here too. Uncured resin is a sensitizer, so gloves and ventilation are not optional, and cleanup is a real chore. The lid has no hinges and must be fully removed to reach the chamber, and the rounded spout makes neat pouring harder than it should be. If you have a partner or children who will handle the machine, read our resin printer safety and selection guide first.
8. Creality Ender 3 V3 SE – Best Budget 3D Printer When You Want the Cheapest Way In
Creality Ender 3 V3 SE Beginner-Friendly 3D Printer with Auto Leveling
250 mm/s with 2,500 mm/s2
CR Touch auto leveling
Sprite direct drive
19.8 pounds
Pros
- Lowest outlay of any machine in this roundup
- CR Touch auto leveling and automatic Z-offset remove manual bed setup
- Assembles in about 20 minutes with an allen key
- Reliable everyday PLA printing once the basics are learned
- 32-bit mainboard keeps noise down
Cons
- Open frame cannot print ABS or ASA without an added enclosure
- 250 mm/s is well below the CoreXY models here
- A minority of machines develop fan bearing and Y-axis noise within weeks
The Ender 3 V3 SE exists for the buyer who wants to learn 3D printing for the smallest possible commitment. CR Touch handles auto leveling and automatic Z-offset calibration, assembly takes about twenty minutes with an allen key, and the Sprite direct drive extruder covers PLA, PETG and TPU.
That is genuinely everything a first project needs. What you give up is speed and materials: 250 mm/s with 2500 mm/s2 acceleration is a fraction of what the CoreXY machines do, and the open frame means no ABS or ASA without adding an enclosure later.
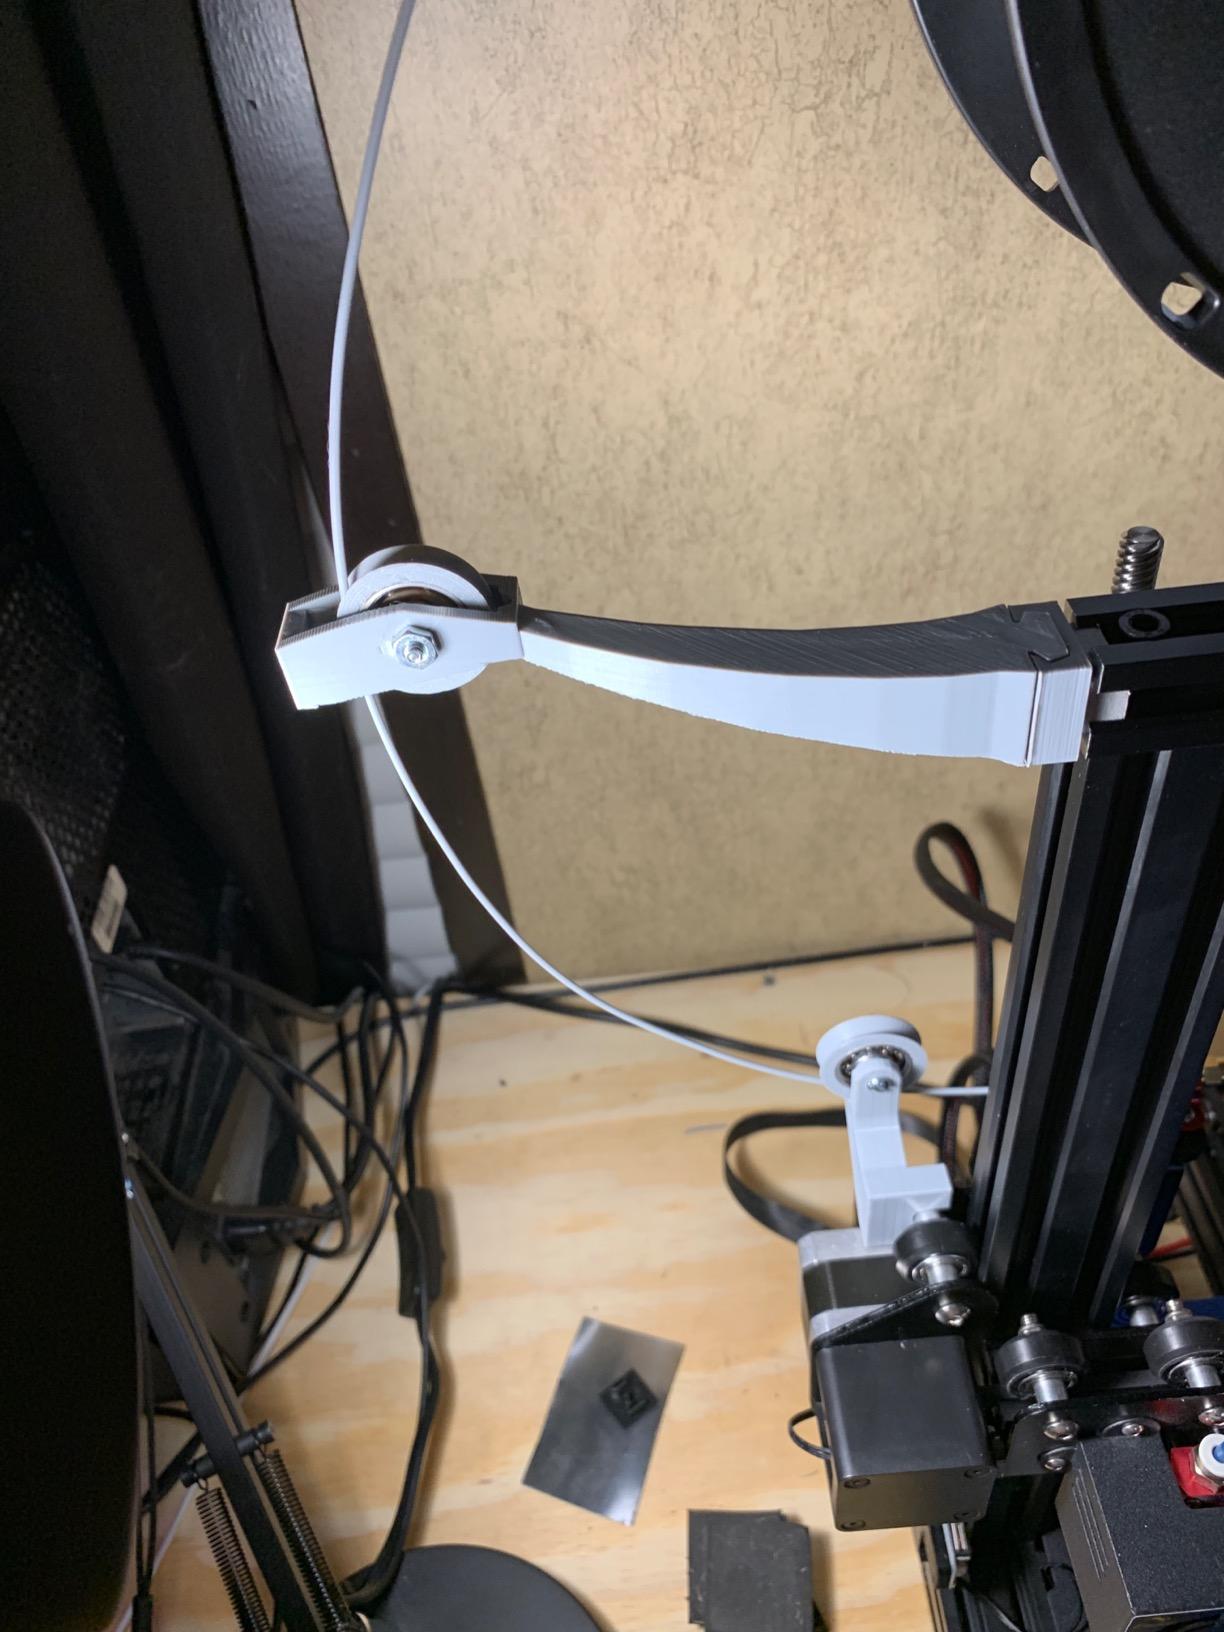
The dual synchronized Z-axis lead screws and Y-axis linear shafts are sensible engineering choices for this tier, and a 32-bit silent mainboard keeps it quieter than older budget boards. A flexible PC spring steel build plate makes print removal painless, and the included SD card and reader mean no computer is required for the first few jobs.
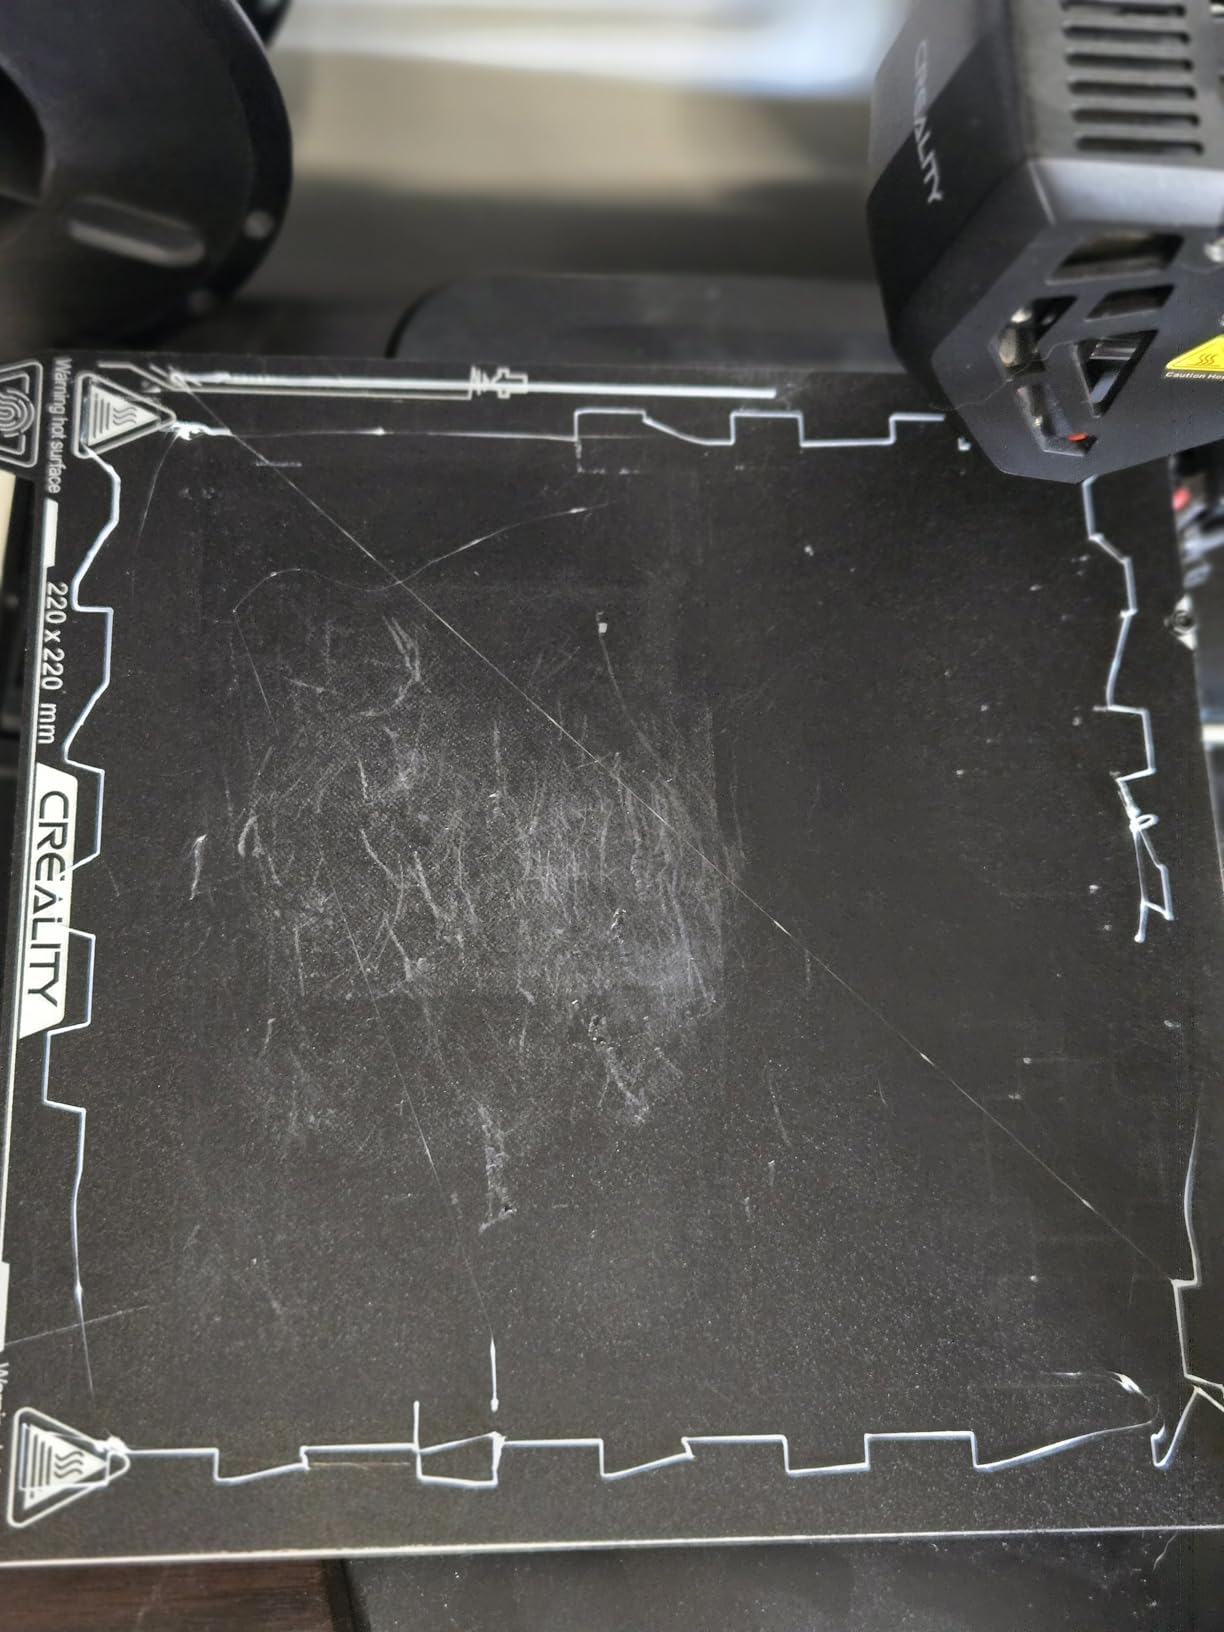
There is more hardware variance here than anywhere else in the group. A steady minority of owners report fan bearing and Y-axis dragging noise within weeks, intermittent failures from the included USB drive, and the machine arriving with the power selector set to 220V, which has to be switched for US use. None of those are fatal, but they are the tax on the lowest tier.
When the Ender 3 V3 SE is the right call
It is right when you need one specific part type, when the budget is genuinely tight, or when you want a machine you are willing to open up and adjust. The community is enormous, which means almost any setup question has an answer somewhere.
It is also right as a second machine for light work while a bigger enclosed printer handles materials. At under 20 pounds it is easy to move, and open-frame PLA printing is something you can learn on without risk.
When you should step up instead
Step up if the words ABS or ASA appear anywhere in your project list, because the open frame cannot hold them flat without an enclosure you would have to buy anyway. Step up if print speed matters, since 250 mm/s makes long jobs long.
Step up if you are buying for someone else who does not want to troubleshoot. Learning curve tolerance is the dividing line between success and a refund request here, and the auto-calibrating machines on this list remove that variable entirely.
How to Choose a 3D Printer Under 1,000 Dollars
Enclosed or open frame, and why filtration matters
Enclosed means the chamber holds heat, and holding heat is what stops ABS, ASA, PC and Nylon from curling away from the build plate mid-print. If those materials are on your list, enclosure is not a nice-to-have; an open frame simply will not hold them flat. PLA and PETG do not need it, which is why open-frame machines remain a legitimate choice for a lot of projects.
Filtration is a separate question from enclosure. When ABS or ASA prints, the machine gives off fumes that are unpleasant in a closed room. The Adventurer 5M Pro and the Creator 5 Pro pair HEPA 13 with activated carbon, and the K1C uses activated carbon alone. If the printer lives in a bedroom or a shared office, treat dual filtration as close to mandatory. Our industrial printer guide covers the same question for workplace use.
What CoreXY motion and acceleration really buy you
Advertised print speed is a ceiling, not a result. Almost every printer here can quote a maximum number between 500 and 600 mm/s, and almost none of them run that number on a real print for long stretches. The numbers that change your actual job time are acceleration, travel speed and how well the machine suppresses ringing.
The 30000 mm/s2 acceleration on the Creator 5 Pro is the highest in this group, followed by the 20000 mm/s2 on the K2 Pro Combo, the P1S, the K1C and the Adventurer 5M Pro. The A1 sits at 10000 mm/s2 and the Ender 3 V3 SE at 2500 mm/s2. High acceleration matters because it is what lets the toolhead start and stop quickly without leaving a visible blob or a ringing pattern on the surface.
Build volume: the number most buyers get wrong
Build volume is quoted as three dimensions, and people read the first number and stop. A 300 x 300 x 300 mm cube sounds enormous until you realize it does not mean one 300 mm cube of solid material. It means the printer can start a job that large, and the machine has to physically hold that much mass and still place the outer wall accurately.
For most people the width and depth numbers matter more than the height, because tall items are usually sliced as a spiral or vase mode. If you make helmets, props or terrain, look at the depth. If you make organizers, planters and enclosures, the height is what limits you. Our scanner guide matters here too, since a big volume is only useful if you can model what goes in it.
Multi-color economics: feeders, toolheads and what color really costs
Multi-color is the single biggest driver of price variation in this category, and it explains most of the confusion in shopping results. There are three different approaches and they are not equivalent.
A spool feeder such as the AMS lite or the CFS sits beside the printer and feeds material to a single extruder, changing color only when the print pauses. That is the cheapest route and it works, but every change costs time and some purge waste. The A1 and the K2 Pro Combo take this approach, and the P1S can add an AMS if you buy it separately.
Independent multi-toolhead designs skip the purge entirely. The Creator 5 Pro runs four toolheads in one pass with seven-second switches and no flush, so color changes cost nothing in filament and almost nothing in time. That capability is what makes it the pick for signage and decorative work. If your prints are one solid color, none of this matters and you should ignore this paragraph entirely.
Open source versus closed source, and account requirements
This is the loudest concern in 3D printing communities and almost no editorial roundup addresses it, so here is the plain version. Closed-source machines ship a polished slicer that works well out of the box and stop there. Open-source machines let you modify firmware, profiles and motion settings, which experienced users value and beginners never touch.
Between those poles sits the practical question: does the printer need an account, and does it stop working without an internet connection? The Bambu Lab machines lean toward app and cloud integration, which is where a portion of buyer anxiety comes from. The Creality machines run Creality OS with Cura compatibility and Wi-Fi or LAN control, which sits in the middle. If avoiding vendor lock-in matters to you, verify the offline behavior for the exact model before you buy, because it changes between generations.
One more forum complaint worth repeating: automated failure detection is not a guarantee. A Creality owner reported tangle detection failing to notice a severe stringing problem that wasted material. Treat AI detection as a helpful alarm rather than a safety net, and keep filament dry so it strings less in the first place.
Reliability, warranty and what support is actually like
The honest answer to which machine has the fewest problems is the one with the largest body of owner feedback, because problems get solved in public. The K1C at more than 2700 reviews and the Creator 5 Pro at 1339 give you the deepest troubleshooting trails. That is a genuine practical advantage, separate from the hardware itself.
On brand reputation, buyers repeatedly describe Creality customer service as difficult to reach, and that is worth weighing if you are not comfortable self-repairing. Flashforge lists a one-year warranty on the Adventurer 5M Pro. A veteran community recommendation we agree with: buy a printer with reviews and a community, because that is what carries you through the first three months.
What to buy alongside your printer on day one
Buy filament before anything else. One spool of decent PLA and one of PETG covers most first projects, and cheap filament with inconsistent diameter is the most common cause of failed prints.
Add a filament dryer if you print PETG, nylon or anything hygroscopic, and a spare nozzle if you plan to print filled or abrasive materials. A silicone sock for the hotend is a cheap way to cut down on blobbing near the nozzle, and a set of dental tools plus a brass wire brush covers removal and clearing. A small digital caliper lets you check first layer height in seconds rather than guessing.
On the first print itself: level the bed, print a small calibration cube, and check the first layer with a flashlight before committing to a twelve-hour job. The maker tooling guide covers the measurement habits worth building early.
When you do not need a 1,000 dollar budget at all
Plenty of people do not need this budget, and telling you so is more useful than another recommendation. If you want to make phone cases, planters, hooks, organizers and small functional parts in PLA or PETG, a well-chosen machine from the tier below this one prints everything you will actually make for years.
If you need one specific part type, like a set of drone accessories or a bracket, buy the cheapest machine that fits the material. If you are setting up a classroom, per-student cost matters more than peak speed, and open-frame machines with auto leveling are usually the right call. If you are printing to sell, talk to us before spending, because machine cost is rarely your bottleneck.
Spend toward the top of the bracket when your prints need an enclosure, multi-color, a big build volume, or resin-level detail. That is the honest dividing line between the cheap tier and this one.
Frequently Asked Questions
What is the best 3D printer under 1,000 Dollars right now?
The Bambu Lab A1 is the best 3D printer under 1,000 Dollars for most buyers, because it self-levels, sets its own Z-offset, prints without assembly and carries the highest average rating in our group across more than 670 owner reviews. If your parts need ABS or ASA, move up to the Bambu Lab P1S for its enclosed chamber. If you print multi-color or large props, the Creality K2 Pro Combo and FLASHFORGE Creator 5 Pro are the stronger buys.
Is Bambu Lab or Prusa better?
Bambu Lab wins for out-of-box experience, speed and ecosystem integration, which is why it dominates owner satisfaction in this price range. Prusa wins for open firmware, repairability and long-term parts availability, and its MK4S and CORE One sit above this ceiling rather than inside it. If you want a printer that prints immediately with no setup, choose Bambu. If you want to modify firmware and keep a machine for a decade, choose Prusa and accept the higher outlay.
Which 3D printer is better, Bambu or Creality?
Bambu Lab machines deliver faster travel, tighter first layers and a more integrated slicer and app experience. Creality machines deliver more hardware variety at lower outlays, broader filament toolhead options and, on the K1C, a much larger body of public troubleshooting knowledge. Creality customer support is widely reported as harder to reach, so factor that in if you are not comfortable self-repairing. For pure print quality with minimal fuss, Bambu leads; for abrasive filaments and community depth, Creality leads.
Which 3D printer has the least amount of problems?
The machines with the least problems are the ones with the largest review counts, because failures get diagnosed in public. The Creality K1C has more than 2700 owner reviews and the FLASHFORGE Creator 5 Pro more than 1300, so most issues you might hit already have a documented fix. A first-layer failure usually means bed leveling or a dirty build plate, and a mid-print failure usually means a clogged nozzle or damp filament. Auto bed leveling, run-out detection and pressure sensing reduce how often any of this happens.
Do I need an AMS or multi-spool feeder for multi-color printing?
Only if you want automated color changes. A single extruder can print in two colors, but it stops, swaps filament and purges every time the color changes, which wastes material and time. An AMS lite or CFS feeder beside the printer handles that automatically and also keeps filament dry. Independent multi-toolhead designs like the FLASHFORGE Creator 5 Pro avoid purging entirely. If your prints are single-color, you never need one and you should skip it entirely.
What filament should I buy for my first 3D printer?
Start with PLA. It prints easily, sticks to standard build plates, smells mild and forgives beginner mistakes better than almost anything else. Add PETG for functional parts that need real strength and some heat resistance. Add TPU for flexible items such as grips and bumpers. Save ABS, ASA and nylon for an enclosed machine with a heated chamber, since those materials warp without one. Buy two spools from a brand with consistent diameter rather than the cheapest spool you can find.
Final Verdict on the Best 3D Printers Under 1,000 Dollars
The Bambu Lab A1 is the best 3D printer under 1,000 Dollars for the widest range of buyers, because it removes the variables that ruin first printers: manual leveling, Z-offset setup, assembly and hotend clogs. Spend up only when a specific limitation forces your hand, and then spend on that limitation rather than on speed you will not use.
The Bambu Lab P1S is the pick when you need an enclosure. The Creality K2 Pro Combo is the pick when build volume is the constraint. The FLASHFORGE Creator 5 Pro is the pick when color changes need to be free. The ELEGOO Mars 5 Ultra is the pick when resolution is the constraint. Everything else in this roundup is a variation on those five decisions, and prices in this category move weekly, so verify before you order.