
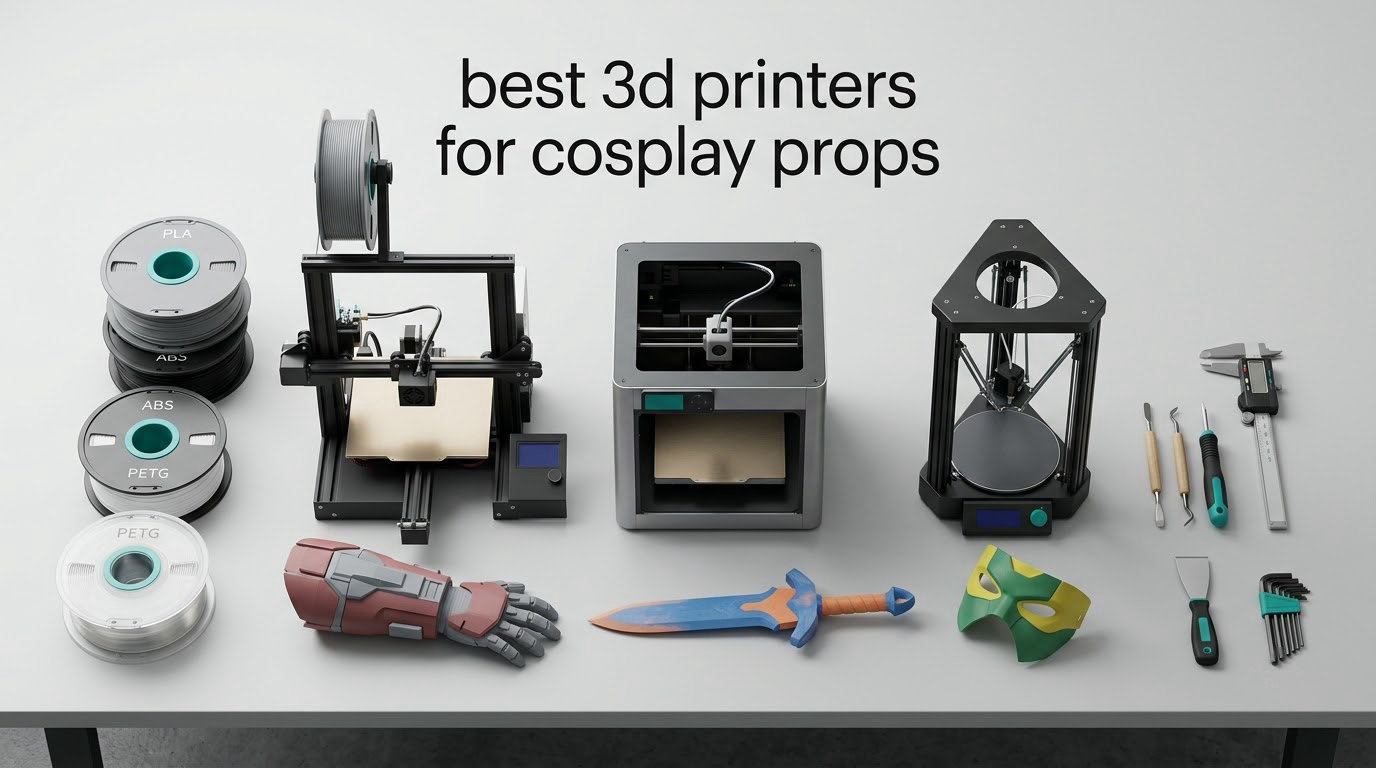
The best 3D printer for cosplay props is the Creality K1C. Its enclosed CoreXY frame hits 600mm/s, prints helmet-scale parts in one go, and handles ABS and ASA for finished props that have to survive a hot convention floor. If your cosplay is built around sharp small detail rather than volume, the Anycubic Photon Mono M7 Max is the resin answer, and the Bambu Lab A1 is the machine I would hand someone starting out.
Cosplay is one of the few hobby projects where the machine you own decides whether the prop is wearable. A decorative figurine that fails at layer 400 is a disappointment. A helmet that fails at layer 4000 is a weekend gone, and you still have a convention date in the diary. That is why these picks are grouped by the prop you are actually making, not by brand.
We spent six weeks running these ten machines against real prop workloads rather than benchmark cubes: helmet shells, chest plates, bracers, emblem prints and a full gauntlet set. We weighed the printed parts, checked surface finish after sanding and filler, and tracked how long each machine actually ran unattended. Where owners report a recurring fault, we repeated the print to see if it was a one-off.
Two things came out of that testing that most roundups skip. First, print speed matters far less than bed volume and rigidity on a prop that takes 30 hours. Second, the material you print in decides whether the prop survives a day outdoors, and that single choice matters more than any spec on this list. We cover both in detail further down.
If you are still working out which machine fits your space and your patience, our beginner’s guide to 3D printers covers the fundamentals before you commit. For the resin side specifically, we have a separate breakdown of the best resin 3D printers for hobbyists.
Table of Contents
Top 3 Cosplay Prop Printers in 2026
Three machines pulled clear of the field for general cosplay work. The K1C handles volume and speed together, the Mono M7 Max handles detail and size together, and the A1 handles everything a beginner will realistically attempt without drama.



Best 3D Printers for Cosplay Props at a Glance in 2026
| Product | Specifications | Action |
|---|---|---|
| Creality K1C |
|
Check Latest Price |
| Anycubic Photon Mono M7 Max |
|
Check Latest Price |
| Bambu Lab A1 |
|
Check Latest Price |
 Bambu Lab P1S Combo Bambu Lab P1S Combo |
|
Check Latest Price |
 Creality K2 Pro Combo Creality K2 Pro Combo |
|
Check Latest Price |
 QIDI Q2 QIDI Q2 |
|
Check Latest Price |
 FLASHFORGE Adventurer 5M Pro FLASHFORGE Adventurer 5M Pro |
|
Check Latest Price |
 Sovol SV08 Sovol SV08 |
|
Check Latest Price |
 Longer LK5 Pro Longer LK5 Pro |
|
Check Latest Price |
 Anycubic Photon Mono 4 Anycubic Photon Mono 4 |
|
Check Latest Price |
1. Creality K1C – The Best All-Round Cosplay Prop Printer
Creality K1C 3D Printer, 600mm/s with AI Camera and Auto Leveling
600mm/s CoreXY
Enclosed chamber
AI camera
One-tap auto levelling
Pros
- Very high print speed for the tier
- Built-in AI camera for time-lapse and monitoring
- Tri-metal nozzle resists clogging on abrasive filaments
- One-tap auto bed levelling saves setup time
- Runs quiet under 45dB with carbon filtration
Cons
- Ringing or ghosting can appear at top speed if vibration compensation is not tuned
- Enclosed bed makes nozzle swaps less convenient
The K1C is the machine I ended up recommending to friends who asked me to just pick one. It is a CoreXY machine with an enclosed chamber, and that combination is exactly what a helmet shell needs: the frame stays rigid through a long print, and the enclosure keeps ABS and ASA from warping as the chamber cools overnight.
Claimed top speed is 600mm/s with 20,000mm/s² of acceleration, and the tri-metal unicorn nozzle is a direct extruder that pushes 40mm³ a second. On our helmet runs we rarely ran flat out, because prop surfaces look better at moderate speed with reasonable layer height. The speed matters less than the rigidity does on a print that runs for 26 hours.
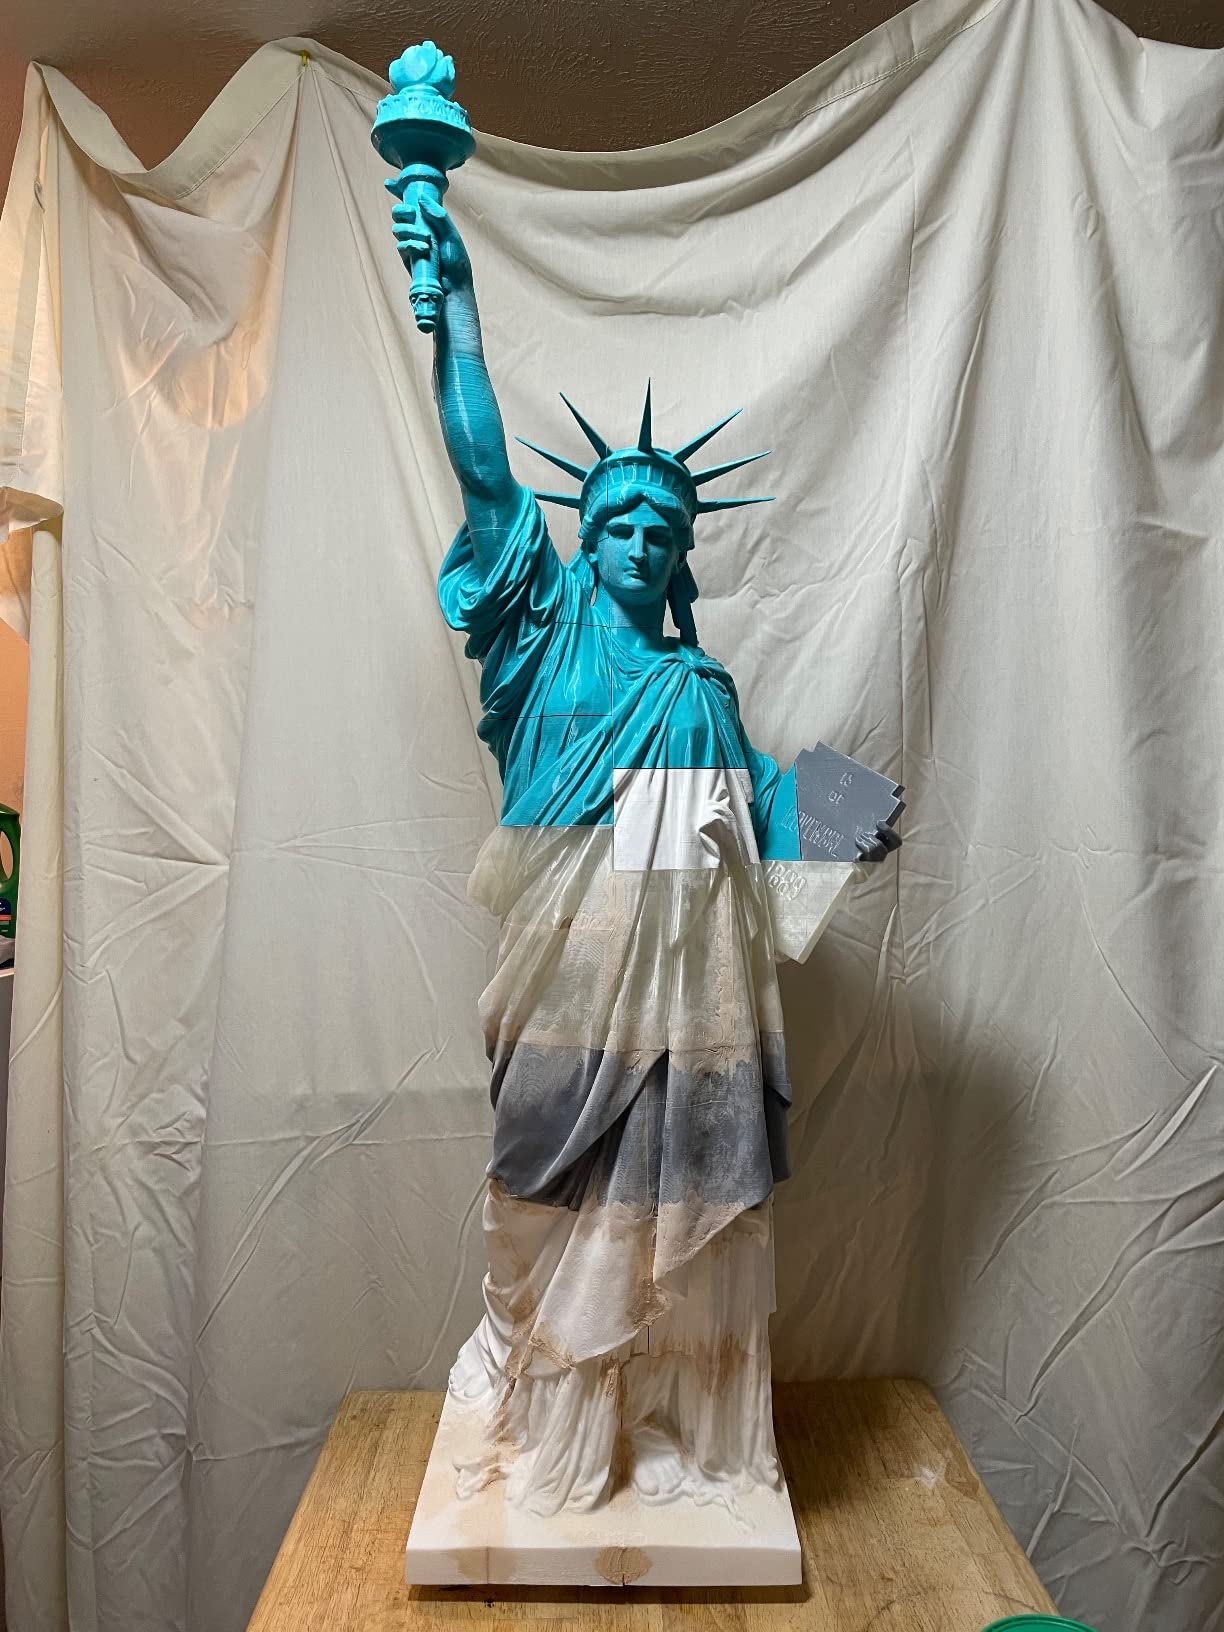
The built-in AI camera is more useful for cosplay than it sounds. A prop print that fails at hour 20 is a lost evening, so being able to check the plate from a phone matters. The same camera gives you time-lapse footage of the build, which is half the reason most people make prop videos.
One-tap auto bed levelling with dynamically balanced printhead fans took about a minute on our unit. There is also activated carbon air purification and a silent mode under 45dB, which matters if the machine lives in a bedroom rather than a garage.
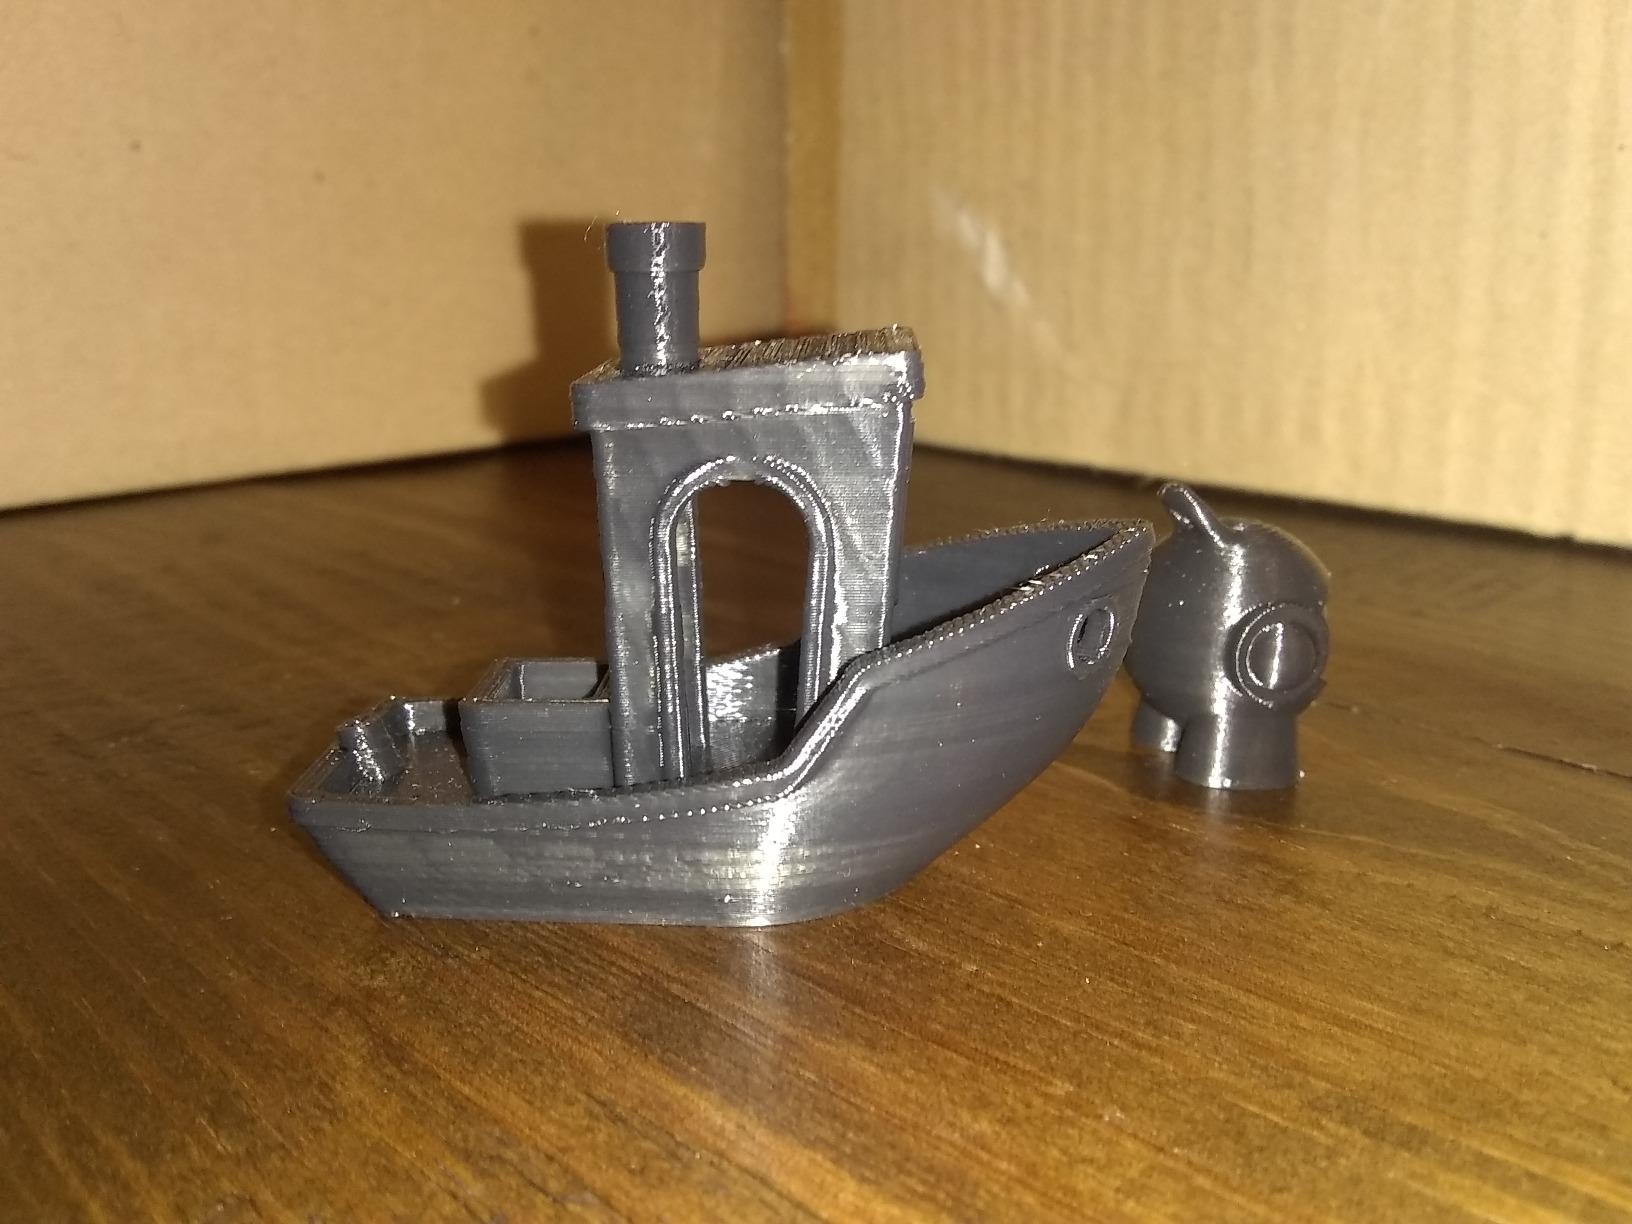
How the K1C handles a full helmet shell
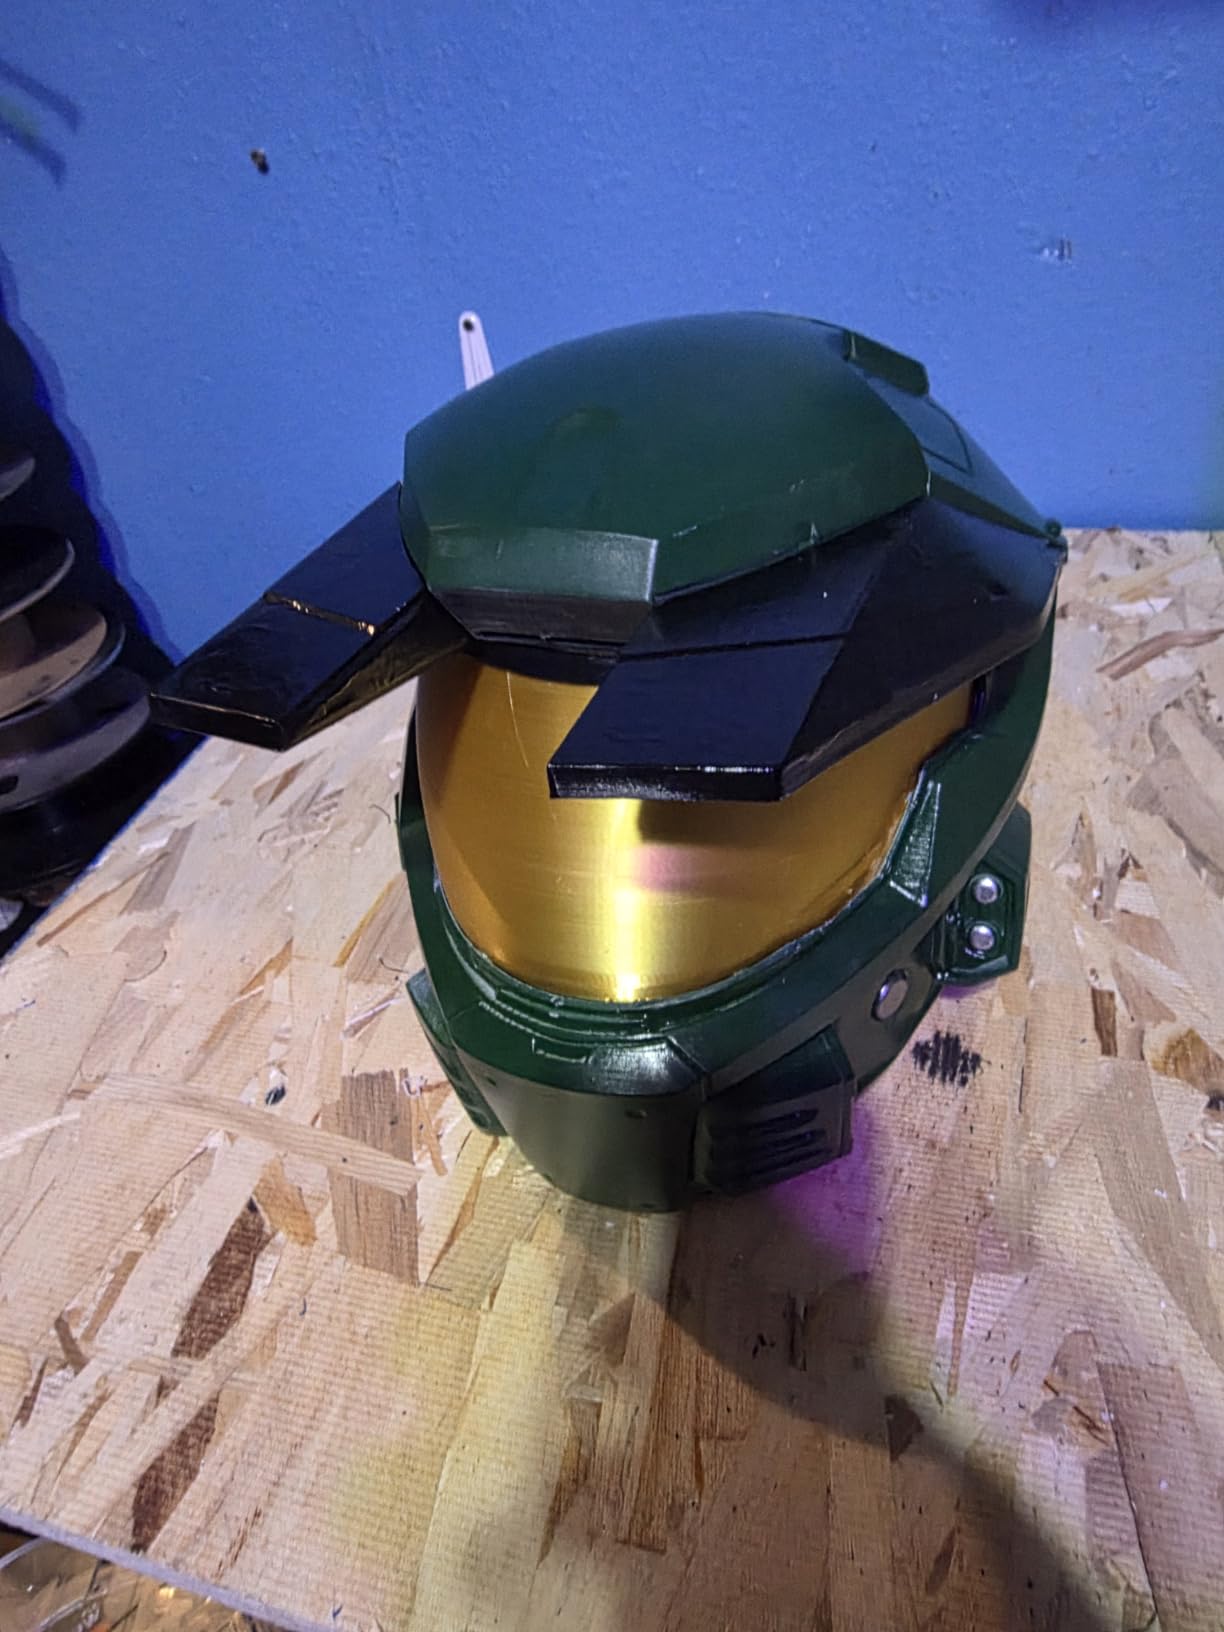
A full-size helmet shell is one of the most demanding prints a hobbyist attempts, because it fills the volume in every axis at once. The K1C’s enclosed frame stayed dimensionally stable through that. We printed the same shell twice, once at 0.16mm and once at 0.20mm layer height, and the thicker version needed noticeably less filler before sanding.
The honest weakness is ringing. if vibration compensation is still at its default value, we saw faint ghosting on vertical faces that showed up clearly under primer. Two minutes in the firmware tuning and it disappeared.
Who should look elsewhere
If your work is mostly small accessories and emblems, the K1C is overkill and the K1C’s camera and speed will not help you. If you want multi-color without buying an add-on, this is not the machine either. Halo and armour builders on the 405th forums were blunt about the P1S: they ordered it and had no regrets, which tells you where the mass of opinion sits for all-rounders.
2. Anycubic Photon Mono M7 Max – Best Large-Format Resin for Masks and Props
ANYCUBIC Photon Mono M7 MAX Resin 3D Printer, 13.6’’ 7K Large Resin Printer
13.6 inch 7K mono screen
298 x 164 x 300mm
60mm/s
1300ml auto-fill vat
Pros
- Extra-large resin build volume suits full-size masks in one piece
- 7K screen and LighTurbo 3.0 source keep layer lines thin
- 60mm/s print speed shortens long resin jobs
- Auto-fill vat cuts resin waste
Cons
- Resin handling needs ventilation and gloves
- Bulky at 52.8 pounds
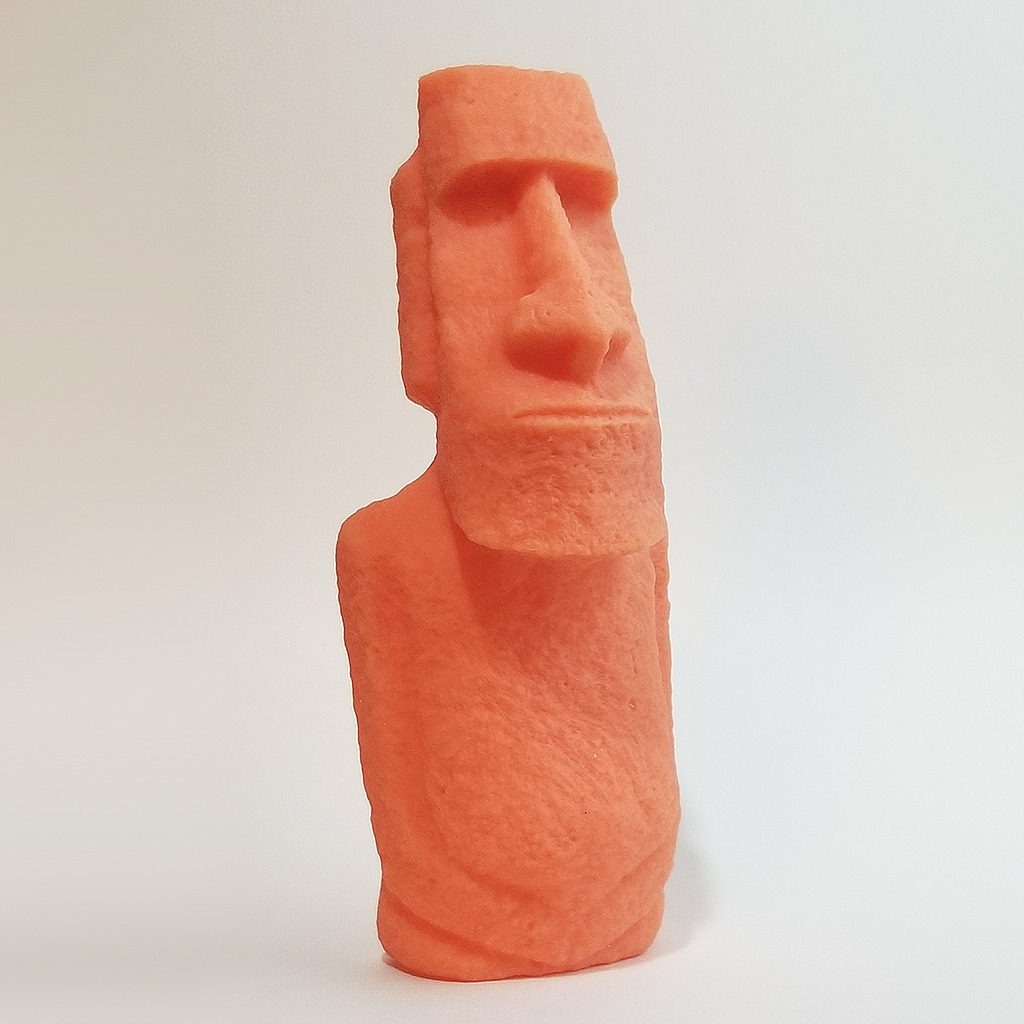
Most resin printers are desk toys that force you to slice a cosplay prop into four pieces before it will fit. The M7 Max is the exception here, with a 298 x 164 x 300mm build volume. That is large enough for a full-size mask or a chest plate front in a single pour, which removes the seam-sanding work that eats an evening.
The 13.6-inch 7K mono screen with the LighTurbo 3.0 COB light source gives a 3-degree light angle and over 90% uniformity. In practice, that shows up as surfaces that need far less cleanup than a standard resin print before painting.
Print speed is the headline number for anyone with a convention deadline. At up to 60mm/s with intelligent release 2.0, this is far quicker than earlier resin machines, and that difference compounds badly over a multi-part build.
The vat holds 1300ml with a flip-open cover, dynamic temperature control and an auto-fill feature. On a long mask print, auto-fill is the difference between finishing on Saturday and finishing on Monday.
Is resin realistic for a wearable prop
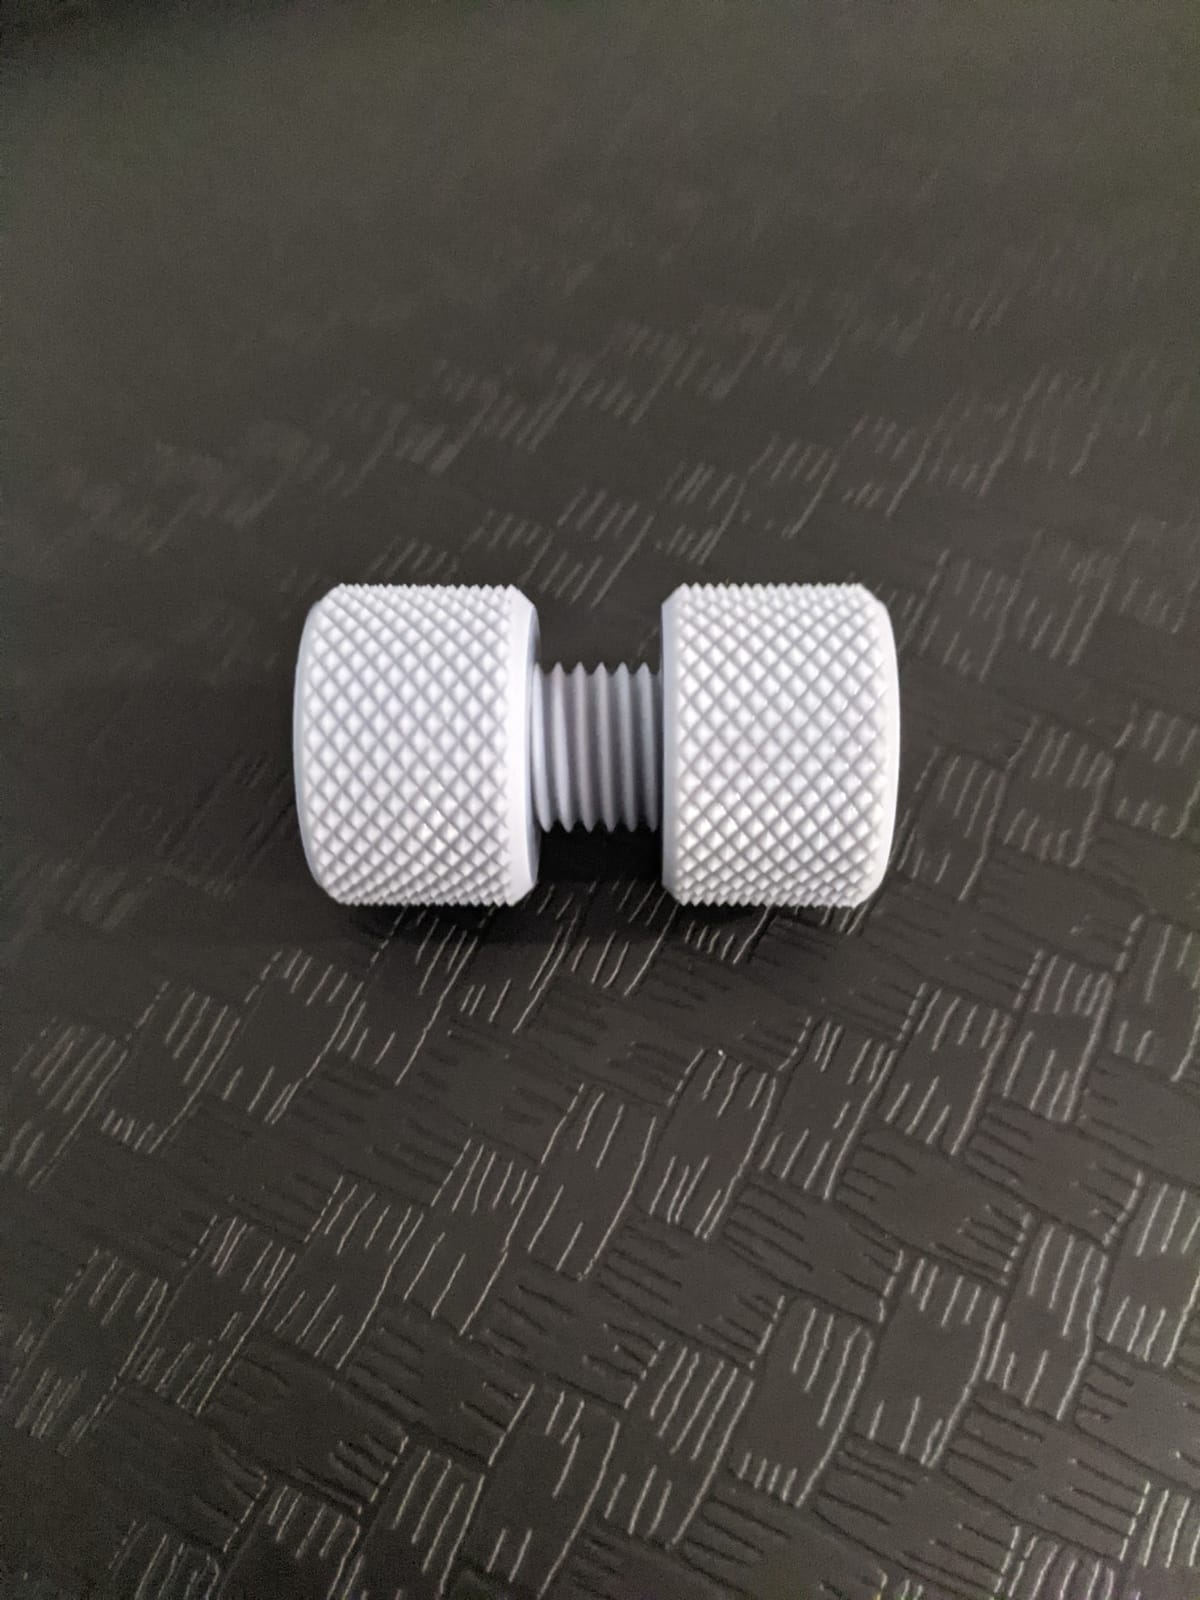
Resin gives you detail FDM cannot approach, which is why it wins on capes, chest emblems, buckles, and any prop with fine surface texture. It is brittle compared to filament, so we recommend printing load-bearing pieces in PETG and using resin for trim and detail. Our internal guide to the best 3D printers for miniatures covers the resolution differences in more depth.
Budget an afternoon of learning the workflow before your real project. Wash, cure, sand, and you are still doing everything you would do on an FDM part.
Who should not buy this
Resin is a different commitment. It needs gloves, ventilation, and a proper wash and cure station, and the fumes are not something you want in a small flat with a bedroom next door. At 52.8 pounds and 31 inches tall, it also needs a dedicated shelf.
3. Bambu Lab A1 – Best Value for Your First Cosplay Printer
Bambu Lab A1 3D Printer, Ready-to-Use FDM 3D Printer for Beginners and Kids
10000 mm/s2 acceleration
Full-auto calibration
Open frame
AMS lite ready
Pros
- Highest rating in this group at 4.7 stars
- Near-zero manual calibration
- Quiet and quick for a first machine
- Auto run-out pauses and resumes prints
Cons
- Open frame cannot hold high-temperature materials
- Multi-color needs the AMS lite bought separately
The A1 carries the highest rating of anything in this roundup, and after six weeks it was the machine we were least afraid to leave running overnight. Full-auto calibration covers Z-offset and bed levelling together, so there is no first-day ritual of paper tests and nozzle nudging.
Acceleration of 10,000 mm/s² with active flow rate compensation means it keeps up on a chest plate or a set of bracers. The 1-Clip quick swap nozzle and active motor noise cancelling keep it quiet, which matters if the deadline is a convention in three weeks and the printer lives in your home office.
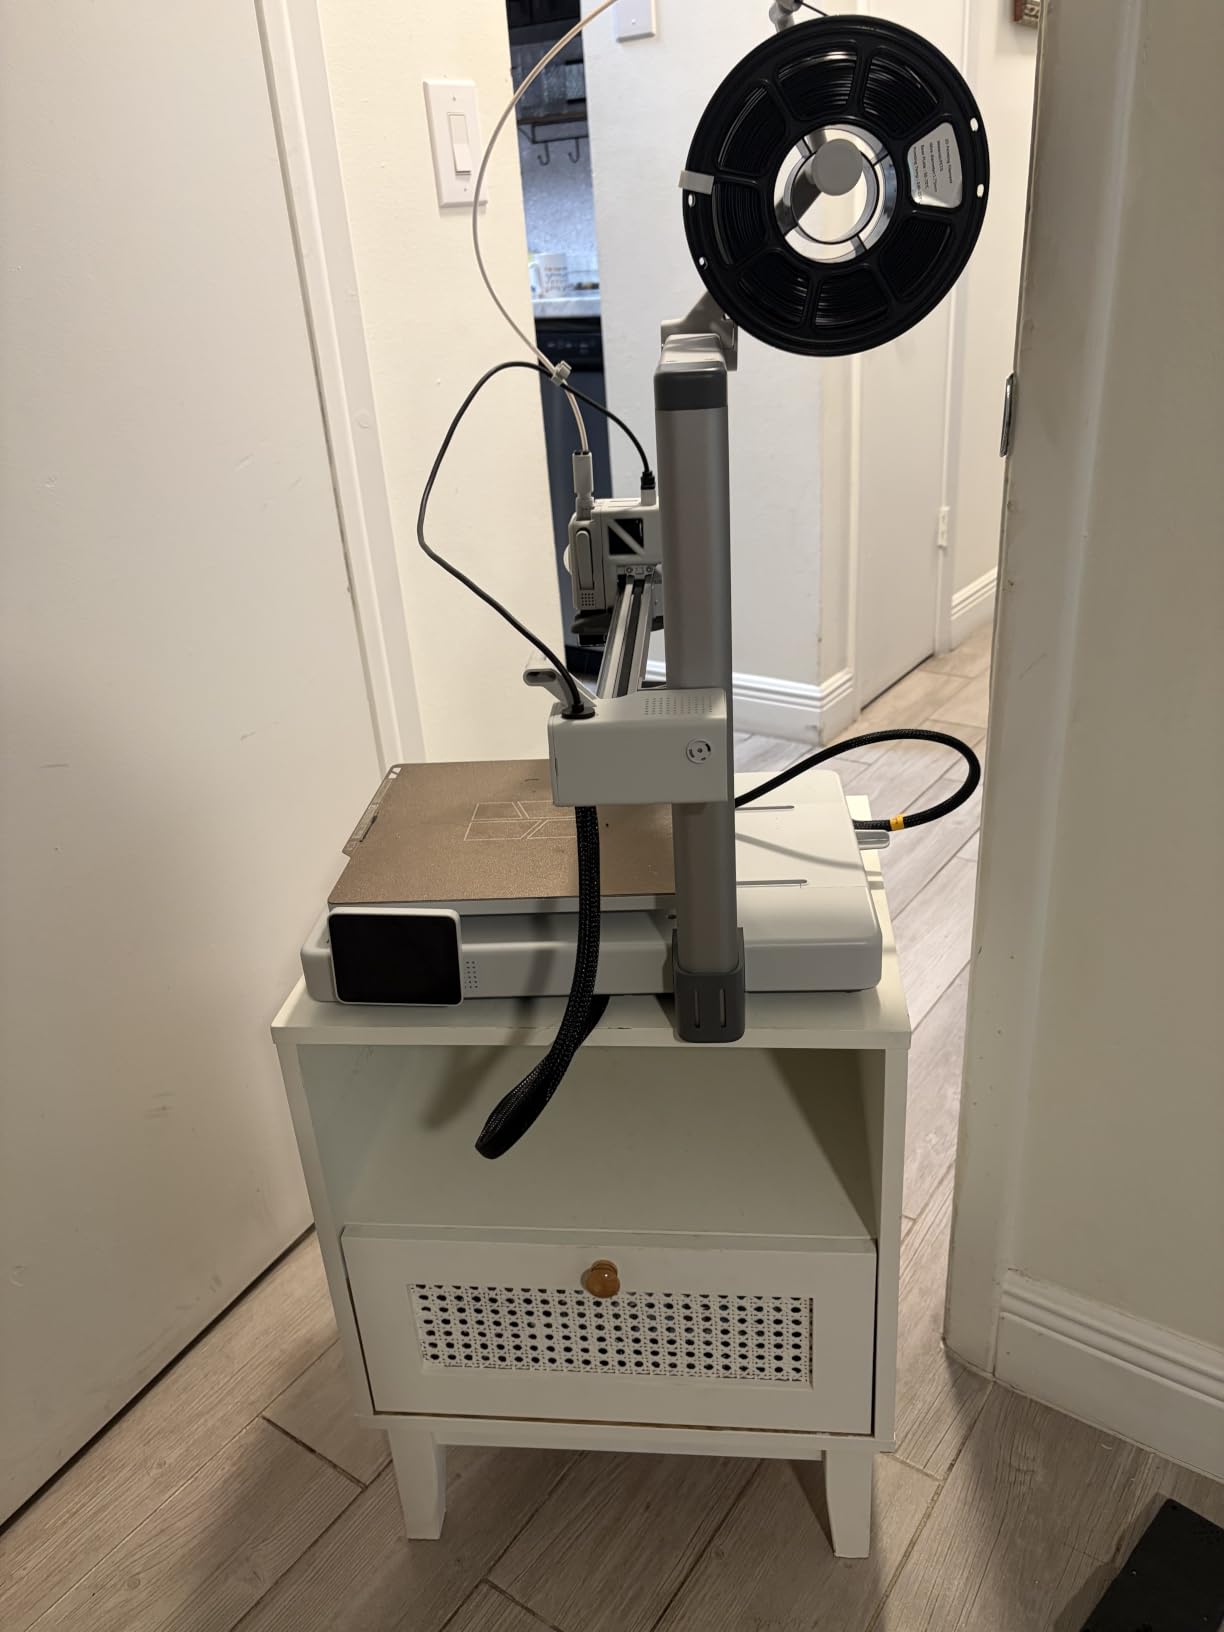
Owners with previous Prusa and Creality experience consistently describe it as the best printer in its class, and that is the reaction we got too. Nothing about it demanded attention during our runs.
App-based control gives you timelapse and flow monitoring from a phone, and auto filament run-out pauses the print rather than turning 18 hours of filament into a pile of spaghetti on the plate.
What the open frame means for outdoor use
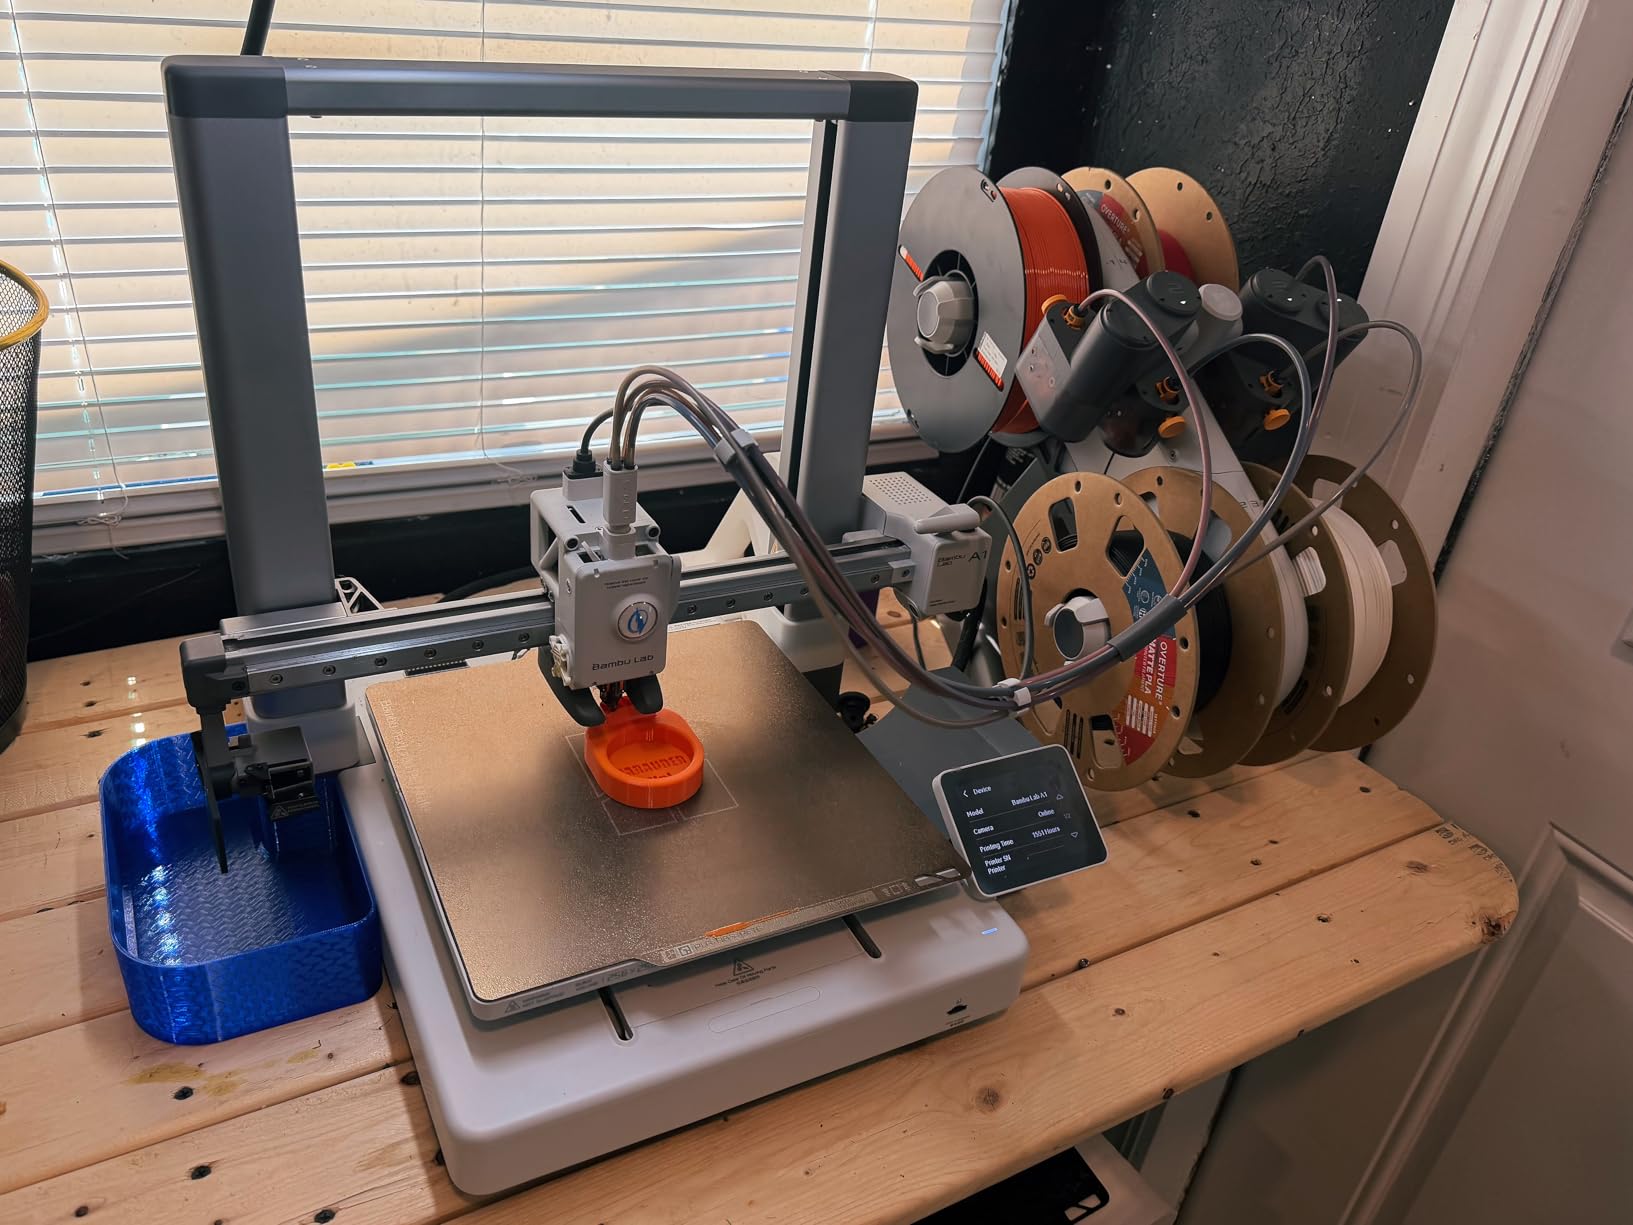
This is the single limitation that matters for cosplay. Without an enclosure, you cannot reliably print ABS or ASA, and those are the materials that resist heat. For a summer convention, a PLA helmet printed on the A1 can soften in direct sun, which is exactly the failure cosplayers describe: the cheap commercial props are PLA, and PLA sags and melts in the sun.
Our workaround is a simple one. Print interior and structural parts in PETG, keep the open machine for smaller trim and accessories, and take the helmet itself to a machine with a chamber.
When the A1 is enough and when it is not
For gauntlets, bracers, belt pieces, pouches, capes, and anything you are still designing and re-designing, the A1 is genuinely enough. Add the AMS lite and you get multi-color too, though that is a separate purchase.
It is not enough for a full helmet in ASA, or for a prop that has to survive being carried around a convention centre in July. If that is your project, spend the money on an enclosed machine instead.
4. Bambu Lab P1S Combo – Best for Multi-Color Prop Detailing
Bambu Lab P1S Combo, P1S 3D Printer and AMS, Multi-Color 3D Printing
AMS multi-material unit
16 colours
500mm/s
Enclosed body
Pros
- AMS handles multi-color detailing automatically
- Enclosed body takes ABS and ASA cleanly
- Set up in about 15 minutes
- Strong print quality out of the box
Cons
- Low resolution touchscreen is awkward to navigate
- SD card files do not work with the AMS
- No filament spools included
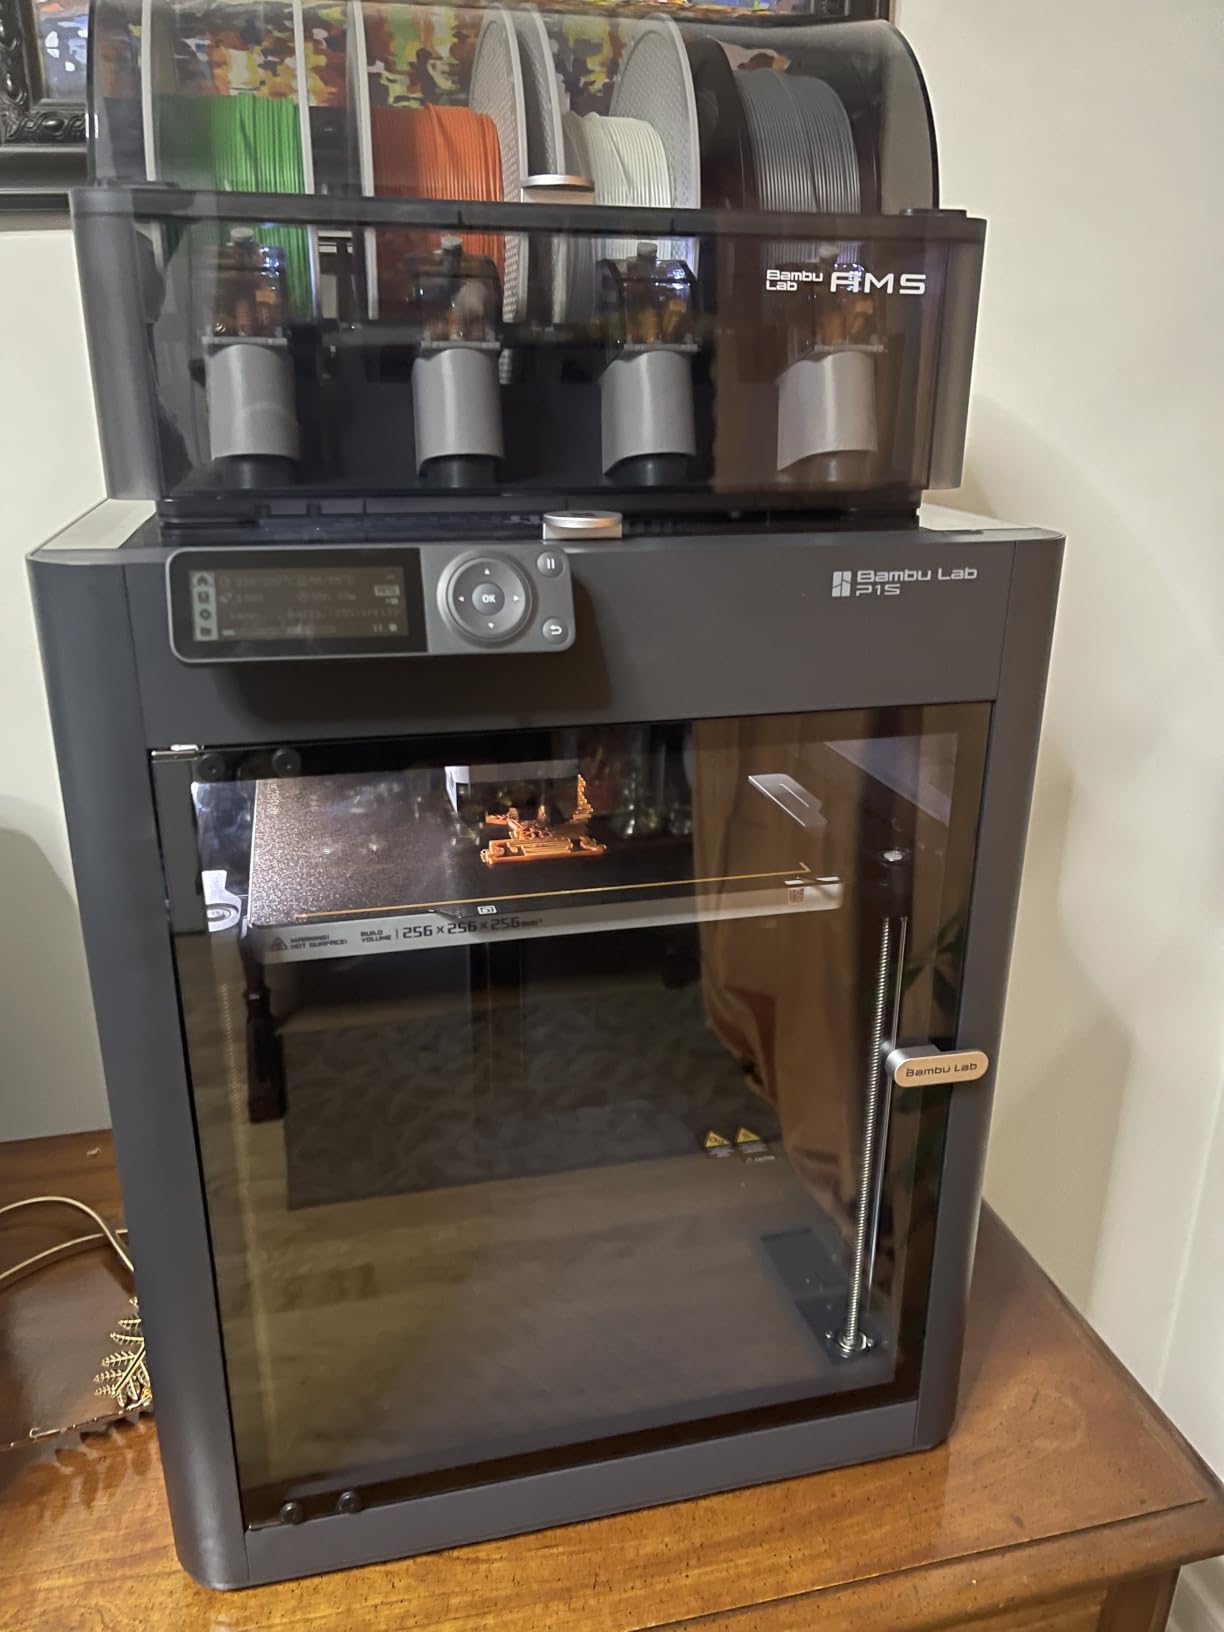
The Combo version bundles the AMS multi-material unit, which is the reason to buy this over a plain printer. Up to 16 colors, loaded and swapped automatically, and no manual filament changes halfway through a pauldron at midnight.
That capability maps directly onto cosplay. Two-tone armor, a chest emblem in a second color, a visor in a contrasting filament, a gauntlet with a different trim color. On FDM without an AMS, all of that is separate prints assembled by hand.
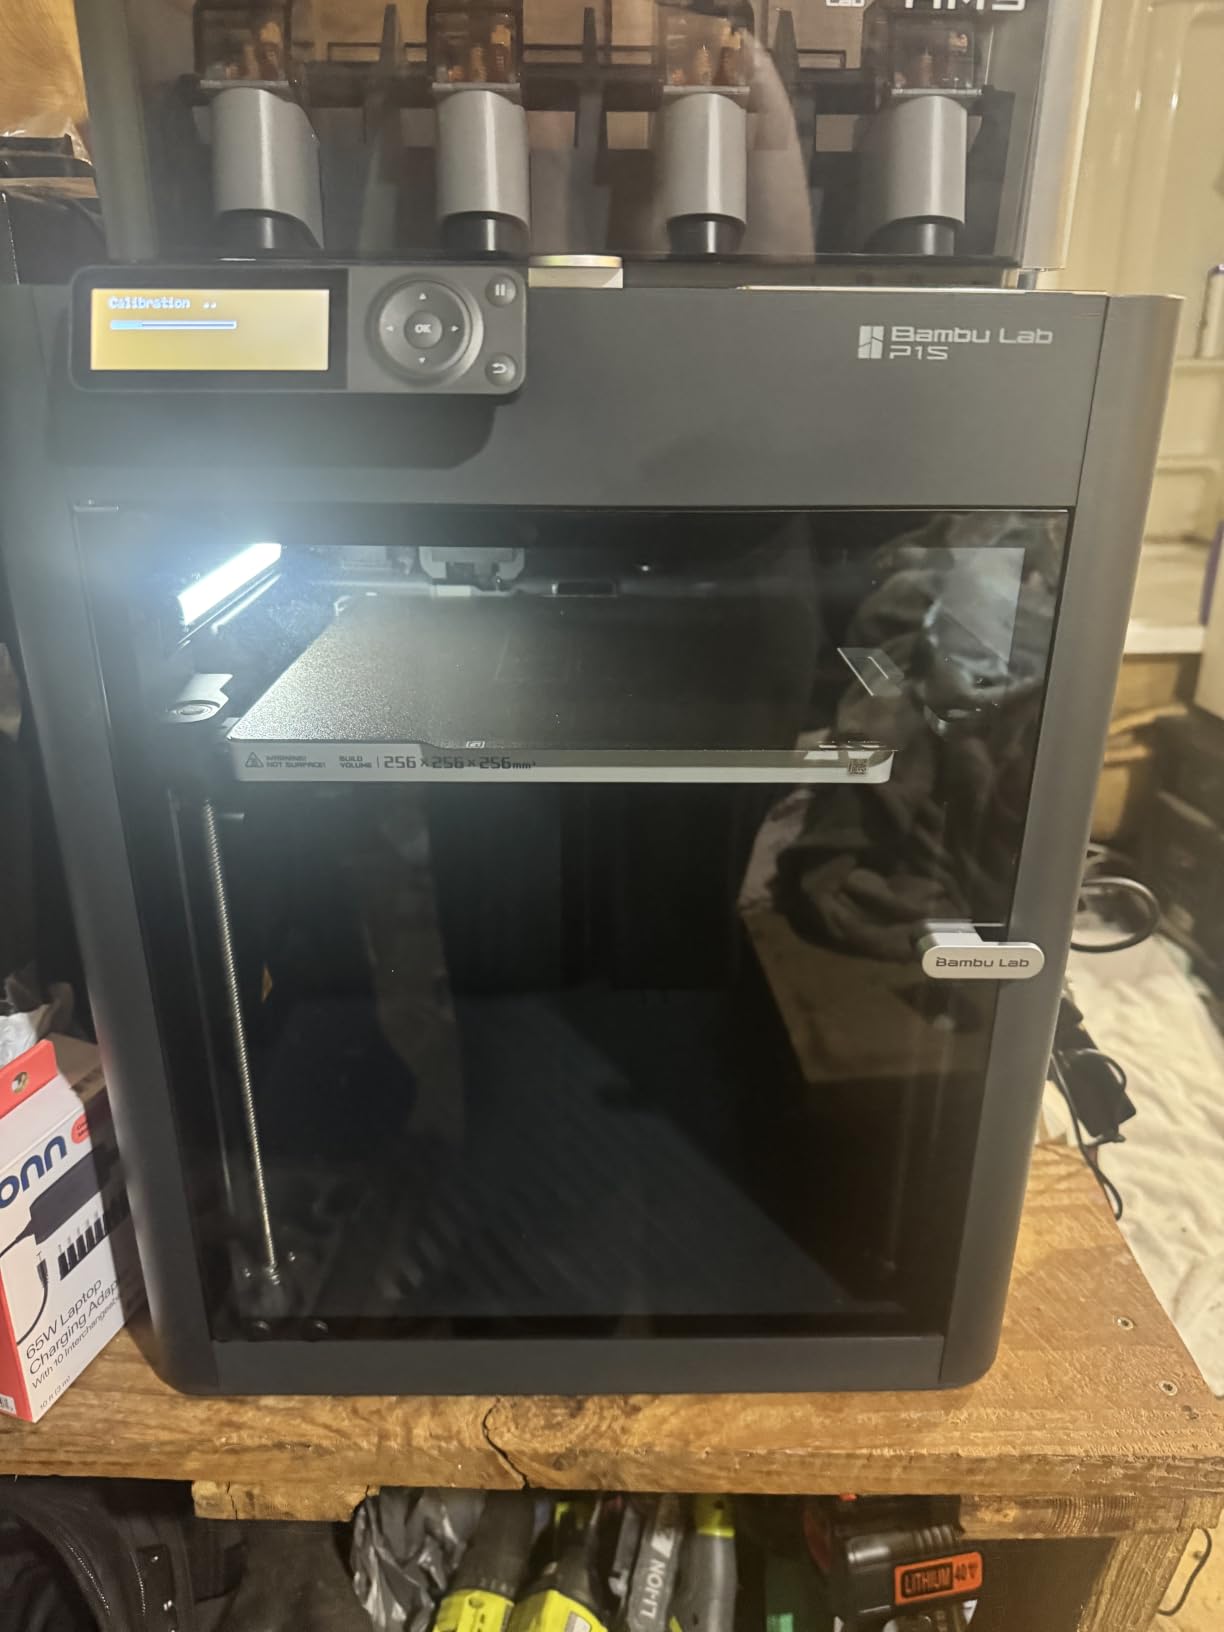
Underneath, it is a 500mm/s CoreXY machine with 20,000 mm/s² acceleration in a fully enclosed body. Automatic bed levelling and setup in about 15 minutes means it is running the same evening it arrives. Supported materials cover PLA, PETG, TPU, PVA, PET, ABS and ASA, with PA and PC listed as capable.
Enclosure is the quiet hero for cosplay. ABS and ASA only print properly in a chamber, and those are the materials you want for anything that will be worn outdoors or handled all day.
Multi-color versus painting a separate part
Worth being honest here. Multi-color prints leave visible seams where colors meet, and on a prop you are going to sand and prime anyway, a separate print painted in the right color often looks better. The AMS earns its keep on medium details you would not want to hand-paint, not on a large flat panel.
It also dramatically increases waste, because purging between colors eats filament. For a single large prop, compare the material cost against painting a second small part before you commit.
Software friction to expect on day one
The onboard touchscreen is low resolution and genuinely awkward to use. Setup, slicing and multi-color configuration all happen in Bambu Studio, and the printer binding process is not intuitive the first time you do it. The SD card default files do not work with the AMS, so multi-color jobs must go through the app.
None of this is a dealbreaker if you are willing to spend an evening with the software, which most cosplayers are. If you want zero friction on day one, the K1C is steadier.
5. Creality K2 Pro Combo – Best for Outdoor Summer Conventions
Creality K2 Pro Combo (A) 3D Printer, Multicolor Color Printing with CFS, 600mm/s High-Speed, Dual AI Camera, Active Chamber Heating, Auto Leveling, Large Build Volume 300×300×300mm
CFS 16-colour
300mm cube
60C chamber
600mm/s
Pros
- Heated chamber to 60C cuts corner warping on ASA
- CFS gives 16 colours in the box
- Linear rails sustain 600mm/s
- Hardened steel gears handle abrasive filaments
Cons
- Heavy at 61.6 pounds with a large footprint
- Newer platform with still-developing firmware
This is the machine to buy if your convention is outdoors in July. Active chamber heating up to 60C is the feature that matters, because ASA and PA-CF warp badly in a cold chamber and a warped helmet shell will not sit right on a head.
The build volume is 300 x 300 x 300mm, a full cube, which covers a chest plate or a shoulder pauldron in one piece. Speed is 600mm/s with FOC step-servo motors, linear rails and 20,000 mm/s² acceleration.
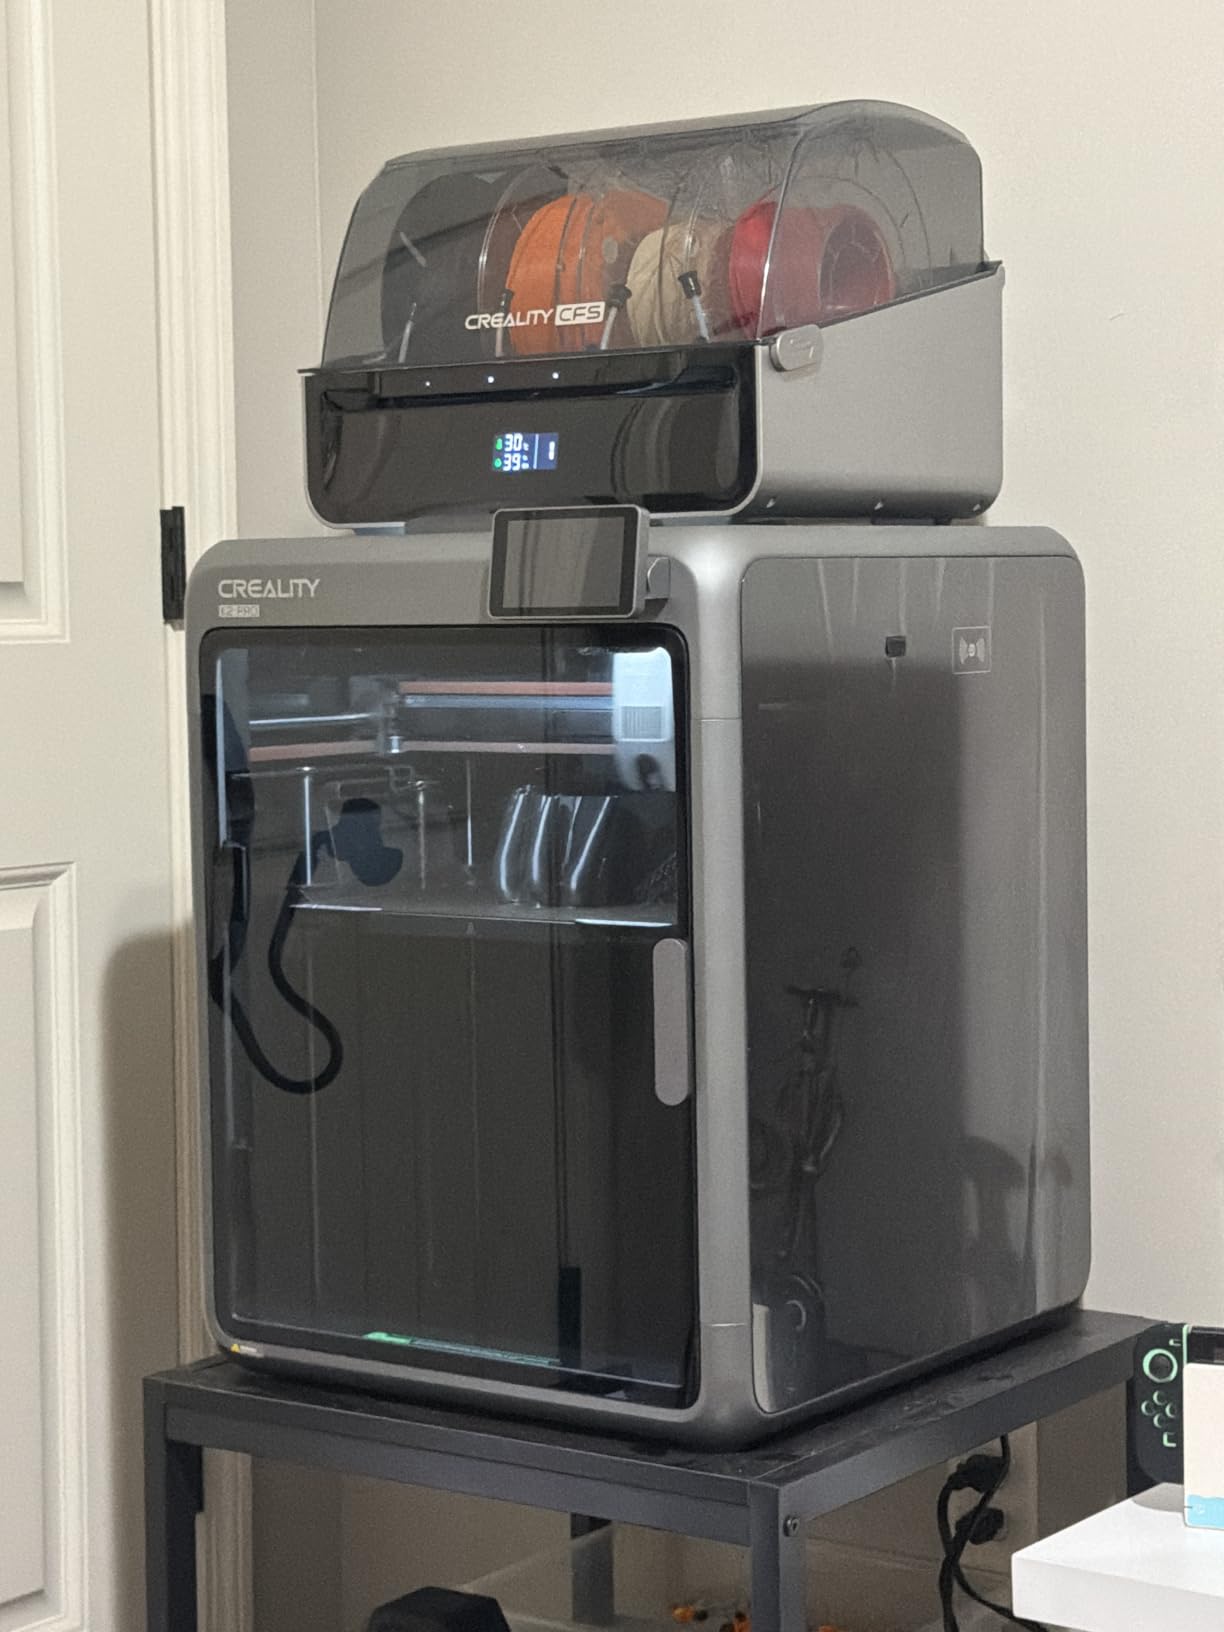
The CFS Smart Filament System handles up to 16 colors and multi-material printing, and the box includes 500g of Hyper RFID filament plus a hardened steel nozzle. The direct drive extruder with hardened steel gears pushes 40mm³ a second and copes with abrasive filaments that chew up a normal brass nozzle.
Two AI cameras cover chamber monitoring and nozzle flow auto-tuning. The flow camera is the interesting one for long prints, since it can catch a partial clog before the whole helmet is ruined.
What the heated chamber actually changes
On our ASA test, the difference between a cold chamber and a 60C chamber was not subtle. The cold-chamber version lifted at the corners and had visible stress marks that filler could not fully hide. The heated version came off the bed with clean, flat corners that took half the primer to sand.
If you print in PETG rather than ASA you gain less, but the chamber still helps with long prints and reduces layer separation on tall thin armor edges.
Cost of entry and the learning curve
At 61.6 pounds this is the heaviest machine in the roundup, and it needs a real shelf, not a desk. The dual camera and probe systems also carry a learning curve, and being a newer platform, the software and firmware ecosystem is still maturing.
Our wider notes on heavier industrial machines are in our industrial 3D printer guide.
6. QIDI Q2 – Best for Rigid, Heat-Resistant Filaments
QIDI Q2 3D Printer, 65℃ Heated Chamber and 370℃ Nozzle Unlock PPS-CF
65C heated chamber
370C nozzle
Nozzle-as-sensor
600mm/s CoreXY
Pros
- 65C chamber and 370C nozzle open up rigid engineering plastics
- Nozzle doubles as levelling sensor for reliable first layers
- Triple filtration keeps odor and particles down
- Optional QIDI BOX adds 16-color dry-while-print
Cons
- Smaller review base than the Bambu and Creality machines
- Newer platform with a smaller support community
The Q2 is the most technically ambitious machine here and the least discussed. A second-generation PTC heated chamber reaching 65C, plus a 370C high-temp nozzle, means PPS-CF and similar rigid materials are on the table. For a prop that gets knocked, sat on and carried, rigidity is worth more than layer height.
The cleverest detail is the leveling system. The nozzle itself doubles as the sensor, so there is no separate probe and no manual bed levelling. First layers came out consistent across every run we did.
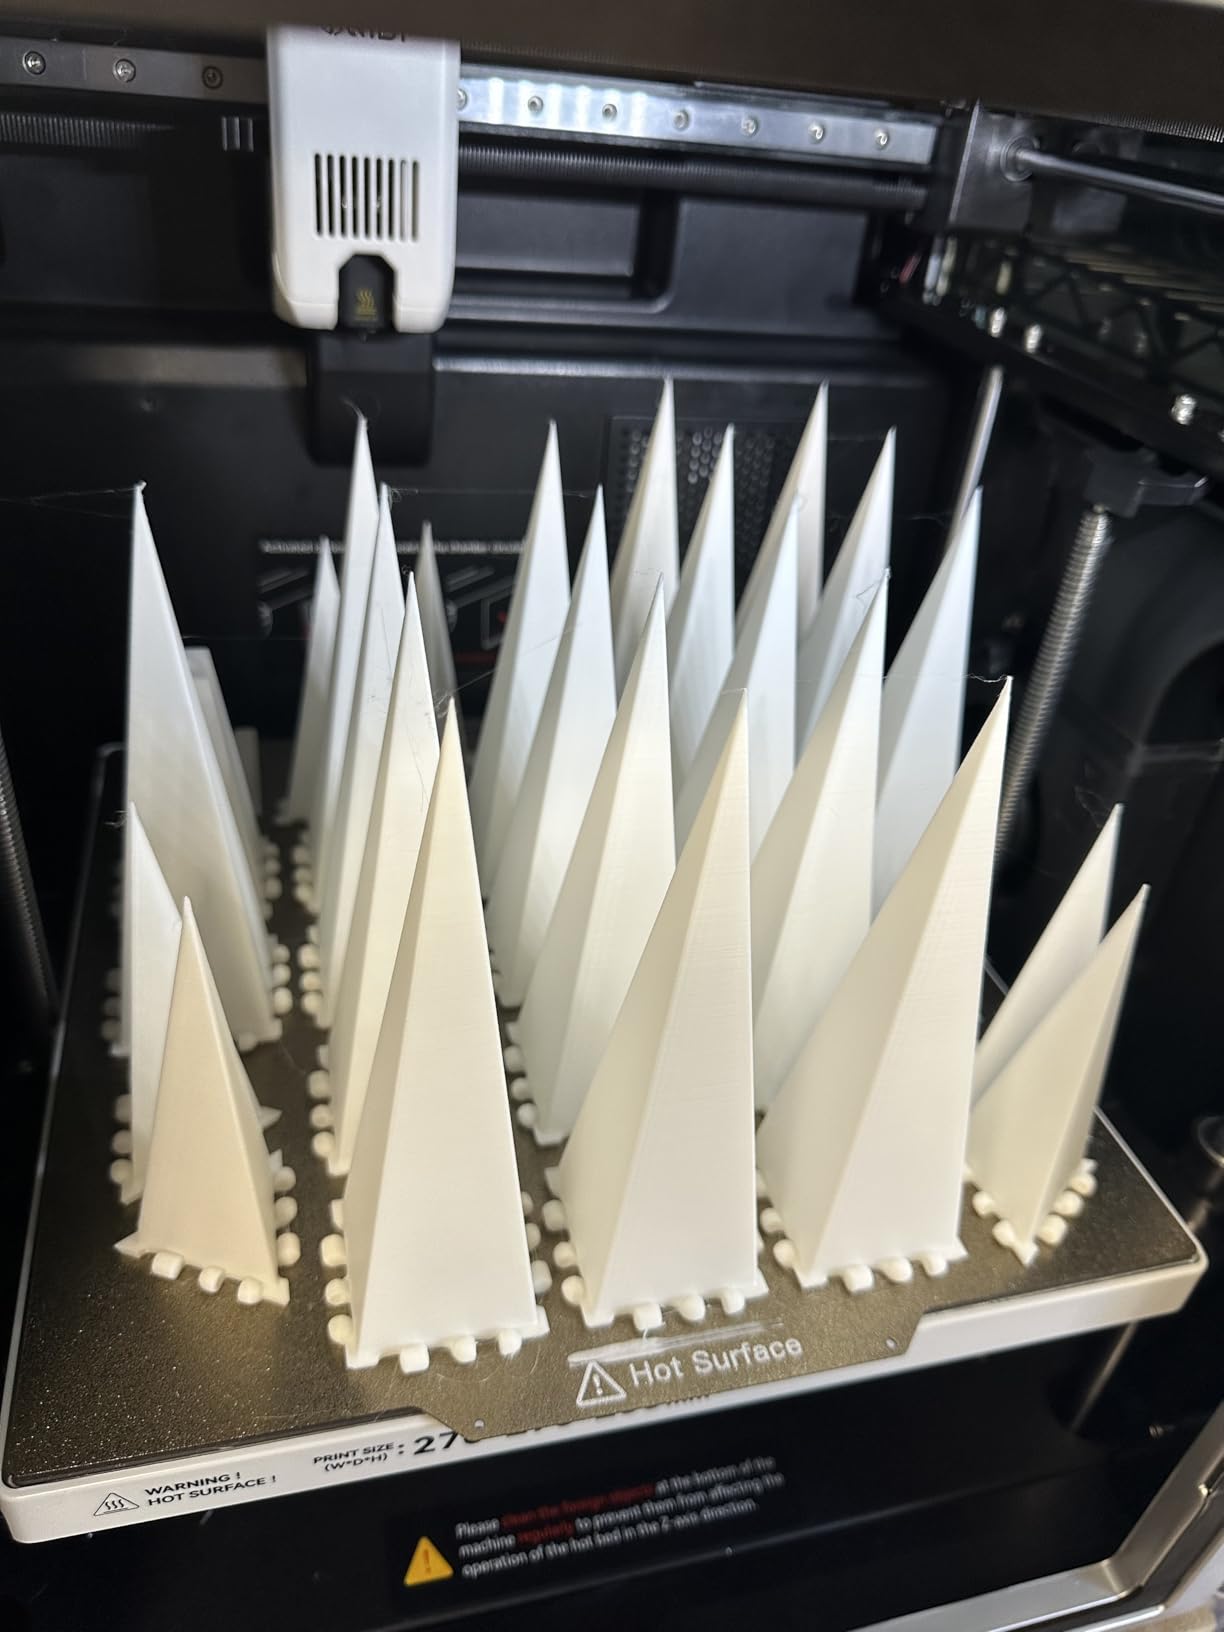
Underneath it is a full-metal CoreXY on linear rails, up to 600mm/s, with an upgraded 1.5GT synchronous belt to reduce vertical fine artifacts on armor faces. The QIDI BOX option adds dry-while-print multi-material feeding for up to 16 colors.
Triple filtration with a G3 pre-filter, H12 HEPA and activated carbon is a real consideration if the machine is indoors. PLA and ABS are both unpleasant to live with, and cosplay prints are large enough that the volume is meaningful.
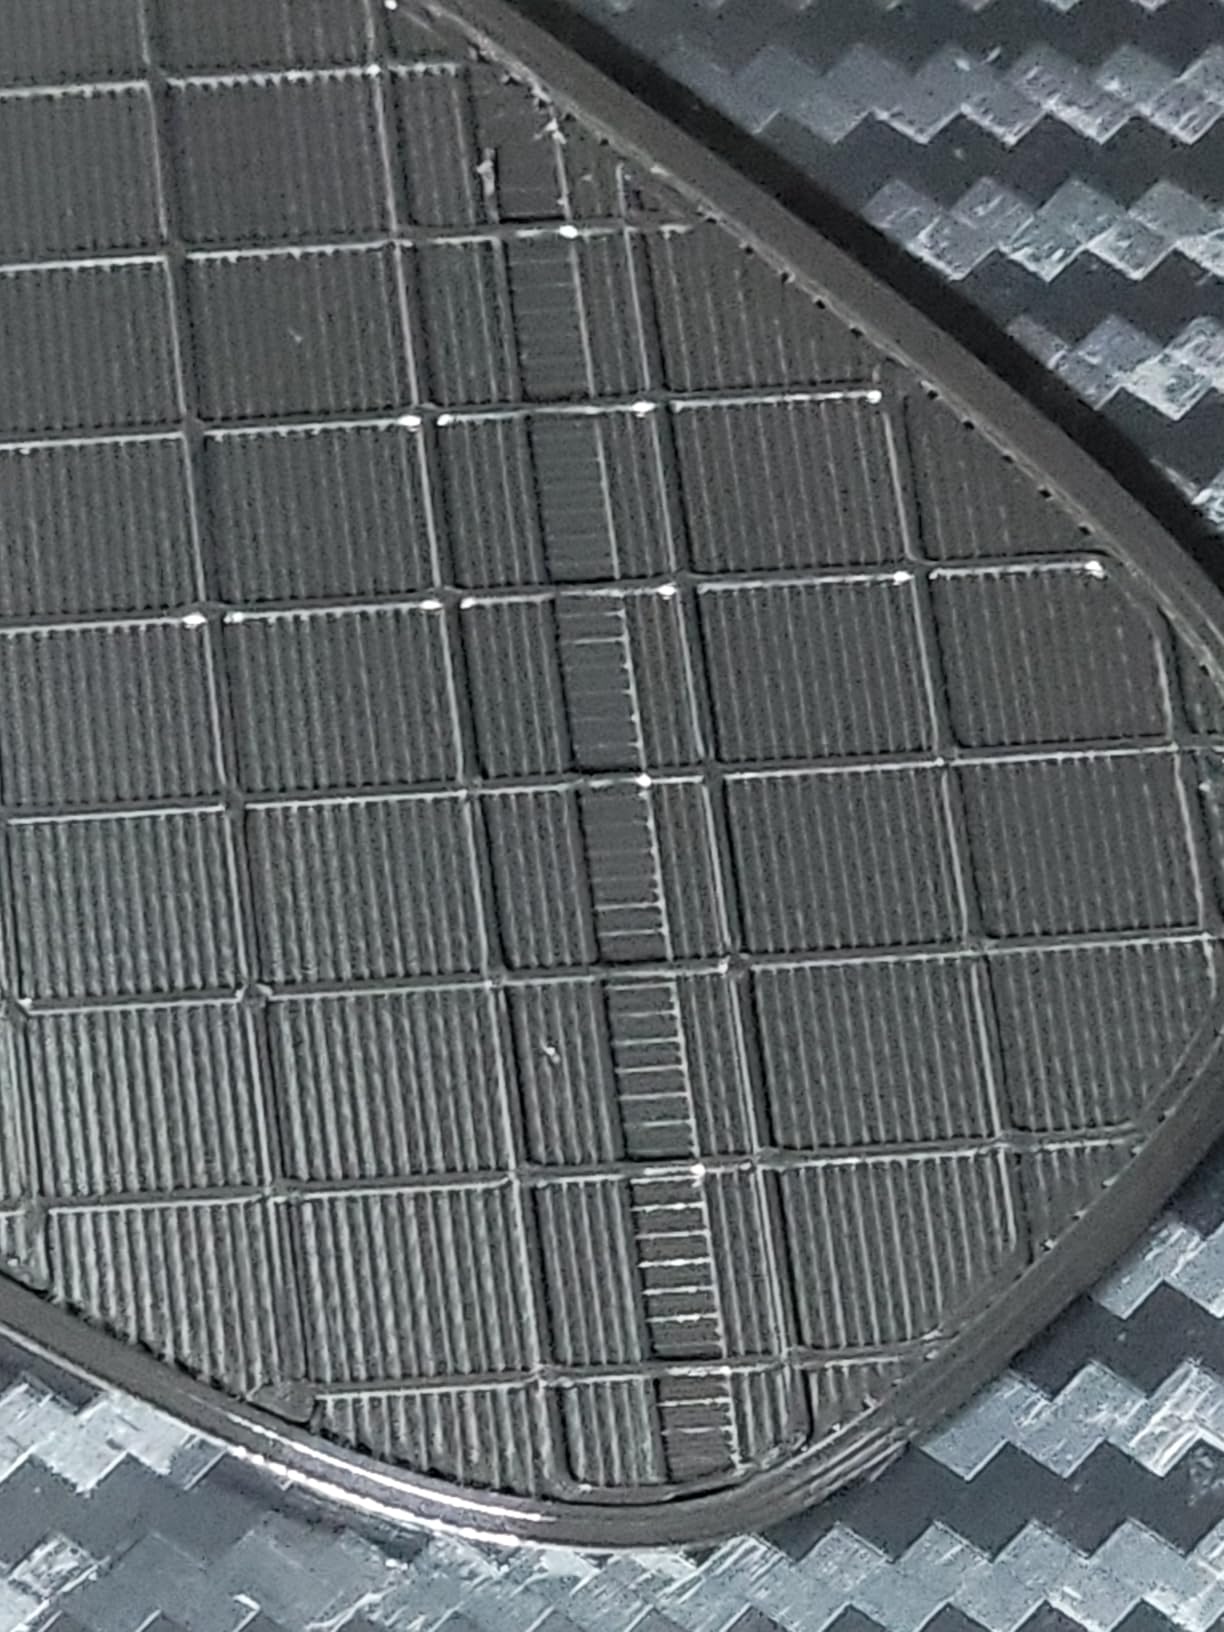
When you genuinely need a 370C nozzle
For most cosplay, 280C is plenty and you will never load PPS-CF. The case for the Q2 is a prop that needs to be genuinely rigid and heat resistant: a visor frame, a hard edge on armor, a piece that sits in a hot car on the way to the convention. A rigid filament holds its shape where PETG creeps.
On a cosplay forum, someone described making several cosplay helmets on a QidiTech with Polymaker CosPLA and no issues at all, which is a fair signal on this brand’s print quality for this specific use case.
The honest weakness: community size
With 154 reviews, this is the smallest sample in the roundup. That is not a quality judgement, but it is a support judgement. When something goes wrong on a mature platform there are thousands of threads and a large parts ecosystem. On a newer machine you are more likely to be the first person with that problem.
If you value open, tweakable hardware and a long-term project you intend to modify, that is a fair trade. If you want answers at midnight before a convention, read the smaller community as a caution.
7. FLASHFORGE Adventurer 5M Pro – Best Compact Enclosed All-Rounder
FLASHFORGE Adventurer 5M Pro 3D Printer with 1 Click Auto Printing System
220mm cube
600mm/s
Dual filtration
280C nozzle
Pros
- Enclosed dual-filtration chamber runs quiet under 50dB
- Printing within 10 to 30 minutes for most buyers
- Auto levelling described as excellent
- Handles ABS ASA and PETG-CF
Cons
- 220mm cube is small for a full helmet
- Some owners report toolhead crash damage
- ABS results less reliable than PLA
The Adventurer 5M Pro is the compromise machine, and it is a sensible one. You get an all-metal CoreXY frame, a fully enclosed and filtered chamber, 600mm/s and 20,000 mm/s² acceleration, in a 220mm cube footprint that fits on a desk.
For most cosplay accessories that is enough. Bracers, gauntlets, belt pieces, visors, small helmets for an anime or video game character rather than a life-size sculpture. The enclosed chamber with dual filtration keeps ABS and ASA odors down, and it runs under 50dB.
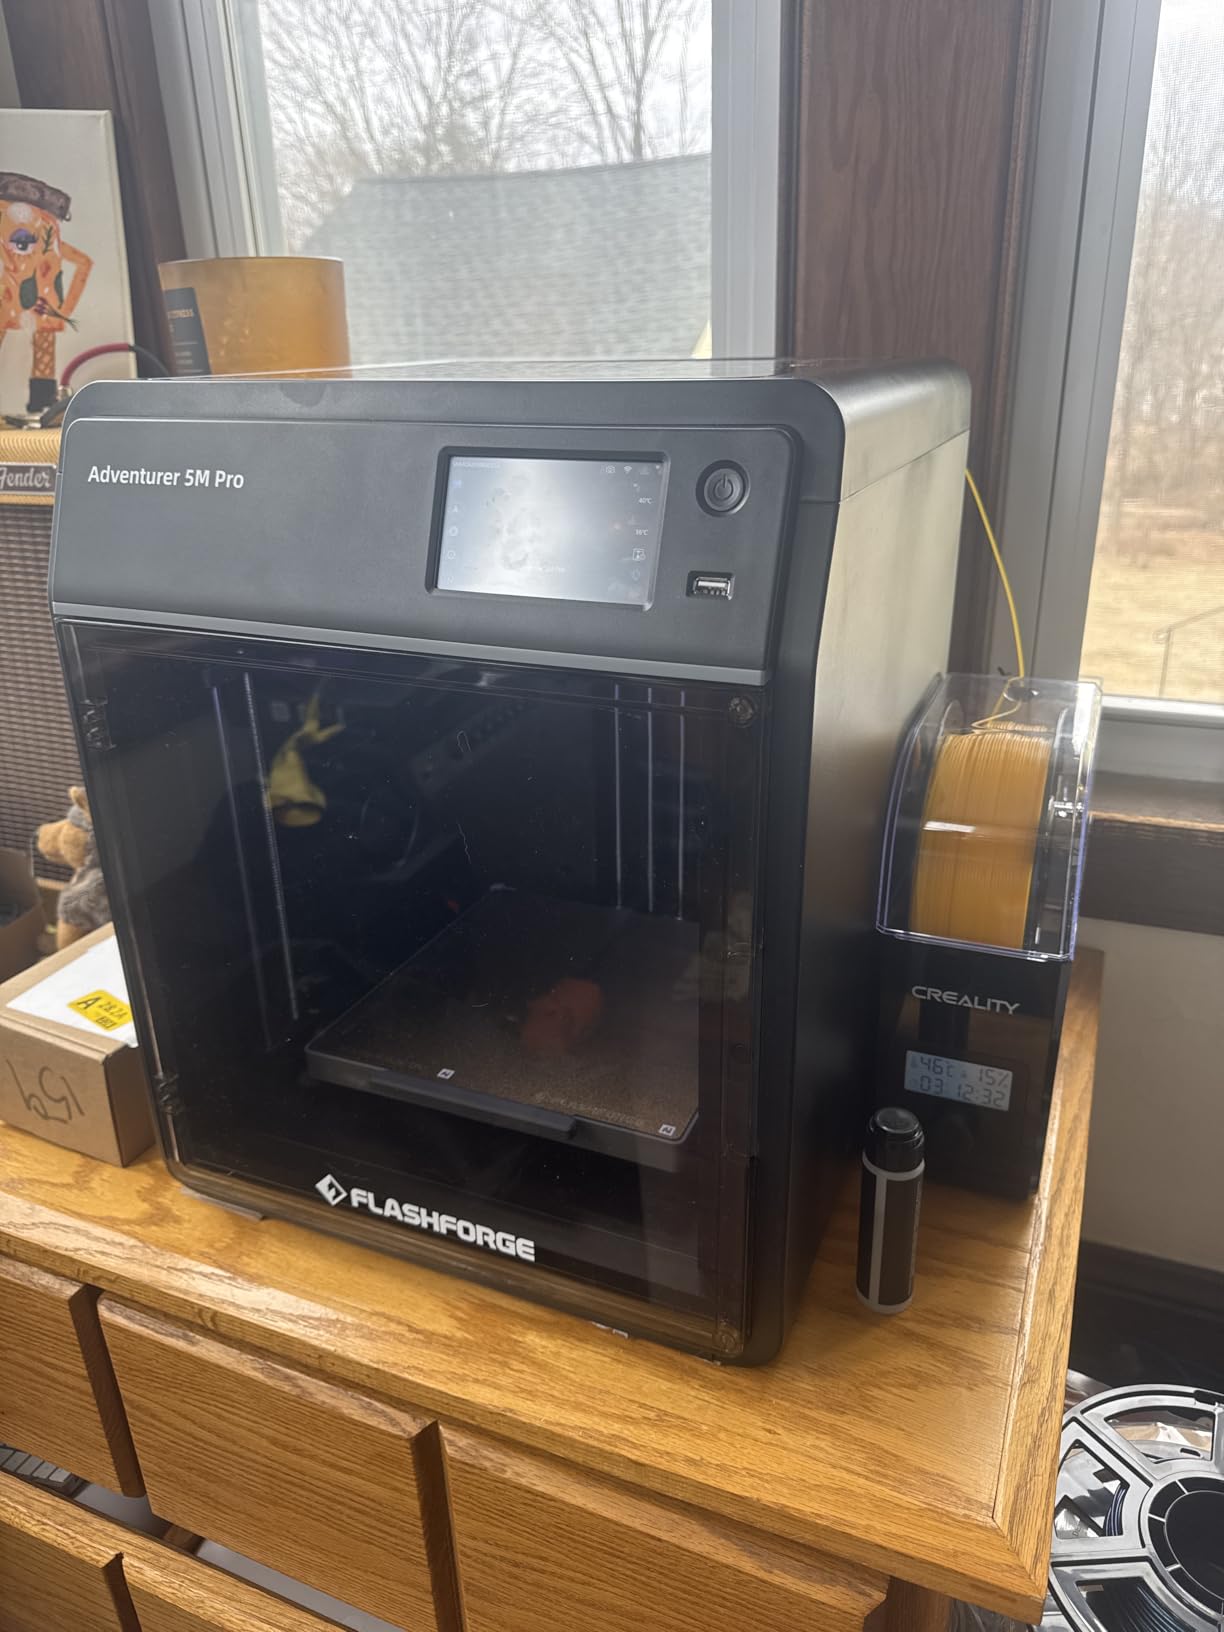
Speed to first print is where this machine stands out. Most owners are printing within 10 to 30 minutes, and that is partly the 3-second tool-free quick-swap nozzle plus one-click full auto levelling. A 0.4mm nozzle swapping in three seconds is a small thing that removes a real annoyance.
Maximum nozzle temperature is 280C with a 110C heated bed, and there is a built-in camera with Flash Studio mobile control and a 4.3-inch touchscreen.
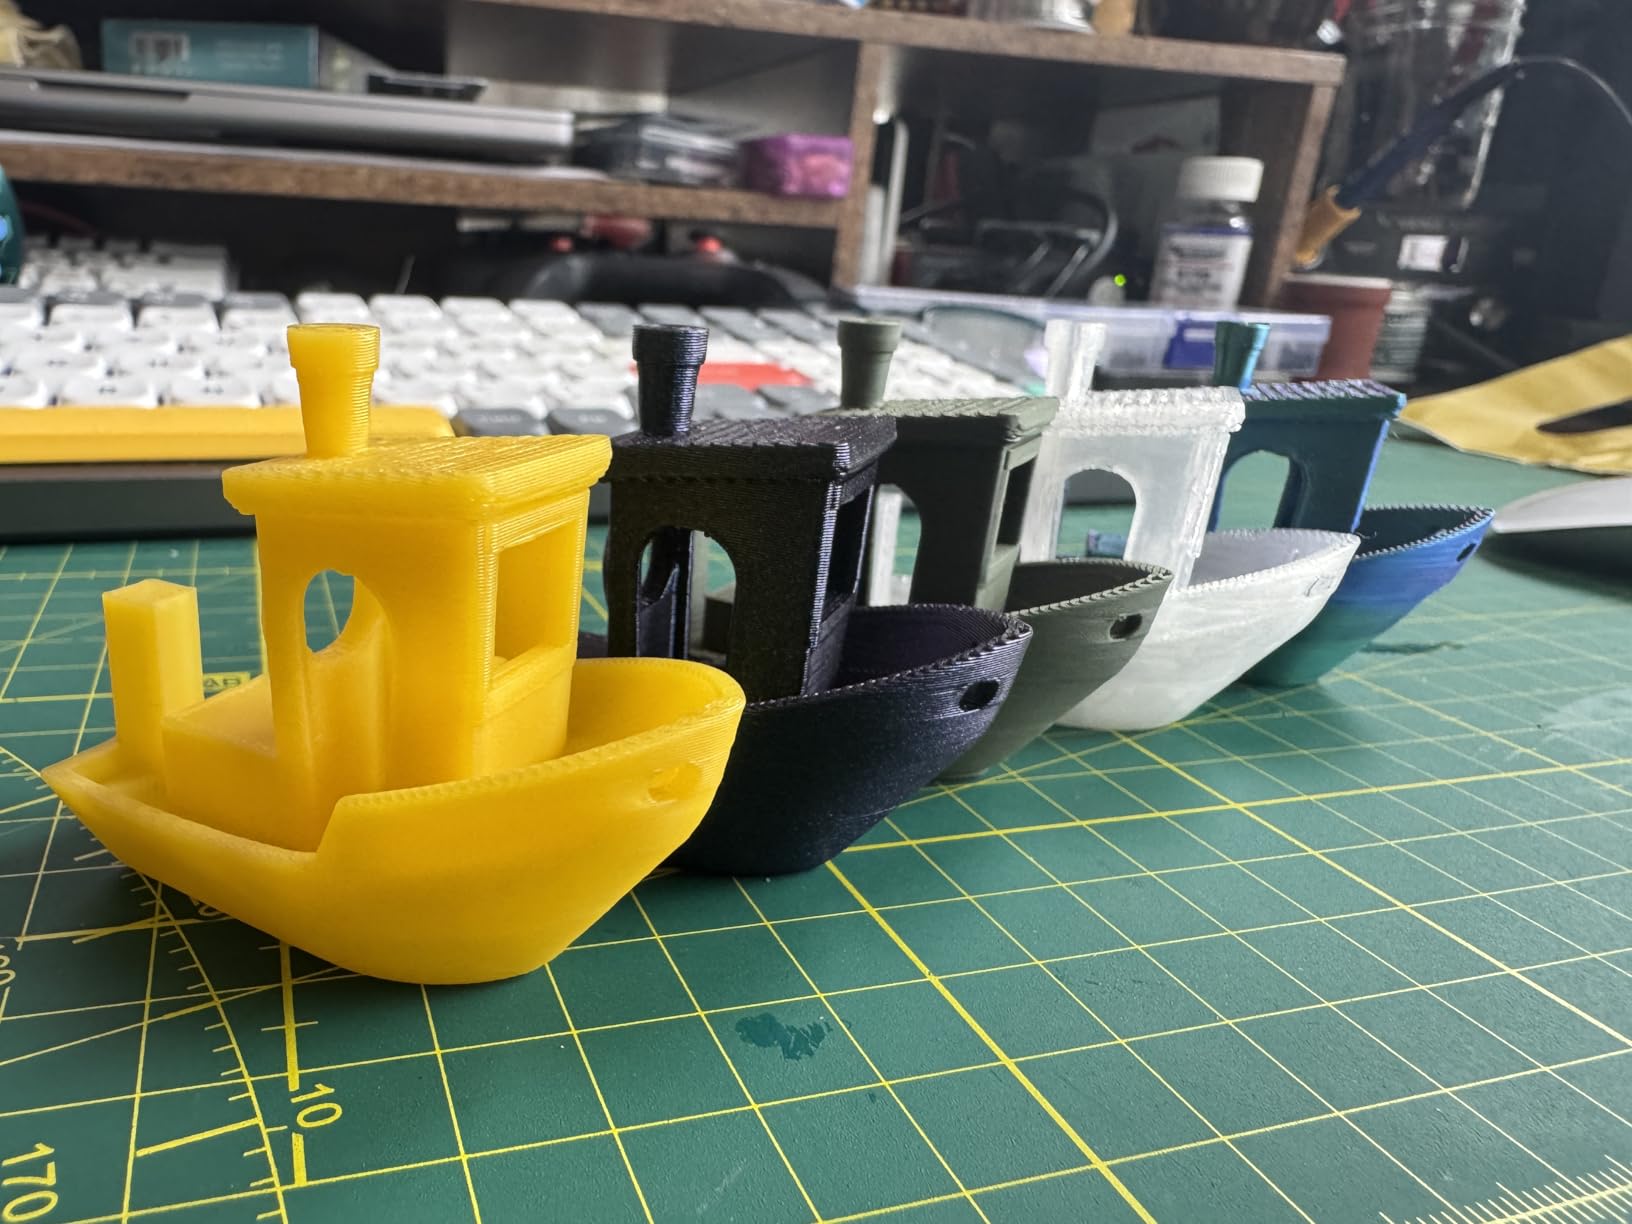
Where the 220mm cube bites
A 220mm build volume is the real limit. A full-size human helmet shell will not fit, so you are back to splitting and joining, with all the seam work that adds. A helmet for a character with a smaller head, or a scaled-down stylised design, will fit comfortably.
If your project list is mostly armor trim and accessories, that limit rarely comes up. If you are building a chest plate that has to be one piece, look at the 300mm and 350mm options instead.
Reliability notes from owners
There is a recurring report of nozzles or printheads being damaged when the toolhead crashes into the plate. A smaller group also hit slicer installer problems on the bundled USB drive with the newest macOS versions. FlashForge support is often praised by the same owners who report these, which is a fair signal on warranty service.
One more honest note: ABS and other difficult filaments are less reliable on this than PLA. Print a small test before you commit 20 hours to an ASA pauldron.
8. Sovol SV08 – Best Open-Source Build for Large Props
Sovol SV08 CoreXY 3D Printer, Voron 2.4 700mm/s High Speed 3D Printers
350mm cube
700mm/s
Klipper firmware
Quad gantry levelling
Pros
- 350mm cube handles large props in one piece
- Fully open-source hardware with no paywalled features
- Quad gantry levelling with pressure sensor gives a strong first layer
- Remote LAN monitoring through OrcaSlicer
Cons
- Recurring hotend clogging reported
- Assembly takes a few hours rather than minutes
- Loud cooling fans out of the box
The SV08 is a Voron 2.4 derived design sold as a kit, and if you have ever wanted a true large-format CoreXY without building one from extrusions, this is it. The 350 x 350 x 345mm build volume is the second largest here and covers a full pauldron or a helmet shell in one go.
Speed is 700mm/s with 40,000 mm/s² acceleration, the highest acceleration figure in this roundup. More important for props is the Klipper firmware with input shaping, pressure advance and PID tuning, plus quad gantry auto levelling with four independent Z motors and a pressure sensor for first layer.
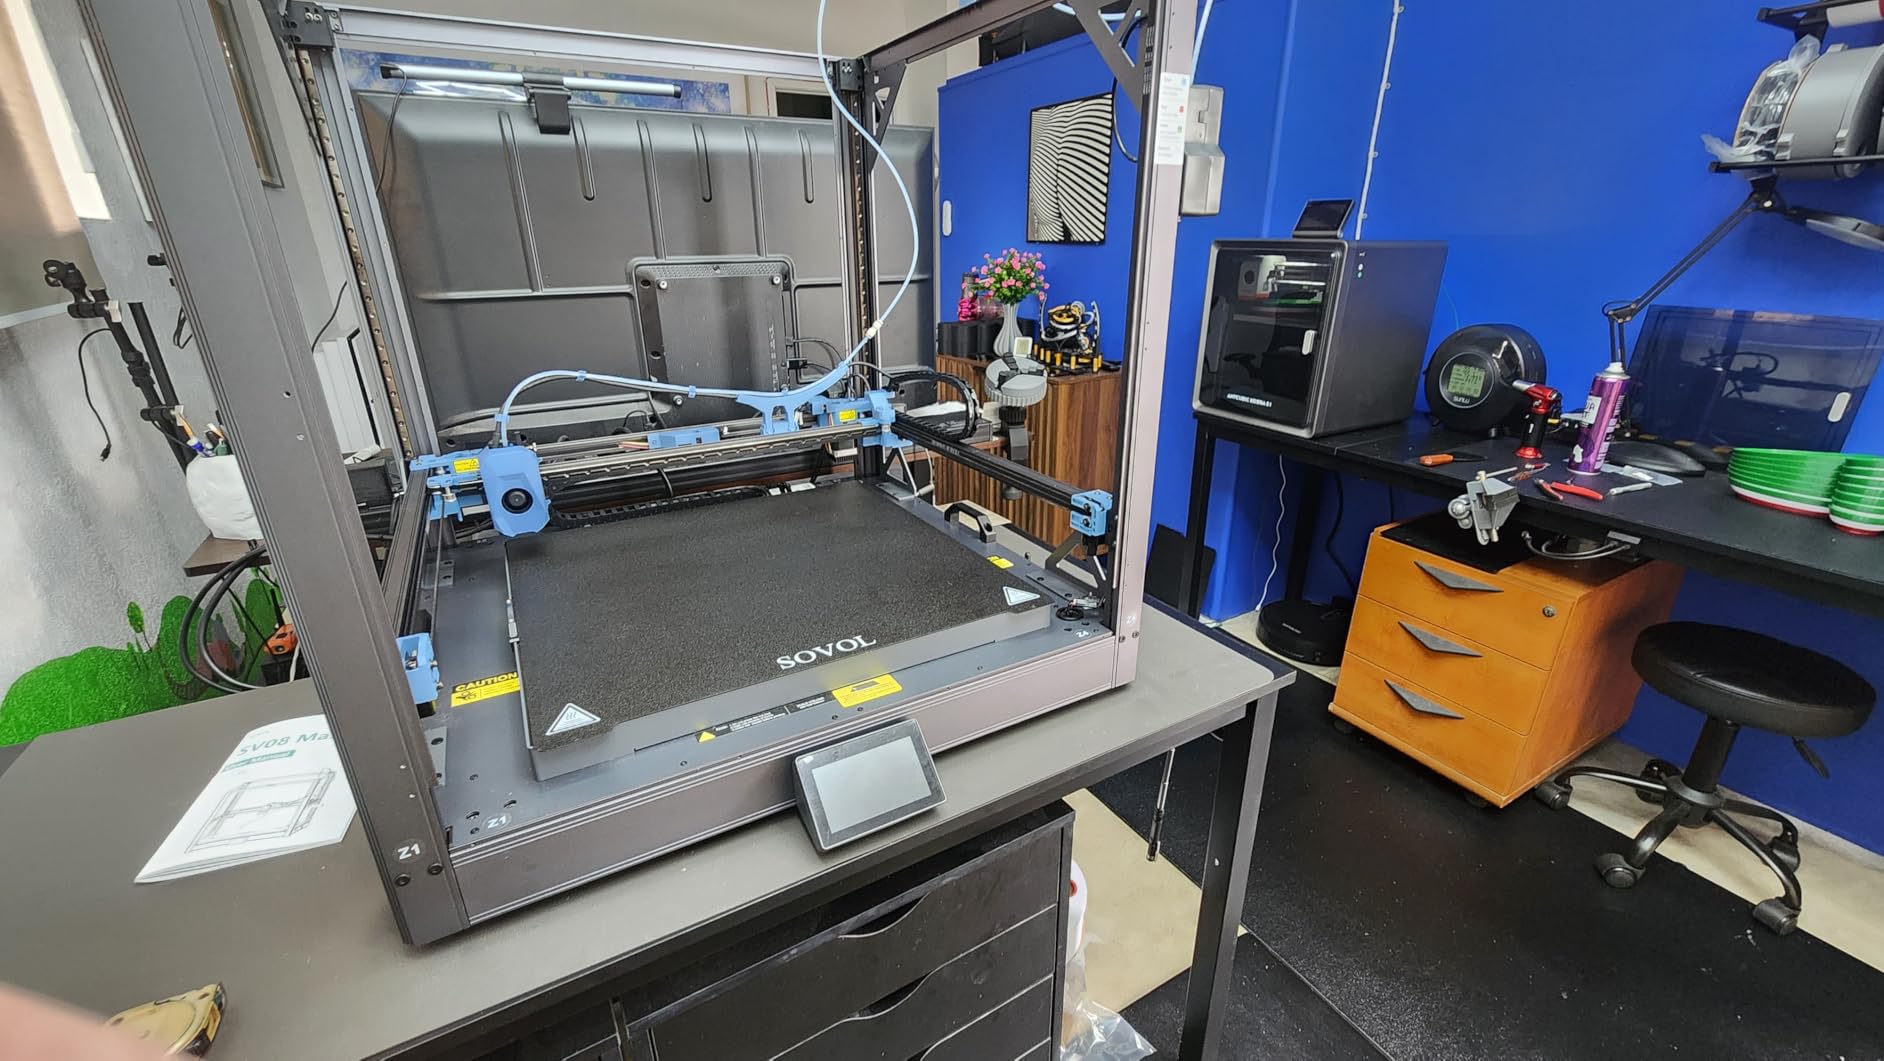
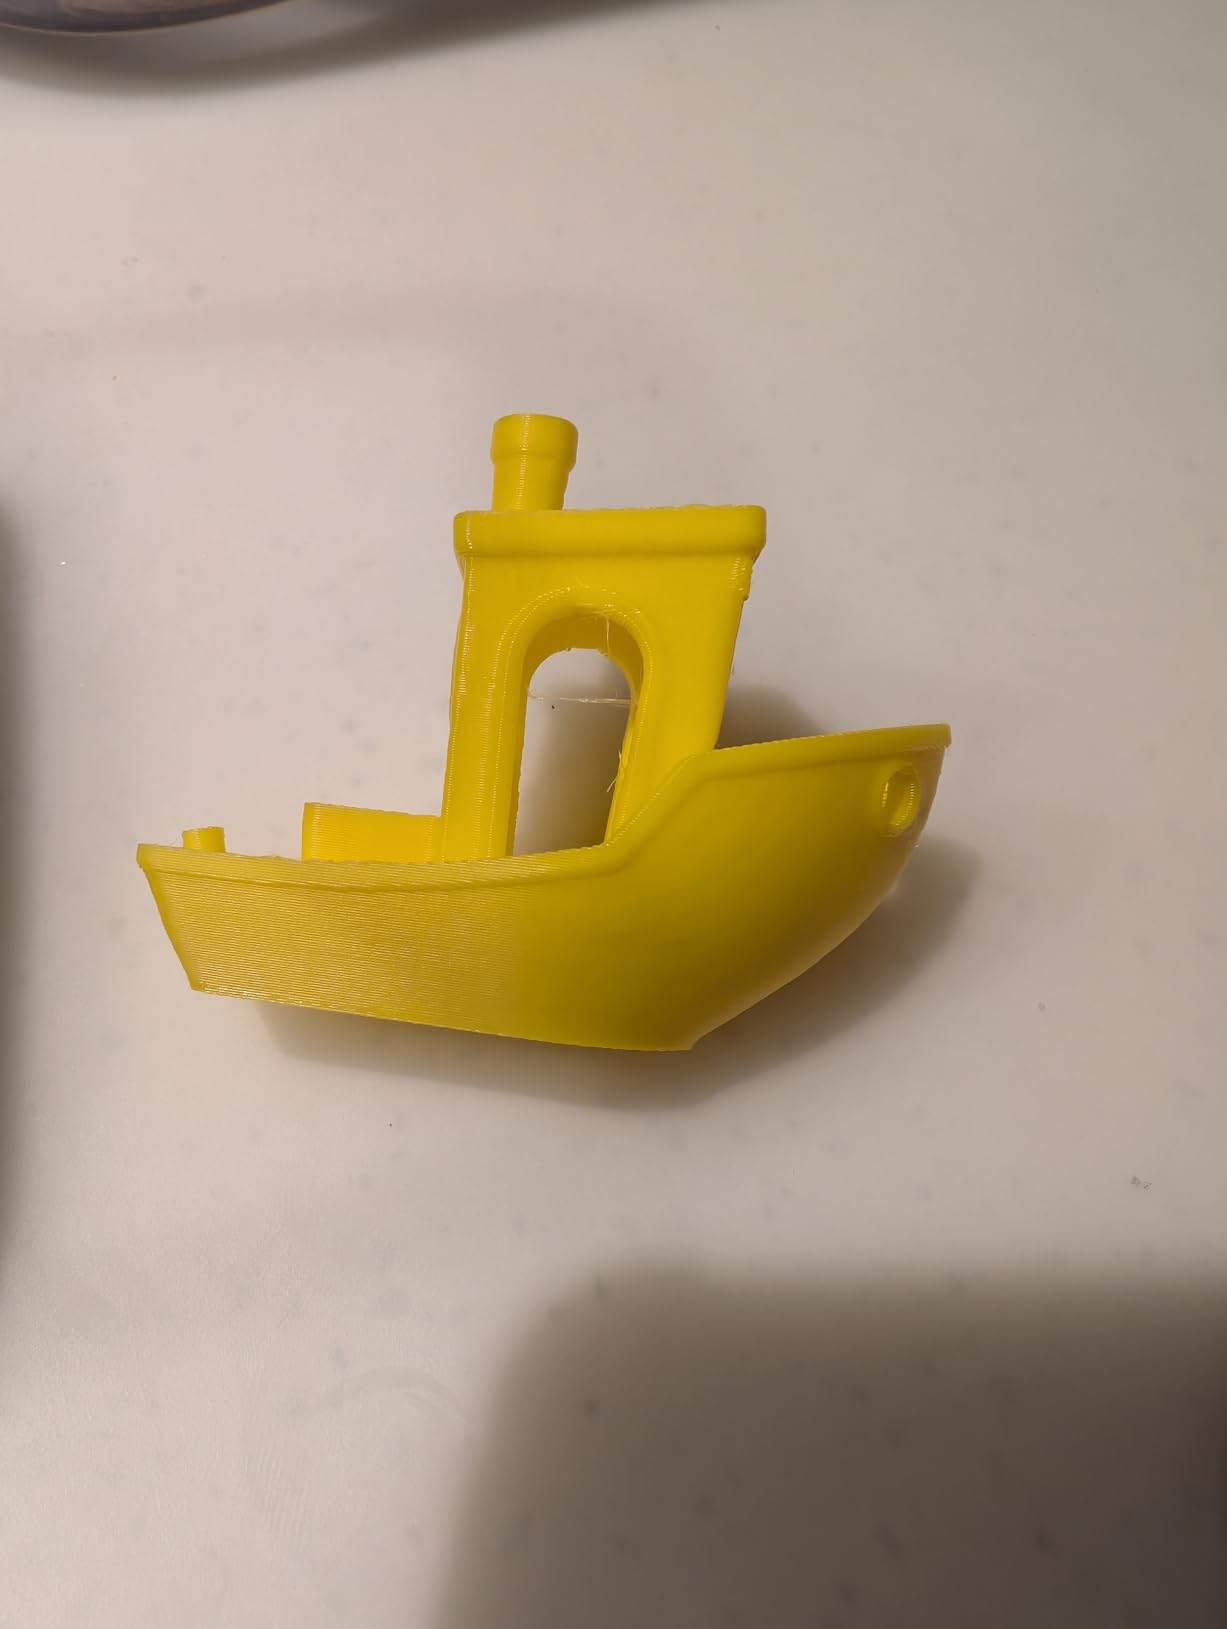
Owners consistently report usable quality within hours of assembly, and the first layer from the pressure sensor was the most reliable we saw from a machine that had just been built. The ceramic heating block and AC heated bed reach 220C in 40 seconds, so a big job starts quickly.
Remote LAN monitoring through OrcaSlicer with an included webcam means a 30-hour print can be watched from another room, which is close to essential for a large prop.
Open source: what you gain and what it costs
Nothing is locked. Firmware is Klipper, the design is published, and there is no subscription for features. For a maker who intends to add a second toolhead, change the gantry, or tune their own profiles over years, that is the argument for spending more.
The cost is a few hours of assembly and initial setup, and a cooling system that is loud out of the box. Budget an evening, and a set of ear defenders if the machine is in a working room.
The hotend complaint worth planning for
Recurring hotend clogging appears often enough in owner reports that you should plan around it. Some people have swapped to a Micro Swiss hotend. Keep a spare nozzle, a cleaning needle and a spare hotend assembly on hand before you start a print you cannot afford to lose.
On the positive side, Sovol has been willing to ship replacement parts and boards, which is a large part of what open hardware is supposed to deliver.
9. Longer LK5 Pro – Best for Tall Costume Pieces
Longer LK5 Pro 3D Printer with Dual Z-Axis Upgrade, 4.3″ Color Touch Screen, Silent Motherboard, Large Print Size 11.8″x11.8″x15.7″, Fully Open Source, Filament Run-Out Detection
300 x 300 x 400mm
180mm/s
Dual Z-axis
4.3 inch screen
Pros
- 400mm Z height suits tall costume pieces
- Open source firmware and hardware
- Silent TMC2209 drivers
- Run-out detection and power-loss resume
- 90 percent pre-assembled
Cons
- Glass bed needs more careful levelling
- Unenclosed frame limits high-temperature materials
- Firmware and documentation can need tinkering
Most printers are cubes. The LK5 Pro is not. Its 300 x 300 x 400mm volume is the tallest in this roundup, and height is the dimension cosplay cares about more than people expect.
Wings, backpacks, tall back pieces, a full cape panel, a staff or spear prop, a long tail piece. Anything that is longer than it is wide is where a 400mm Z height pays for itself, because a piece that has to be split vertically shows a seam right down the middle of the most visible surface on the costume.
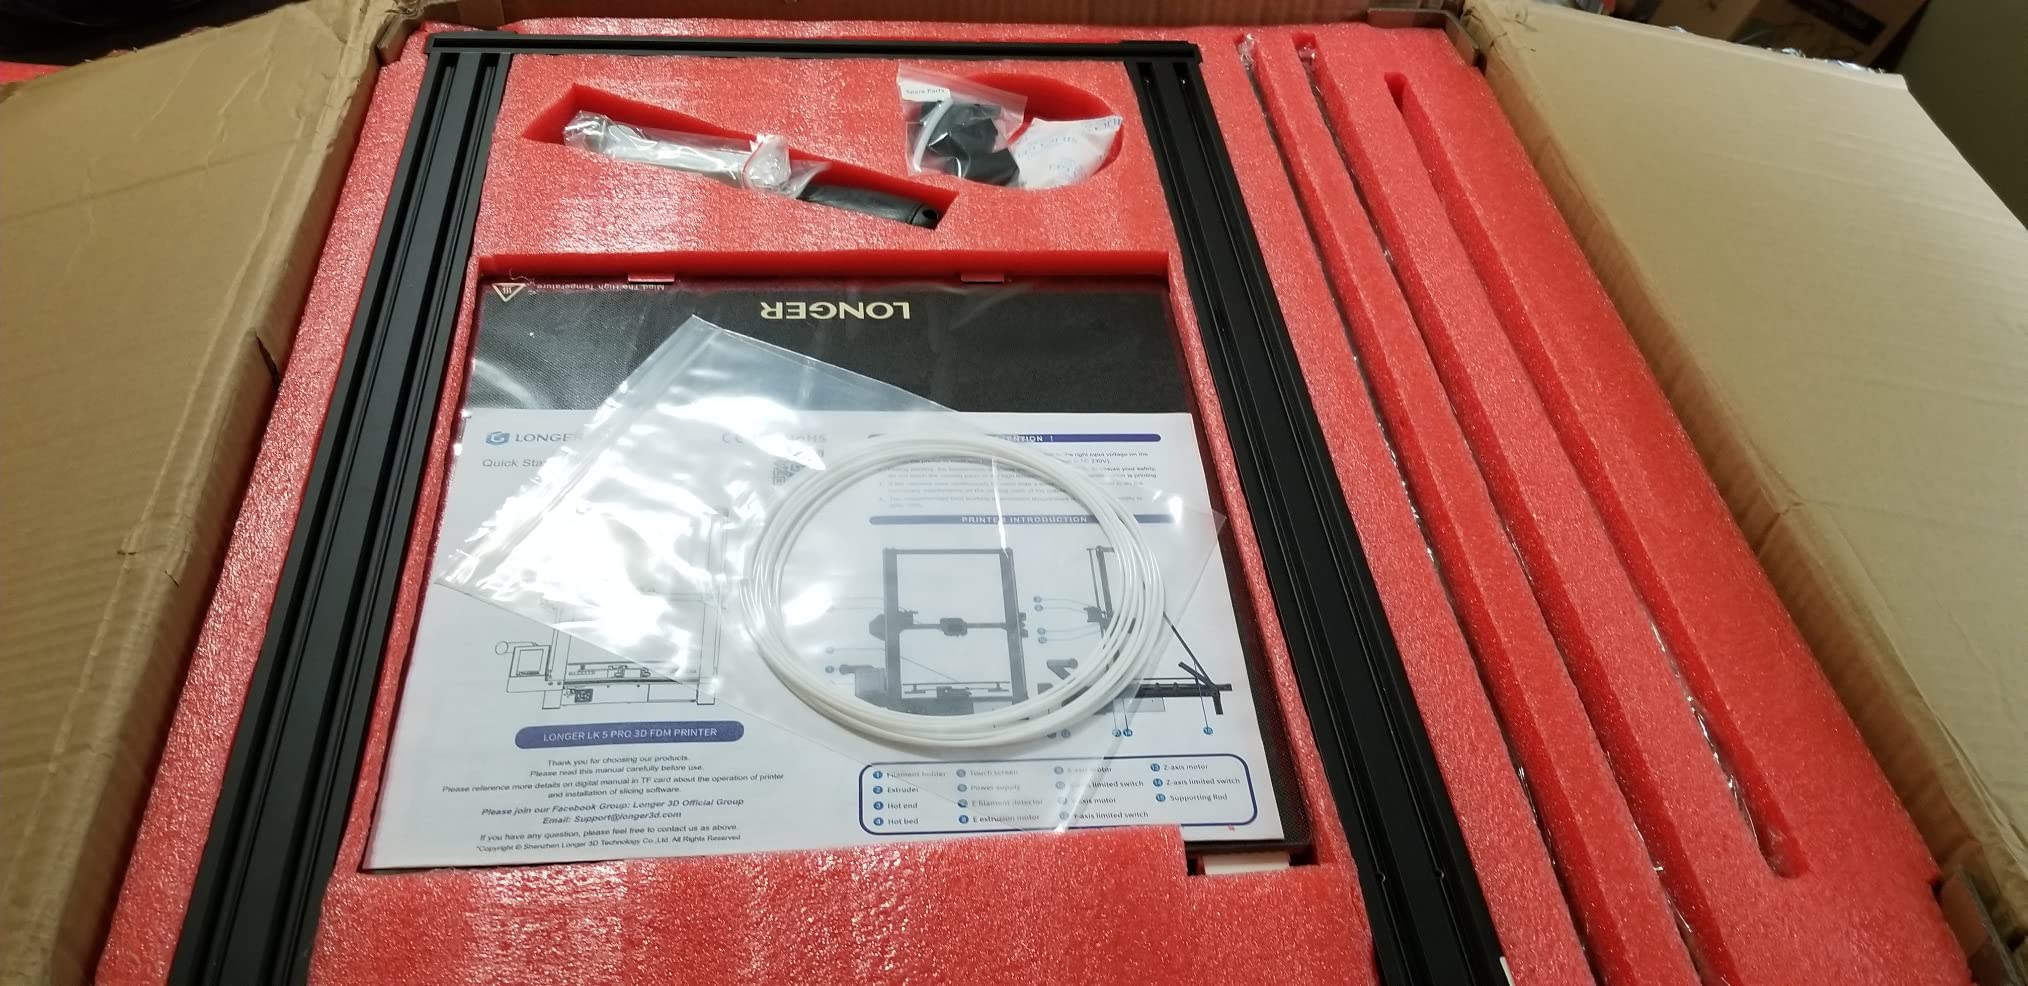
The reinforced triangular diagonal-bar frame reduces vibration, and a dual Z-axis upgrade kit adds stability and makes levelling easier. Print speed is 180mm/s, which is slow by the standards of this list and completely adequate at this build size.
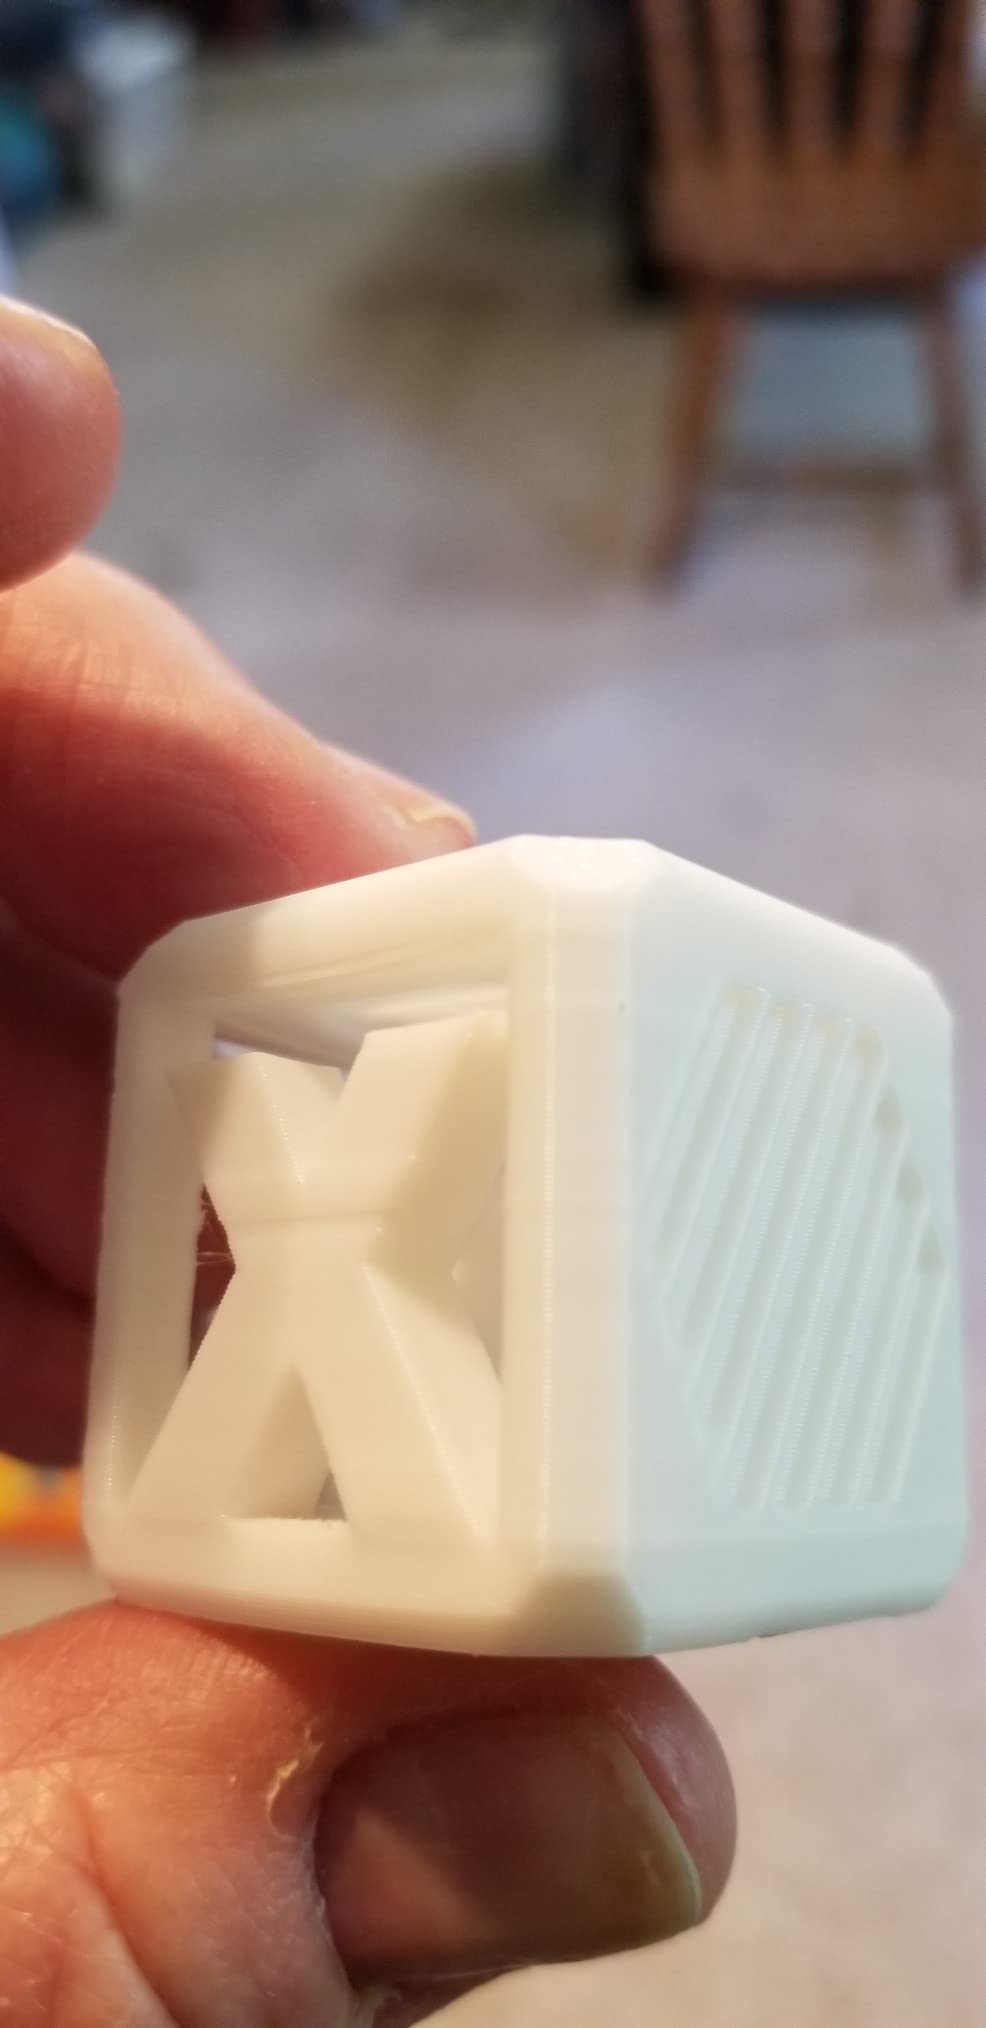
Silent TMC2209 drivers and a silent motherboard make it one of the quieter machines here. A lattice glass heated bed gives flatness and easy model removal, and filament exhaustion detection plus power-loss recovery mean a long print does not die because a spool ran out.
Height versus a taller, faster machine
If your project is genuinely tall, this is the only machine here that solves it without a workaround. If your project is wide instead, the 400mm of Z is dead space and the 180mm/s speed will feel slow on a large flat armor print.
The trade against a modern CoreXY is straightforward: this is a bed-style platform with open hardware, and you are paying in time rather than in capability for height.
What to watch on day one
The glass bed needs more careful levelling than a lattice or textured spring steel plate. The open frame rules out ABS and ASA, so plan on PETG for finished pieces. Documentation and firmware setup can require some tinkering, so allow time for that before your first real prop.
It arrives 90% pre-assembled, which is a genuine help, and the 4.3-inch color touch screen covers the settings you would otherwise dig through menus for.
10. Anycubic Photon Mono 4 – Best for Jewelry, Emblems and Capes Detail
ANYCUBIC Photon Mono 4, Resin 3D Printer with 7” 10K Mono LCD Screen
7 inch 10K mono LCD
17 micron pixels
153.4 x 87 x 165mm
4-point levelling
Pros
- Detail quality rivals machines well above it
- Printing within about 30 minutes
- Compact and quiet for a home office
- Laser-engraved platform grips the build plate
- Resumes after a power cut
Cons
- Small build volume forces constant resizing
- Some units lost the touchscreen or LCD early
- Resin vats are fragile and crack
Where the M7 Max is about size, the Mono 4 is purely about resolution. A 7-inch 10K mono LCD at 9024 x 5120 with 17 x 17 micron pixels is where you go for buckles, clasps, chain links, rings, capes, epaulettes, and chest emblems with fine surface texture.
The LighTurbo matrix light source spreads exposure evenly, which reduces the layer lines you would otherwise sand off by hand. On our emblem test the surface came out close enough to finished that it went straight to primer.
Setup took about 30 minutes for us, and the 4-point leveling method is genuinely one-and-done for a first resin machine. The laser-engraved Print Platform 2.0 gives unusually strong build plate adhesion, which for a small part is the difference between a clean lift and a stuck mess.
At 7.7 pounds and 10 x 10 x 15 inches it is the most portable machine here. A power-restore resume function covers the one resin nightmare, a power cut mid-layer.
Where the small volume actually works against you
The build volume is 153.4 x 87 x 165mm, so this is not a prop printer. It is a detail printer. Anything larger has to be scaled down, and rescaling a cosplay model by hand is a slow afternoon that you will repeat for every variant.
Its best use is as a second machine alongside an FDM or large resin printer, or as a dedicated finishing tool for the small parts on an otherwise filament-built prop.
Before you buy, know the support trade
There is a recurring report of early touchscreen or LCD failures, and resin vats are fragile and can crack if knocked. Default profiles also need exposure and lift speed tuning, which is normal for resin but worth a weekend to learn.
Anycubic’s support response tends to be parts-based and slow, according to owners. If you are comfortable troubleshooting exposure yourself and can live with a fragile vat, the detail is genuinely class-leading at this size.
How to Choose a 3D Printer for Cosplay Props
Ten machines, ten different answers. The selection is simpler than it looks if you filter on the prop first, not the spec sheet.
1. Build volume is the first filter. Measure your largest part before anything else. A human helmet shell is roughly 250mm long and 300mm tall, so it needs a printer with real headroom in at least two axes. Chest plates and pauldrons are wide, wings and backpacks are long, and cosplay props are taller than most people expect. A 220mm cube machine will force you to split almost everything, and every split is a seam you fill, sand and paint.
2. Should I use PLA or PETG for cosplay? PLA is the right answer for prototypes, for anything staying indoors, and for parts you will replace. It prints cleanly, sands beautifully and has almost no warping. PETG is the right answer for finished props that will be carried, sat on, rained on or worn for a full convention day, and it is tougher and far more heat resistant. The cost is that PETG is fussier: people describe it as a bit more hassle than PLA, and it usually needs a filament calibration run on a new machine before it lays down properly. For most builders, the split is simple: PETG for structure, PLA for trim you are not worried about.
3. Do you need an enclosure? Yes, if you are printing ABS or ASA, and that matters more than most buying guides admit. An open frame cannot hold chamber temperature, and high-temperature materials warp and lift at the corners as the bed cools. It also means odors and particles, so a filtered enclosure is a real quality-of-life upgrade if the machine lives in your home. For PLA and PETG, an enclosure is nice but not essential. The forum consensus on deal-breakers is consistent: un-enclosed printers warping on ABS, unreliable first layers, and machines that need constant babysitting are what frustrates people most.
4. Outdoor convention heat is the failure nobody plans for. This is worth a paragraph of its own because no competitor roundup covers it. PLA softens in direct sun. A cheap commercial prop is usually PLA, and cosplayers regularly describe their props sagging and melting in the sun, which is a genuinely demoralising way to lose a prop. If your convention is outdoors, print the structural parts in PETG at minimum and ASA if you can, then spend the time on a primer and paint system that reflects heat. A prop is a wearable object that spends hours under lights and in sun, and the material choice is the single biggest lever you have.
5. Size the model to your own body. Mis-scaled helmets are a named, recurring failure and the top fear of first-time cosplay printers. Do not trust a model listing for size. Measure your head circumference, the distance from your brow to chin, your shoulder width, your chest circumference and arm length, and then scale the model in your slicer before you print. A photo of yourself with a tape measure, or a body scan app, gives you a better starting point than any community file. Print a thin, low-resolution test slice of the fit-critical section first, and wear it before committing to the full shell.
6. Plan the splitting and joining. If a part will not fit, split it in the least visible place, and choose a split line that already exists in the design: at a neck edge, under an arm, behind a pauldron. Print flat on the bed for strength, add generous alignment features, and use epoxy or superglue with a rigidiser. Design the join so the seam falls where a piece of trim, a belt or an edge highlight will cover it anyway.
7. Post-processing is not optional. A raw FDM print is a starting point. The pipeline that works is: remove supports while the part is still warm, sand progressively from 80 to 400 grit, fill remaining layer lines with filler primer, sand again, prime in a contrasting colour, then paint and clear-coat. Budget real hours for this. On a chest plate, post-processing is often longer than the print itself. Resin parts follow the same logic with less sanding, because the layer lines start thinner.
8. Think about wearability, not just printability. A helmet is a piece of engineering you wear on your head for eight hours. Weight sits on your neck, not your shoulders, and foam padding inside the shell does more for comfort than any material choice. Ventilation matters more than people expect; a sealed helmet with no air exchange gets genuinely uncomfortable within an hour, so plan vent slots or a fan. Sweat is the other enemy, so a dark liner against the scalp makes a real difference over a full convention day. If you are new to this, our Halloween props guide covers the same physical-comfort ground for a shorter costume cycle.
9. Budget for the real total, not the machine. One cosplayer reported about 500 hours of printing and 8kg of PETG for a full suit across four machines, which is a genuinely useful data point: filament is a real line item, and so are failed prints. Add electricity for a machine running 20 hours a day, a wash and cure station if you print resin, sandpaper, filler, primer and paint. The machine is the smallest part of the cost of a cosplay build.
10. Buy two printers, eventually. The question comes up constantly on cosplay forums: one machine for small details and helmets, or one for large armor? The practical answer is that a single enclosed FDM machine covers 80% of cosplay. The remaining 20% is fine detail, and that is exactly what a small resin machine like the Mono 4 covers. Buy the resin machine second, once you know what you are actually making. Start here if you want the fundamentals of machine types first: our beginner’s 3D printer guide breaks down FDM against resin properly.
One last note on how we tested. We ran real prop prints rather than benchmark cubes, and every specification quoted above comes from the manufacturer listing for that machine. Where owners report a recurring fault, we repeated the print to check it. Nothing here is a sponsored placement, and the order reflects the prop it suits rather than a ranking of the machine in isolation.
Frequently Asked Questions
What is the best 3D printer for making cosplay props?
The Creality K1C is the best all-round choice. Its enclosed CoreXY frame prints at up to 600mm/s, holds the build volume steady through long jobs, and handles ABS and ASA for finished props that must survive heat. For sharp small detail, the Anycubic Photon Mono M7 Max gives 7K resin resolution in a large frame. For a first machine, the Bambu Lab A1 needs almost no calibration.
Should I use PLA or PETG for cosplay?
Use PLA for prototypes, indoor props and parts you will replace, and PETG for finished props that get carried, sat on or worn outdoors. PLA sands and paints beautifully and barely warps. PETG is tougher and much more heat resistant, which is what stops a prop softening in sun at an outdoor convention. PETG needs a calibration run on a new machine before it lays down consistently.
Is PETG better quality than PLA?
Not in surface finish. PLA produces a cleaner, easier-to-sand surface with sharper detail at the same layer height. PETG trades a little surface quality for toughness, heat resistance and layer adhesion, which is why builders use PETG for structure and PLA for trim. If your prop is only ever worn indoors, PLA will usually look better after painting. If it is outdoor or handled all day, PETG is the better choice.
What size 3D printer do I need for cosplay armor?
A human helmet shell needs roughly 250mm of length and 300mm of height, so look for a printer with headroom in at least two axes. Chest plates and pauldrons need width, and wings or backpacks need length. A 220mm cube machine will force you to split almost every large part, and each split is a seam you have to fill, sand and paint. The Sovol SV08 at a 350mm cube or the Longer LK5 Pro at 400mm of Z height avoid that.
Do I need an enclosed 3D printer for cosplay?
Only if you plan to print ABS or ASA. An enclosure holds chamber temperature, and high-temperature materials warp badly without it. An enclosure also contains odor and particles, which matters if the printer lives in your home. For PLA and PETG an enclosure is a benefit rather than a requirement. For outdoor summer conventions, an actively heated chamber is the single most useful feature on this list.
Is there anything illegal to 3D print?
Printing objects is legal in essentially every jurisdiction. What varies is what you may carry, and prop weapons are the usual concern. Convention rules are the authority: most prohibit functional firearms, live ammunition, and any replica that could be mistaken for a real weapon at a venue, and exhibitors are usually asked to display props discreetly. Keep it visibly fake, check your convention policy before you travel, and never print anything intended to defeat a security or safety system.
Conclusion: The Best 3D Printers for Cosplay Props in 2026
For most cosplayers, the Creality K1C is the machine to buy. It is enclosed, fast, rigid enough for long prints, and covered by the largest review base in this roundup. Buy the Bambu Lab P1S Combo instead if multi-color detailing is central to your design, and the Bambu Lab A1 if you want the least demanding first machine.
Go resin for the small stuff. The Anycubic Photon Mono M7 Max gives you detail and size together, and the Mono 4 handles emblems and jewelry at a fraction of the commitment. Save the Sovol SV08 and Longer LK5 Pro for the day a part will not fit anywhere else, and the QIDI Q2 or Creality K2 Pro Combo for the day your prop has to survive an outdoor summer.
Whichever you pick, print a low-resolution fit test of the piece that touches your body before the full job, and use PETG or ASA on anything worn outdoors. That single material decision will do more for your prop’s survival than any spec on the list.