
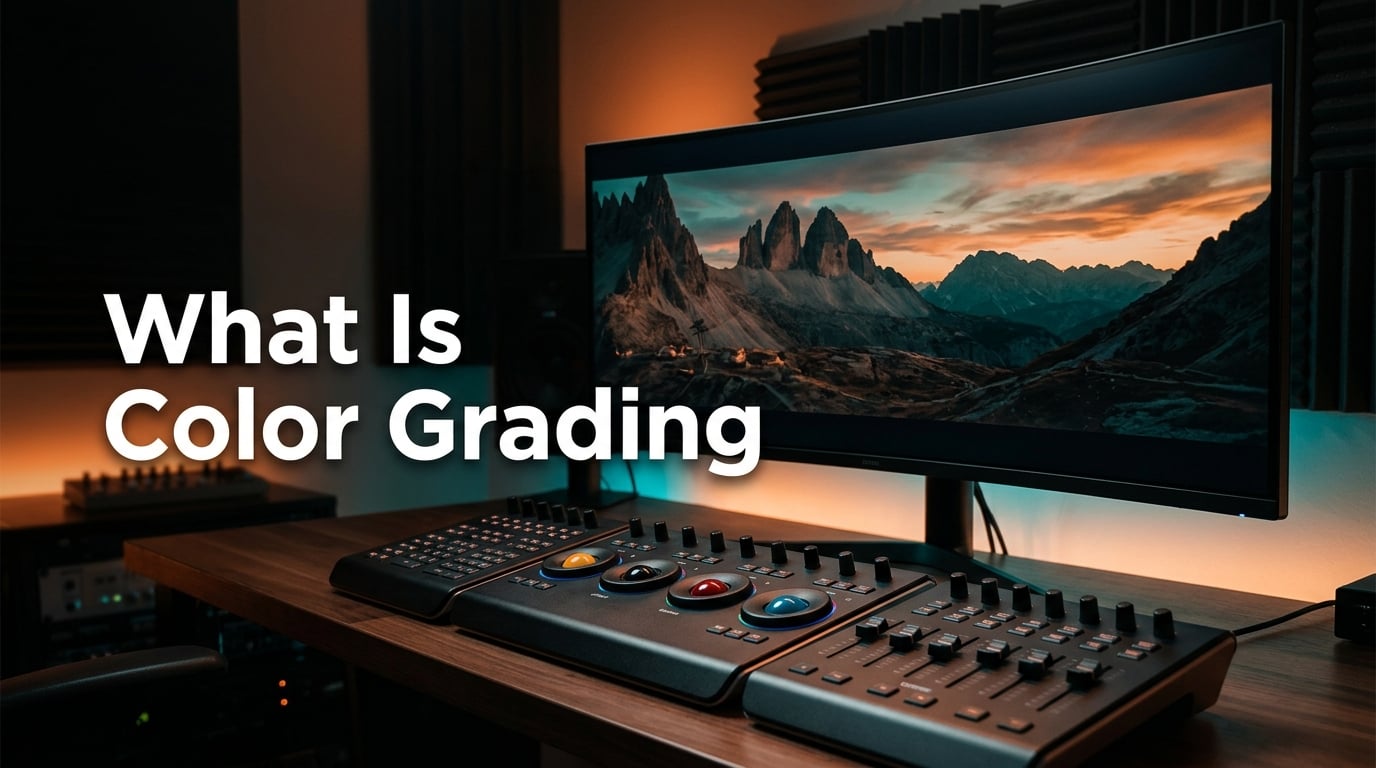
Color grading is the post-production process of adjusting and enhancing the color, tone, and contrast of an image or video to establish a specific mood, style, or visual aesthetic. I remember the first time I watched a flat, washed-out film clip transform into a moody, cinematic scene with a single adjustment to the shadows. That moment pulled me into the craft.
If you have ever asked “what is color grading?” or wondered how Hollywood films get that signature look, this guide breaks it all down. Our team has spent years testing grading tools in DaVinci Resolve, Premiere Pro, and Lightroom, and we will walk you through what color grading really does, how it differs from color correction, and how you can start using it today.
Table of Contents
What Is Color Grading?
Color grading is a post-production process common to filmmaking, video editing, and photography that alters the color, brightness, contrast, and saturation of an image to create a specific visual style or mood. It goes beyond fixing technical problems and focuses on creative choices.
The goal is not to make footage look “correct” but to make it feel a certain way. A warm, golden grade can make a scene feel nostalgic and inviting. A cold, desaturated look can pull viewers into a thriller or dystopian story. Every major film, music video, and TV show you watch goes through color grading before it reaches your screen.
Wikipedia defines it as a post-production process, and that phrasing matters. Color grading happens after filming, not during capture. Editors and colorists work on the final footage inside software like DaVinci Resolve, Adobe Premiere Pro, Final Cut Pro, or Lightroom. The term applies equally to still photography and moving images, even though the workflows differ slightly.
Three elements drive every color grade:
Hue – the actual color (red, blue, green, orange, and everything in between)
Saturation – how intense or muted the color appears
Luminance – how bright or dark that color is
By manipulating these three pillars, you can shift an entire scene’s emotional weight without changing a single frame of the actual content.
Color Grading vs Color Correction: What’s the Difference?
Color correction fixes technical problems. Color grading makes creative choices. That single sentence captures the biggest distinction, but let me expand on it because the two terms get mixed up constantly.
Color correction happens first. It balances exposure, fixes white balance, and ensures footage looks natural and consistent across shots. If one clip is too warm and the next is too cold, color correction brings them to a neutral baseline. Think of it as cleaning up the raw footage so it looks accurate.
Color grading happens after correction. It takes the now-neutral footage and applies a creative look. This is where you push shadows toward blue, lift highlights toward orange, desaturate skin tones, or crush the blacks for a film-style contrast. Color grading is where the storytelling really happens.
Quick Comparison
Here is a simple way to remember the difference:
Color correction = technical, neutral, problem-solving. The goal is accuracy.
Color grading = creative, stylistic, mood-setting. The goal is expression.
In a real workflow, both happen back-to-back. A wedding videographer might correct a clip so the white dress looks white, then grade the same clip with a warm, romantic tone. A landscape photographer might correct exposure across a series of shots, then grade them all with a deep, moody blue tone for portfolio consistency.
Key Tools and Parameters in Color Grading
Color grading software gives you a small toolbox of powerful controls. Once you understand what each one does, you can build any look you can imagine. Here are the tools I reach for most often.
Color Wheels
Color wheels are split into three regions: shadows, midtones, and highlights. Each wheel has a balance control that lets you push color into the darks, mids, or brights of your image independently. They are the fastest way to set a mood across an entire frame.
For a teal-and-orange cinematic look, push shadows toward teal (blue-green) and highlights toward orange. This works because skin tones live in the midtones and highlights, so they stay warm and natural while the surroundings take on a cooler tone.
Curves
Curves let you adjust brightness and contrast by dragging points along a graph. The bottom-left is pure black, the top-right is pure white, and the diagonal line in between represents all the tonal values in your image.
Pull the line down in the shadows to crush the blacks. Lift it in the highlights to create a faded, airy look. You can also adjust individual RGB channels (red, green, blue) to add a color cast to specific tonal ranges. Curves give you surgical control over your contrast.
HSL Controls
HSL stands for hue, saturation, and luminance. These sliders let you target specific colors in your image. Want to make the sky more dramatic? Drop the blue saturation. Need skin tones to look natural? Lower the orange saturation while keeping its luminance.
HSL is especially powerful in photography. I use it in Lightroom to desaturate greens in landscape shots without affecting skin tones in portrait work. It is also the foundation of most “selective color” effects you see on Instagram.
LUTs (Look-Up Tables)
A LUT is a preset file that applies a specific color transformation to your footage. Think of it as a snapshot of a grade you can reuse. Filmmakers often build custom LUTs for their projects so every shot gets a consistent look instantly.
LUTs are great starting points, but they are not magic. Applying a film LUT to poorly exposed footage will not save the image. I always recommend grading manually first, then applying a LUT at low intensity to add character.
Scopes: Waveform and Vectorscope
Color grading without scopes is guesswork. A waveform monitor shows the brightness levels in your image from left to right, helping you avoid clipped highlights or crushed shadows. A vectorscope shows the color balance, with pure white at the center and saturated colors toward the edges.
These tools take some practice to read, but they remove the subjectivity from grading. Instead of asking “does this look right?” you can verify that your values are where you want them.
How Color Grading Shapes Mood and Emotion
Color grading is storytelling through color. The choices you make in the grade directly influence how an audience feels during a scene. Warm tones invite comfort and intimacy. Cool tones create distance, tension, or unease.
Think about the color palettes of films you love. The Matrix leans heavily on green to suggest sickness, artificiality, and a broken world. Mad Max: Fury Road uses orange and teal for high-octane contrast. The Godfather uses warm browns and deep shadows to evoke age, family, and danger.
Photographers use the same principles. A wedding photographer grades in soft pastels for a romantic feel. A sports photographer grades with high contrast and saturated reds to amplify energy. A food photographer grades with warm, golden tones to make dishes look delicious.
The psychology of color is real. Studies have shown that warm colors can increase feelings of comfort and trust, while cool colors can trigger calm or melancholy. When you grade intentionally, you are not just making an image look pretty. You are shaping how the viewer experiences it.
Popular Color Grading Styles Worth Knowing
Studying established looks is one of the fastest ways to develop your own style. Here are the most common color grading aesthetics you will see across film, photography, and social media.
Teal and Orange
This is the Hollywood blockbuster look. Shadows lean teal, skin tones and highlights lean orange. It creates strong separation between subjects and backgrounds, which is why it dominates action films and adventure movies.
Film Look (Bleach Bypass)
This style lowers saturation and increases contrast, giving footage a gritty, desaturated feel. Films like Saving Private Ryan and Mad Max use variations of bleach bypass to suggest realism, history, or hardship.
Vintage or Faded
Lifted blacks, soft highlights, and warm tones create the feeling of old photographs or analog film. This style works well for nostalgic content, music videos, and lifestyle photography.
High Key and Low Key
High key grading keeps everything bright with minimal shadows. It feels clean, modern, and optimistic. Low key grading does the opposite, with deep shadows and minimal light. It feels dramatic, mysterious, and intimate.
Cold and Desaturated
This look strips out warmth and color, creating a flat, gray, almost colorless image. It works for thrillers, horror, and serious dramas where the mood needs to feel bleak or unsettling.
Common Color Grading Mistakes Beginners Make
I made most of these mistakes myself when I started. If you are new to color grading, watch out for these common pitfalls.
Pushing Saturation Too Far
Beginners often crank saturation until colors look cartoonish. Real-world grading is usually more subtle than you think. If your image looks like a candy commercial, you have gone too far. Pull back saturation by 20 to 30 percent and see how much better it looks.
Skipping Color Correction
Grading without correcting first is like painting over a cracked wall. The cracks will still show through. Always balance your exposure, white balance, and consistency before applying any creative grade.
Relying Only on Presets
Presets are training wheels. They teach you what is possible, but they also make your work look generic. Use presets to learn, then build your own grades by understanding what each control does.
Inconsistent Style Across a Project
If one shot is warm and the next is cold without reason, the project feels disjointed. Build a reference grade for one shot and apply the same logic to every other shot in the project. Consistency is what separates amateur work from professional work.
Ignoring Skin Tones
Skin tones must always look natural, even when the rest of the image is stylized. If your model’s face looks green, blue, or orange, the grade has gone too far. Use HSL controls to protect skin tones while pushing everything else around them.
Color Grading Software and How to Start
You do not need expensive software to start color grading. Beginners can get professional results with free or affordable tools.
Free Options
DaVinci Resolve is the industry-standard color grading software, and the free version is powerful enough for most projects. It includes the same color tools used in Hollywood productions. For photographers, Lightroom Mobile is free and includes solid HSL and tone controls.
Paid Options
Adobe Premiere Pro includes Lumetri Color, a built-in grading panel with curves, color wheels, and LUT support. Capture One is another popular choice for photographers who want fine control over color rendering.
How to Start Today
Pick one clip or photo and grade it three different ways. Try a warm look, a cool look, and a desaturated look. Compare them. That simple exercise teaches you more than any tutorial because you see the impact of every choice.
Then, find a film or photographer whose style you admire and try to recreate their look. Reverse-engineering established grades is the fastest way to learn what each control does.
FAQs
What is the meaning of color grading?
Color grading is a post-production process where editors and photographers adjust the hue, saturation, luminance, and contrast of an image or video to create a specific mood or visual style. It happens after filming, not during capture, and focuses on creative storytelling rather than technical accuracy.
Is color grading hard to learn?
Color grading is easier to start than most people expect, but mastering it takes years of practice. Anyone can learn the basics in a weekend by experimenting with color wheels and curves in free software like DaVinci Resolve. Becoming a professional colorist who can match complex looks across an entire film requires deep knowledge of color theory, lighting, and storytelling.
Is color grading just a filter?
Color grading is much more than a filter, though filters are a simplified version of the same idea. Filters apply a single preset transformation to an image, while color grading involves manual, precise adjustments to specific tonal ranges, colors, and regions of the frame. A skilled colorist can isolate a single color, shift only the shadows, or match two shots perfectly, which a basic filter cannot do.
How much do color graders make?
Color grader salaries vary widely based on experience and industry. Entry-level colorists and freelance editors typically earn between $40,000 and $60,000 per year, while senior colorists working on feature films or high-end commercials can earn $100,000 to $250,000 or more annually. Top colorists in Hollywood command day rates of $2,000 to $5,000.
Final Thoughts
Color grading is one of the most powerful tools in visual storytelling, and it is more accessible than ever before. Whether you are editing a YouTube video, a wedding film, or a landscape photograph, the right grade transforms a flat image into something memorable.
Start with the basics: balance your footage, learn your color wheels, and study the looks you love. Consistency matters more than complexity. Our team has found that the best grades come from restraint, not over-processing. If you want to keep learning, explore our other guides on video editing and photography workflows to build a complete creative pipeline.