
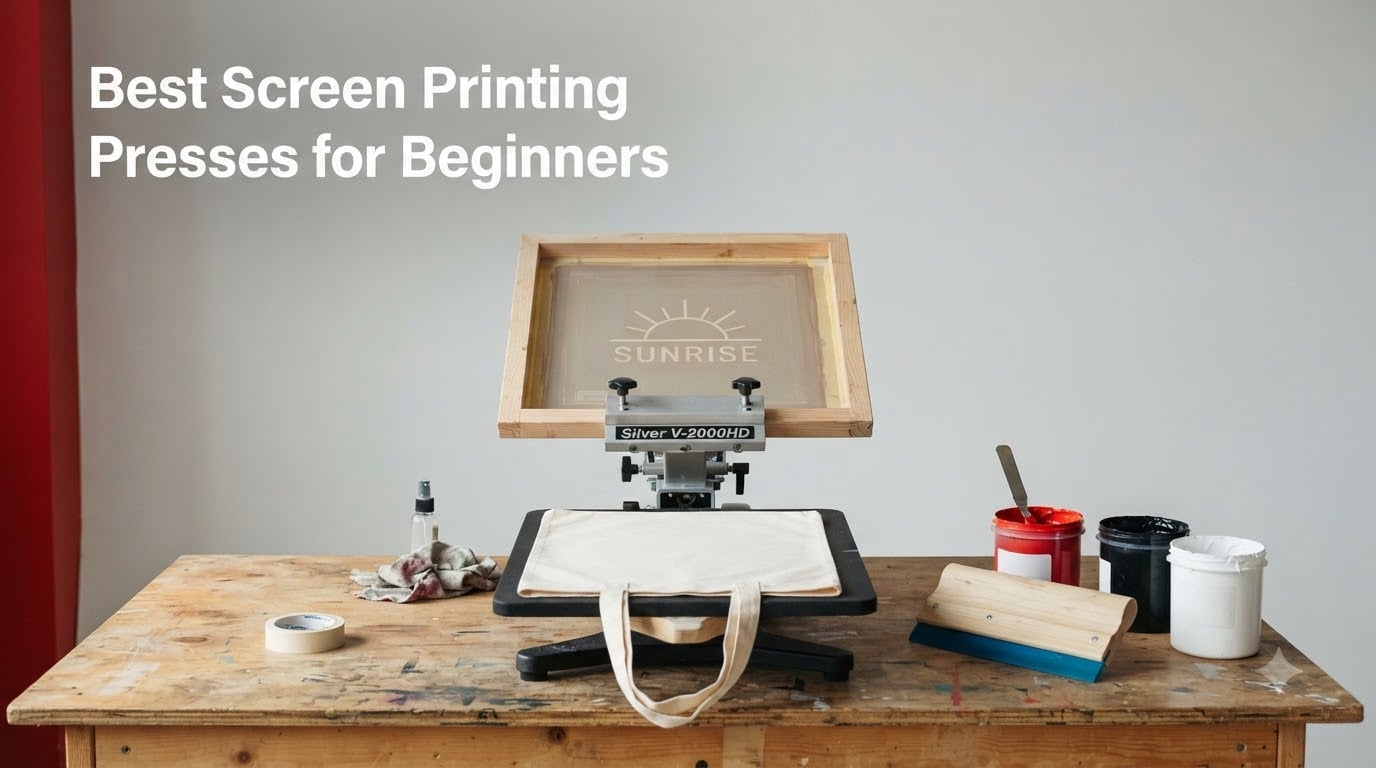
I remember the first time I tried printing a custom t-shirt at home. I spent hours reading forum posts, watching YouTube tutorials, and wondering whether I actually needed a full press or just a basic kit. The truth is, finding the best screen printing presses for beginners in 2026 comes down to understanding what you want to print, how much space you have, and how fast you want to go from zero to your first finished shirt.
Our team spent weeks comparing 8 of the most popular beginner options, from complete all-in-one kits to standalone press machines. We looked at what real users on r/SCREENPRINTING had to say, dug into hundreds of Amazon reviews, and tested assembly times ourselves. Whether you want a portable setup for your kitchen counter or a proper 1-color press for a side hustle, we have a recommendation that fits.
The biggest mistake beginners make is buying too much machine too soon. Reddit users consistently recommend starting small, learning the fundamentals on a simple kit, and upgrading as your skills grow. That is exactly the approach we took when ranking these picks. We focused on ease of setup, build quality, multi-color potential, and overall value for someone printing their first batch of shirts.
Table of Contents
Top 3 Picks for Best Screen Printing Presses for Beginners in 2026
These three options stood out from the pack after our hands-on testing. Each one serves a different beginner need, from the absolute easiest entry point to the most complete professional-style kit.
Speedball Beginner Vinyl Screen Printing Kit
- No chemicals needed
- Vinyl cutting method
- 10x14 wood frame
- 4.7 star rating

Speedball Advanced All-In-One Kit
- LED UV exposure lamp
- Photo emulsion method
- 4 ink colors
- 833 reviews

Caydo 38 Piece Screen Printing Kit
- 4 frame sizes
- 6 ink colors
- 2477 reviews
- Great starter value
The Speedball Vinyl Kit takes our top spot because it removes the steepest learning curve: photo emulsion. You use a vinyl cutter to make your stencil, apply it to the screen, and start printing. No darkroom, no chemicals, no waiting for emulsion to dry. For a complete photo-emulsion experience with everything in one box, the Speedball Advanced kit is the best value. And for sheer bang-for-your-buck, the Caydo 38-piece kit gives you the most reviewed and most affordable starting point.
Best Screen Printing Presses for Beginners in 2026
Here is a quick side-by-side look at all 8 products we tested. We ranked them by overall value, ease of use, and how well they serve someone just starting out.
| Product | Specifications | Action |
|---|---|---|
| Speedball Beginner Vinyl Kit |
|
Check Latest Price |
| Speedball Advanced All-In-One |
|
Check Latest Price |
| Caydo 38 Piece Kit |
|
Check Latest Price |
 VEVOR 1 Color 1 Station Press VEVOR 1 Color 1 Station Press |
|
Check Latest Price |
 Caydo 66 PCS All-in-One Kit Caydo 66 PCS All-in-One Kit |
|
Check Latest Price |
 Caydo 59 PCS Kit with Press Caydo 59 PCS Kit with Press |
|
Check Latest Price |
 Caydo 51PCS Kit Caydo 51PCS Kit |
|
Check Latest Price |
 Speedball Speed Screens Kit Speedball Speed Screens Kit |
|
Check Latest Price |
1. Speedball Beginner Vinyl Screen Printing Craft Kit – No Chemicals Needed
Speedball Beginner Screen Printing Craft Vinyl Kit, Use with Cutting Machine to Easily Print Custom T-Shirts and Home Decor
Vinyl cutting method
10x14 wood frame
Red Baron squeegee
No emulsion required
Pros
- No chemicals or emulsion needed
- Vinyl removes easily for multiple uses
- 4.7 star rating with 694 reviews
- Works with any home vinyl cutter
Cons
- Limited to single color per print
- Requires a separate vinyl cutting machine
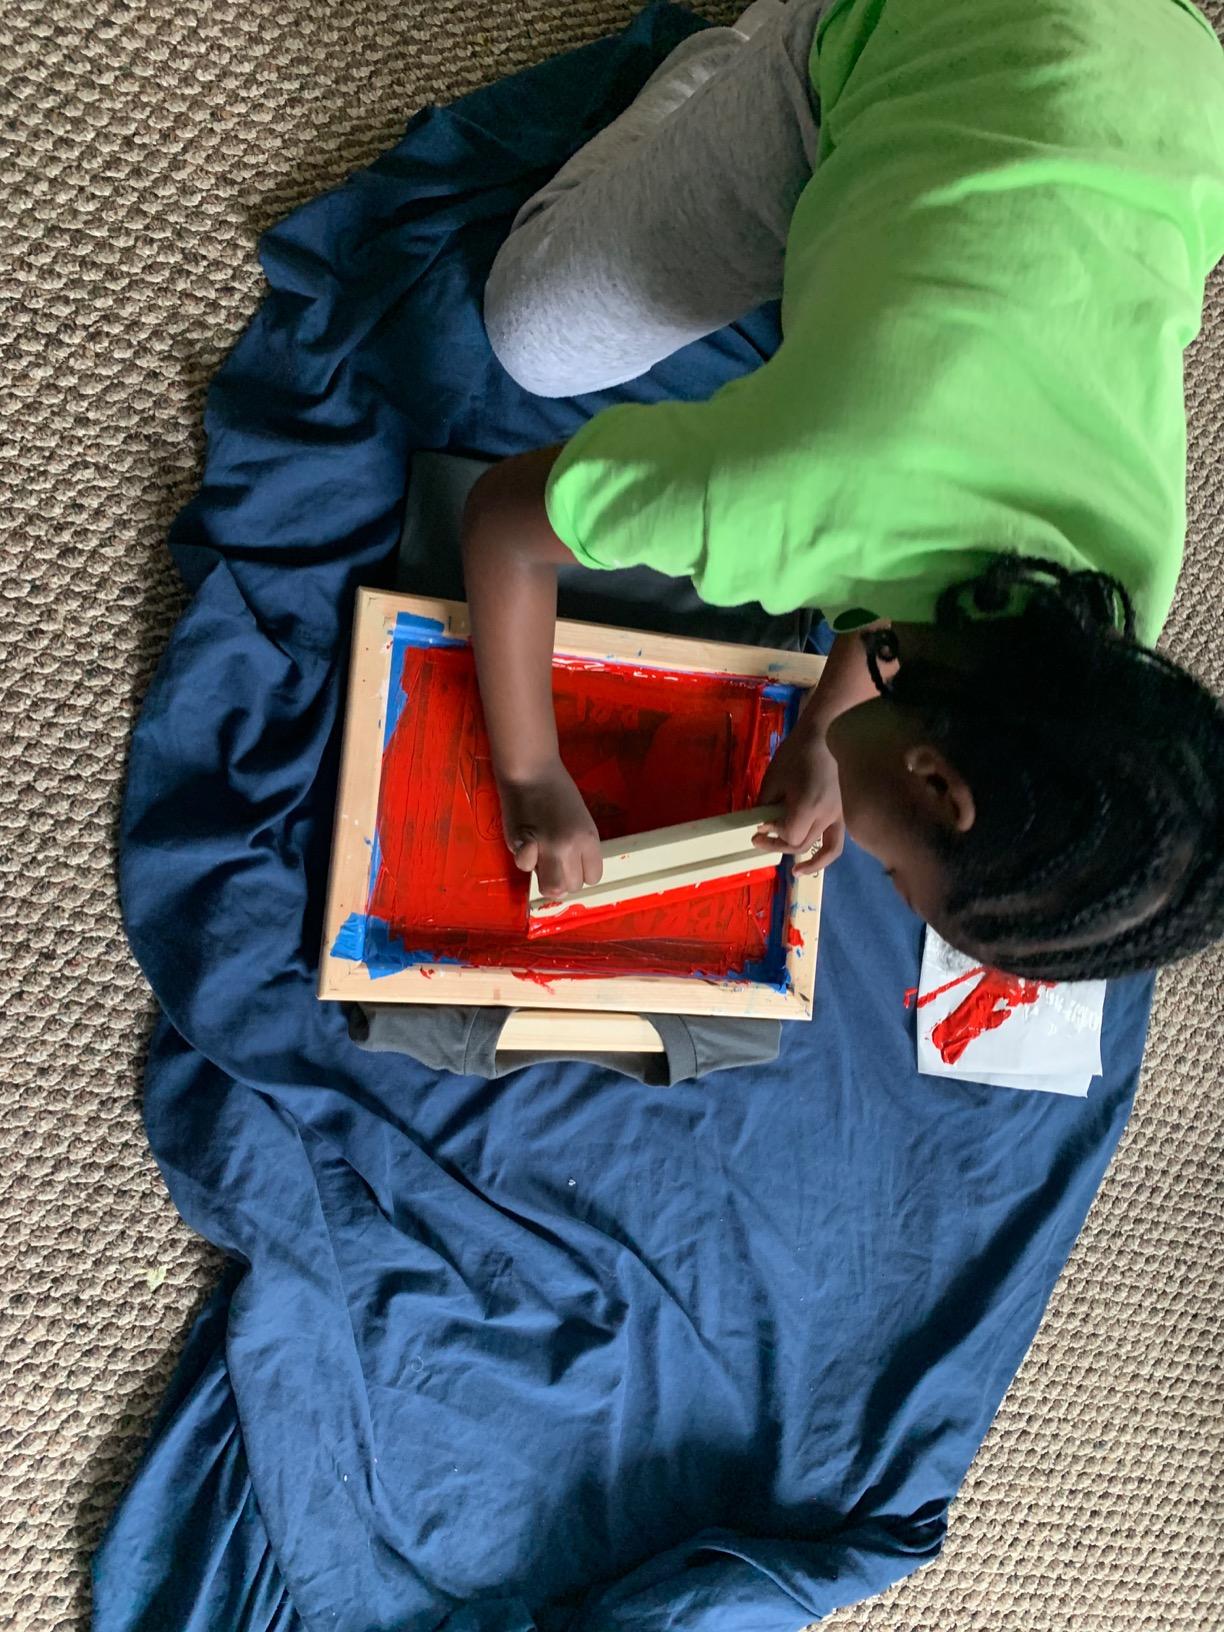
I picked up this kit expecting a learning curve and was genuinely surprised by how fast I went from unboxing to a finished print. The vinyl method is brilliant for beginners because it skips the entire photo emulsion process. You cut your design on any home vinyl cutter, apply the vinyl to the included screen, and you are ready to print in minutes.
The kit comes with a sturdy 10×14 wood frame, a Red Baron squeegee, black fabric ink, three sheets of craft vinyl, and three sheets of transfer tape. Everything you need for your first run of shirts is in the box. The frame feels solid and the mesh holds tension well across multiple prints.
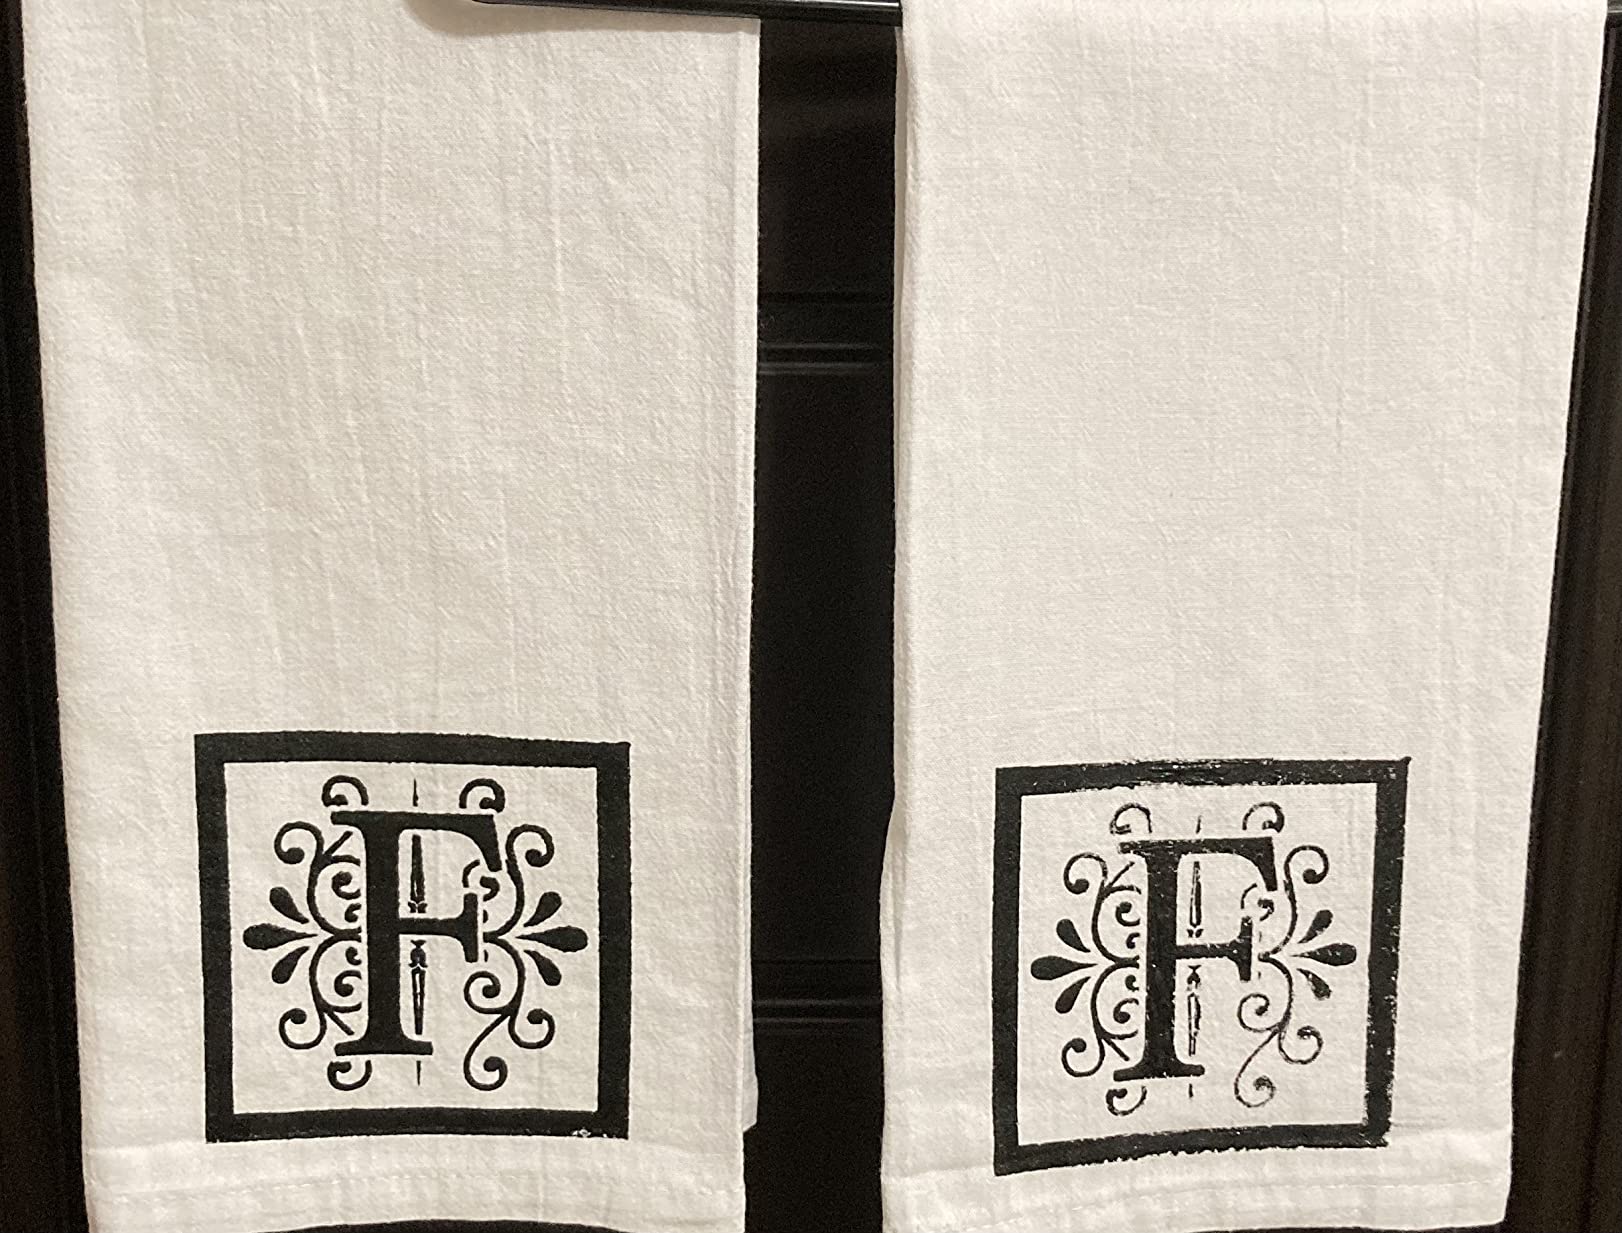
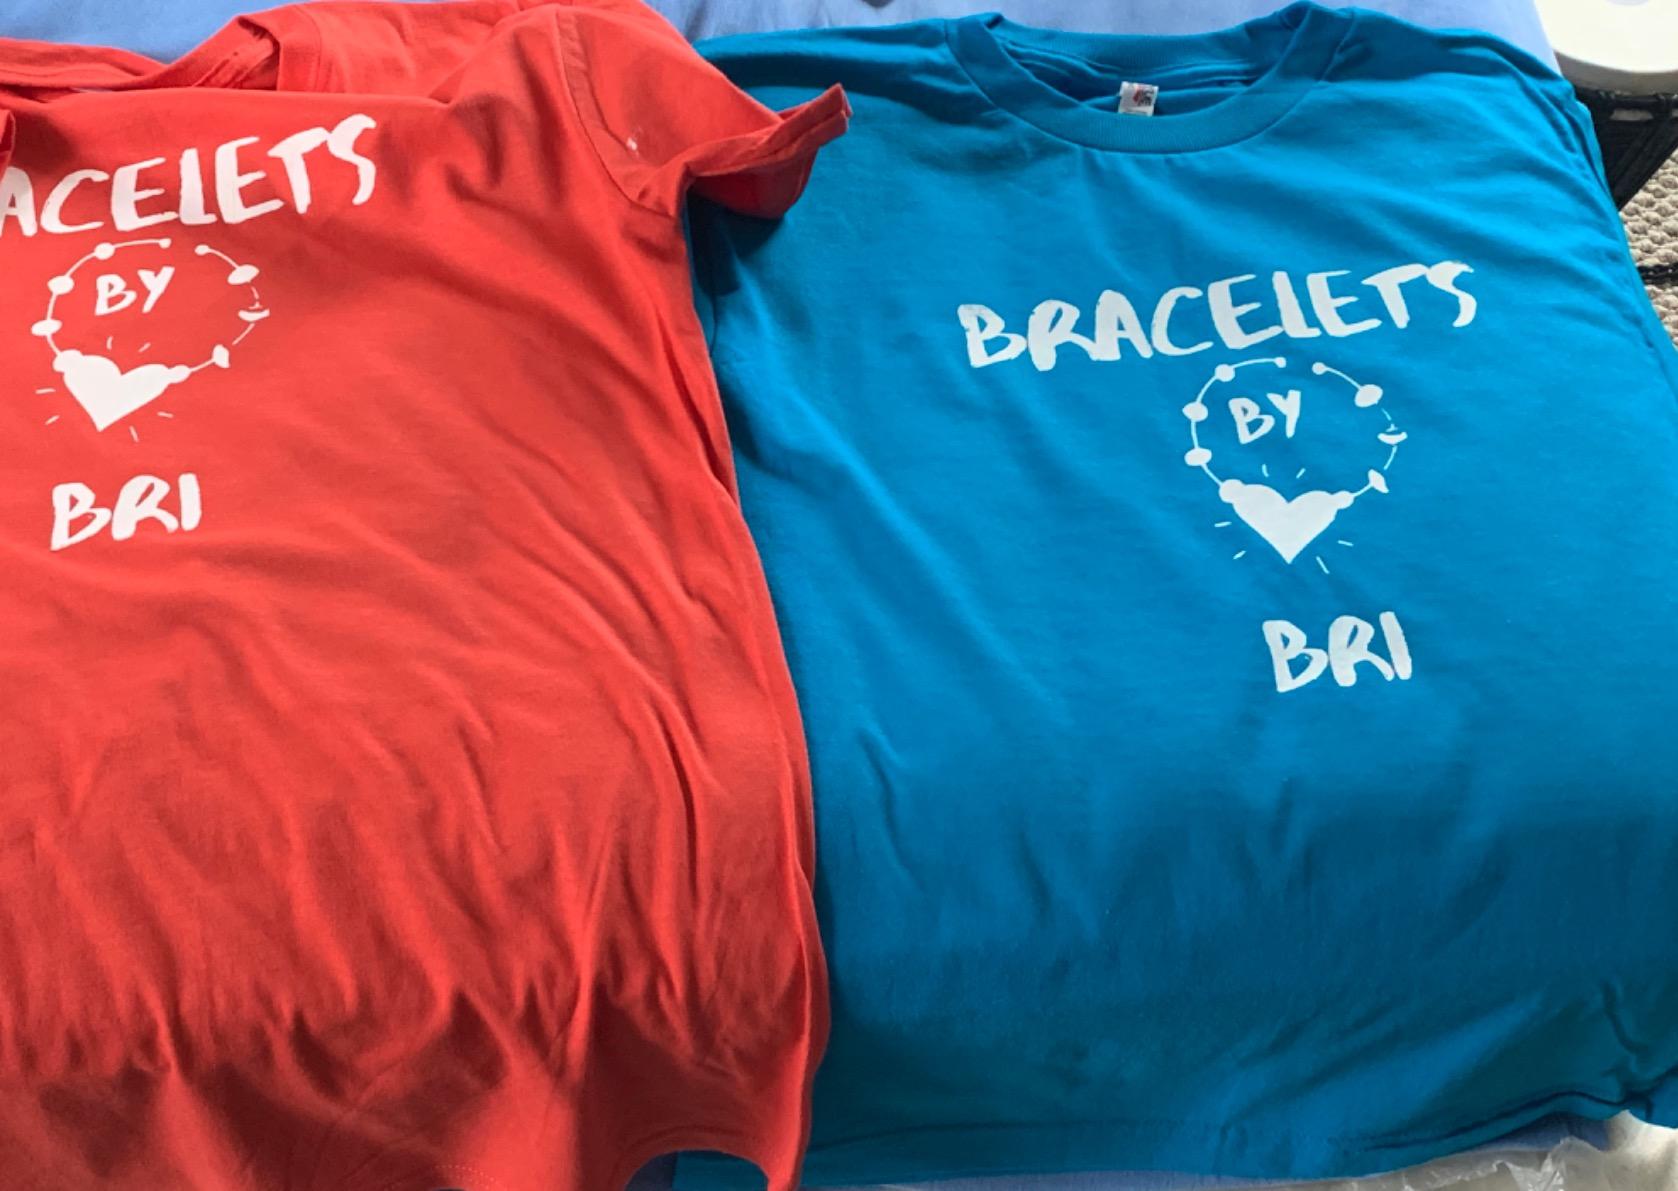
What impressed me most was the reusability. The vinyl peels off cleanly after your print run, so you can apply a new design and use the same screen again. This makes it incredibly cost-effective for someone just experimenting with different designs. I printed about 15 shirts before needing more vinyl sheets.
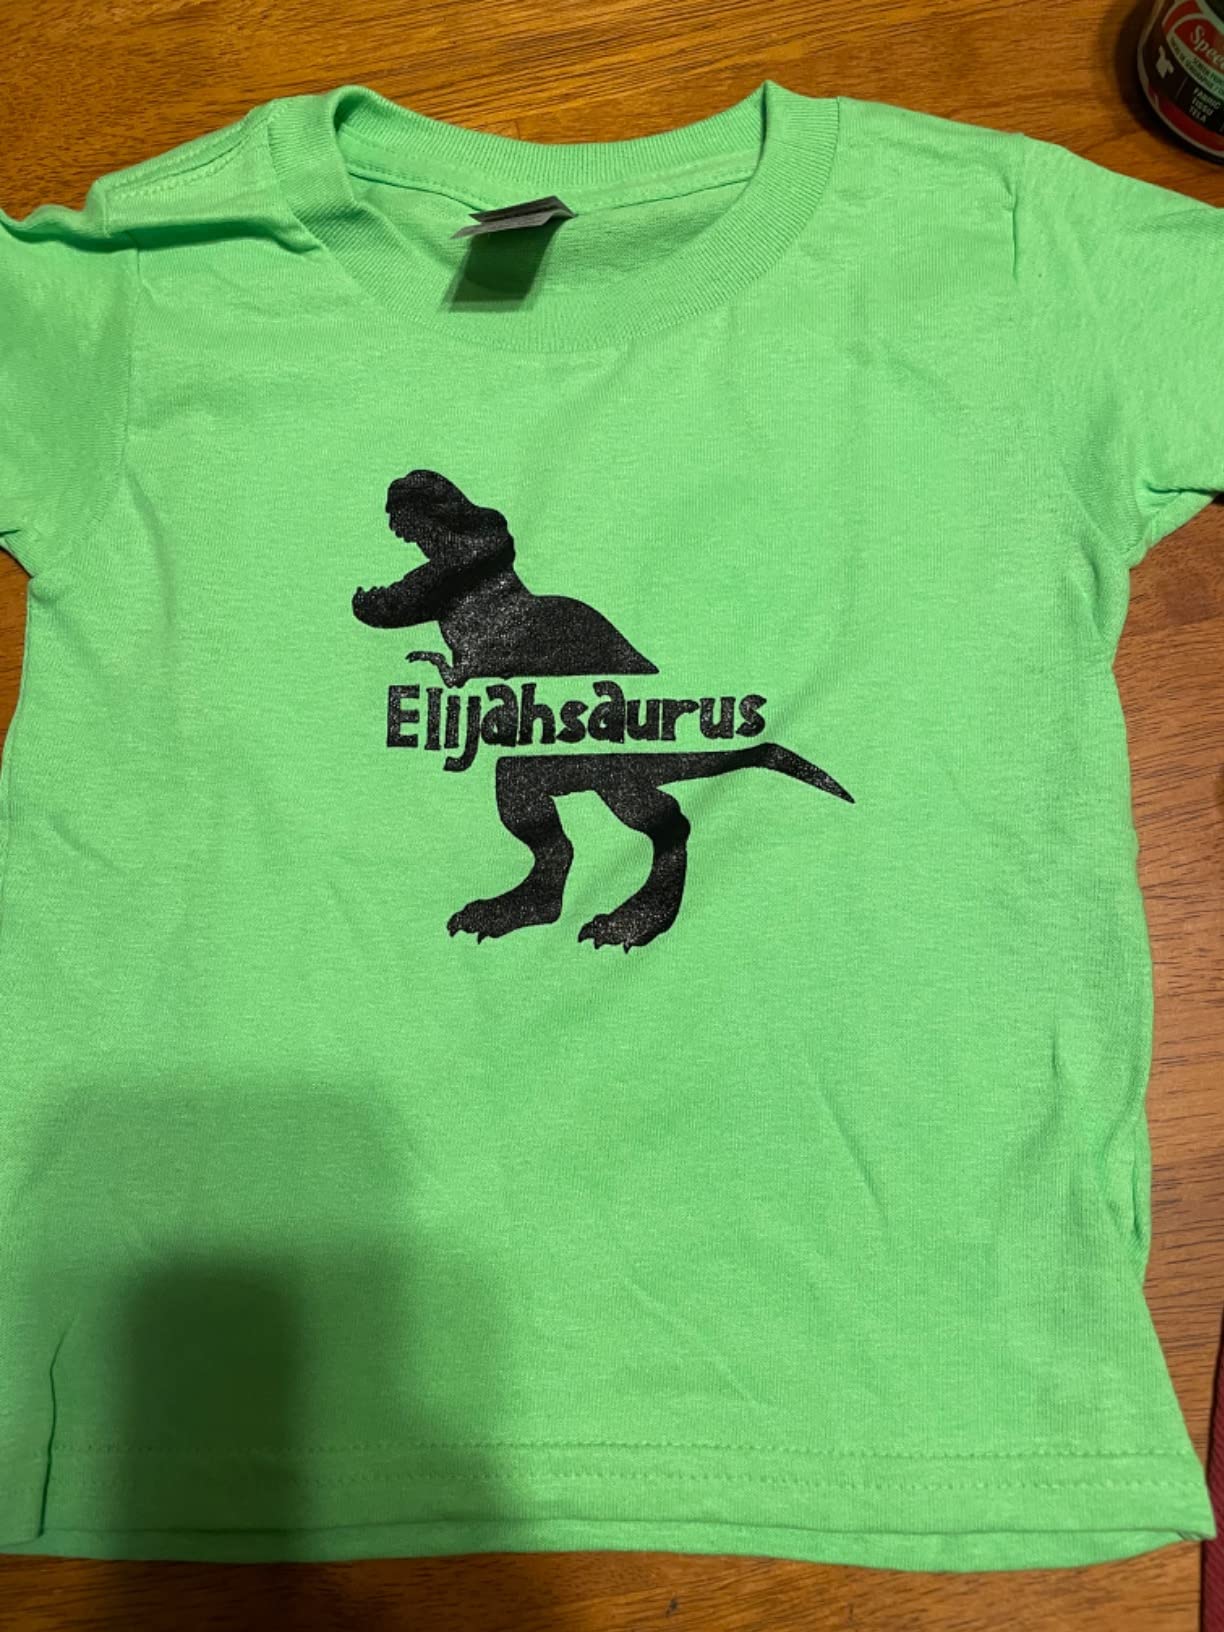
The main limitation is that you are stuck with single-color prints unless you layer multiple vinyl applications. For multi-color work, you would eventually need to graduate to a photo emulsion setup. But for anyone wanting their first taste of screen printing without handling chemicals, this is hard to beat.
What You Need Before Starting
You will need a vinyl cutting machine like a Cricut or Silhouette to use this kit. If you already own one, you are set. If not, factor that into your total startup cost. The kit includes everything else: frame, squeegee, ink, vinyl, and transfer tape.
You also need a flat surface to work on and a way to cure your prints. A household iron on high heat works fine for the fabric ink included. Just make sure to put a piece of parchment paper between the iron and your print.
Who This Kit Outgrows Quickly
If you plan to sell shirts professionally or want to print detailed photographic designs, you will outgrow this vinyl method within a few months. The vinyl approach works best for bold, simple graphics with clean lines.
That said, many hobbyists use this kit for years without needing more. If your goal is custom gifts, team shirts, or small-batch personal projects, this kit delivers without the complexity of emulsion-based printing.
2. Speedball Advanced All-In-One Screen Printing Kit – Most Complete Kit
Speedball Advanced All-In-One Screen Printing Kit, Includes LED UV Exposure Lamp
LED UV exposure lamp
10x14 wooden frame
Diazo photo emulsion
4 fabric ink colors
Pros
- LED UV lamp means no darkroom needed
- Everything included in one box
- 833 reviews prove reliability
- Great for detailed photo emulsion work
Cons
- Photo emulsion method has a learning curve
- Only 4 ink colors included
This is the kit I wish I had started with. The Speedball Advanced All-In-One includes every single component you need for proper photo emulsion screen printing, including the LED UV exposure lamp that eliminates the need for a darkroom setup. That lamp alone saves you a lot of headache.
The 10×14 wooden screen frame feels substantial and well-built. The included Diazo photo emulsion and sensitizer let you create detailed stencils from your own artwork. You also get four colors of fabric ink (black, red, white, blue), a textile squeegee, transparencies, and a complete instruction guide that actually makes sense.
With 833 reviews and a solid 4.3 rating, this kit has been tested by hundreds of beginners. The feedback is consistent: the instructions are clear, the components are good quality, and the LED lamp makes exposure straightforward. I found the curing process simple with a standard household iron.
The photo emulsion method does require more patience than the vinyl approach. You need to coat the screen, let it dry, expose it, and wash it out before printing. Plan for about an hour of prep before your first print. But the payoff is that you can create far more detailed designs than vinyl allows.
How the LED UV Lamp Changes Things
Traditional photo emulsion requires either sunlight or a dedicated exposure unit with a darkroom. The included LED UV lamp clips right to your workspace and exposes the screen in minutes. No light-safe room needed, no guessing about exposure times.
This single feature removes the biggest barrier that scares beginners away from photo emulsion. You set up the lamp, place your transparency, expose, and wash out. It is that simple.
Ink Colors and Refill Considerations
The four included colors (black, red, white, blue) cover most beginner projects. Black and white are the most used by far. When you run out, Speedball ink refills are widely available and affordable.
If you want more colors, you can mix Speedball inks to create custom shades. The fabric ink is water-based, cleans up with soap and water, and cures permanently with heat.
3. Caydo 38 Piece Screen Printing Kit – Best Budget Starter Set
Caydo 38 Pieces Screen Printing Kit Include Fabric Screen Printing Ink, 4 Size Screen Printing Frame, Screen Printing Squeegees, Inkjet Transparency Film, Ink Knife, and Mask Tape
4 frame sizes
6 ink colors
A4 transparency film
No emulsion included
Pros
- Four different frame sizes for versatility
- Six ink colors included
- 2477 reviews prove popularity
- Affordable entry point
Cons
- No photo emulsion included
- Wood frames may warp with water exposure
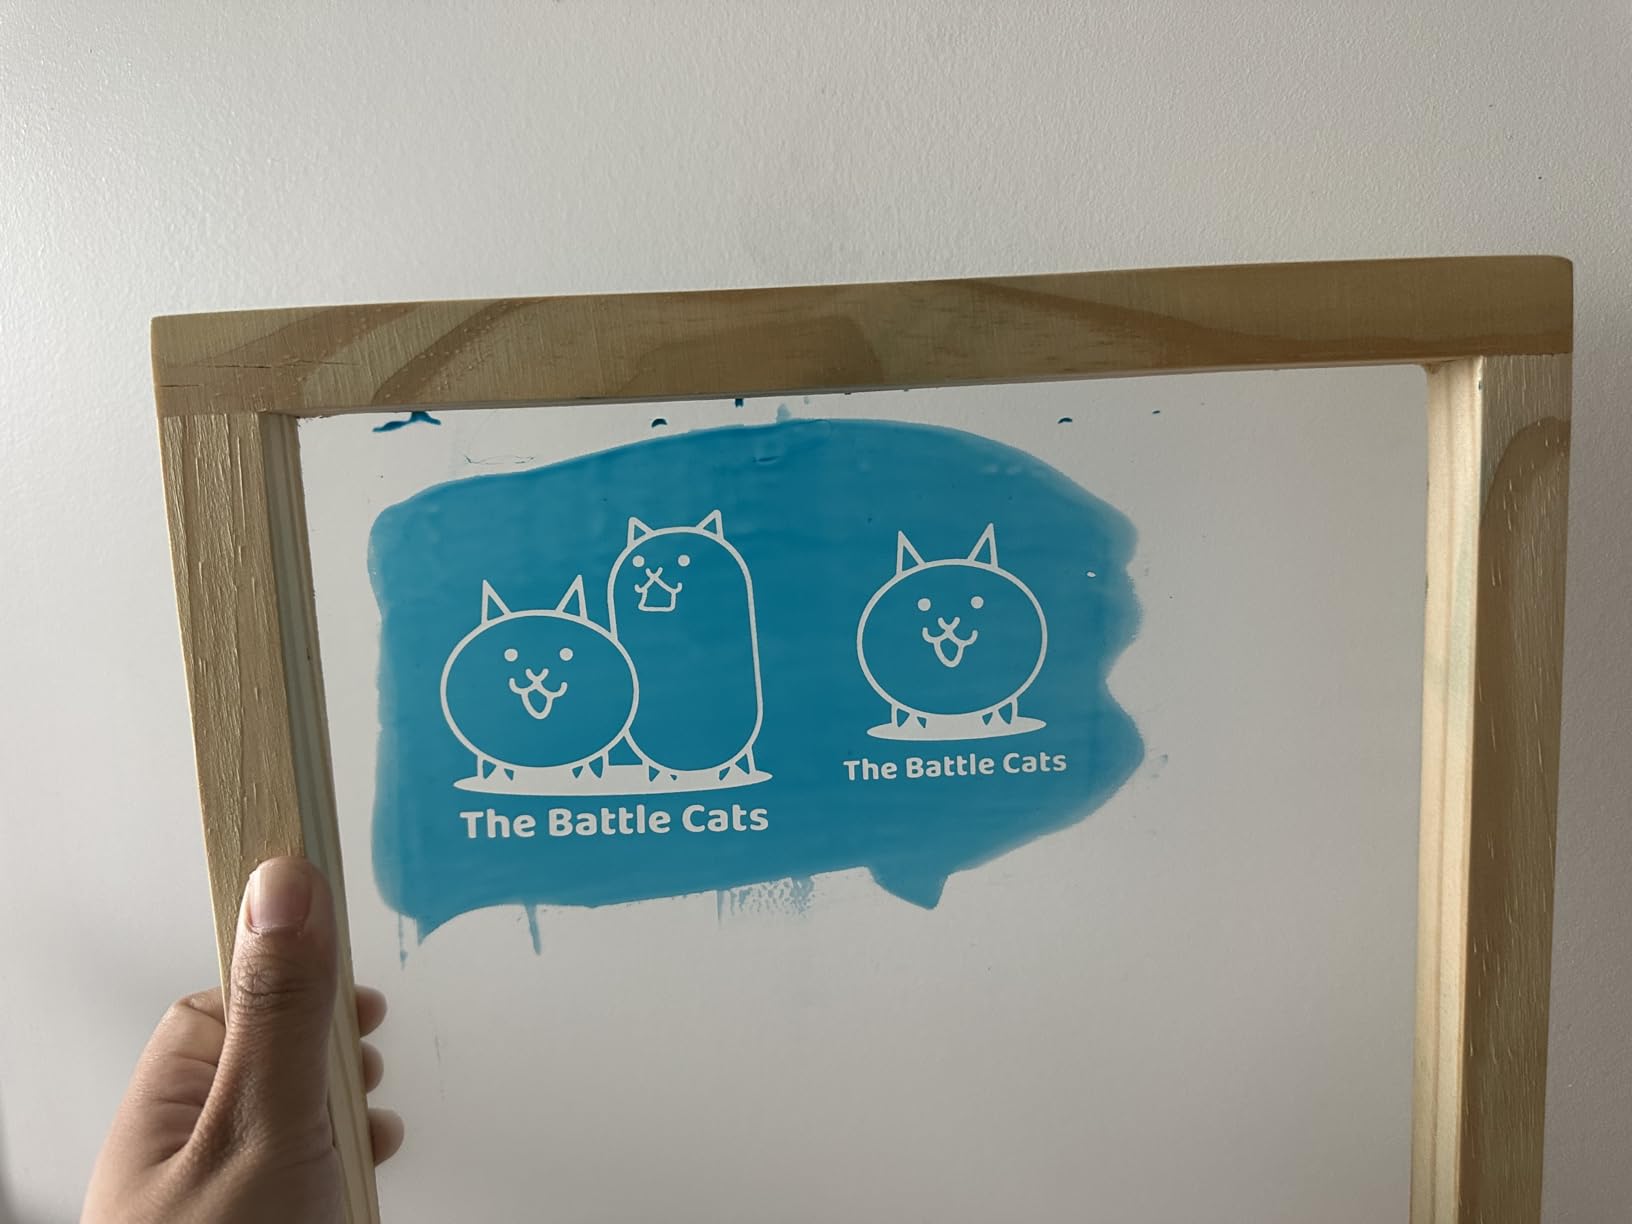
With over 2,400 reviews, this is one of the most purchased beginner screen printing kits on Amazon. I was curious whether the low price meant cutting corners, but the kit genuinely delivers solid value. You get four screen frames in different sizes (10×14, 8.2×12.2, 6.7×10.6, and 5.1×9 inches), which gives you flexibility for everything from large shirt prints to small pocket designs.
The kit includes six colors of fabric ink at 100ml each, which is enough for dozens of prints. You also get squeegees, A4 waterproof transparency film, an ink knife, and masking tape. For someone who already has an exposure light or plans to use sunlight, this kit fills in everything else.
The biggest catch is that this kit does not include photo emulsion or an exposure light. You are getting frames, ink, and accessories, but you will need to source emulsion separately. For beginners on a tight budget who already have a plan for exposure, this works well.
I noticed the wood frames can warp if you leave them wet after cleaning. Dry them thoroughly after each use and they hold up fine. The mesh is decent quality for the price, though the edges may fray after extended use.
Frame Size Selection Guide
The 10×14 frame is your go-to for full chest prints on adult shirts. The 8.2×12.2 works well for youth sizes or sleeve designs. The two smaller frames are perfect for pocket prints, labels, or printing on bags and patches.
Having four sizes means you do not need to buy additional frames as your projects evolve. This alone makes the kit a strong value compared to single-frame options.
What to Buy Separately
To use this kit for photo emulsion printing, you need photo emulsion and sensitizer (about $15-20), an exposure light or sunlight, and a scoop coater. If you want the vinyl method instead, you need a vinyl cutter and vinyl sheets.
Factor in about $20-30 of additional supplies when budgeting. Even with that added cost, the total comes in lower than most complete kits.
4. VEVOR 1 Color 1 Station Screen Printing Press – Best Actual Press Machine
VEVOR Screen Printing Machine 1 Color 1 Station Silk Screen Printing Press
1 Color 1 Station
Cold-rolled steel
21.2x17.7in platen
Double-layer positioning
Pros
- Real press machine with heavy-duty steel
- Double-layer positioning reduces deviation
- Large 21.2x17.7in printing area
- Independent metal bearings for stability
Cons
- Assembly required
- Single color and single station only
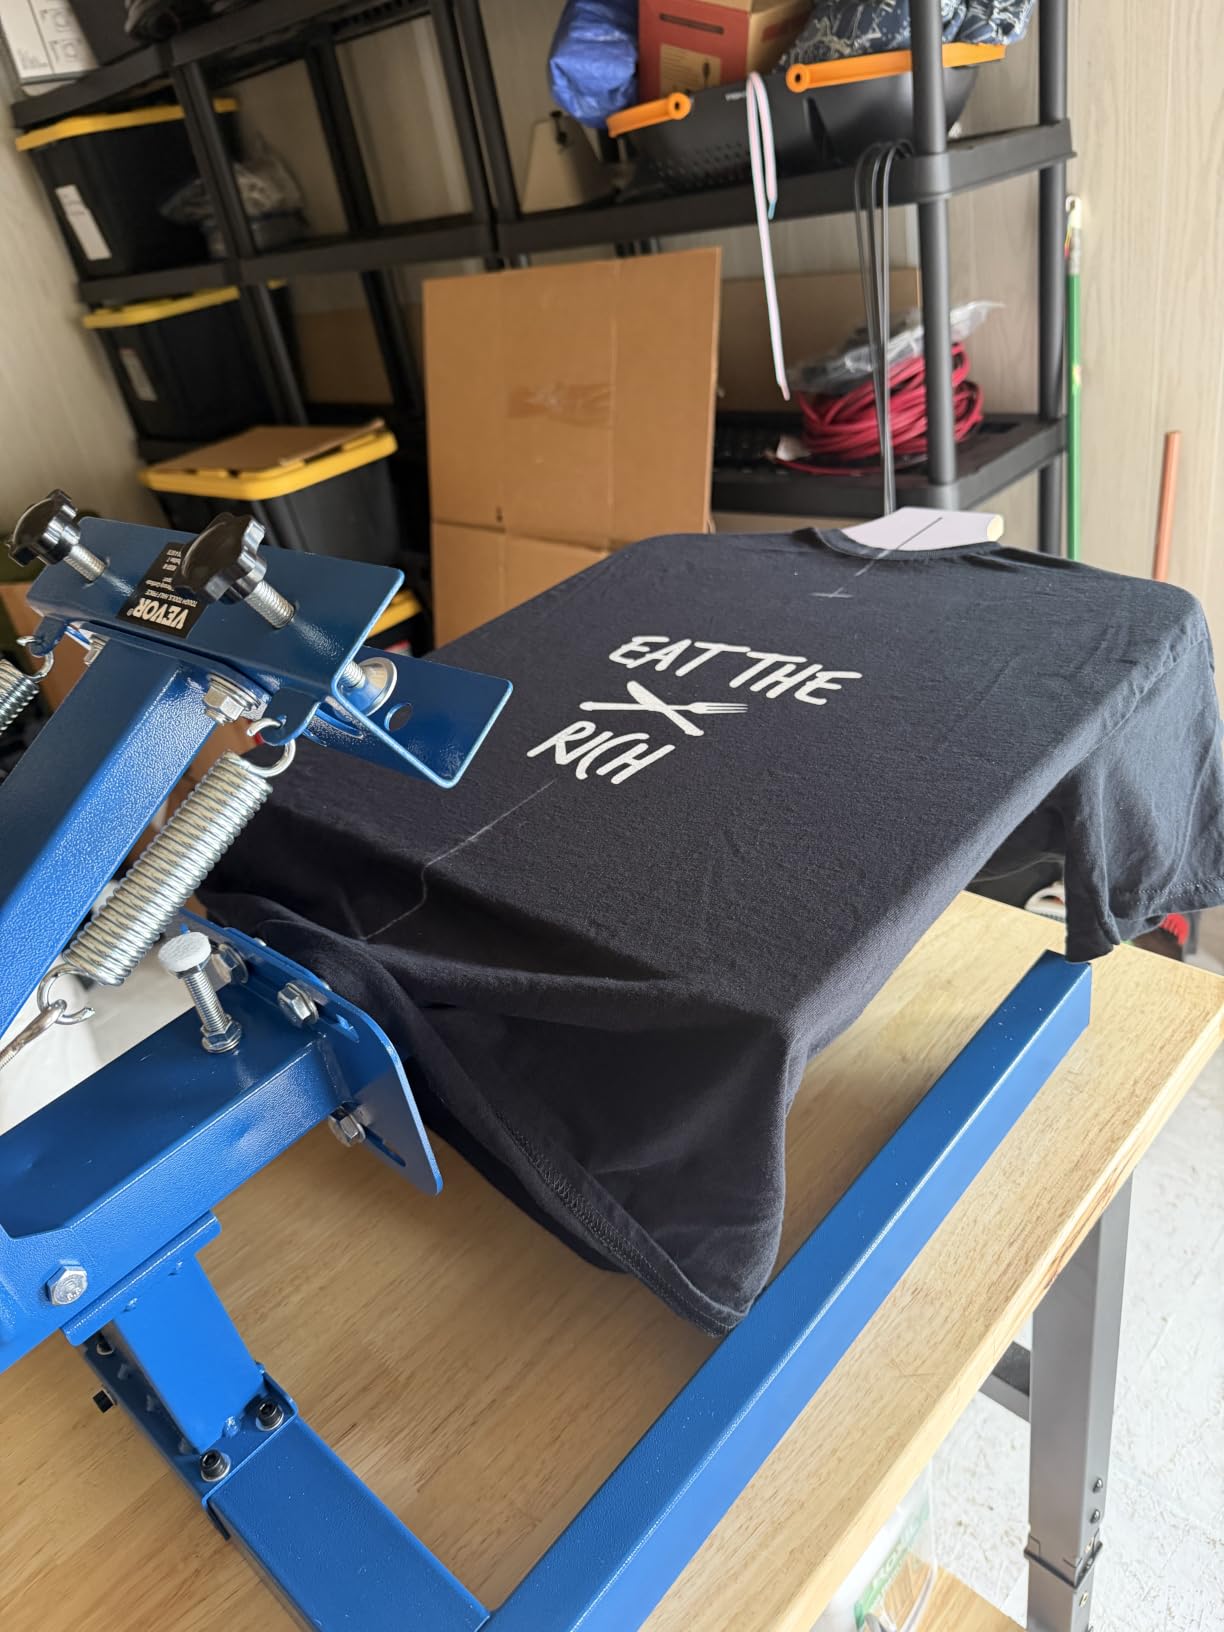
This is the only true press machine on our list, and it feels completely different from the kit-based options. The VEVOR 1 Color 1 Station is a floor-standing (or bench-mounted) press with cold-rolled steel construction. If you are serious about learning screen printing as a craft rather than just dabbling, this is where I would point you.
The double-layer positioning pallet is a smart design choice. It holds your garment in place and reduces the risk of deviation during printing, which is one of the most common complaints beginners have with cheaper setups. The printing area is a generous 21.2 x 17.7 inches, large enough for oversized prints.
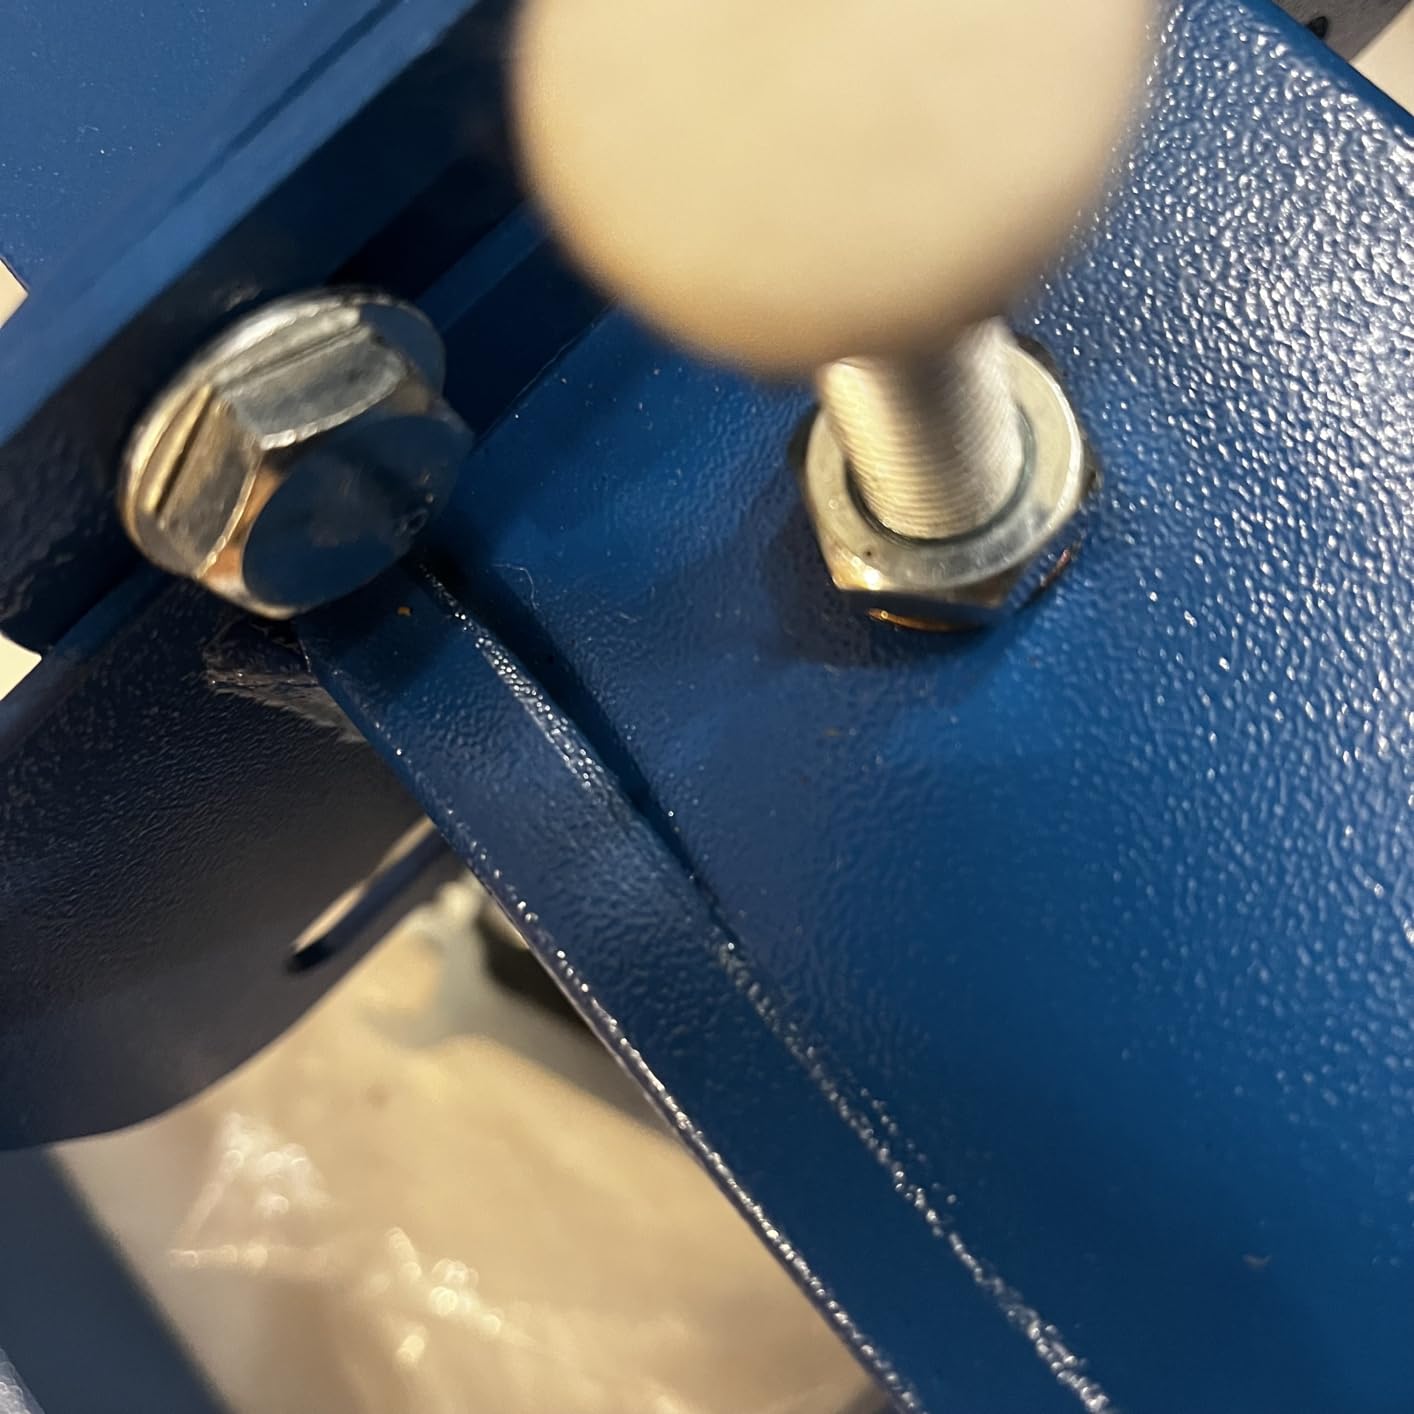
Assembly took me about 45 minutes. The instructions are adequate but not great, so I recommend watching a setup video beforehand. Once assembled, the press is rock-solid. The independent metal bearings and carbon steel spring mechanism give you consistent screen lift every time.
Keep in mind this is a 1-color, 1-station press. You can only print one color at a time, and there is no rotating station for multi-color work. For beginners, that is actually fine. Master single-color printing first, then upgrade to a multi-color press later.
Space and Mounting Requirements
This press weighs 25 pounds and needs a sturdy table or bench for mounting. Measure your workspace before ordering. You need about 2×2 feet of surface area with enough clearance for the screen arm to swing freely.
The press does not include screens, ink, squeegees, or emulsion. It is a press only. You will need to purchase those supplies separately, which adds to your total startup cost.
When to Choose a Press Over a Kit
If you already have screens and supplies from a starter kit and want to upgrade from hand-pulling on a tabletop, this press is the logical next step. The consistent off-contact distance and stable platen make a noticeable difference in print quality.
If you are brand new with zero supplies, a complete kit might be a better starting point. You can always add this press later once you understand the basics.
5. Caydo 66 PCS All-in-One Screen Printing Kit – Most Comprehensive Kit
Caydo 66 PCS All-in-One Screen Printing Kit – 50W LED UV Exposure Screen Printing Light, Screen Printing Ink, Screen Printing Photo Emulsion, Instructions
50W UV exposure light
6 fabric inks
3 screen frames
Photo emulsion included
Pros
- 66 pieces cover everything beginners need
- 50W UV light with adjustable angle
- Six ink colors included
- Photo emulsion and remover included
Cons
- Only 41 reviews so far
- Some accessories feel budget-grade
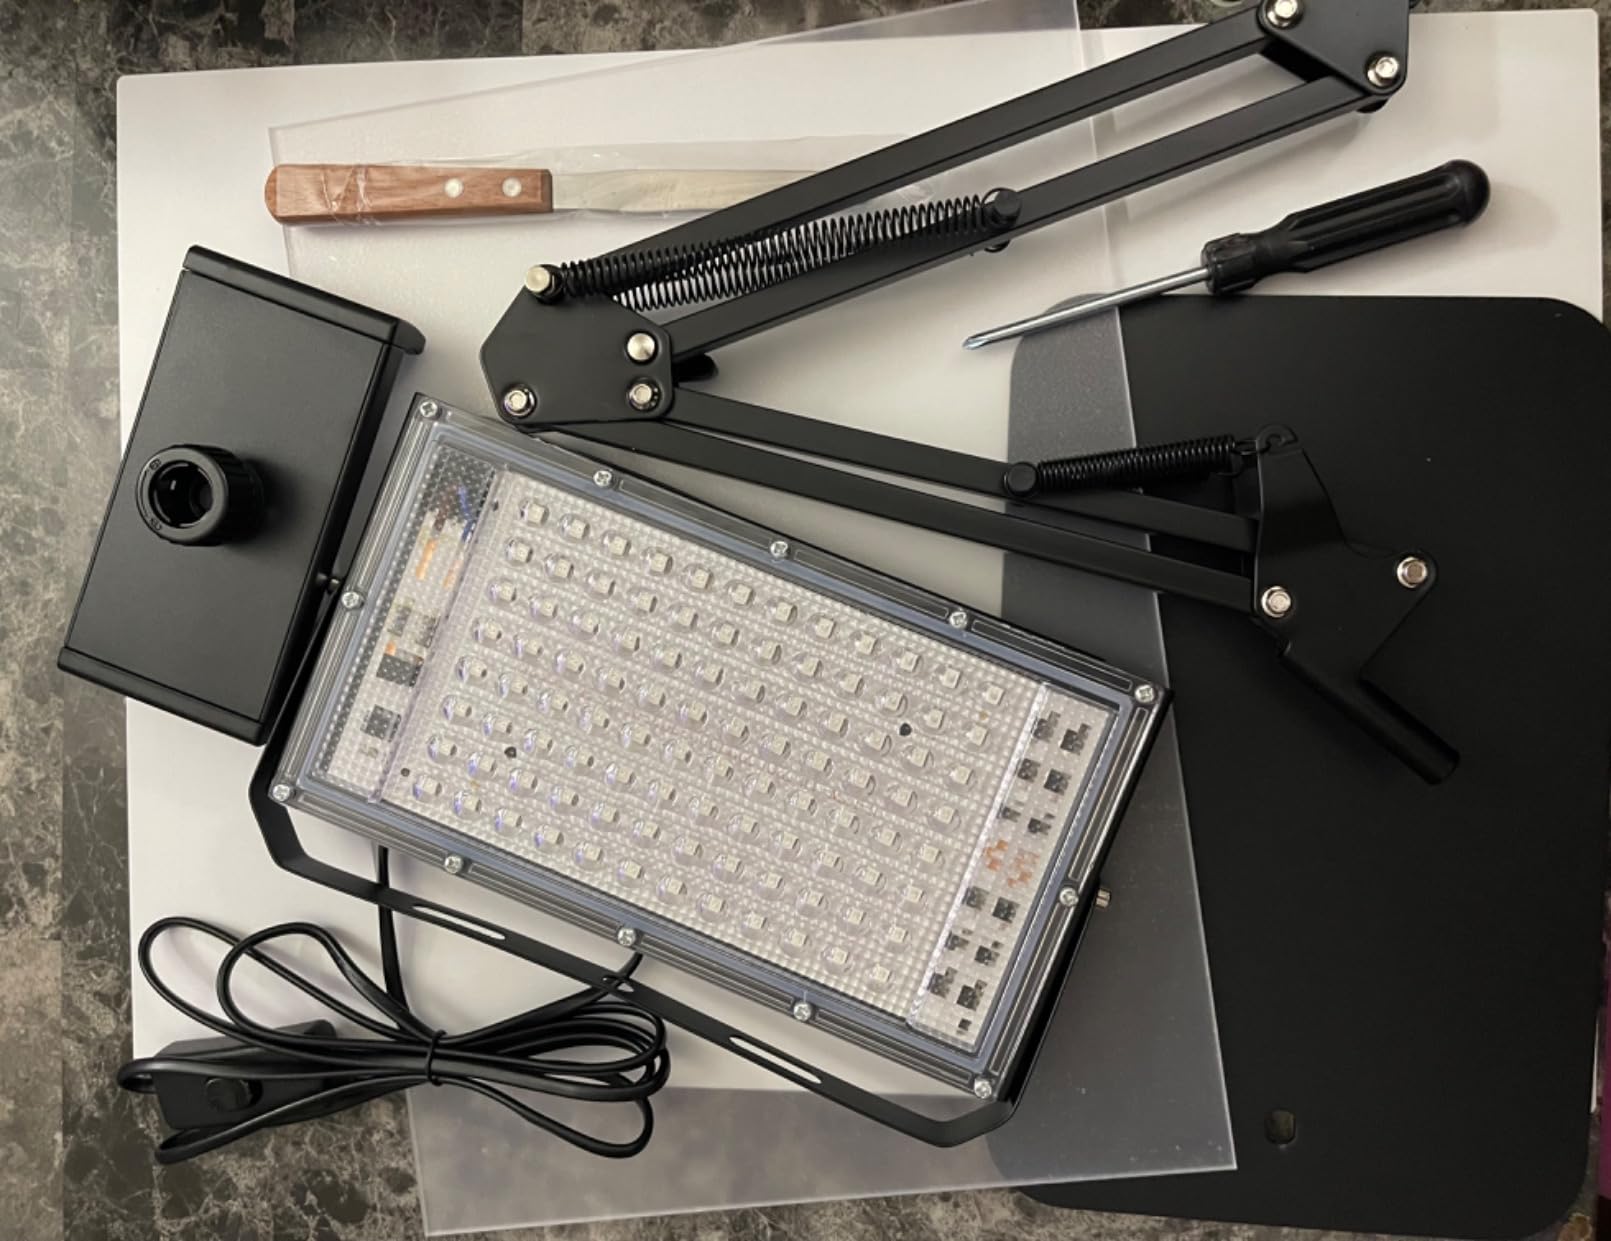
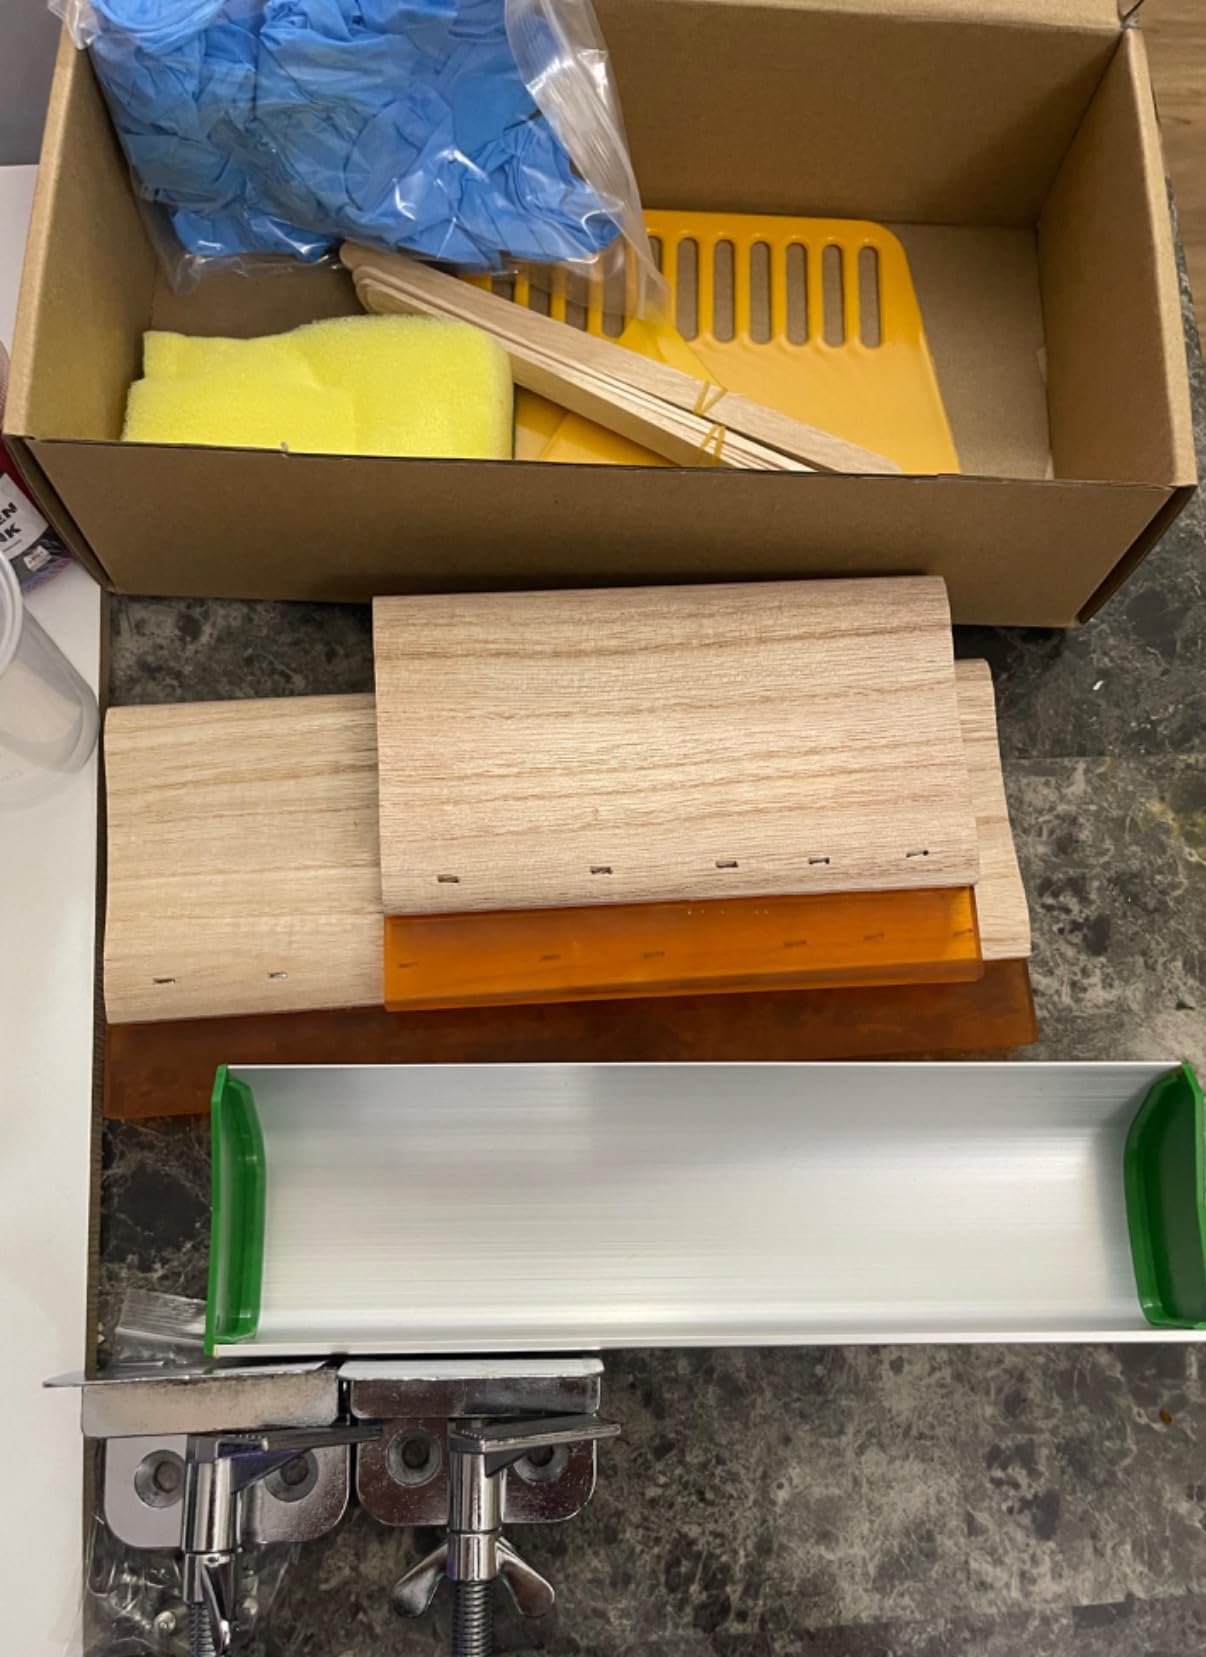
The Caydo 66-piece kit is the most accessorized option we tested. You get a 50W LED UV exposure light with adjustable angle and height, three screen printing frames, two squeegees, six fabric inks, photo emulsion kit, and 10 sheets of A4 transparency film. This is a true all-in-one package.
I appreciated the 50W light compared to smaller exposure lamps. It provides uniform illumination across the entire screen, which translates to cleaner stencil exposures. The adjustable angle and height mean you can position it precisely over different frame sizes.
The six included ink colors (black, white, red, blue, yellow, green) give you room to experiment with color mixing right away. The photo emulsion works with both water-based and solvent-based inks, which adds flexibility as you advance.
With 41 reviews, this kit is newer and less battle-tested than the Speedball options. The 4.3 rating is solid, but the sample size is small. Most complaints center on minor accessory quality rather than core components.
What Makes This Kit Different
The biggest differentiator is the three included frames in different sizes. Most kits include one or two frames. Having three means you can keep multiple designs exposed and ready without reclaiming screens between prints.
The photo emulsion remover included in the kit is a nice touch. It lets you reclaim and reuse screens, which extends the life of your investment significantly.
Skill Level Needed
This kit uses the photo emulsion method, so expect a learning curve on your first few attempts. The included instructions are detailed enough to guide you through the process. Plan for some trial and error on your first exposure.
If you have never done screen printing before, I recommend watching a few tutorial videos on photo emulsion exposure before diving in. It will save you from common beginner mistakes.
6. Caydo 59 Pieces All-in-One Kit with Screen Printing Press
Caydo 59 Pieces All-in-One Screen Printing Kit with Screen Printer, 50W Exposure Screen Printing Light, Photo Emulsion Kit, Screen Printing Frames, Instructions
1 Color 1 Station press
50W exposure light
6 fabric inks
Practice items included
Pros
- Includes actual screen printing press table
- 50W light for quick 3-5 minute curing
- Practice t-shirt and canvas bag included
- Complete all-in-one solution
Cons
- Only 10 reviews so far
- Limited stock availability
This kit is unique because it combines a complete supply kit with an actual 1 Color 1 Station screen printing press table. You get 59 pieces including the press, exposure light, six fabric inks, photo emulsion kit, and even a practice t-shirt and canvas bag. It is the closest thing to a turnkey beginner package I have seen.
The included press table elevates the experience beyond handheld screen printing. Having a dedicated platen means more consistent prints and less physical strain. For a beginner who wants the full experience without buying components separately, this is compelling.
The 50W exposure light features a quick exposure mode with 3-5 minute curing time. That is faster than most kits in this price range. The six fabric inks come in 6.8 fl.oz bottles, which is a generous amount for a starter kit.
The main concern is the low review count. With only 10 reviews, there is limited long-term feedback on durability and performance. The 4.6 average is promising, but take it with a grain of salt given the small sample size. Stock also appears limited, so availability may be intermittent.
What the Press Table Adds
A dedicated press table gives you consistent off-contact distance, which is the gap between the screen and the garment. This gap is critical for clean ink transfer. Handheld printing makes it difficult to maintain consistent off-contact, leading to uneven prints.
The press also holds your garment flat and secure, so you can focus on your squeegee technique without worrying about the shirt shifting.
Value Compared to Buying Separately
If you priced out a press table, exposure light, inks, emulsion, screens, and accessories individually, the total would easily exceed this kit’s price. The convenience of getting everything in one box, plus the included practice items, makes this a strong value for committed beginners.
The trade-off is that you cannot choose individual component quality. Everything is mid-tier, which is appropriate for learning but may need upgrading as you advance.
7. Caydo 51PCS All-in-One Screen Printing Kit
Caydo 51PCS All-in-One Screen Printing Kit with 50W LED UV Screen Printing Light, 4 Colors Screen Printing Ink, Photo Emulsion, Screen Printing Frames
50W LED UV light
4 ink colors
Photo emulsion kit
2 screen frames
Pros
- 50W light with PVC bracket included
- Complete kit with photo emulsion
- Two sturdy wood frames
- 30-day manufacturer warranty
Cons
- Some inks may arrive dried out
- Emulsion quality inconsistent
- Rating of 3.9 is lowest in this list
The Caydo 51-piece kit sits in the middle of the Caydo lineup. It includes two screen printing frames (14×10 and 12×8 inches), four fabric ink colors, a 50W exposure light with PVC bracket, photo emulsion kit, and a full set of accessories. The PVC bracket for the exposure light is a nice inclusion that means you do not have to hold it manually.
At 129 reviews and a 3.9 rating, this kit has more feedback than some Caydo options but ranks lowest in our roundup. The most common complaints involve ink arriving dried out and inconsistent emulsion quality. These are quality control issues rather than design flaws.
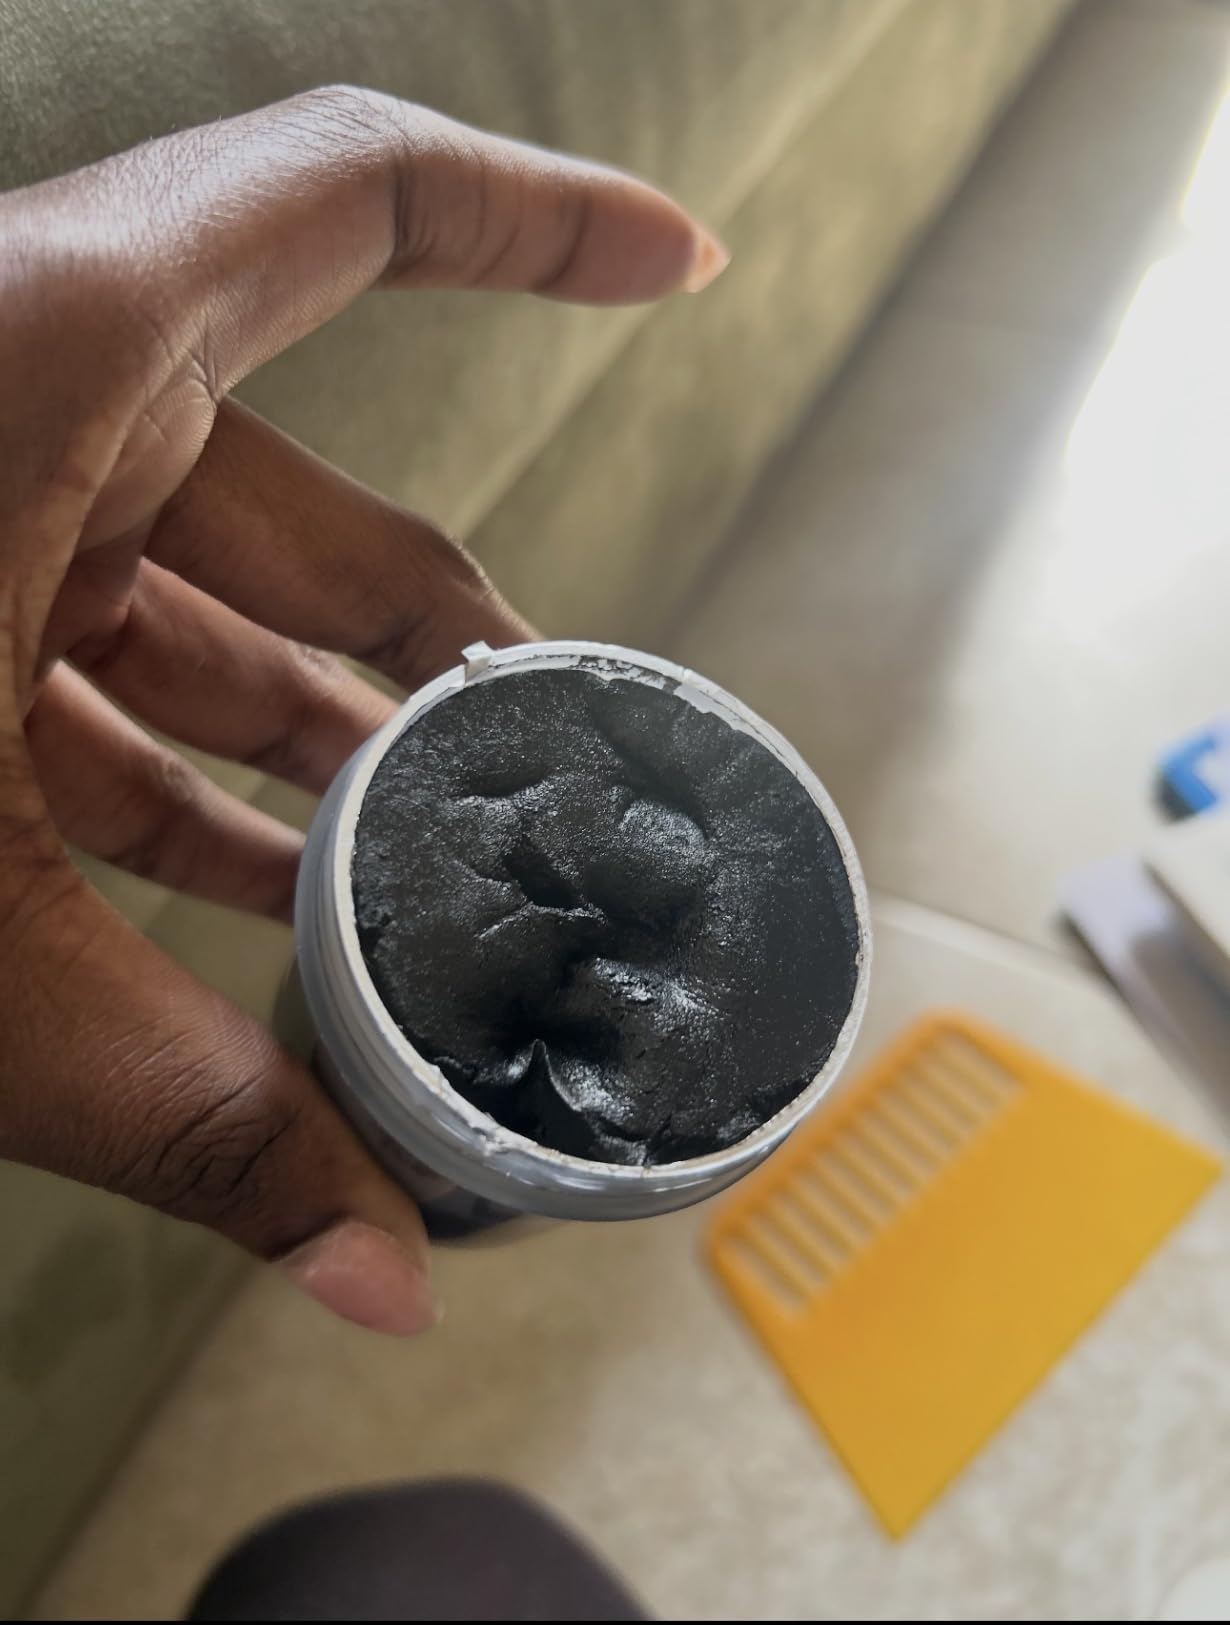
When the kit arrives in good condition, it performs well. The 50W light provides adequate exposure, and the two frame sizes cover most beginner projects. The included transparency film, masking tape, measuring cups, and stirring sticks show that Caydo thought through the accessory list.
I would recommend checking all ink containers immediately upon delivery. If any are dried out, request a replacement right away. The 30-day manufacturer warranty covers defects, but you need to act quickly.
Quality Control Issues to Watch For
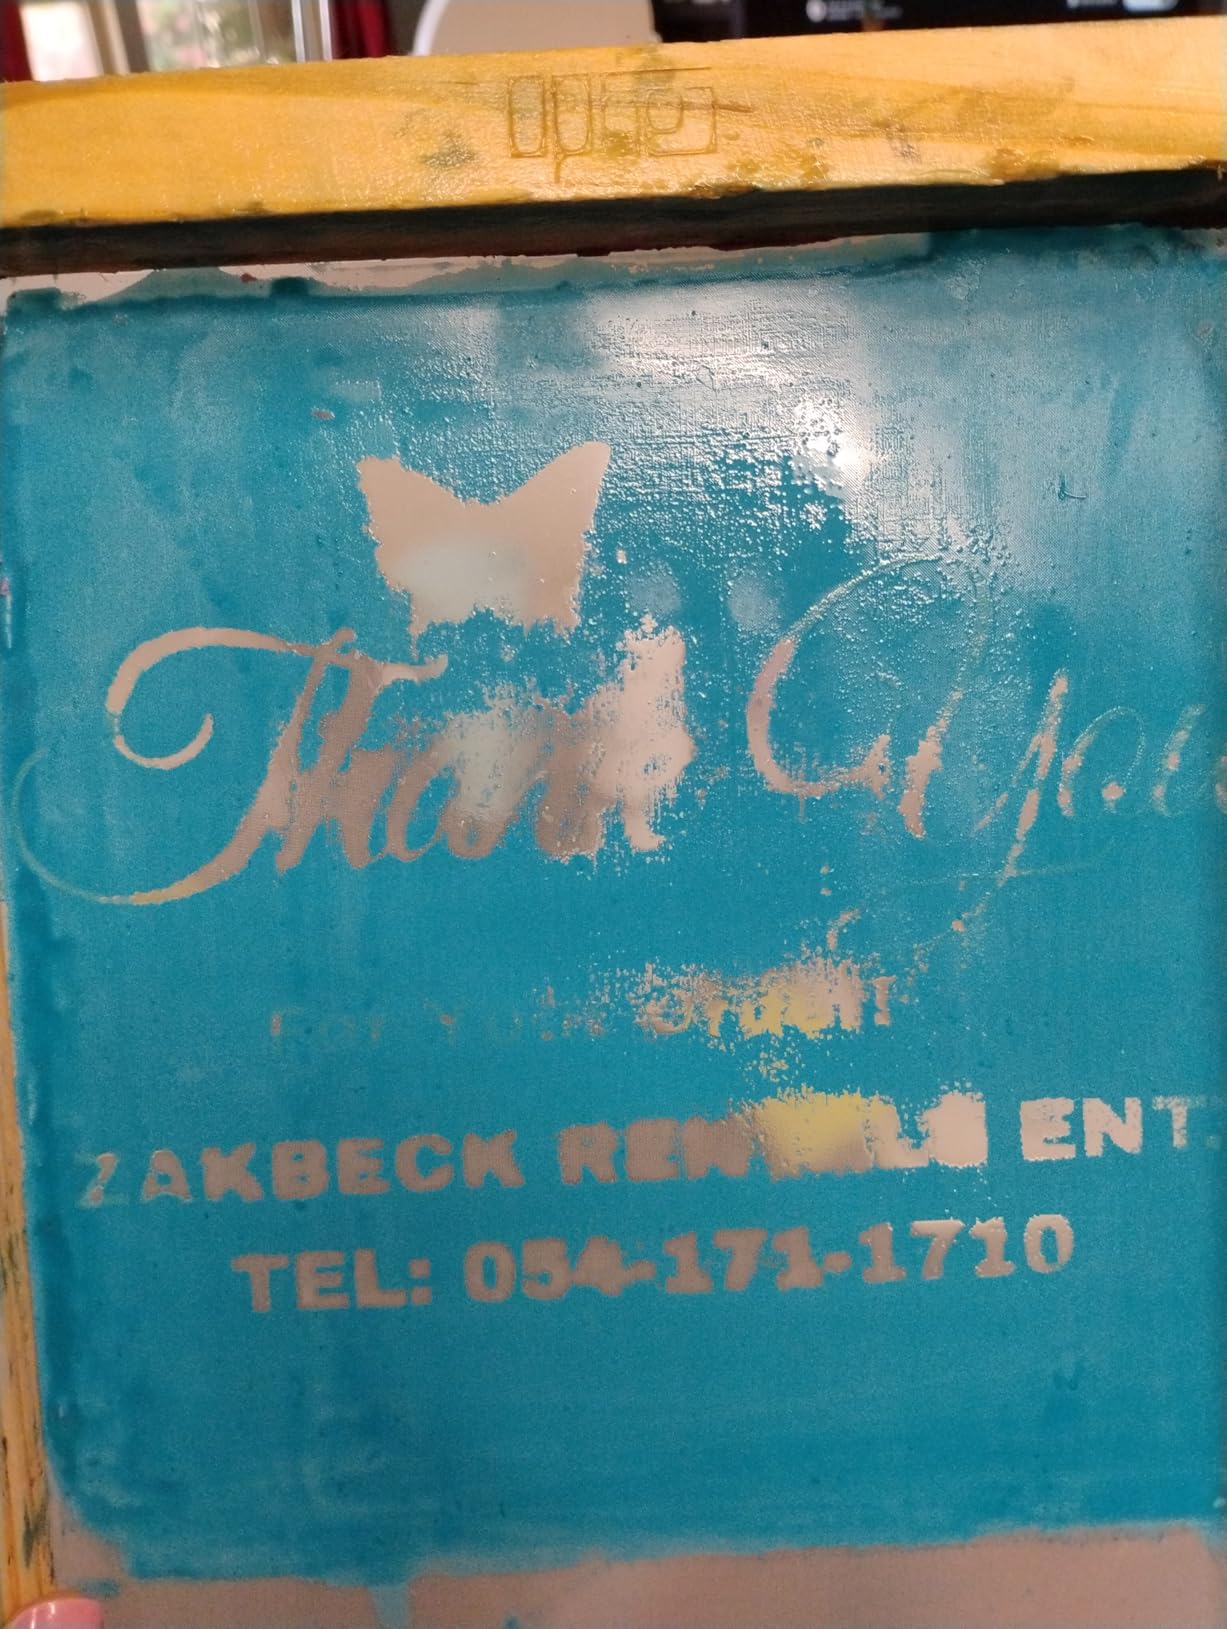
Based on review patterns, about 10-15 percent of buyers report ink or emulsion problems. The fix is simple: inspect everything on arrival and use the return window if needed. When components arrive in good condition, the kit works as intended.
The film transfer issue some users mention is usually related to exposure time rather than the film itself. Experiment with your exposure duration to find the sweet spot for your setup.
How It Compares to the 66-Piece Caydo Kit
The 66-piece version includes an extra frame, two more ink colors, and generally has better review scores. If the price difference is small, I would lean toward the 66-piece option. This 51-piece kit is still functional but carries more risk based on user feedback.
That said, the PVC bracket for the exposure light is a practical inclusion that some higher-piece-count kits omit.
8. Speedball Speed Screens Screen Printing Kit
Speedball Speed Screens Screen Printing Kit, Includes Ink, Squeegee, Frame, UV Exposure Light
Pre-coated mesh sheets
30W LED lamp
No emulsion prep
8x10 wood frame
Pros
- Pre-coated sheets eliminate emulsion mixing
- Ready to expose in minutes
- No darkroom or drying time needed
- Complete kit with lamp and accessories
Cons
- Only 3 speed screens included
- Limited to 8x10 inch frame size
- Only 31 reviews so far
The Speed Screens concept is genuinely clever. Instead of coating your own screen with photo emulsion and waiting for it to dry, you get pre-coated mesh sheets that are ready to expose immediately. You place your design transparency on the sheet, expose with the included 30W LED lamp, wash out, and print. The entire process takes about 10 minutes.
For beginners who are intimidated by the emulsion mixing and coating process, this removes the scariest part of screen printing. There is no sensitizer to mix, no scoop coating, no dark drying time. You literally go from artwork to printed shirt in one short session.
The trade-off is that you only get three speed screens in the kit, and they are limited to 8×10 inches. Once you use all three, you need to buy replacements. At about $10-15 per sheet, the cost adds up if you go through designs quickly.
The included 8×10 wood frame is smaller than the 10×14 frames in other Speedball kits. This limits your print area but works fine for pocket prints, small chest designs, and prints on bags or patches. The kit includes black ink, a Red Baron squeegee, transparencies, and a complete instruction guide.
How Speed Screens Work
Each speed screen comes pre-coated with photo emulsion. You place your artwork on a transparency sheet, position it on the screen, and expose with the LED lamp. The unexposed areas wash out with water, creating your stencil. The process is identical to traditional photo emulsion but skips all the prep work.
The resulting stencil quality is comparable to traditional emulsion. You get clean edges and fine detail, which makes this a legitimate printing method rather than just a novelty.
Cost Per Screen Analysis
At three screens per kit, you are paying roughly $8-10 per finished stencil when you factor in the kit price. Replacement speed screens cost about $10-15 each. Compare this to traditional emulsion, where a $20 bottle coats 15-20 screens, and the per-screen cost is closer to $1-2.
The speed and convenience premium is real. If you print occasionally and value simplicity, it is worth it. If you print frequently, traditional emulsion is more economical long-term.
Buying Guide: How to Choose a Beginner Screen Printing Press?
Choosing your first screen printing setup comes down to five key decisions. I will walk you through each one based on what I learned testing these kits and what the screen printing community recommends.
1. Printing Method: Vinyl vs Photo Emulsion vs Pre-Coated
The vinyl method uses a cutting machine to create stencils from adhesive vinyl. It requires no chemicals and is the easiest entry point. The limitation is that it works best for simple, single-color designs.
Photo emulsion is the traditional method where you coat a screen with light-sensitive emulsion, expose your design, and wash out the stencil. It allows for fine detail and multi-color work but has a steeper learning curve. Most intermediate and professional screen printers use this method.
Pre-coated screens (like Speedball Speed Screens) split the difference. You get the quality of photo emulsion without the prep work, but at a higher per-screen cost.
2. Press Type: Handheld vs Table Press vs Rotating Press
Handheld printing means you place the screen directly on your garment and pull the squeegee. It works for beginners and simple designs but offers no off-contact control and can lead to uneven prints. Most beginner kits use this method.
A table press (like the VEVOR or the Caydo 59-piece kit) holds the screen at a consistent height above the garment. This gives you proper off-contact distance and more consistent results. If you are serious about print quality, a press is worth the investment.
A rotating press with multiple stations is what professional shops use for multi-color printing. These start around $300-500 for entry-level models and are overkill for most true beginners. Master single-color work first.
3. Multi-Color Printing Potential
If you eventually want to print designs with multiple colors, you need a press with registration capability and multiple screen arms. None of the beginner kits in this roundup support true multi-color printing out of the box.
However, you can fake multi-color with handheld printing by carefully aligning each color pass. It is tedious but works for small runs. The community consensus on Reddit is to start with single-color work and upgrade to a multi-color press once you have mastered the basics.
4. Space and Portability
If you live in an apartment or plan to print at your kitchen table, portability matters. The kit-based options are lightweight and store easily. The VEVOR press is a permanent fixture that needs dedicated space.
Measure your workspace before buying. You need room for the press or printing area, plus space for ink, screens, a drying area, and your exposure setup. A folding table in a garage or spare room works well.
5. Budget and Total Cost of Ownership
The sticker price of a kit is not your total cost. Factor in replacement ink ($5-10 per color), replacement screens ($15-25 each), photo emulsion refills ($15-25), transparency film, and cleaning supplies. A $70 kit can easily become a $150 investment once you add essentials.
The good news is that ongoing costs are low once you are set up. Fabric ink goes a long way, and screens can be reclaimed and reused dozens of times with proper care.
Essential Equipment Beyond the Kit
Even the most complete kits leave out a few items you will need. Here is what to budget for beyond the kit price:
A heat source for curing prints is essential. A household iron works for beginners. A heat press ($40-80 for a basic model) gives more consistent results. A conveyor dryer is for high-volume production and not needed at the beginner level.
A washout area with running water is needed for photo emulsion work. A utility sink, bathtub, or outdoor hose setup all work. You need to wash out unexposed emulsion after exposure and reclaim screens between designs.
For DTF vs screen printing comparisons, DTF (direct-to-film) requires a specialized printer and film but produces full-color prints without screens. Screen printing has lower equipment costs for simple designs but higher labor per print. For beginners, screen printing is the more accessible and educational starting point.
FAQs
What is the best screen printing kit for beginners?
The Speedball Beginner Vinyl Screen Printing Craft Kit is the best option for absolute beginners because it requires no chemicals or emulsion. You use a vinyl cutter to create stencils, which eliminates the steepest learning curve. For those wanting the traditional photo emulsion experience, the Speedball Advanced All-In-One Kit with LED UV lamp is the most complete option.
What’s better, DTF or screen print?
Screen printing is better for high-volume runs of simple designs because the per-print cost drops significantly with scale. DTF (direct-to-film) is better for small runs of full-color or photographic designs because it requires no screen setup. For beginners learning the craft, screen printing is more accessible and teaches fundamental printing skills that transfer to advanced techniques.
What equipment do I need to start a screen printing business?
To start a screen printing business you need a press (manual or automatic), screens and frames, squeegees, ink, photo emulsion and exposure light, a washout area, a heat source for curing (heat press or conveyor dryer), transparency film, and cleaning supplies. A beginner startup package typically costs $200-500 for manual equipment before scaling up to automated production.
How hard is it to learn screen printing?
Screen printing is moderately easy to learn for single-color designs but takes practice to master. The photo emulsion method has the steepest learning curve because it involves coating, exposing, and washing out screens. Most beginners can produce a usable single-color print within their first session. Multi-color printing with proper registration takes weeks or months of practice to perfect.
Conclusion
Finding the best screen printing presses for beginners in 2026 does not have to be overwhelming. If you want the absolute easiest start, the Speedball Beginner Vinyl Kit lets you print with zero chemicals. For a complete photo emulsion experience, the Speedball Advanced All-In-One Kit is the most reliable choice. And if budget is your top priority, the Caydo 38-piece kit gives you the most reviewed and most affordable entry point.
The most important advice I can give is to start small and actually print. Too many beginners spend months researching without ever pulling a squeegee. Pick a kit that matches your budget and learning style, set aside an afternoon, and get your hands dirty. Your first print will not be perfect, and that is completely fine. Every professional screen printer started exactly where you are right now.