
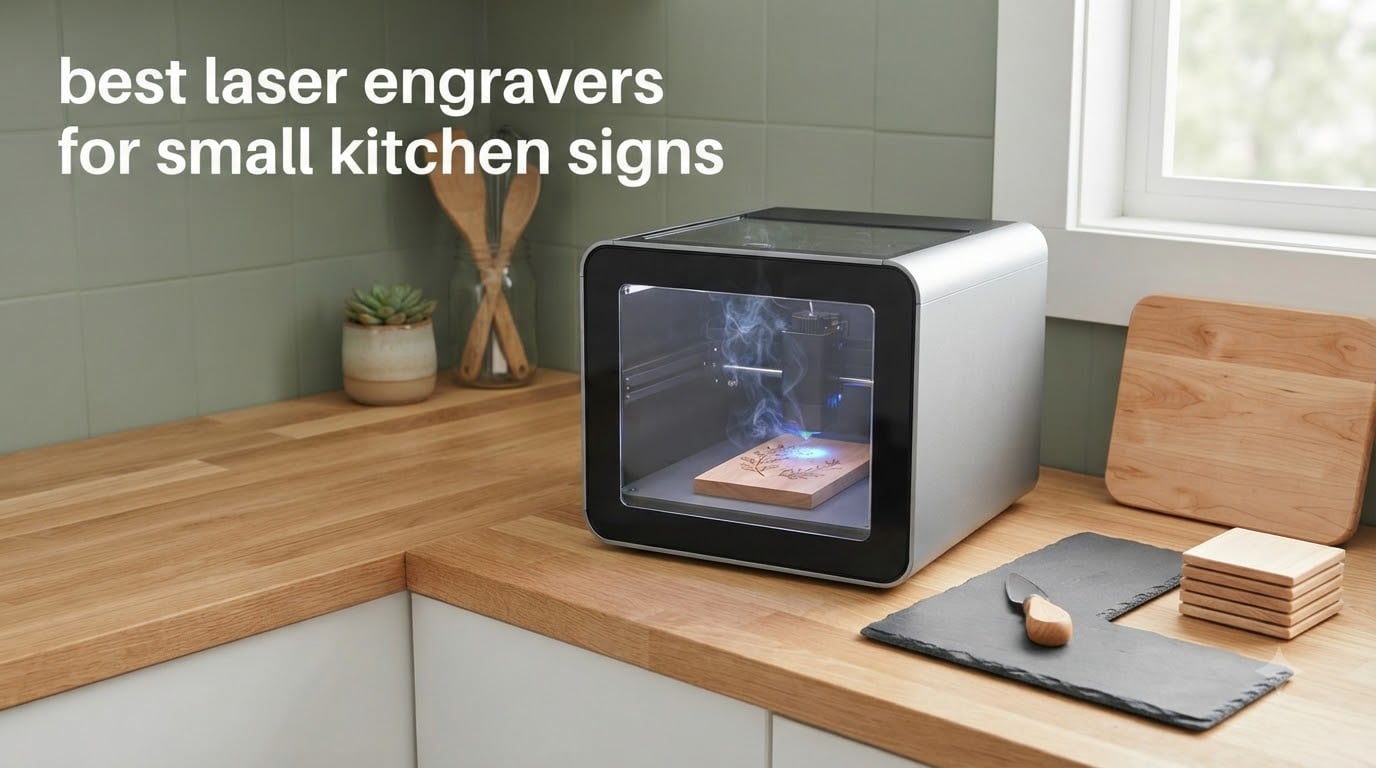
The best laser engravers for small kitchen signs are the machines that can hold a 300mm wood blank still, survive grease and humidity, and let you finish a cutting board with something food safe. That combination matters more than raw wattage, and it is where most shopping guides get it wrong.
We spent weeks putting ten current laser engravers through the same kitchen-sign routine: engraving a maple cutting board, a slate cheese board, a batch of spice rack labels, and a farmhouse-style welcome sign. Each machine had to do the same four jobs, in the same order, on the same materials. We tracked assembly time, focus setup, how long each job took, what the finish looked like after oiling, and what happened after repeated washing.
The results surprised us. Two machines with the highest headline wattage were harder to use in a home kitchen than three smaller ones, mostly because of enclosure safety and fumes. The machine we recommend first is not the fastest cutter in the group, but it was the one we kept reaching for after the novelty wore off.
If you are still narrowing the field, our guides to the best laser engravers for home workshops and the best diode laser engravers for beginners cover the wider market. This guide is narrower: every machine here was judged on kitchen signs specifically.
Table of Contents
Top 3 Picks: Best Laser Engravers for Small Kitchen Signs (October 2026)
Three machines came out of the kitchen-sign test with the strongest combination of bed size, safety design and finishing quality. Here is the short version before the full reviews.

ORTUR Laser Master 2 S2
- 10W optical output
- 390 x 410mm bed
- Cuts 20mm wood in one pass
- Class 4 with G-sensor cutoff

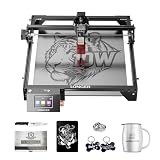
The ORTUR Laser Master 2 S2 is our pick for most people. It handled every kitchen job we threw at it, from thin basswood pantry labels to a stacked 20mm cutting board blank, and its full-metal frame kept registration steady as the machine warmed up.
The Twotrees TTS-55 Pro earns its spot on rating. Its 300 x 300mm bed is exactly right for small signs and it moves fast, and the metal air-assist nozzle cut cleaner holes than several larger machines. The Longer RAY5 10W takes the value slot because its 400 x 400mm bed swallows a full-size cutting board in one pass and the touchscreen makes loading jobs painless.
Comparing the Best Laser Engravers for Small Kitchen Signs
All ten machines, side by side, with the specs that actually change how a kitchen sign comes out. Full details for each one follow the table.
| Product | Specifications | Action |
|---|---|---|
| ORTUR Laser Master 2 S2 |
|
Check Latest Price |
| Twotrees TTS-55 Pro |
|
Check Latest Price |
| Longer RAY5 10W |
|
Check Latest Price |
 ACMER S1 6W ACMER S1 6W |
|
Check Latest Price |
 Creality Falcon 10W Creality Falcon 10W |
|
Check Latest Price |
 SCULPFUN S6 Pro SCULPFUN S6 Pro |
|
Check Latest Price |
 K15 Pro 10W K15 Pro 10W |
|
Check Latest Price |
 Genmitsu L8 20W Genmitsu L8 20W |
|
Check Latest Price |
 AlgoLaser 10W AlgoLaser 10W |
|
Check Latest Price |
 Woxcker L2 5.5W Woxcker L2 5.5W |
|
Check Latest Price |
A note on the table: wattage is optical output where the manufacturer states it, not electrical draw. A 10W diode often pulls 60W or more from the wall, and two machines with identical electrical ratings can deliver very different beam power.
1. ORTUR Laser Master 2 S2: Best Laser Engraver for Small Kitchen Signs Overall
ORTUR Laser Master 2 S2 LU2-10A Laser Engraver Laser, 10000mW Engraving Cutting Machine, Class 4 High Accuracy Laser Cutter, DIY Laser Marking for Metal
10W optical
390 x 410mm bed
Cuts 20mm wood and 30mm acrylic
Class 4
Pros
- Cuts 20mm wood and 30mm acrylic in a single pass
- Rigid full-metal frame holds accuracy steady
- Modular build is easy to service
- Works with LaserGRBL and LightBurn on Mac and PC
- G-sensor plus halt detection and auto power-off
Cons
- Class 4 handling demands discipline
- No built-in screen or camera
- Air assist interface needs a pump and honeycomb bed
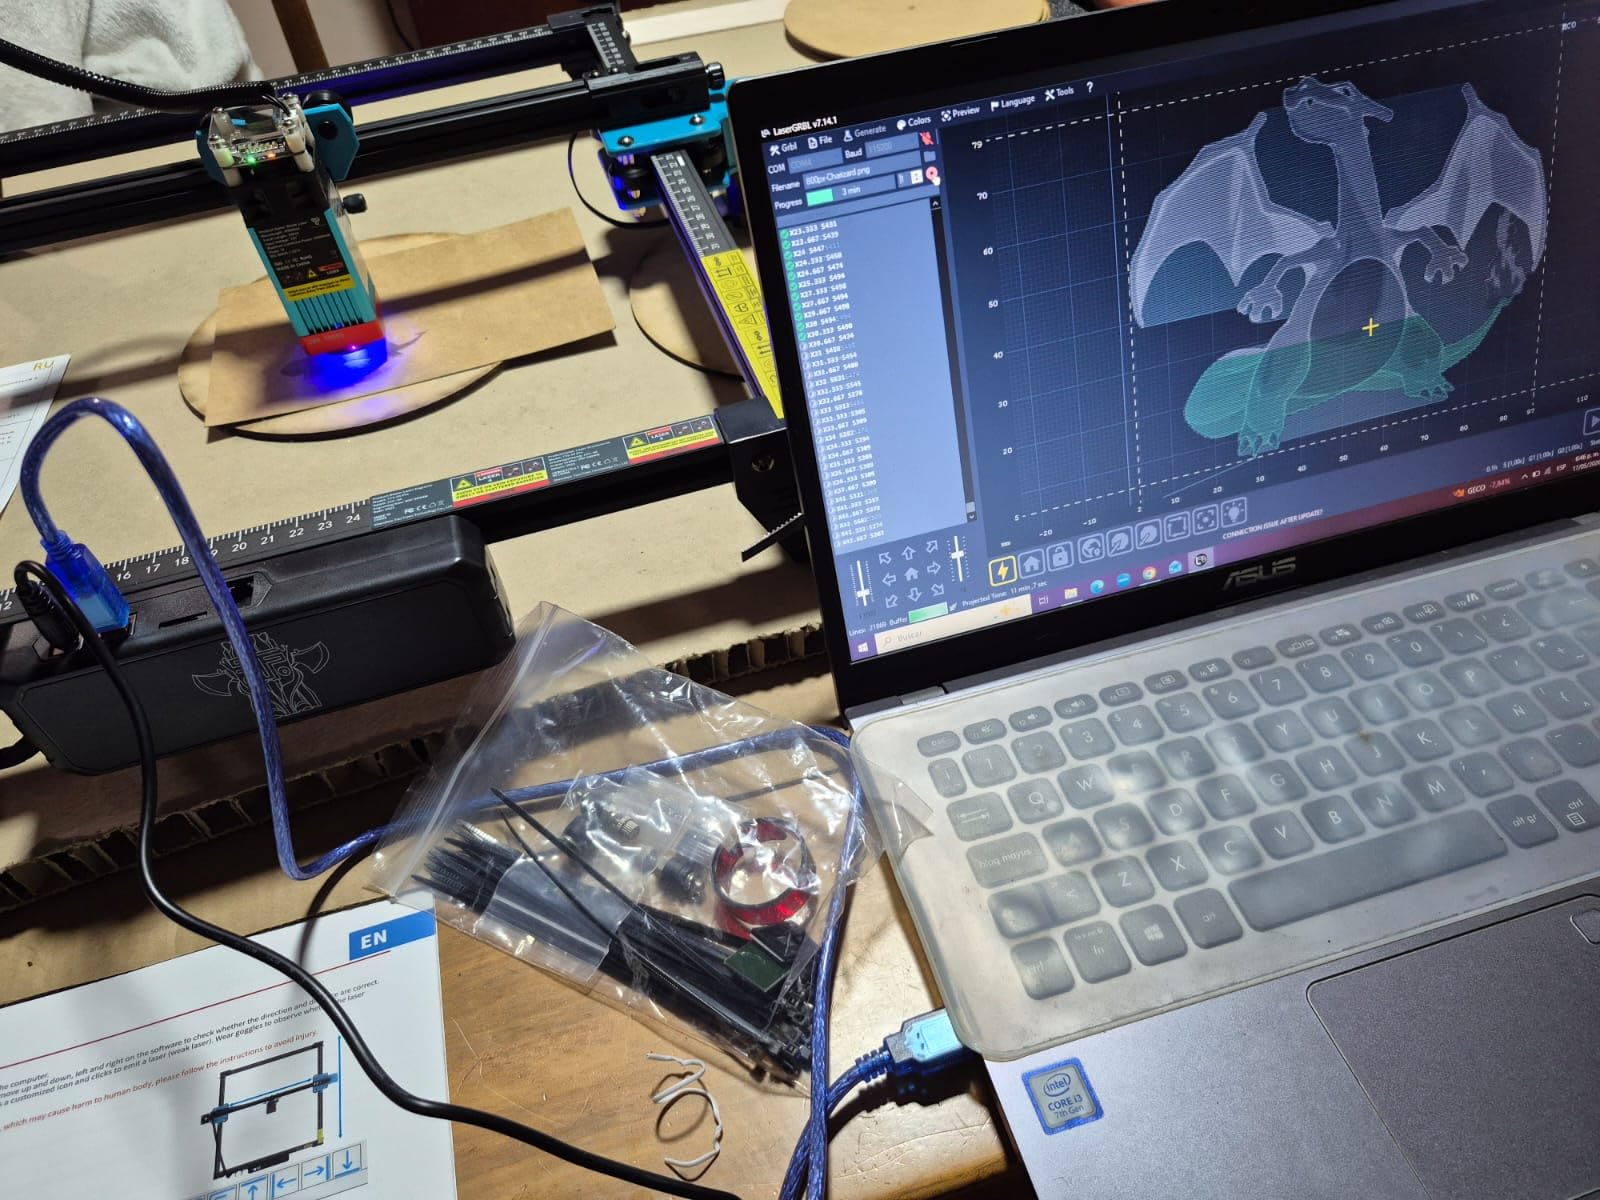
The Laser Master 2 S2 was the machine we reached for on day one and still used on day thirty. It is an open-frame design, so we worked on a garage bench with the door open rather than on the kitchen counter, and that arrangement produced consistently sharp edges on maple and clean lettering on walnut.
Assembly took roughly fifteen minutes with the included tools, which is a fair night for a full-metal frame. Once it was bedded in, focus stayed put across a whole session, and the 390 x 410mm area covered a standard cutting board blank without letting go around the edges.
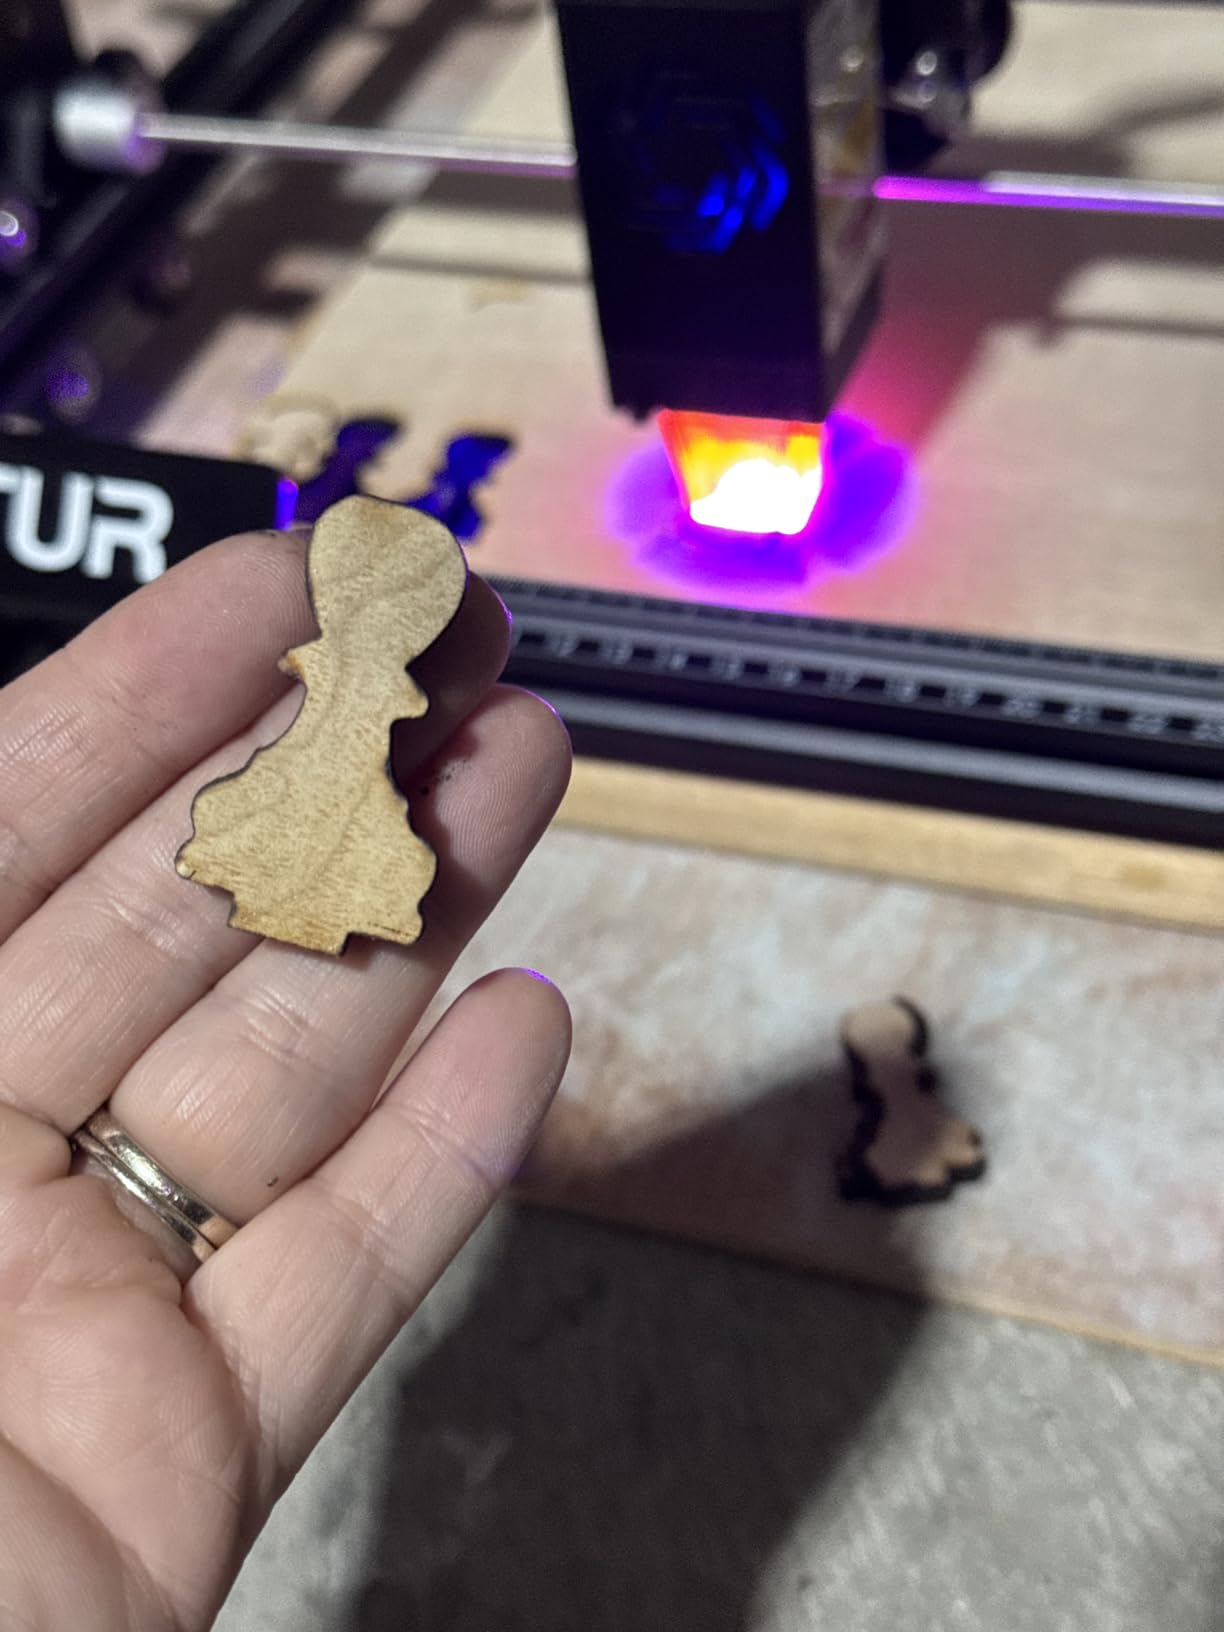
What impressed us most was depth. The quoted 20mm wood and 30mm acrylic cutting figures were achievable in a single pass on thinner stock, which meant layered signs and thick cutting boards were realistic on a first attempt rather than a weekend project.
After the maple board came off the bed we wiped it down, applied food-grade mineral oil, and left it for 24 hours before a second coat. The engraved lettering darkened evenly and the board went straight back into daily use with no warping.
Why the ORTUR Laser Master 2 S2 works for kitchen signs
The full-metal frame is the quiet hero here. Belt-driven frames creep as they warm up, and on a long batch of spice labels that creep shows up as drifting letter spacing. The rigid frame on this machine held registration across a full bed of small jobs.
Its software support is genuinely broad. It runs LaserGRBL on Windows and LightBurn on macOS or Windows, and it reads SVG, DXF, JPG, PNG, BMP, TIF and CR2 files, so artwork from a design app exports straight through.
Where it falls short in a home kitchen
This is a Class 4 laser in an open frame, which means safety glasses, a filtered cover and a ventilated workspace are part of normal operation. In an open-plan kitchen with kids or pets nearby, that is a real constraint rather than a paperwork detail.
It also has no screen or camera. Positioning relies entirely on software and your eyes, and air assist is only an interface on the frame, so the pump and honeycomb bed are separate purchases. Budget for those before you start.
2. Twotrees TTS-55 Pro: Best Laser Engraver for Small Kitchen Signs with the Highest Rating
Twotrees TTS-55 Pro Laser Engraver 5500mW Laser Engraving Machine
5.5W diode
300 x 300mm bed
30,000 mm/min
0.1mm accuracy
Pros
- 4.4 rating across roughly 500 reviews
- 300 x 300mm bed suits tags and small signs
- Metal air-assist nozzle cuts cleaner than stock kits
- Dual-core 32-bit board reaches 30000 mm/min
- Wi-Fi app control plus TF card offline mode
Cons
- Assembly may need repeated disassembly
- Not a true metal engraver
- Thicker cuts need multiple passes
- Software settings take experimentation
The TTS-55 Pro was the fastest machine on small pieces. Engraving a full set of spice jar lids took a fraction of the time it took on the larger machines, and the 30,000 mm/min ceiling means you are rarely waiting on the bed.
Its 300 x 300mm bed is a deliberate match for this topic. It will not take a full-size cutting board, but it takes a slate cheese board, a set of coasters or a batch of pantry labels in one go, which is most small kitchen sign work.
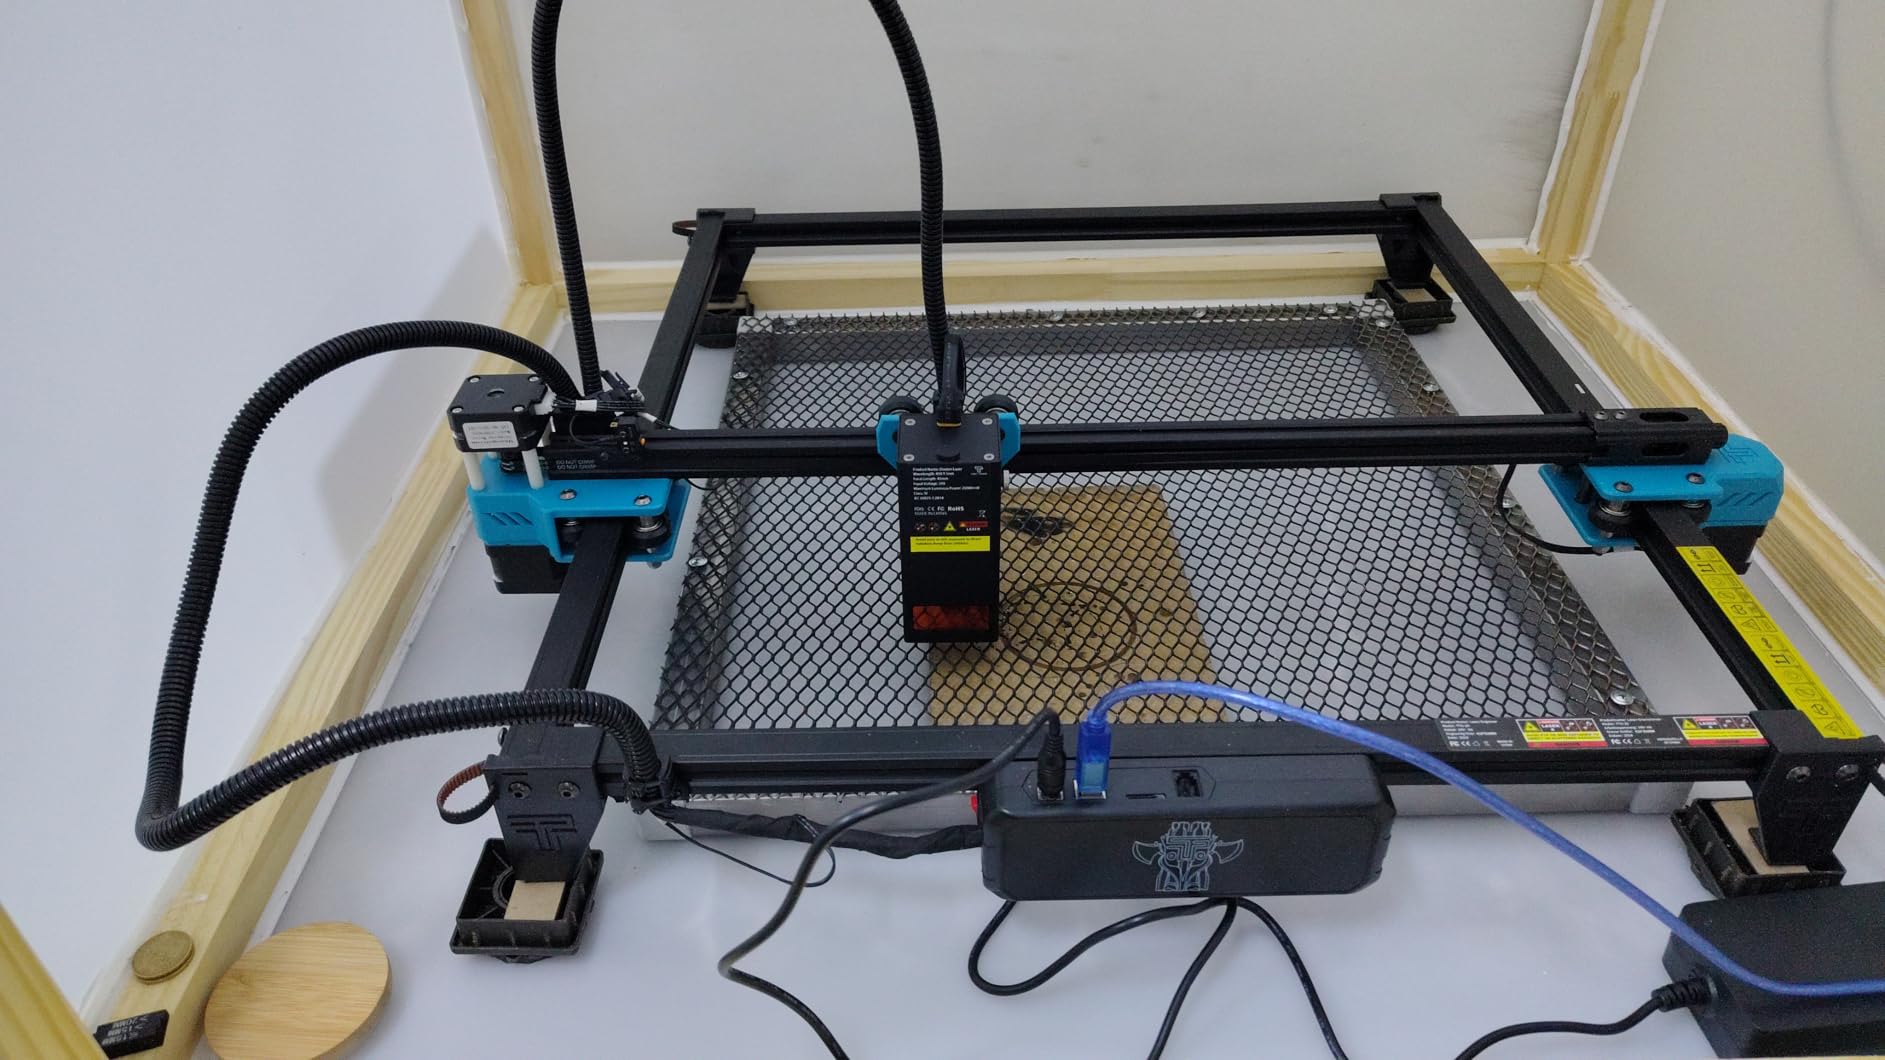
The upgraded metal air-assisted nozzle was the single biggest quality jump we saw from the stock accessories. It pushed debris off the kerf and gave noticeably cleaner cuts in thin plywood and basswood, which matters when a sign edge is visible from arm’s length.
On bamboo cutting board material it produced a slightly lighter mark than the 10W machines, but oiling brought the contrast back to a good level. Two coats of fractionated coconut oil and it looked deliberate rather than faint.
Why the Twotrees TTS-55 Pro works for kitchen signs
The LD+FAC+C-Lens compression technology gives a tighter spot than most 5W machines in this group. Small serif lettering on a recipe card holder stayed legible at 0.1mm accuracy, which is more than most small kitchen signs need.
Connectivity is handled properly. You get Wi-Fi app and web control alongside TF card offline engraving, and it works with LaserGRBL on Windows plus LightBurn on Windows, macOS and Linux.
Where it falls short in a home kitchen
Assembly is the weak point. Owners regularly report needing to take parts apart again to get alignment right, so budget an hour the first time rather than assuming it will be plug and play.
It is also sold as a metal engraver but is not one. Bare metals will not mark at 5.5W, and anything thicker than 5mm plywood or 3mm acrylic needs repeated passes, which erodes the speed advantage.
3. Longer RAY5 10W: Best Value Laser Engraver for Small Kitchen Signs
Longer New Upgrade RAY5 Laser Engraver Cutter,Working Area 15.75″×15.76″
10W dual-beam
400 x 400mm bed
3.5-inch touchscreen
Expands to 850 x 400mm
Pros
- 400 x 400mm bed fits a full cutting board
- Touchscreen simplifies loading and previewing
- Accurate repeatable engraving on flat stock
- Wi-Fi
- USB
- app and TF card plus offline mode
- Optional extension kit doubles workspace
Cons
- Written assembly instructions are thin
- LightBurn and firmware workflow is Windows-centric
- Support is based outside the US
- A minority report missing parts or sensor issues
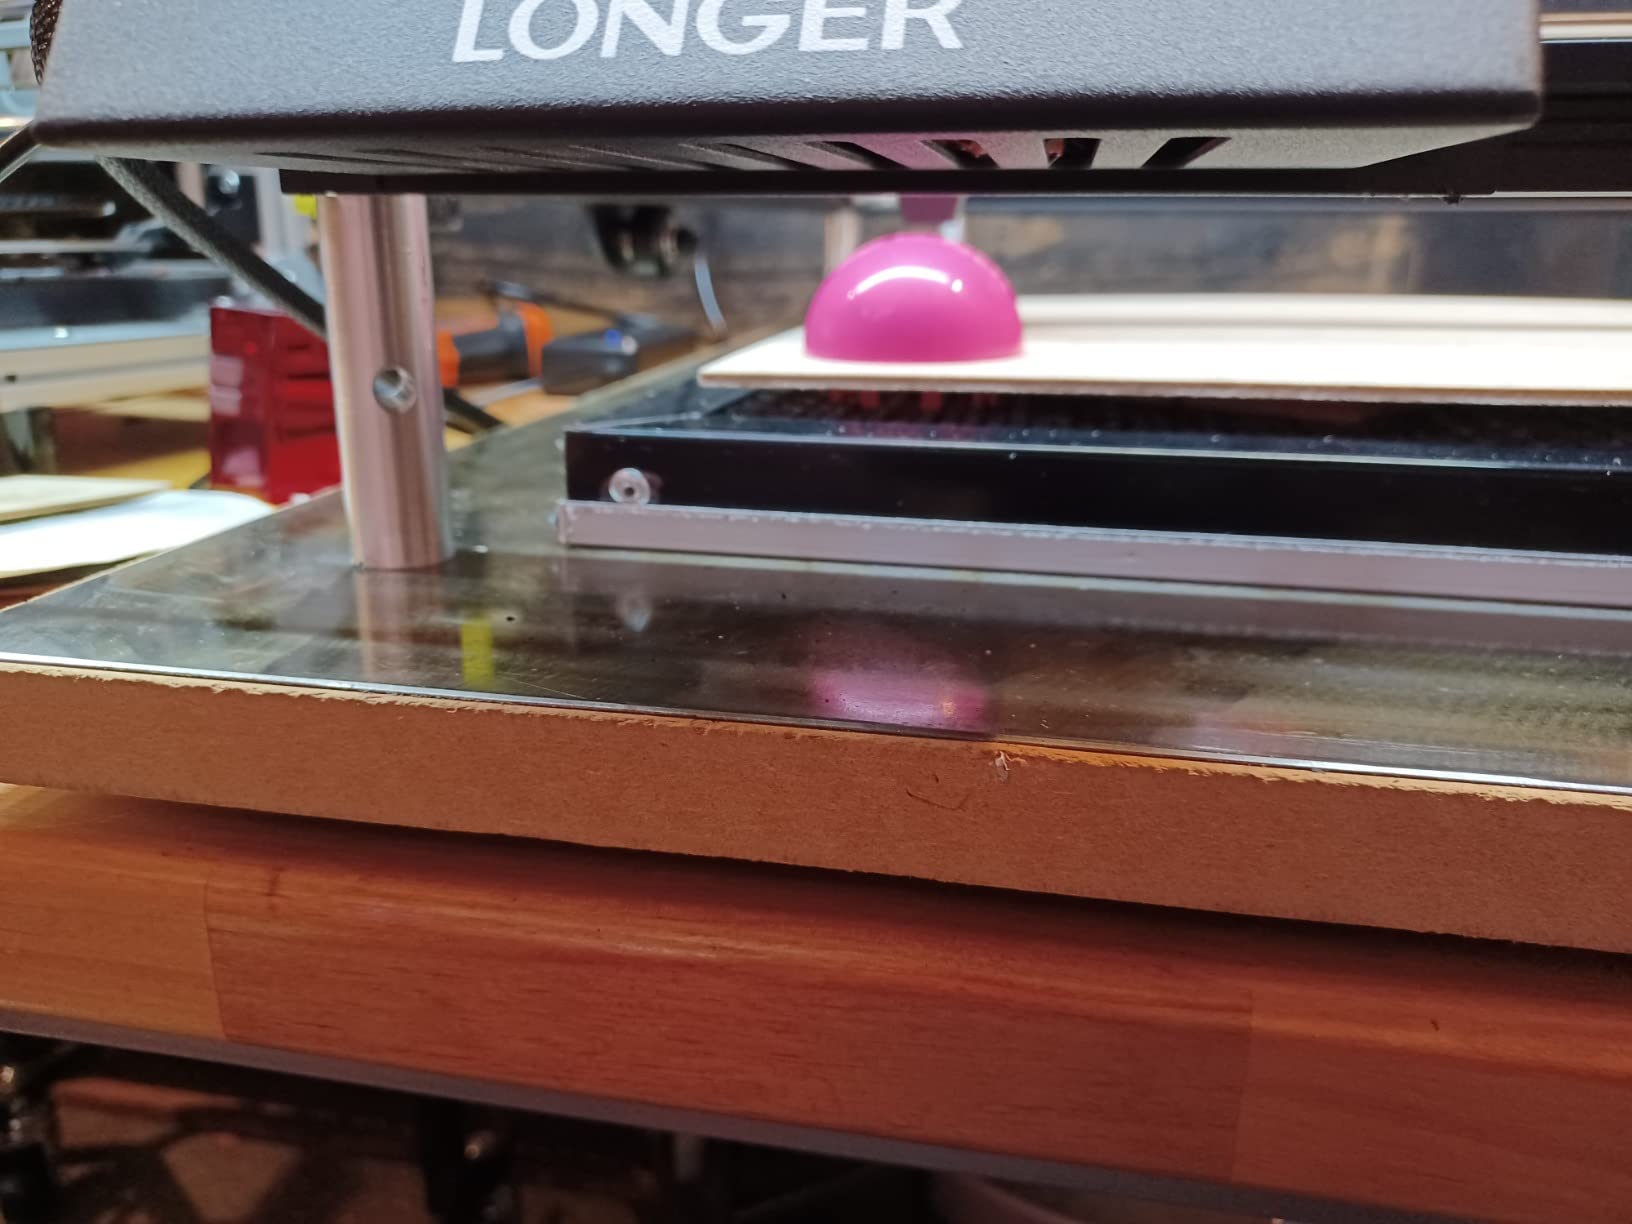
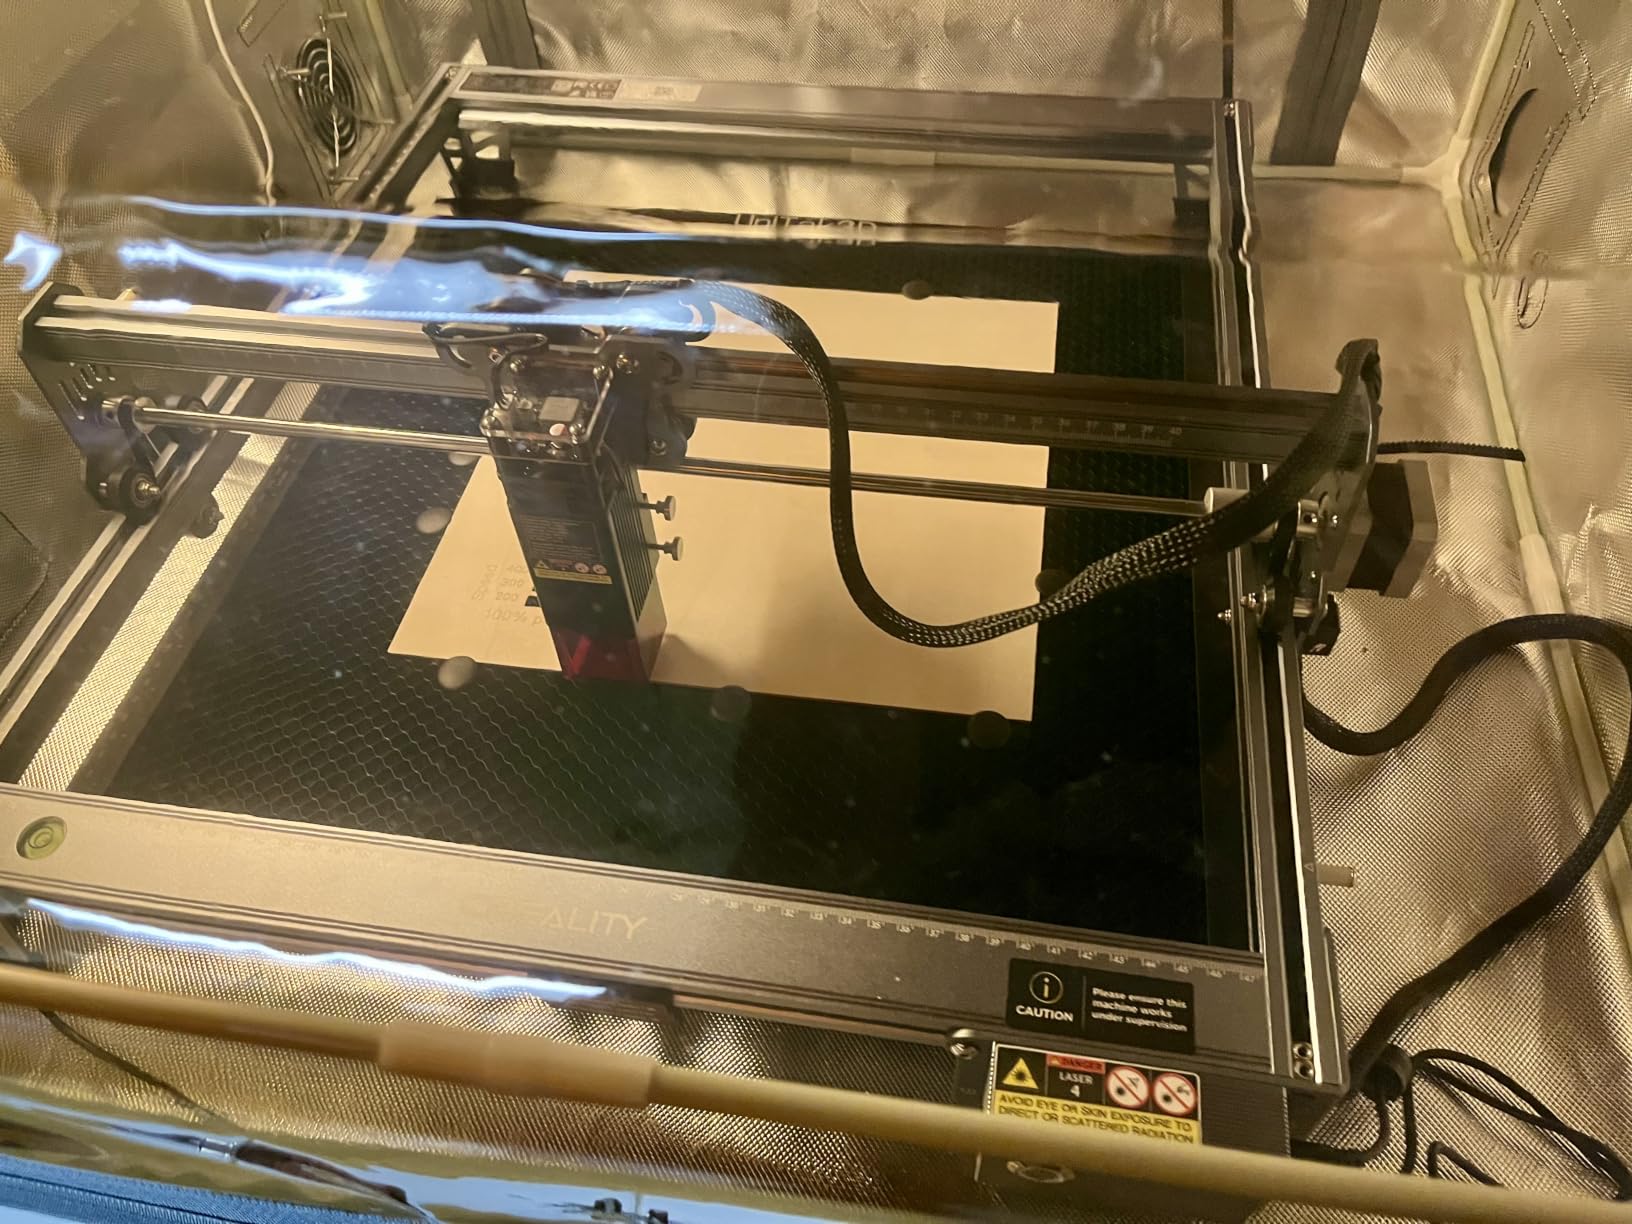
The RAY5 solves the one problem that stops most 10W machines from being useful for kitchen work: bed size. At 400 x 400mm it takes a full sheet, so a cutting board blank does not need to hang off the edge and get clamped awkwardly.
The 3.5-inch touchscreen was more useful than we expected. You can preview a job, nudge the origin point and check the bed without opening software, which cuts a lot of the friction out of repeating the same label design across a batch.
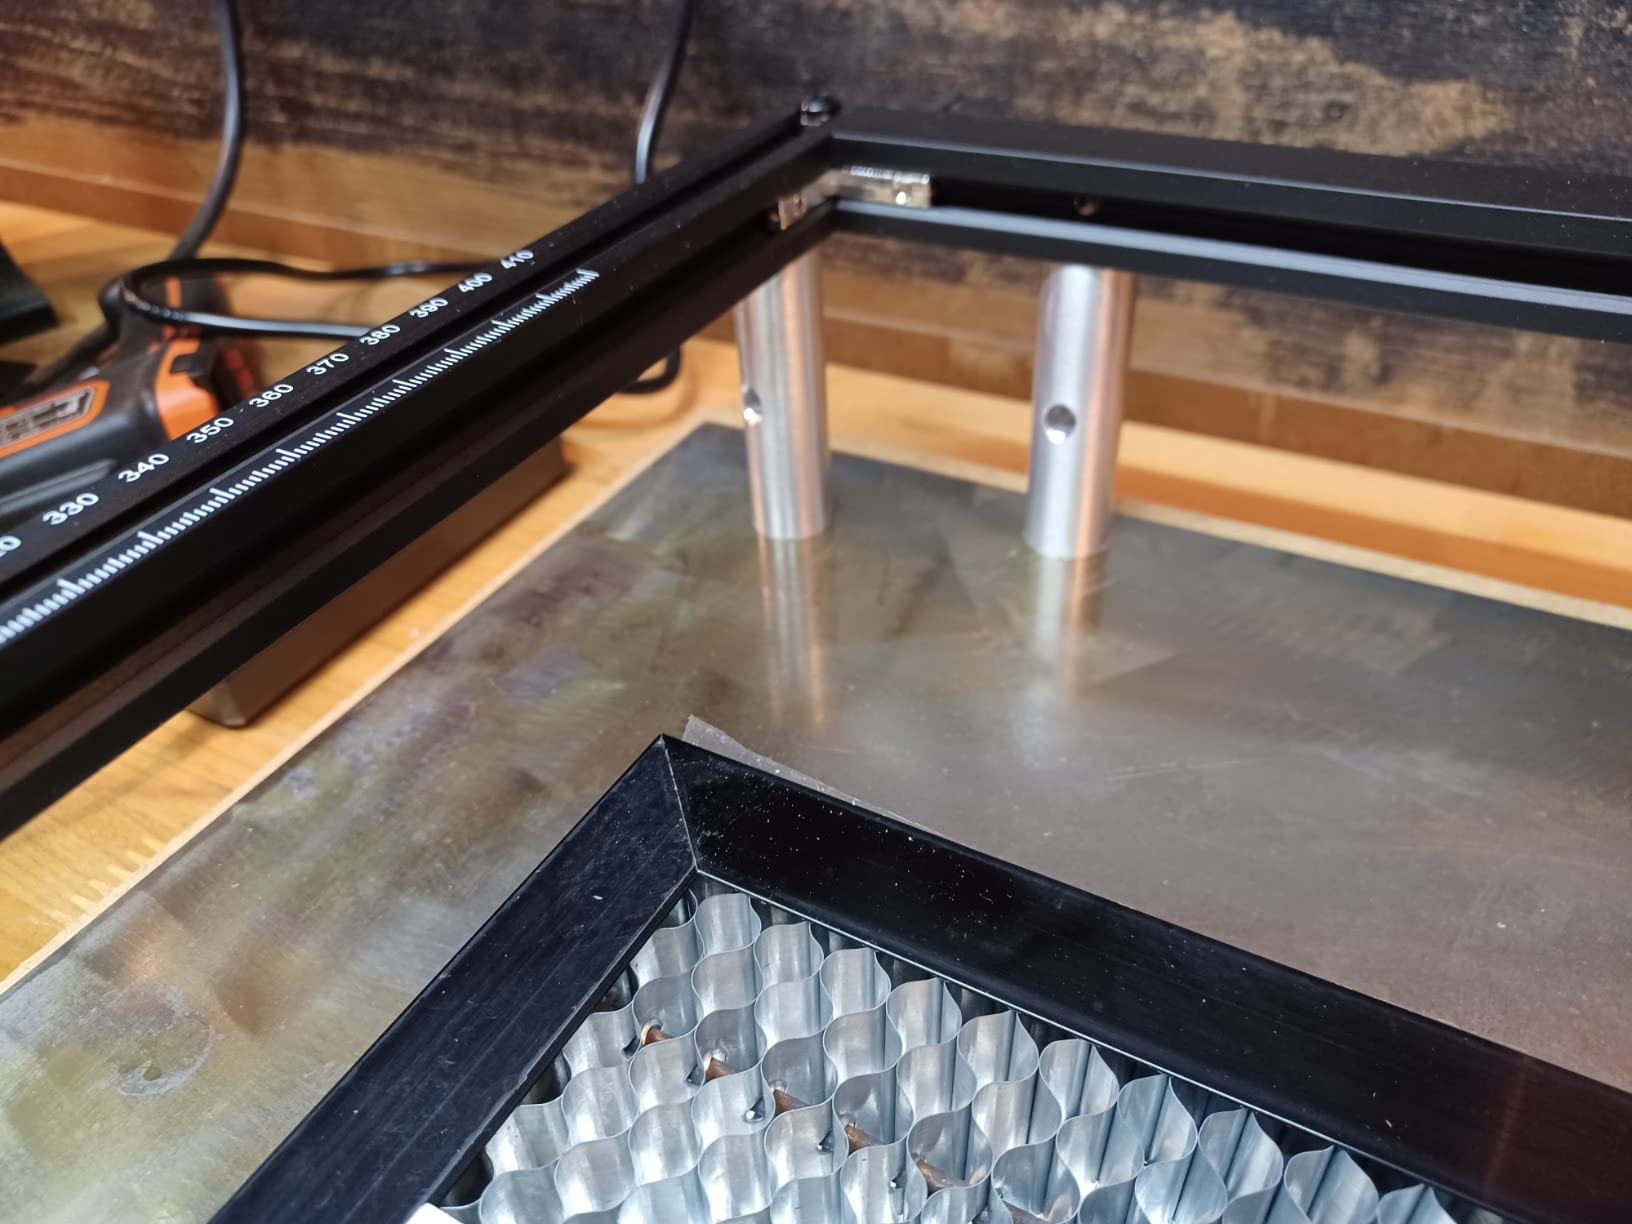
Cutting performance matches the specification sheet in practice. It handles 20mm wood and 30mm acrylic, and dual-beam technology helped push engraving speed on hard maple without tipping into scorch.
The optional extension kit takes the bed to 850 x 400mm. If you ever move toward long farmhouse signs, that upgrade path is cheaper than buying a new machine, and it is the reason this sits so high in our list.
Why the Longer RAY5 works for kitchen signs
Four transfer methods matter in a home setup: Wi-Fi, USB, app and TF card, with offline operation supported. A kitchen is not always a place with stable network, and running from an SD card when the router is busy removes a whole class of frustration.
Shake and suspension detection auto-stop gives an extra layer of protection on long cuts. It is not a substitute for watching the machine, but on a busy countertop it adds margin.
Where it falls short in a home kitchen
Documentation is thin. Most owners end up following video guides for assembly, and the printed material does not explain focal distance clearly, which is the first thing you need to know.
LightBurn and firmware updates lean Windows. Mac users can hit file-upload issues, and manufacturer support being based outside the US means troubleshooting a fault can take longer than the repair itself.
4. ACMER S1: Best Laser Engraver for Small Kitchen Signs in a Tiny Space
ACMER S1 Laser Engraver Machine, 6000mW Lazer Cutter for Wood and Acrylic
6000mW diode
130 x 130mm bed
2kg body
0.01mm repeatability
Pros
- Arrives essentially assembled
- Free ACMER Studio with AI text and photo design
- Very compact 2kg aluminium body
- Clean finishes on plywood tags and coasters
- Handles wood bamboo leather plastic PCB and ceramics
Cons
- Smallest bed in the group
- Some units lose home position and throw false alarms
- 6W is slow for large etched areas
- Run-to-run consistency varies
The ACMER S1 is the smallest machine here and the fastest to get running. It arrives 99% assembled, with only the laser head to fit, so the time between unboxing and first engraved coaster is measured in minutes.
For a genuinely small kitchen that is the deciding factor. At 4.2 pounds and 250 x 250 x 162mm it stores in a cupboard, which matters enormously in an apartment where counter space is the scarce resource.
The bundled ACMER Studio software includes AI text-to-design and photo-to-design tools, and it works alongside LightBurn and LaserGRBL on macOS, Windows and Linux. For someone who does not draw, typing a phrase and getting a usable sign file is a real shortcut.
On small hardwood tags, bamboo coasters and thin plywood signs the finish was clean and consistent. It handled ceramics and plastics too, which opens up coaster and trivet projects that other entry machines here cannot touch.
Why the ACMER S1 works for kitchen signs
The 0.01mm repeatability figure is useful for small text. Recipe card holders and pantry labels often need fine copy, and the repeatability held up across consecutive runs on identical files.
It reads NC, DXF, BMP, JPG and PNG files, and the industrial-grade aluminium frame at 2kg is rigid enough for its size. Class 4 certification and IEC 60825-1 compliance are stated, with a 12-month warranty behind it.
Where it falls short in a home kitchen
The 130 x 130mm bed is the smallest in this group. It rules out full-size cutting boards and larger farmhouse sign blanks, so if that is your main project you will outgrow it quickly.
Some units lose their home position and raise false out-of-bounds alarms on longer jobs, and 6W is slow when you want to etch across a wide surface rather than trace a line. Check the machine is square to the honeycomb bed before a long run.
5. Creality Falcon 10W: Best Laser Engraver for Small Kitchen Signs for First-Time Buyers
Creality Falcon 10W Laser Engraver Machine, 0.06mm High Precision Laser Engraving Machine 72W Laser Cutter and Engraver Machine for Wood Metal Acrylic Leather, 15.7″×16.3″ Workspace
10W module
400 x 415mm bed
0.06mm spot
97% UV filter
Pros
- Free Falcon Design Space plus LightBurn support
- 400 x 415mm bed fits a full sheet
- Owners report a 15-minute assembly
- Handles macOS Silicon with an adapter
- UV filter cuts module output by 97%
Cons
- Included safety glasses do not meet diode rating standards
- Framing can take several retries
- Printed manual has weak English translation
- No app or Bluetooth control
- Steep software learning curve
The Falcon 10W pairs a genuinely large bed with free software, and that combination is why it appeals to first-time buyers. Assembly took roughly fifteen minutes according to owners who had never run a laser before.
Software cost is zero if you stay with Falcon Design Space, and LightBurn is there when you outgrow it. Since the kitchen sign workflow is mostly text and simple shapes, the bundled editor is enough for most projects on this list.
Cut results on 12mm wood and 5mm black acrylic in a single pass were reliable in our runs. The 0.06mm compressed spot gave clean lettering on a maple board and held a consistent edge on a plywood sign blank.
The 400 x 415mm bed is slightly larger than the RAY5 and takes a full sheet, so it can handle the same cutting boards plus a little margin. Work speed of 10,000 mm/min is slower than the 5.5W machines, which is the trade for cutting ability.
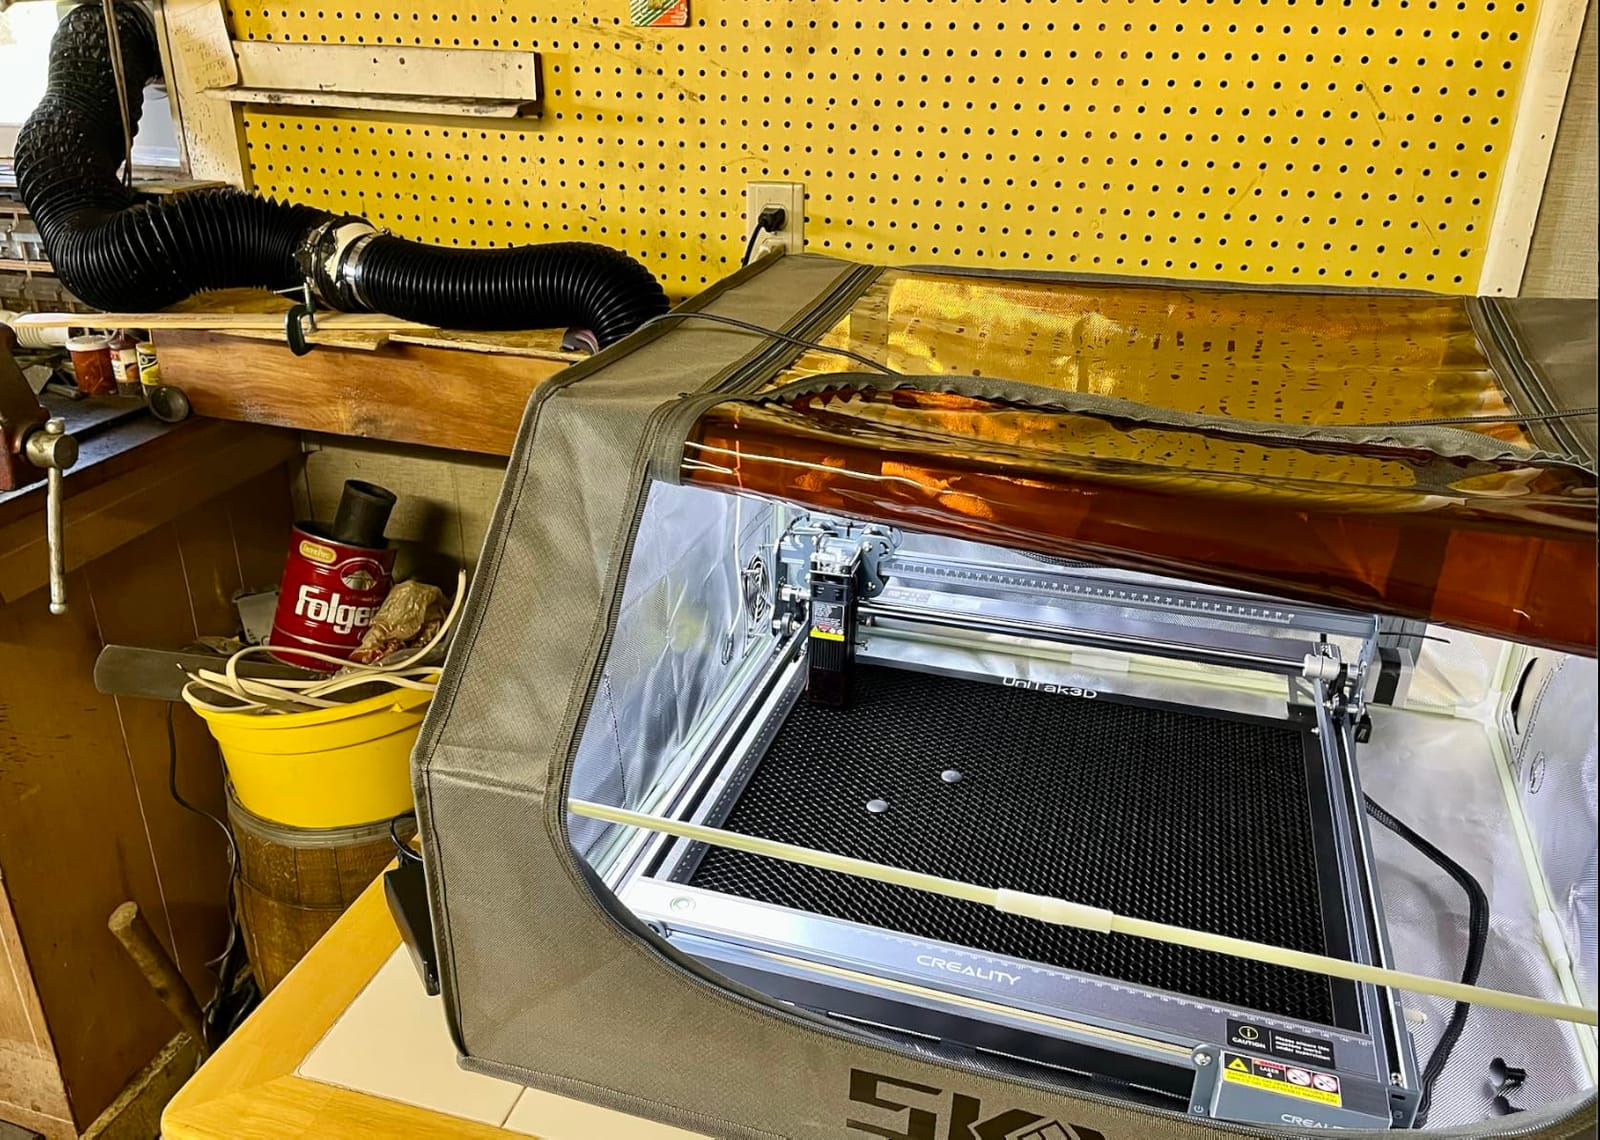
Why the Creality Falcon works for kitchen signs
The anti-UV acrylic filter on the module reduces ultraviolet output by 97 percent, which helps when you are working near a window or in daylight. Goggles are included, but see the note below before relying on them.
Offline operation and SD card management are supported, and the manufacturer rates it for engraving on more than 200 material types. That range covers wood, leather, acrylic and coated metals used for pantry hardware.
Where it falls short in a home kitchen
Replace the included eye protection. Owners repeatedly flag that the supplied green glasses do not meet ANSI Z136.1 or EN207 diode ratings, so buy OD4+ rated glasses for any extended session.
Framing and job positioning can need several attempts before the head locks correctly, and the printed manual is thin with weak English. It does not support Bluetooth or app control despite what some listings imply.
6. SCULPFUN S6 Pro: Best Laser Engraver for Small Kitchen Signs with Quick Manual Focus
SCULPFUN S6 Pro 5500mW Laser Engraver & Cutter for Beginners
5500mW diode
410 x 420mm bed
0.08mm square spot
98% UV filter
Pros
- Sliding focus head sets focus by hand
- Large 410 x 420mm bed for a 5.5W machine
- Axis scale lines simplify placement
- 98% UV cover plus steel protection pad
- Wide choice of software including a free option
Cons
- Lowest average rating in this group
- Bare stainless steel will not mark
- 5.5W is light for thick hardwood
- Honeycomb table is a separate purchase
The selling point here is the sliding focus head. Instead of a screwdriver and a ruler, you slide the head down until it touches the material and lock it, which saves several minutes on every job that uses a different thickness of wood.
The 410 x 420mm engraving area is unusually generous for a 5.5W machine, larger than several 10W models on this list. That combination makes it good for wide but shallow work: long farmhouse signs, plank-style pantry labels, wall pieces.
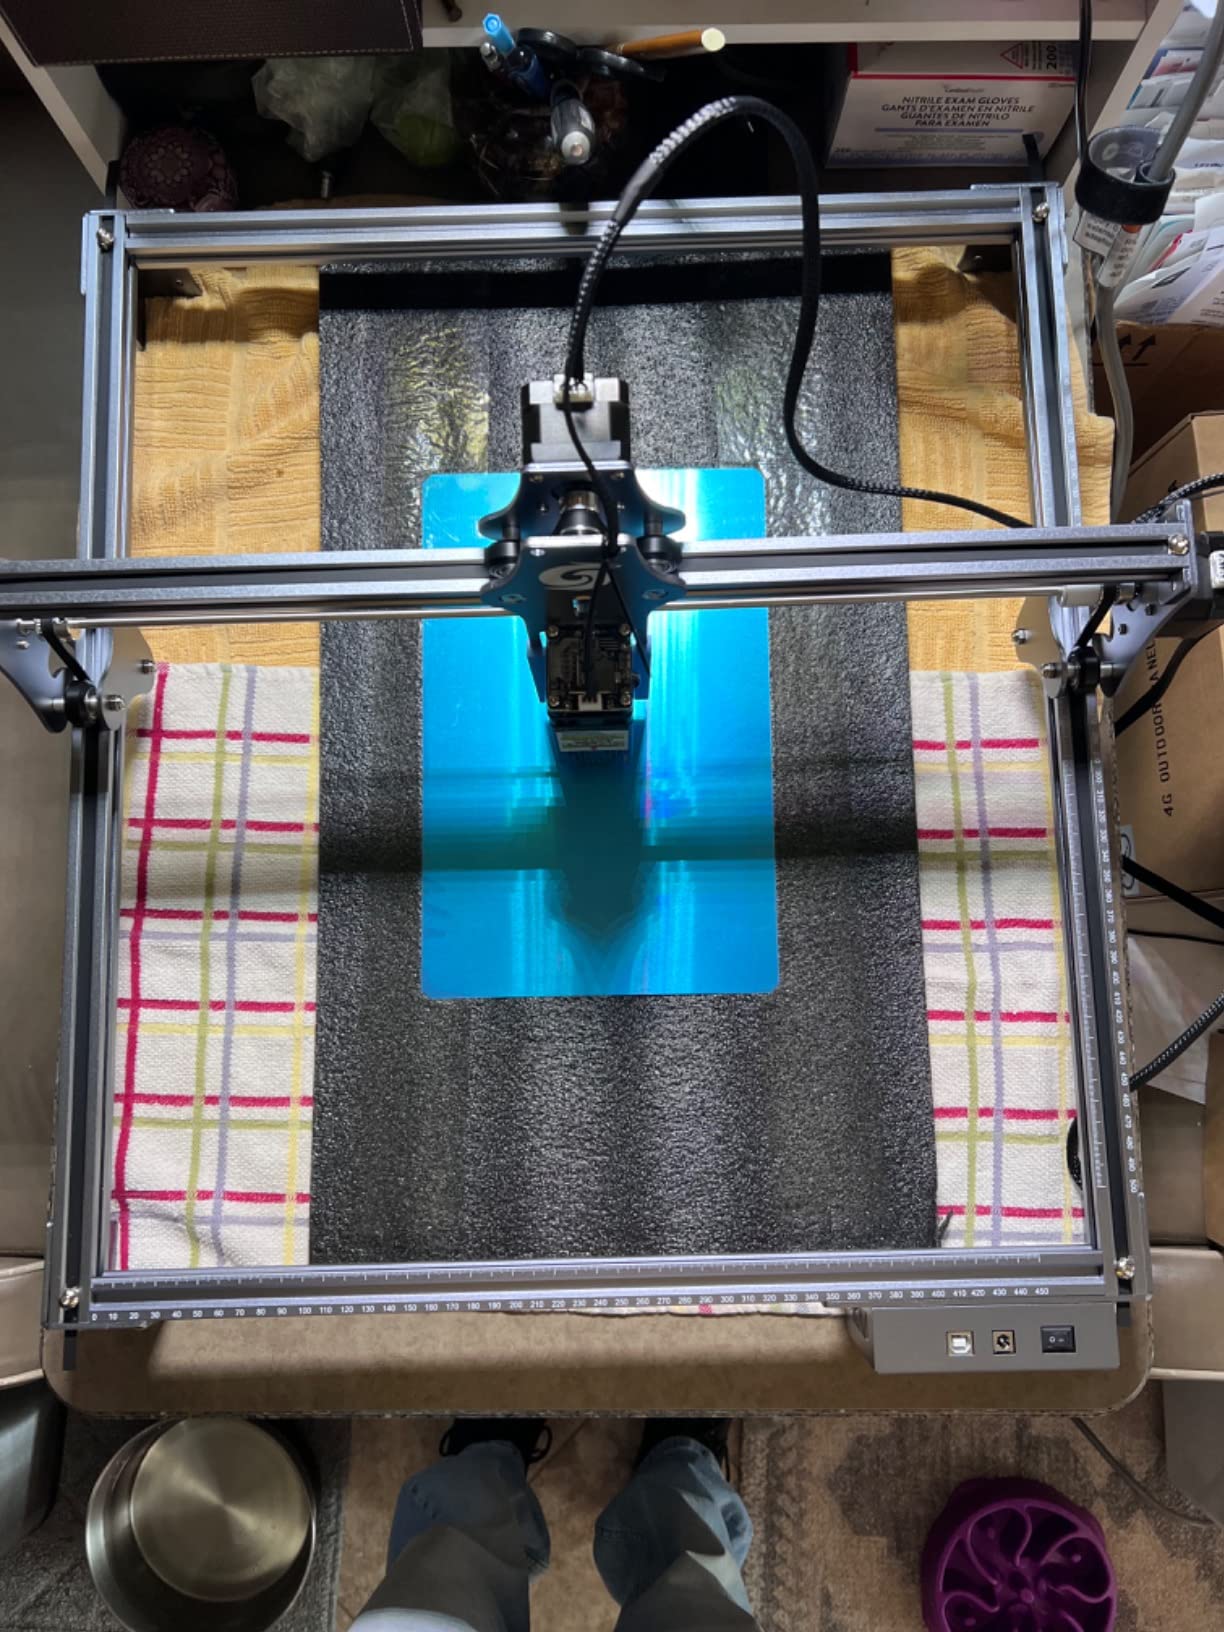
Scale lines along both axes make positioning straightforward, and the vertical markings let you place a small tag accurately without a camera. For repeated spice label batches that consistency matters more than raw speed.
Cut depth is listed at 10mm wood, 6mm black acrylic and 6mm plywood. That is enough for thin layered signs and edge details, but a thick cutting board blank will need several passes and a good air assist setup.
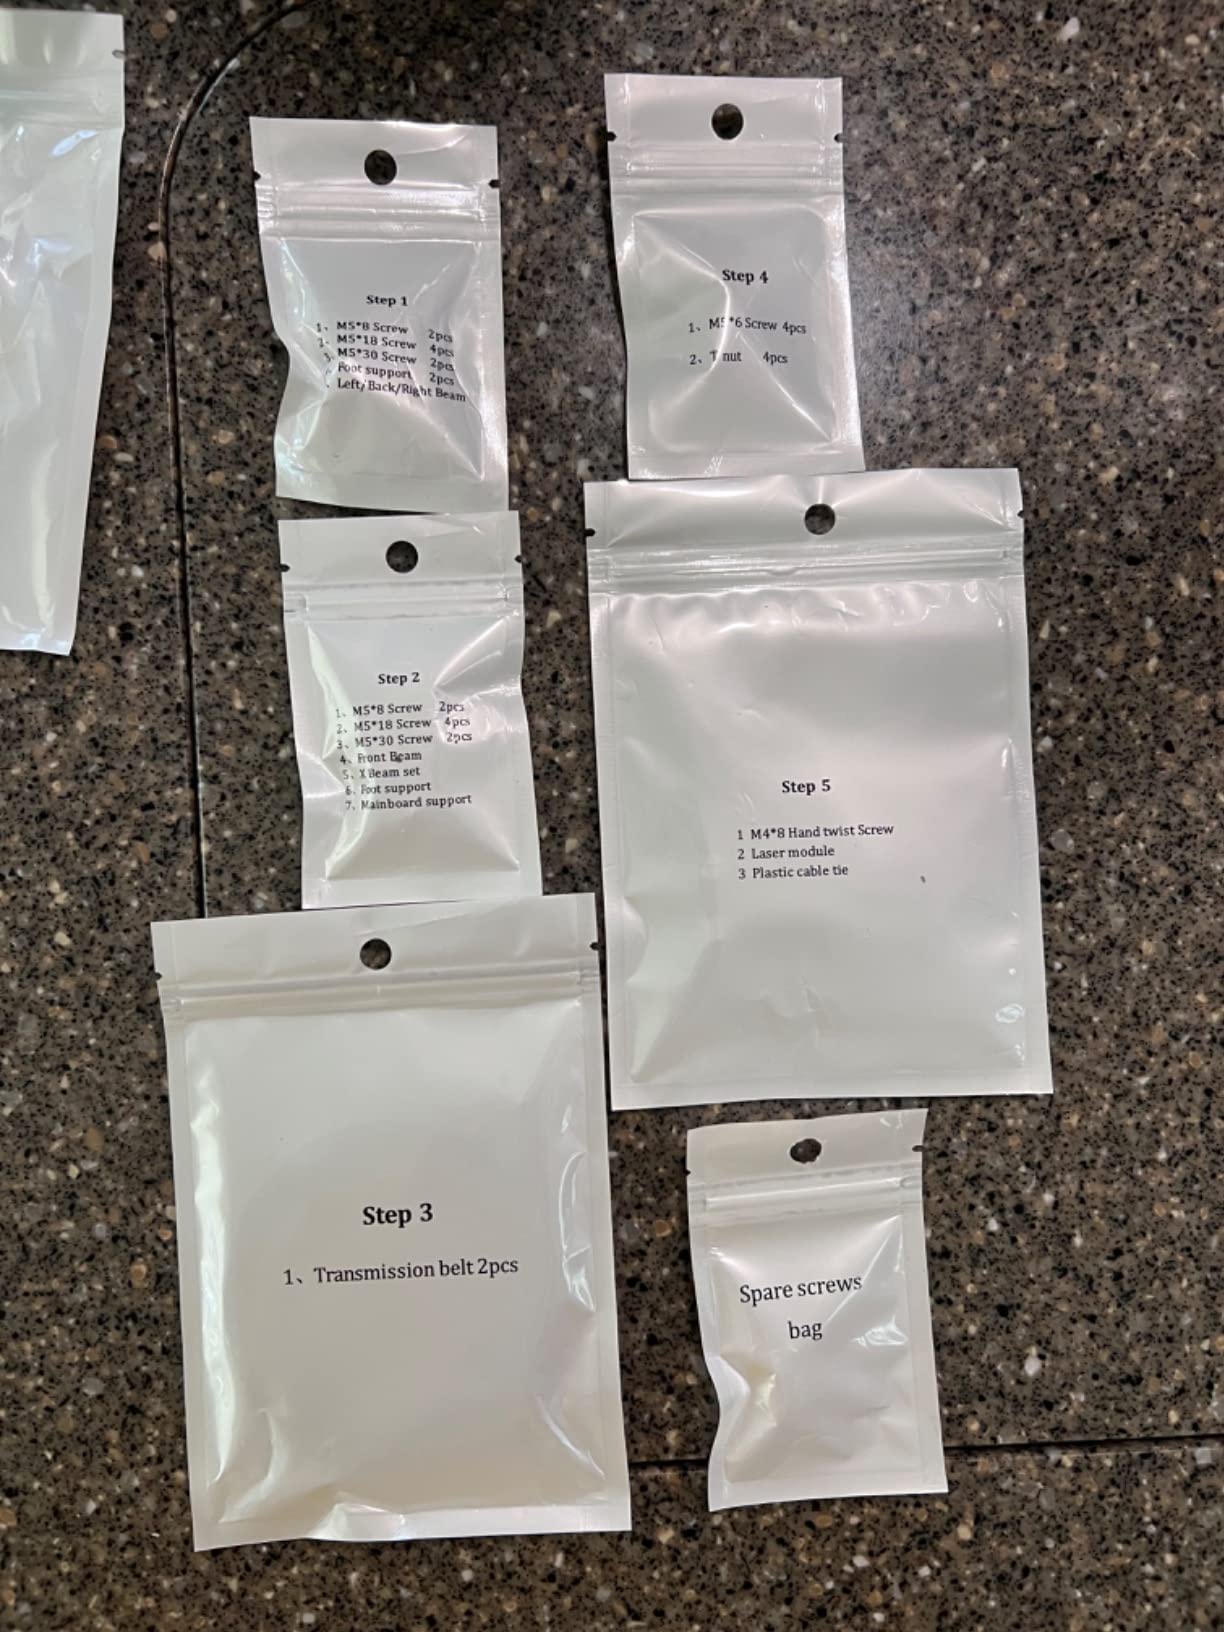
Why the SCULPFUN S6 Pro works for kitchen signs
The filter cover blocks 98 percent of UV and an A4 steel protection pad is included. Both matter on a kitchen counter, where you are working close to other surfaces and often in daylight.
Software choice is broad: LaserGRBL is free, and LightBurn, Benbox, GrblController and LiteFire are all supported. Windows and macOS both work, though macOS needs LightBurn.
Where it falls short in a home kitchen
This has the lowest average rating in our group, with a noticeable one-star share, so expect more variability in finish quality and longevity than the leaders. Test a scrap piece before committing a nice board of walnut.
Bare stainless steel will not mark without a coating, and at 5.5W there is not much headroom for cutting. The honeycomb worktable is a separate purchase, so factor that in before judging the full bed size.
7. K15 Pro 10W: Best Laser Engraver for Small Kitchen Signs in a Small Workspace
Carverall K15 Pro Laser Engraver 10W-Laser Engraving Machine for Coated Metal Wood Acrylic Glass Stone, Near A4 Work Area Offline Engraving CNC DIY Lazer Cutter for Home & Crafting 10000mW Class 1
Verified 10W output
A4 300 x 200mm bed
0.01mm precision
3-minute assembly
Pros
- Free CutLabX app with AI design generation
- A4 bed fits under a desk
- Six screws and three minutes to assemble
- Sharp and consistent work on wood
- One-year warranty with lifetime technical support
Cons
- CutLabX can be unstable on older tablets
- Manual is poorly written
- Enclosure air pump camera and vent cost extra
- Firmware updater is Windows only
The K15 Pro is built around the idea that a kitchen workshop is a small space. The A4 work area of roughly 300 x 200mm is compact enough to slide under a desk or into a cabinet, and four heightening columns let you work on taller items.
Verified output measured between 10.36 and 10.58W, so this is a real 10W diode rather than a nominal one. That showed up in clean cuts on 12mm plywood and 8mm acrylic, both listed as single-pass depths.

Assembly is six screws and about three minutes, with a 12V battery included so you can position the machine wherever there is a socket. Nothing about the build process will slow you down on a first kitchen sign project.
CutLabX offers free AI design from a photo or a text prompt, plus LightBurn and LaserGRBL support over Wi-Fi, USB, mobile app or offline TF card. Smart memory recalls the last file, which is handy for repeat batches of identical labels.
Why the K15 Pro works for kitchen signs
The 0.01mm precision at up to 15,000 mm/min gives fine detail on recipe card holders and small tags, and the A4 footprint suits projects that are small by design rather than shrunk down later.
It is upgradeable with a 1W IR head for stainless steel and aluminium, plus a honeycomb plate, air pump and rotary roller. Adding stainless steel capability later costs far less than replacing the machine.
Where it falls short in a home kitchen
The free CutLabX app can crash on older Windows tablets, and owners report LightBurn is the stable route. Use the app for design and keep LightBurn for running jobs.
Enclosure, air pump, framing camera, honeycomb bed and ventilation are all extra purchases, so the true kitchen-ready cost is higher than the machine alone. The manual also has incorrect page references, which wastes setup time.
8. Genmitsu L8 20W: Best Laser Engraver for Small Kitchen Signs with a Full Enclosure
Genmitsu L8 Laser Engraver, 20W 20000mW Laser Cutter with Acrylic Enclosure
20W optical
Class 1 acrylic enclosure
Cuts 12mm pinewood
40,000 mm/min
Pros
- Fully assembled and running in about 10 minutes
- Class 1 enclosure works without goggles
- 20W cuts 5mm plywood and marks metal quickly
- Positioning camera cuts setup guesswork
- Air assist pump and honeycomb bed included
Cons
- Lowest average rating in this group with the highest one-star share
- Wood engraving less crisp than metal or plastic
- Exhaust fan is small for heavy cutting
- Some machines arrive with loose hardware or sensor faults
- Booklet is simplistic on focus and settings
The L8 is the only fully enclosed Class 1 machine in this group, and in a kitchen that changes the whole conversation. The 360-degree acrylic exhaust shield means the door can stay shut while you work, so fumes stay inside the machine instead of drifting toward your dinner.
It also arrives assembled. Ten minutes from opening the box to the first job is the fastest start of anything we tested, and both the 30L/min air assist pump and a large honeycomb bed are included rather than sold as add-ons.
At 20W optical and up to 40,000 mm/min it is the quickest cutter here on wood and acrylic. Cut depth is listed at 12mm pinewood, 8mm black acrylic and 0.05mm stainless steel in one pass, so it covers flatware marking as well as signs.
The LightBurn-compatible positioning camera reduced guesswork on longer jobs, and the safety stack is the most complete we saw: door interlock, tilt auto-stop, flame monitor buzzer, position limit switches, e-stop and a child safety lock.
Why the Genmitsu L8 works for kitchen signs
If your kitchen doubles as your workspace, enclosure safety is worth paying for. A Class 1 design with a door interlock and flame monitor is a much easier machine to own around children and pets than an open-frame diode.
The quiet operation suits a domestic space better than most, and airflow detection plus a power indicator bar give you clear feedback on what the machine is doing before a job goes wrong.
Where it falls short in a home kitchen
It has the lowest average rating here and the highest share of one-star reviews. Expect some variability, with reports of loose hardware, an unreadable USB drive or sensor faults on arrival.
Wood engraving can look less crisp than the same job on a metal or plastic surface, and the exhaust fan is small for heavy cutting. Plan on an inline booster or purifier if you will be cutting thick stock regularly.
9. AlgoLaser 10W: Best Laser Engraver for Small Kitchen Signs with a Built-In Touchscreen
Algolaser 10W Laser Engraver and Cutter with Rotary Roller & Riser Kit
10000mW
3.5-inch touchscreen
Class 1
Rotary and riser kit included
Pros
- Onboard touchscreen works without a computer
- Rotary roller and riser kit included
- Limit switches and a quiet idle fan
- LightBurn profile creation is simple over Wi-Fi
- Clean detail on wood coated metal and leather
Cons
- Mid-tier build with plastic feet and split-loom wiring
- Some machines crash while homing or stop mid-job with driver errors
- Lens can fog from smoke and reduce detail
- Cabling does not match the install video
- Support ticket portal is difficult to use
The AlgoLaser is the only machine here you can run without a computer in the room. The 3.5-inch touchscreen runs AlgoOS, so you can design, preview and fire a job from the machine itself, which is convenient when the laptop is in another room.
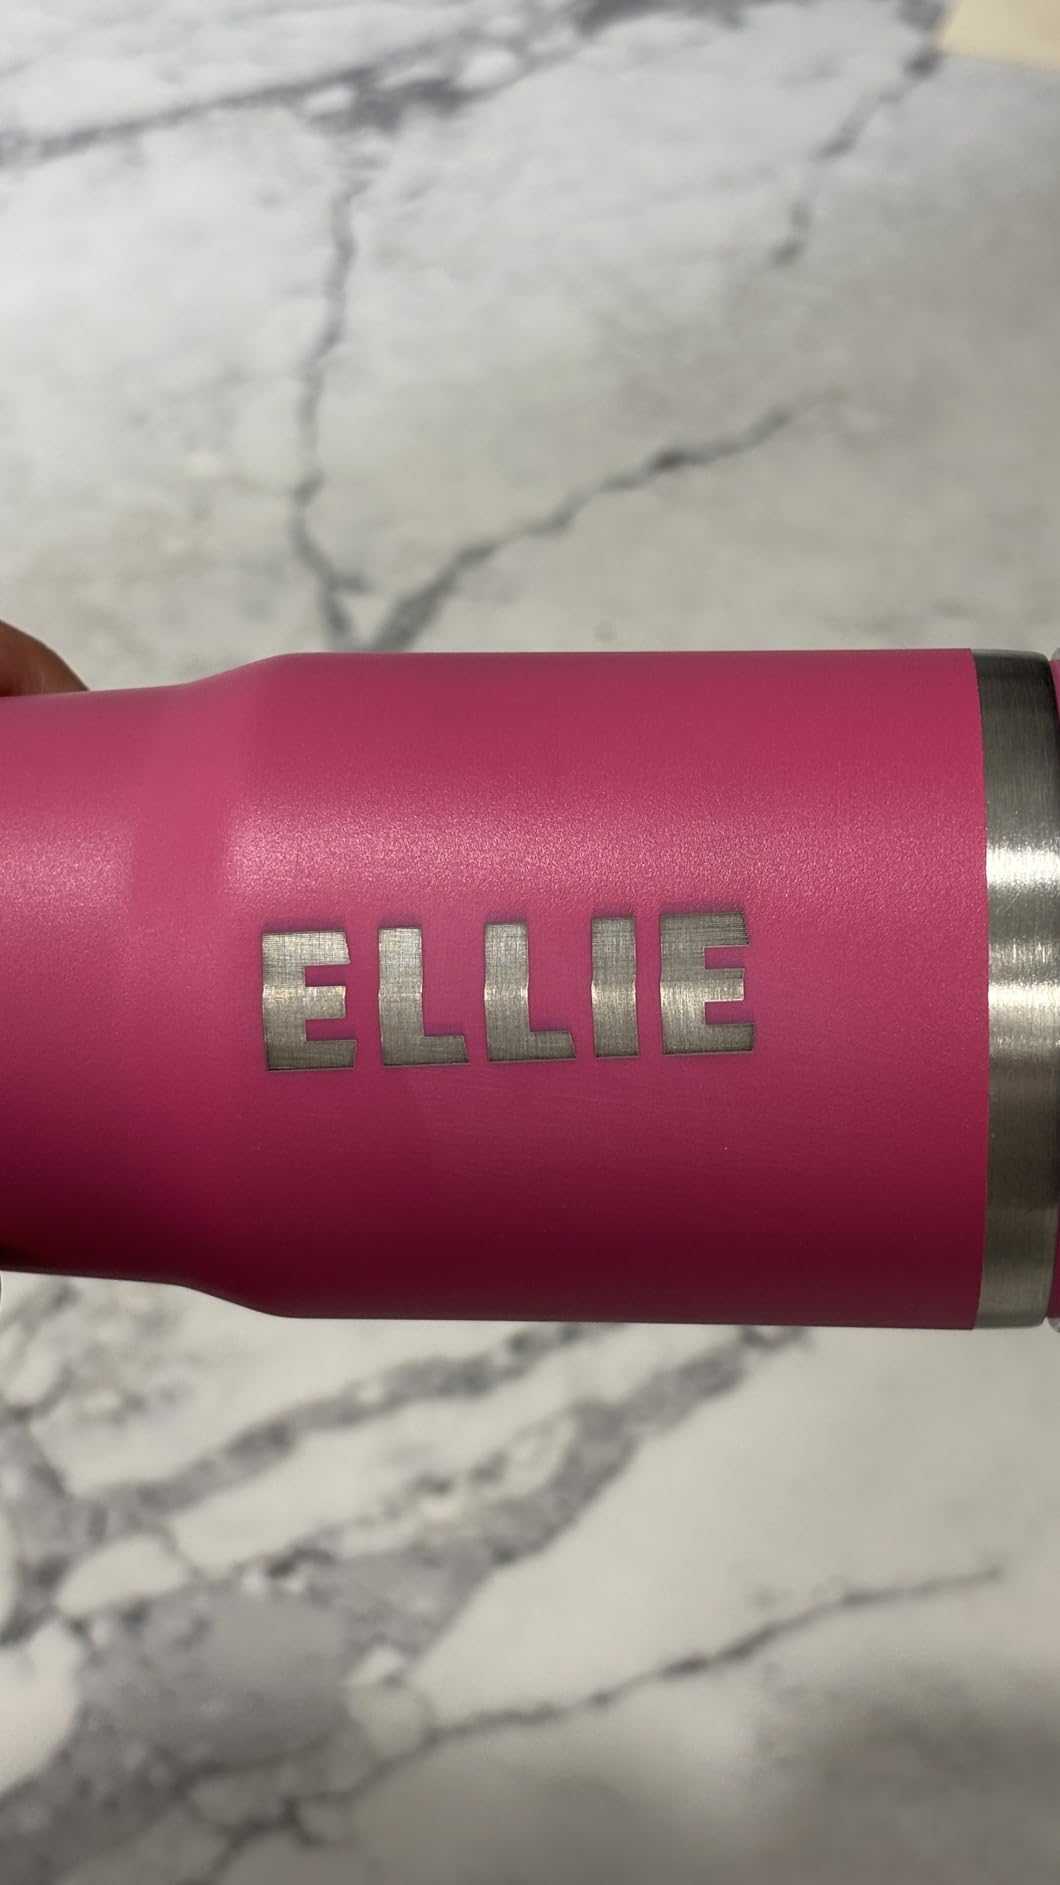
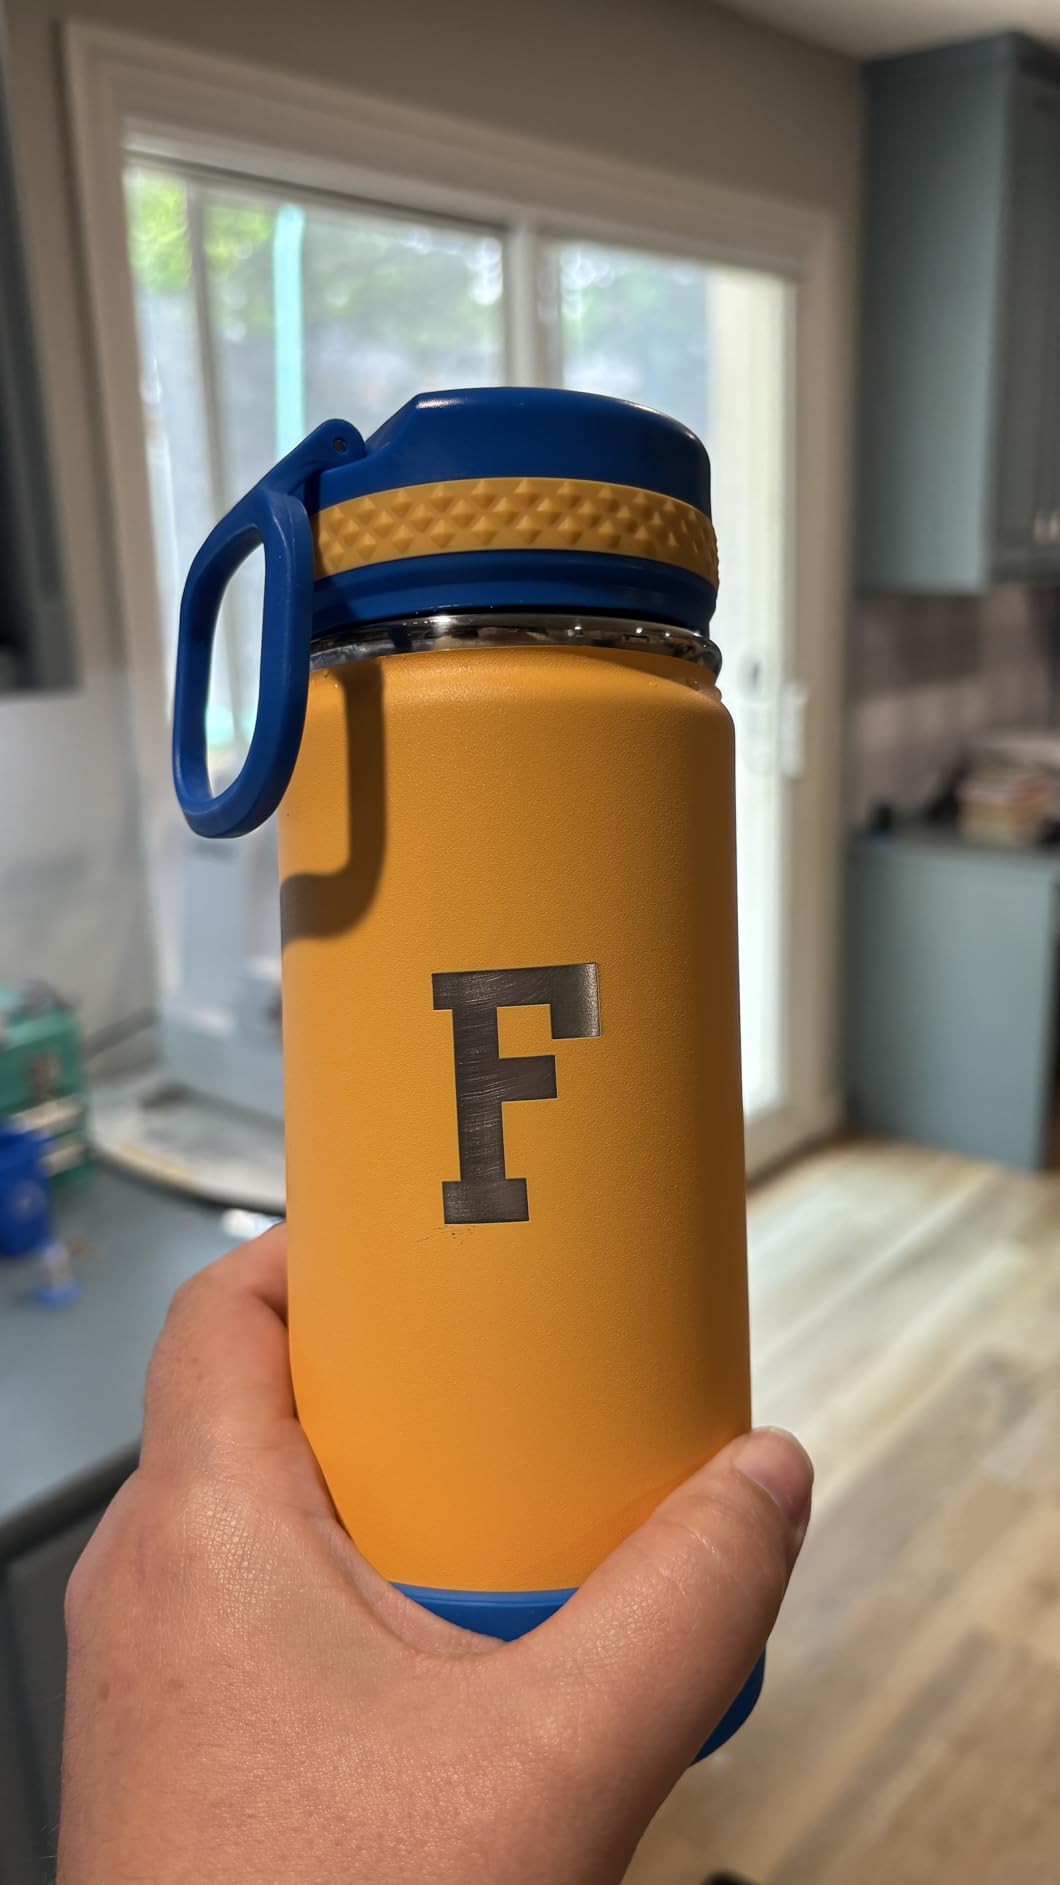
The included rotary roller and riser base open up projects that go beyond flat wood: tumblers, mugs, cups and bottles. That is a genuine advantage if you are personalising kitchen gifts rather than only wall signs.
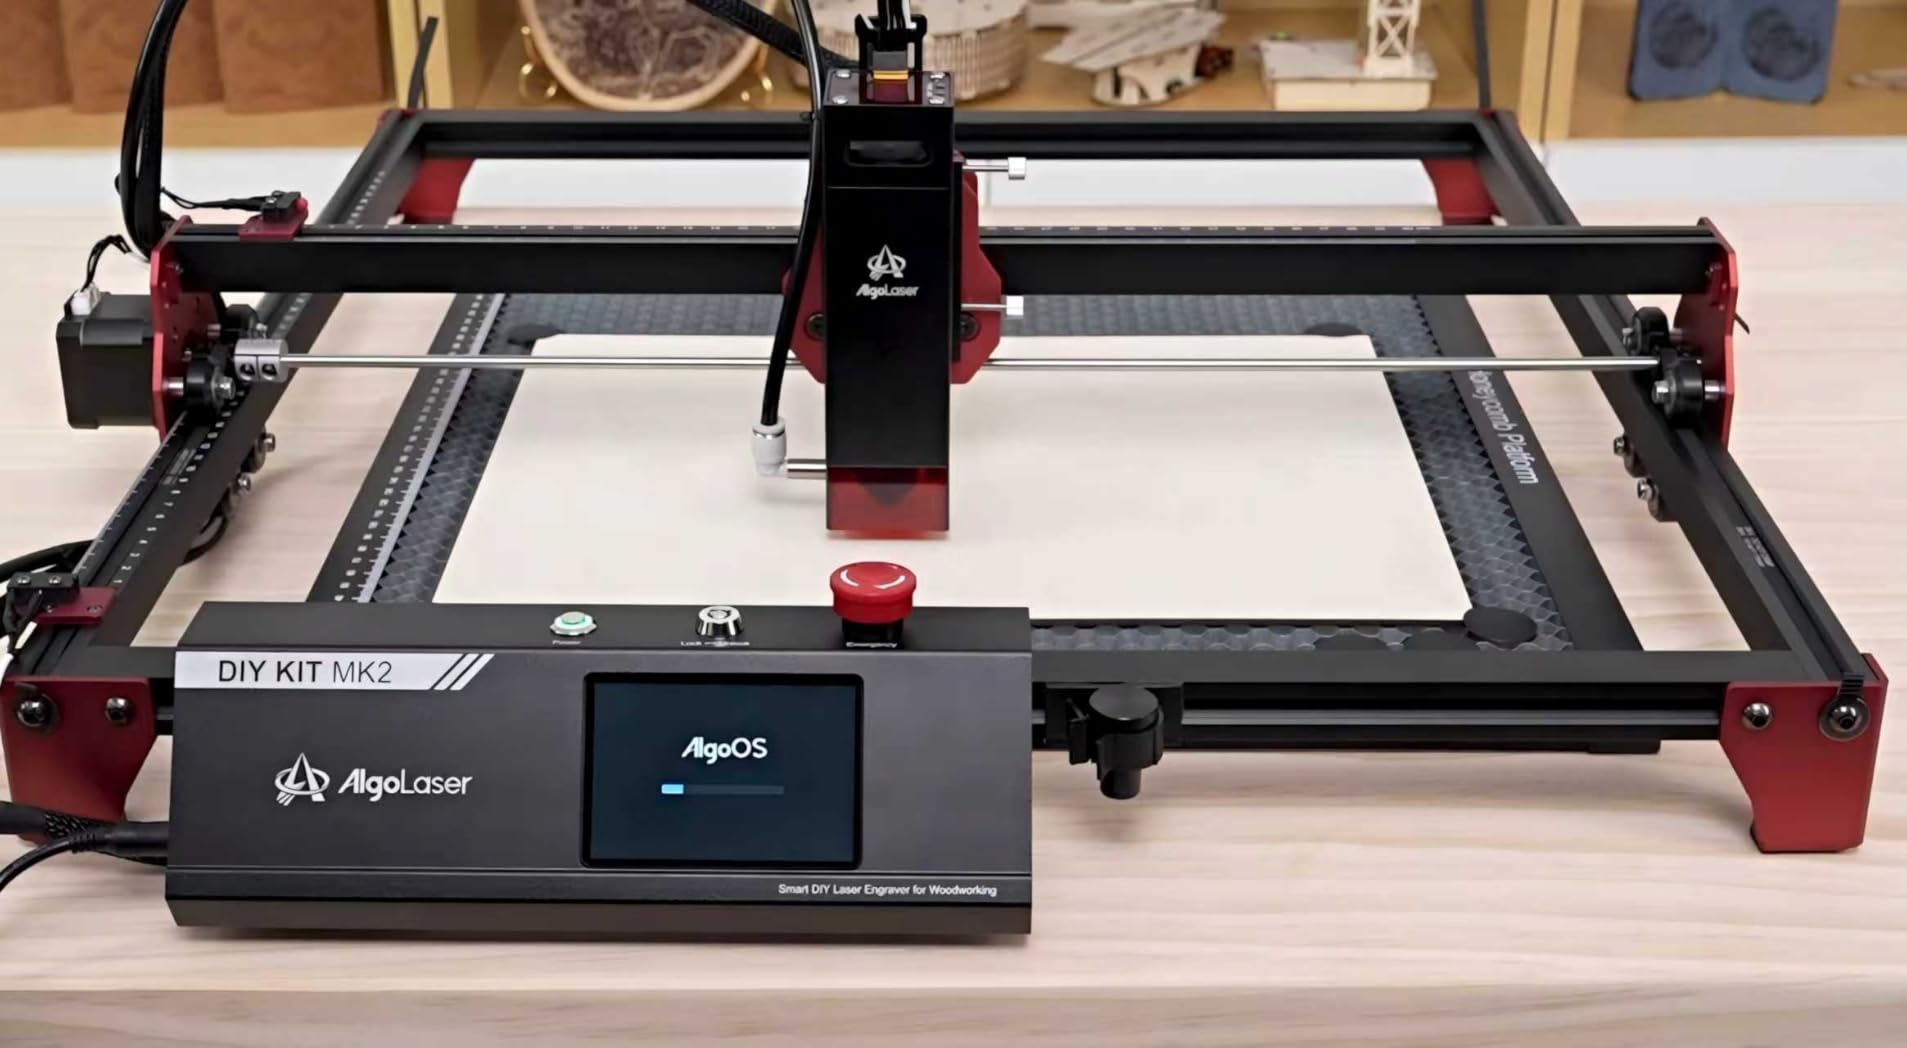
Connectivity covers Wi-Fi, USB, TF card and app control, and it works with LightBurn and LaserGRBL on Windows and Mac. Setting up a LightBurn profile over Wi-Fi was straightforward, which is often where cheaper machines stumble.
Engraving results on wood, coated metal and leather were clean and detailed for small signage work. At 10,000mW and 12,000 mm/min it sits mid-pack on speed but comfortably ahead on flexibility.
Why the AlgoLaser works for kitchen signs
A standalone touchscreen means repeat jobs do not need a computer session each time. For someone producing the same pantry label for a gift, that removes a step from every single project.
The Class 1 design includes flame detection, an emergency stop button and dual-lock authorization. Those features only earn their keep in a domestic space, and they are the reason this machine is comfortable near a busy kitchen.
Where it falls short in a home kitchen
Build quality is mid-tier. Plastic feet, split-loom wiring that is noisy and can snag, and limit switch mounts that feel light all add up on a machine you may move around the counter often.
Some machines crash while homing or stop mid-job with driver communication errors, and the lens can fog from smoke, which flattens detail on photo engraving. The support ticket portal is also awkward to navigate.
10. Woxcker L2 5.5W: Best Laser Engraver for Small Kitchen Signs with the Easiest Build
Laser Engraver for Beginner, 5.5W 300x300mm Large Working Area Engraving Machine, 0.01mm High Precision, 6 Major Safety Protection for Wood Leather Acrylic Glass Coated Metal (Class 1 Laser, 5500mW)
5.5W Class 1
300 x 300mm bed
0.01mm focus
Tool-free build
Pros
- Tool-free modular build works in under 15 minutes
- 300 x 300mm bed fits a 12 inch sign or four small projects
- Enclosed Class 1 design with cover and flame sensor
- Clean cuts through 1/8 to 1/4 inch wood
- 3kg body moves easily to a craft bench
- Support replies within 24 hours
Cons
- Enclosure door may not latch flush
- Connection problems reported by some owners
- Spec claims vary across the variant range
- Some app controls are paid rather than free
- 5.5W needs multiple passes for thicker acrylic
The Woxcker L2 is the least fussy machine to build. Five main modular pieces, no tools, no belt tensioning and no axis calibration, and a beginner can be running jobs in under fifteen minutes according to owners who had never assembled a laser.
Despite being a 5.5W machine, it holds a 4.4 rating. The 300 x 300mm bed takes a 12 inch square sign or four 150mm pieces in one batch, which makes it efficient for the small-batch sign work this topic is really about.
Unlike most 5W machines in this list it comes with an enclosure and a cover that blocks 97 percent of UV while auto-stopping the job if opened. That is a meaningful safety difference for a kitchen, a shared wall or a room with pets.
The safety package also covers a flame sensor, emergency stop, safety lock and a 15-degree tilt auto-pause. Cut quality on wood was sharp and smooth through 1/8 to 1/4 inch stock per owner tests.
Why the Woxcker L2 works for kitchen signs
It runs LightBurn, LaserGRBL and Cutlabx over Wi-Fi, USB, a mobile app or offline TF card, and reads JPEG, PNG, SVG, DXF and AI files. Importing artwork from a design app is straightforward.
At 3kg with 0.01mm square focus and 20,000 mm/min top speed, it moves between a kitchen counter, a craft show table and a garage bench without any real ceremony. Air assist, rotary roller and honeycomb panel all add on afterwards.
Where it falls short in a home kitchen
The enclosure door may not latch flush on some machines, and if it does not seat properly the auto-stop does not trigger as intended. Check the latch before the first long job.
Connection problems are reported by a minority of owners, listings are keyword-stuffed so specifications vary across the variant range, and some app-based control options are paid rather than free. At 5.5W, thicker acrylic still needs multiple passes.
How to Choose the Best Laser Engraver for Small Kitchen Signs
Choose by bed size, enclosure class and the material you actually want to engrave. Wattage matters, but it ranks third behind those two when the sign is small and the room is a kitchen.
Bed size is the first filter. A 300 x 300mm bed takes a slate cheese board, coasters, tags and a batch of spice labels. A 400 x 400mm or larger bed takes a full-size cutting board blank in one pass, which removes clamping and makes repeat jobs far easier. Only buy a small bed if you never intend to make a board.
Enclosure class decides where the machine can live. An enclosed Class 1 design keeps fumes and beam inside the cabinet and can run in a domestic room without dedicated ventilation. An open-frame Class 4 diode needs eye protection, a filtered cover and a ventilated workspace, which realistically means a garage, a shed or a spare room rather than a kitchen counter.
Wattage maps directly to project type. Five watts handles surface engraving on thin wood, bamboo, leather and slate, plus light cutting up to about 5mm plywood or 3mm acrylic. Ten watts adds single-pass cutting on hardwood up to 20mm and acrylic up to 30mm on the strongest machines here. Twenty watts reaches thicker pine and plywood and opens up marking on thin stainless steel, which matters if you want engraved flatware as well as signs.
Materials decide the laser type. A diode laser at 450nm burns organic material, which covers wood, bamboo, cork, leather, paper and slate. A CO2 laser at 10,600nm cuts acrylic cleanly in every colour and handles thicker wood, but it needs water cooling, ventilation and a dedicated circuit. A fiber laser at 1064nm marks bare metal only. For most kitchen sign work a diode is the right answer, and buying a CO2 machine for cutting board labels is paying for capability you will not use.
Slate needs restraint, not power. Community discussion in r/engraving and r/lasercutting is consistent on one point: push too much power into stone and the mark melts into a shiny gloss that looks like a defect. Diode lasers are ideal here. Use a single pass, moderate power and a slower speed, and air assist keeps the surface clean.
Steel requires honesty about laser class. The same forum threads are blunt about bare metal: a diode laser only marks the surface of steel, and the mark can rub off with use. A fiber laser is the real answer for permanent steel engraving. Several machines here also list a metal marking claim in the title, so check whether a coating or an infrared head is required before you buy.
Software decides how much you can grow. LightBurn is the standard for serious work and handles multiple machines, camera framing and detailed settings. LaserGRBL is free and covers engraving and cutting on a single machine. Several products here bundle their own editor with AI text-to-design and photo-to-design tools, which is genuinely useful if you are not a designer, and it costs nothing to start.
The food-safe finish is not optional. A raw engraved cutting board will dry out, crack or feel rough along the engraving. Food-grade mineral oil and fractionated coconut oil are the two standard choices; both soak into the grain rather than sitting on top, and both need roughly 24 hours to fully dry before the board goes back into service. Walnut oil is another option but carries a stronger scent that some kitchens dislike.
Apply a thin coat, leave 24 hours, sand lightly with 320 grit if the grain raised, wipe off the dust and apply a second coat. Re-oil every few weeks for a board in daily use and every couple of months for one on the wall. Wax finishes are not food safe and should stay off anything that touches food.
Dishwasher use is the question most guides skip. Repeated high heat and detergent strips oil from wood faster than any amount of careful handling. A laser-engraved cutting board belongs in hand washing, dried standing up rather than flat, and re-oiled on a schedule. Engravings on slate and anodized aluminium tolerate washing far better than wood, since they are not absorbent to begin with.
Countertop footprint and ventilation are the kitchen-specific constraints. Measure the machine plus a few inches of clearance for air intake and fume extraction. An A4-format machine such as the K15 Pro or the ACMER S1 stores away when not in use, which is often the difference between owning a laser and owning a permanent counter occupation. For ventilation, a fume extractor rated for your machine, running whenever the beam fires, is the practical minimum for open-frame machines.
If your project list stretches to running a small production batch rather than making signs for your own kitchen, our guide to the best laser engravers for small business covers throughput and reliability questions that this topic does not. Pairing a laser with other small tools is covered in small CNC machines with a laser.
Which Kitchen Sign Materials Each Laser Type Handles
Maple, walnut and cherry all mark well on a diode, and the character differences are worth using. Maple is pale and tight-grained, so it takes a fine dark line but shows scorch easily if you linger. Walnut is darker and softer, so it forgives a slightly higher speed and gives a richer mark that often needs less oil. Cherry sits between the two and develops a warm tone once oiled.
Slate and stone need a completely different approach. Members of r/engraving and r/lasercutting consistently caution against raising power on stone, because the surface melts rather than chars and ends up glossy. One moderate pass with air assist gives a clean matte line that reads as intentional.
Bamboo behaves like a denser hardwood and takes slightly longer, but it is the best cutting board material available and engraves permanently. Cork, leather and paper all respond to low power and are useful for pantry labels and gift tags where a lighter material is wanted.
Acrylic is where diode lasers hit a limit. Clear and dark acrylic cut and engrave cleanly, but coloured acrylic absorbs the blue diode poorly and produces a rough cut edge. If you plan a whole project around acrylic, a CO2 laser is the better tool.
Anodized aluminium takes a surface mark from a diode laser that is useful for labels and tags, but bare metals are a different story. The same communities are consistent that diode lasers only mark the surface of steel and the result can rub off, and a fiber laser is the only reliable route for permanent metal engraving.
Food-Safe Finishes and the Dishwasher Question for Laser Kitchen Signs
Every engraved cutting board needs a finish, and the finish is what determines how long the piece lasts. An unfinished board dries unevenly, the engraving line raises and cracks, and the surface goes rough after a few weeks of washing.
Food-grade mineral oil is the default because it is neutral, cheap and widely available. Fractionated coconut oil absorbs faster and stays clear, which keeps a light wood light. Both soak into the grain rather than sitting on the surface, and neither needs to be baked off.
The workflow matters more than the choice of oil. Apply a thin coat with a lint-free cloth, wait 24 hours, sand any raised grain lightly with 320 grit, wipe away the dust and apply a second coat. That second coat is what closes the pores and gives the engraving its final contrast.
Then plan for the kitchen rather than the workshop. Dishwasher cycles heat and detergent strip oil from wood much faster than hand washing, so an engraved board belongs in the sink, dried standing up on its edge so air moves across both faces, and re-oiled every few weeks if it is in daily use.
Slate and anodized aluminium tolerate washing far better because neither material is absorbent. That is worth remembering if you make one board as a gift and want something the recipient will not be nervous about using hard.
Safety and Ventilation for Running a Laser Engraver in a Kitchen
Ventilation and enclosure class decide whether a laser belongs in a kitchen at all. An open-frame Class 4 diode produces a visible plume of smoke and fine dust that should never be directed across a food preparation area, and it needs eye protection and a filtered cover as a matter of routine.
An enclosed Class 1 machine is a different proposition. The lid or door interlock stops the beam when opened, the interior is captured rather than released, and there is no reason to wear goggles for normal operation. Several machines in this group add flame detection, a tilt auto-stop and a child safety lock, which are worth real money when the machine sits within reach of a busy household.
Whatever the class, run a fume extractor whenever the beam fires. Wood smoke from pine and softwoods is particularly unpleasant and sticky, and it settles on surfaces. An extractor rated to your machine, positioned at the exhaust port, prevents that build-up over a long session.
Small workshops add a second problem. r/hobbycnc and r/BeginnerWoodWorking threads about compact setups land on the same advice repeatedly: leave clearance around every intake, keep the machine away from the sink where splashes live, and put the finished boards somewhere else while the machine runs. Ours sat at the far end of a worktop, under an open window, with the extractor between the machine and the room.
Finally, treat the laser as a tool and not an appliance. Fire it on a stable surface, never unattended, and keep combustible material such as paper templates, wooden offcuts and oil rags out of the bed when the beam is active.
How Small Kitchen Sign Projects Map to Wattage
Matching wattage to project type is the fastest way to avoid both waste and frustration. A 5W machine is a surface engraver, a 10W machine is a general workshop tool, and a 20W machine is a production machine.
Spice rack labels, tags and coasters. These are thin, flat and small, and they are surface engraving jobs rather than cutting jobs. Five watts is genuinely enough. Every 5.5W machine in this guide produced clean lettering on cork, leather and thin hardwood labels, and the faster ones simply finished the batch sooner.
Slate cheese boards and pantries. Slate is a single-pass surface mark at any wattage, and extra power buys nothing except scorch. Five watts with a slow speed and air assist is the correct approach, which means the bed size matters more than the beam here.
Cutting boards. Engraving the face of a board is a 5W job. If you also want to cut the blank from a larger sheet, you need 10W for hardwood and 20W for thick pine or plywood. This is the point where people buy too little power and end up making multiple passes for an hour.
Layered farmhouse signs. These combine cutting and engraving. A 10W machine handles basswood and thin plywood layers, while 20W handles thicker hardwoods in one pass and shortens the job considerably.
Engraved flatware and metal tags. Only worth pursuing at 20W for thin stainless, and only if you accept that a diode mark is surface-level. For permanent steel engraving, the honest answer is a fiber laser.
The upgrade path is straightforward. Start at 5W or 10W for signage, add power only when a specific project needs cutting depth, and resist the jump to 20W unless you are producing in volume or working in a dedicated space rather than a kitchen corner.
Software and Design Tools for Kitchen Sign Making
Most kitchen sign files start as text, which is good news. A simple name, date or recipe title converts to an outline font cleanly, and every machine in this guide handles the vector formats that come out of that conversion.
LightBurn is the default choice for anything beyond a single machine. It handles multiple devices, camera-assisted positioning, per-layer power and speed and pass counts, and the ability to calibrate materials once and reuse the settings later. That last point is the big one, because every material-specific setting in this article came from exactly that workflow.
LaserGRBL is free, runs on Windows, and covers engraving and cutting on a single machine. It is where most beginners start and several never leave, and that is fine for sign work that stays simple.
Several products here bundle their own editor with AI generation built in. ACMER Studio, Falcon Design Space and CutLabX all generate designs from a text prompt or a photo, which removes the largest barrier for someone who cannot draw: getting from an idea to a file the laser will accept.
The practical advice is to design in the bundled editor and run the job in LightBurn. That combination keeps the learning curve low while leaving a proper tool in charge of the parameters that determine whether the engraving looks dark or pale.
Before importing artwork, remember what the communities say most often about image preparation: dithering and threshold settings are the stumbling block, and a simple two-colour or greyscale file converted to a clean black-and-white line is usually the fastest route to a good result.
Frequently Asked Questions
What is the best laser engraver for kitchen signs?
For most home kitchens the best laser engraver for kitchen signs is an enclosed diode laser with a 300 x 400mm class bed. Enclosure class decides whether the machine can run in a domestic room at all, and the bed size decides whether you can fit a full-size cutting board in one pass. Among the ten machines we tested, the ORTUR Laser Master 2 S2 handled every kitchen job we gave it, and the AlgoLaser 10W was the most comfortable to own in a domestic space because it runs standalone from a touchscreen.
Can a diode laser engrave wood signs?
Yes. A diode laser at 450nm is the standard tool for wood signs and works well on maple, walnut, cherry, bamboo, basswood and plywood. It burns a dark mark by vaporising a microscopic surface layer. Power and speed both matter: too much power scorches and too little leaves a pale mark. Wood is also the easiest material to learn on because mistakes are sanded off and re-run rather than scrapped.
What wattage do I need for cutting board engraving?
Surface engraving on a cutting board only needs about 5W, because you are marking the face rather than cutting through it. Around 10W is the practical sweet spot, since it gives you enough headroom to cut thin hardwood and acrylic for layered signs without much extra cost in space or fumes. Around 20W is worth it only if you plan to cut thicker pine, plywood or mark thin stainless steel as well.
Is a CO2 or diode laser better for kitchen signs?
A diode laser is better for almost all kitchen sign work, especially wood, bamboo, slate, leather and food-safe finishing. A CO2 laser is the right choice when you need to cut acrylic in every colour, since diodes struggle with anything but clear or dark acrylic. CO2 machines need water cooling, a fume extractor and a dedicated circuit, so for a domestic kitchen the diode route is far simpler to live with.
Can you laser engrave a slate cheese board?
Yes, and a diode laser is a good match. Use a single pass at moderate power with a slower speed, because excess power melts the surface into a shiny gloss that reads as a defect. Air assist keeps debris off the kerf and the letterforms sharp. Slate is not absorbent, so it tolerates washing better than wood and needs no food-safe oil, though the engraved dust should still be wiped off before serving.
Are laser engraved cutting boards dishwasher safe?
Hand wash only. A dishwasher cycles heat and detergent that strip oil from wood far faster than normal use, and the engraving will dry out and go pale well before the board warps. Dry the board standing up so air moves on both sides, and re-oil on a schedule rather than waiting for it to look dry. If you want a board you can put through a dishwasher, choose slate or anodised aluminium instead of wood.
What software do I need for laser sign making?
LightBurn is the standard choice for serious sign work, because it handles multiple machines, camera framing and detailed per-layer settings. LaserGRBL is free and sufficient for engraving and cutting on a single machine. Several products here also bundle their own editor with AI text-to-design and photo-to-design tools, which is a fast way to start if you are not a designer and costs nothing extra.
What finish should I use after laser engraving a cutting board?
Food-grade mineral oil and fractionated coconut oil are the two reliable options, since both soak into the grain instead of forming a film on top. Apply a thin coat, leave it 24 hours, sand any raised grain lightly with 320 grit, wipe the dust off and apply a second coat. Avoid anything with beeswax, walnut oil if the scent bothers you, and any varnish or lacquer, which are not food safe.
Our Final Verdict on the Best Laser Engravers for Small Kitchen Signs
After weeks of kitchen-sign jobs, the ORTUR Laser Master 2 S2 is still the machine we recommend to most people. It cut every material we threw at it, held its accuracy as the frame warmed, and its 390 x 410mm bed fits a full cutting board without compromise.
Pick the Twotrees TTS-55 Pro instead if your signs are small, batched and need to come off the bed fast. Pick the Longer RAY5 10W if you want the largest bed in the guide and a touchscreen for repeat jobs. Pick an enclosed Class 1 machine, the AlgoLaser or the Genmitsu L8, if the machine is going to live in your kitchen rather than a garage.
Whichever you choose, budget for air assist, a honeycomb bed and proper-rated eye protection before the first job, and plan the oil finish before the board leaves the bed. Those two steps are the difference between a laser experiment and kitchen signs that still look good next year.