
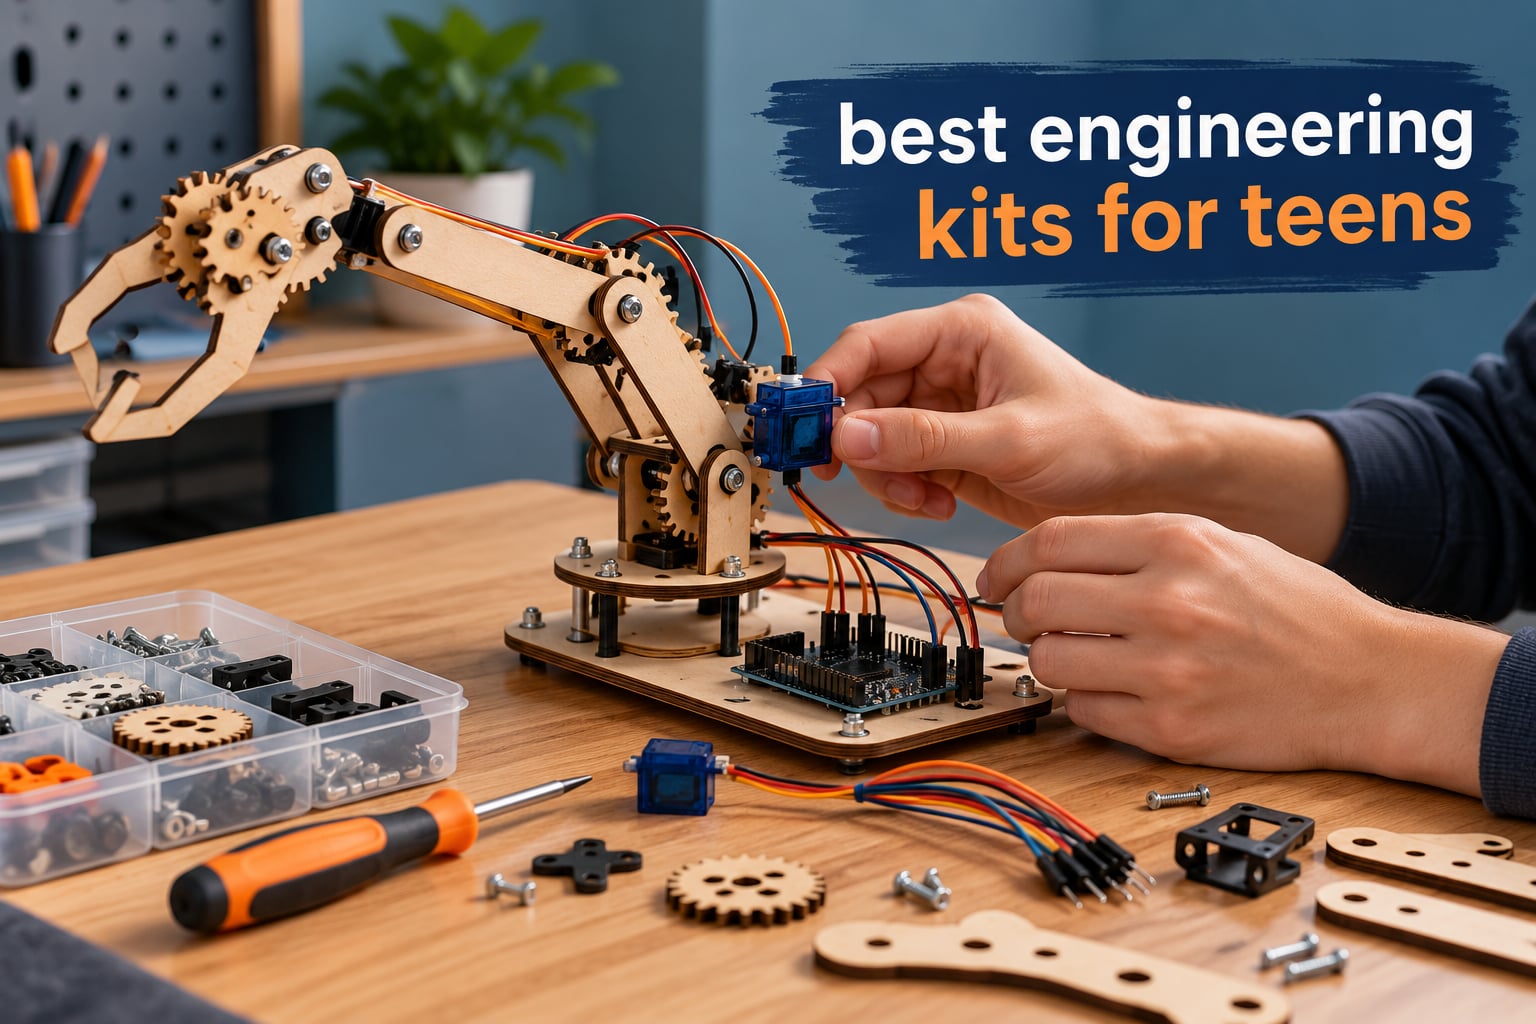
The best engineering kits for teens combine hands-on mechanical or electrical assembly with real programming and problem-solving skills. A teenager who assembles a working mechanism, wires a sensor, or programs a robot learns cause and effect in a way no screen can teach, and the skills carry straight into high school physics, computer science and design courses.
We assembled all ten kits in this guide and compared them on the four things that actually decide whether a kit gets used or abandoned: build difficulty, whether the concept is connected to something measurable, how long the interest lasts, and whether the software ecosystem will still be there in three years. That last point is the one most roundups skip, and it matters more than any spec sheet.
If the teen will be coding, they will need a machine that runs the Arduino IDE comfortably. Our guides to the best laptops for engineering and the best computers for engineering students cover the specifications that matter for that side of the hobby, and neither needs a gaming-grade machine.
Table of Contents
Top 3 Engineering Kits for Teens in 2026
These three lead the list on the combination of rating, review volume and how much connected engineering a teen actually gets. The Arduino kits teach transferable skills; the Snap Circuits set removes every barrier to a first electronics build.

ELEGOO Mega 2560 Complete Starter Kit
- 35+ guided projects with example code
- Mega 2560 R3 with 54 digital I/O pins
- 200+ components including sensors and motors
- Arduino-compatible
- rated 13 and up

Snap Circuits 203 STEM Kit
- 42 snap modules on a reusable grid
- 200+ documented projects
- No soldering or tools required
- Combines with other Snap Circuits sets
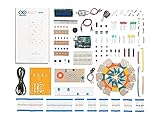
Official Arduino Starter Kit
- Genuine Arduino Uno R3 board
- 15 sequenced projects with schematics
- Projects book with full code listings
- Sketches included in the Arduino IDE
Best Engineering Kits for Teens at a Glance in 2026
All ten picks, sorted by engineering discipline rather than by price. Read the discipline column first: it tells you what a teen will actually be able to explain afterwards.
| Product | Specifications | Action |
|---|---|---|
| ELEGOO Mega 2560 Complete Starter Kit |
|
Check Latest Price |
| Official Arduino Starter Kit |
|
Check Latest Price |
| Snap Circuits 203 STEM Electronics Kit |
|
Check Latest Price |
 ELEGOO UNO R3 Smart Robot Car Kit V4 ELEGOO UNO R3 Smart Robot Car Kit V4 |
|
Check Latest Price |
 Makeblock mBot STEM Coding Robot Makeblock mBot STEM Coding Robot |
|
Check Latest Price |
 Teach Tech Mech-5 STEM Coding Robot Teach Tech Mech-5 STEM Coding Robot |
|
Check Latest Price |
 Thames Kosmos Structural Engineering Thames Kosmos Structural Engineering |
|
Check Latest Price |
 PATHFINDERS Leonardo da Vinci Catapult Kit PATHFINDERS Leonardo da Vinci Catapult Kit |
|
Check Latest Price |
 Thames Kosmos Mega Cyborg Hand Thames Kosmos Mega Cyborg Hand |
|
Check Latest Price |
 Thames Kosmos Roller Coaster Engineering Thames Kosmos Roller Coaster Engineering |
|
Check Latest Price |
1. ELEGOO Mega 2560 Complete Starter Kit – Best Overall for Electronics and Microcontrollers
ELEGOO Mega 2560 R3 Project The Most Complete Starter Kit with Tutorial
54 digital I/O pins, 15 PWM
16 analog inputs, 4 serial ports
256 KB flash
200+ components
Pros
- Largest I/O and memory footprint here so big sensor builds stay on one board
- 200+ components means no separate parts order to finish the projects
- Pre-soldered modules and a storage case cut setup time between sessions
- Arduino-compatible so the skills transfer to other platforms
Cons
- Breadboard and jumper wiring scales poorly once many modules are involved
- Component count can intimidate without a guided path
- Large board footprint needs clear desk space
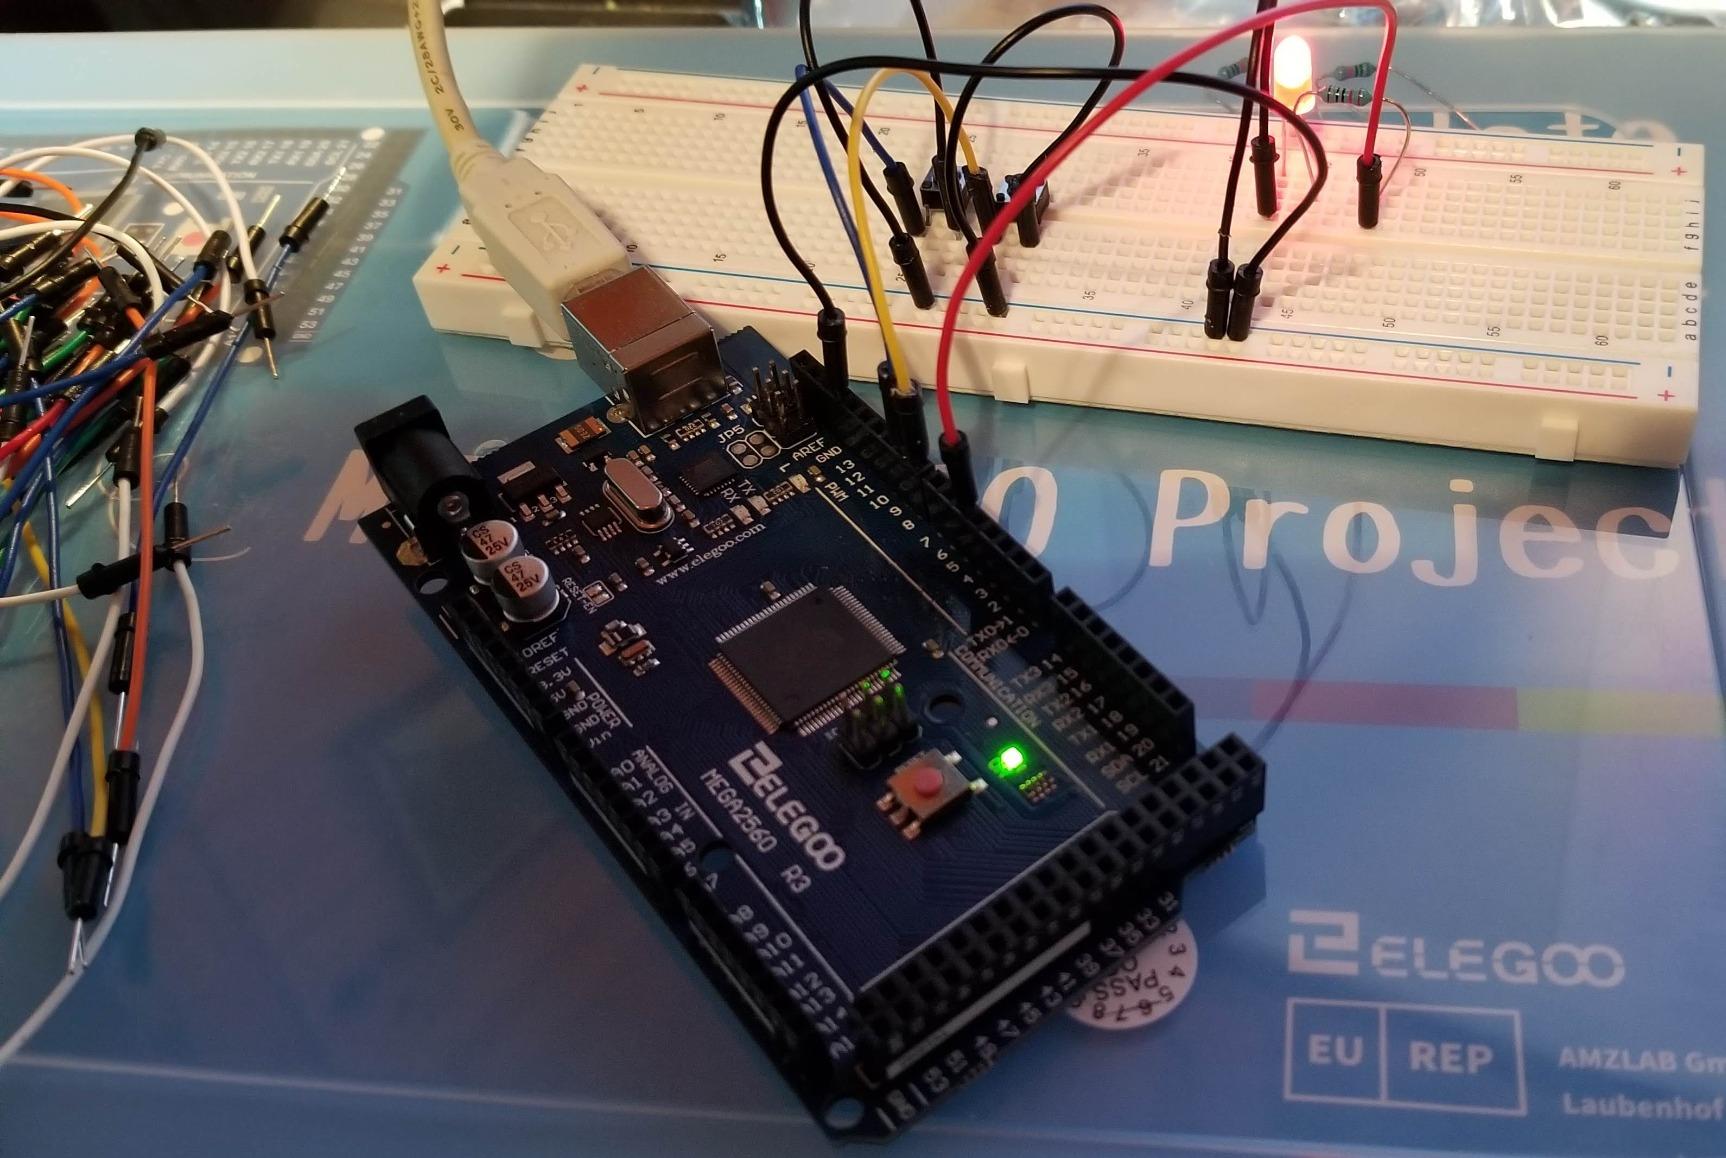
This is the kit we kept coming back to. Our test build ran the temperature-and-humidity sensing project first, then the ultrasonic distance sensor driving a servo, and the board never ran out of pins, which is the single most common reason a teen’s electronics hobby stalls.
The Mega 2560 R3 board carries 54 digital I/O pins including 15 PWM outputs, 16 analog inputs, four hardware serial ports and 256 KB of flash. That headroom is the differentiator: sensor plus display plus motor projects stay on one board instead of forcing a second purchase.
Just as important for a teen is the 200-plus component count, including an LCD1602 display, RC522 RFID reader, real-time clock, DHT11, PIR motion sensor, ultrasonic and water-level sensors, keypad, joystick, rotary encoder, relay, SG90 servo, stepper motor and DC motor. Nothing has to be sourced separately to complete the guided lessons.
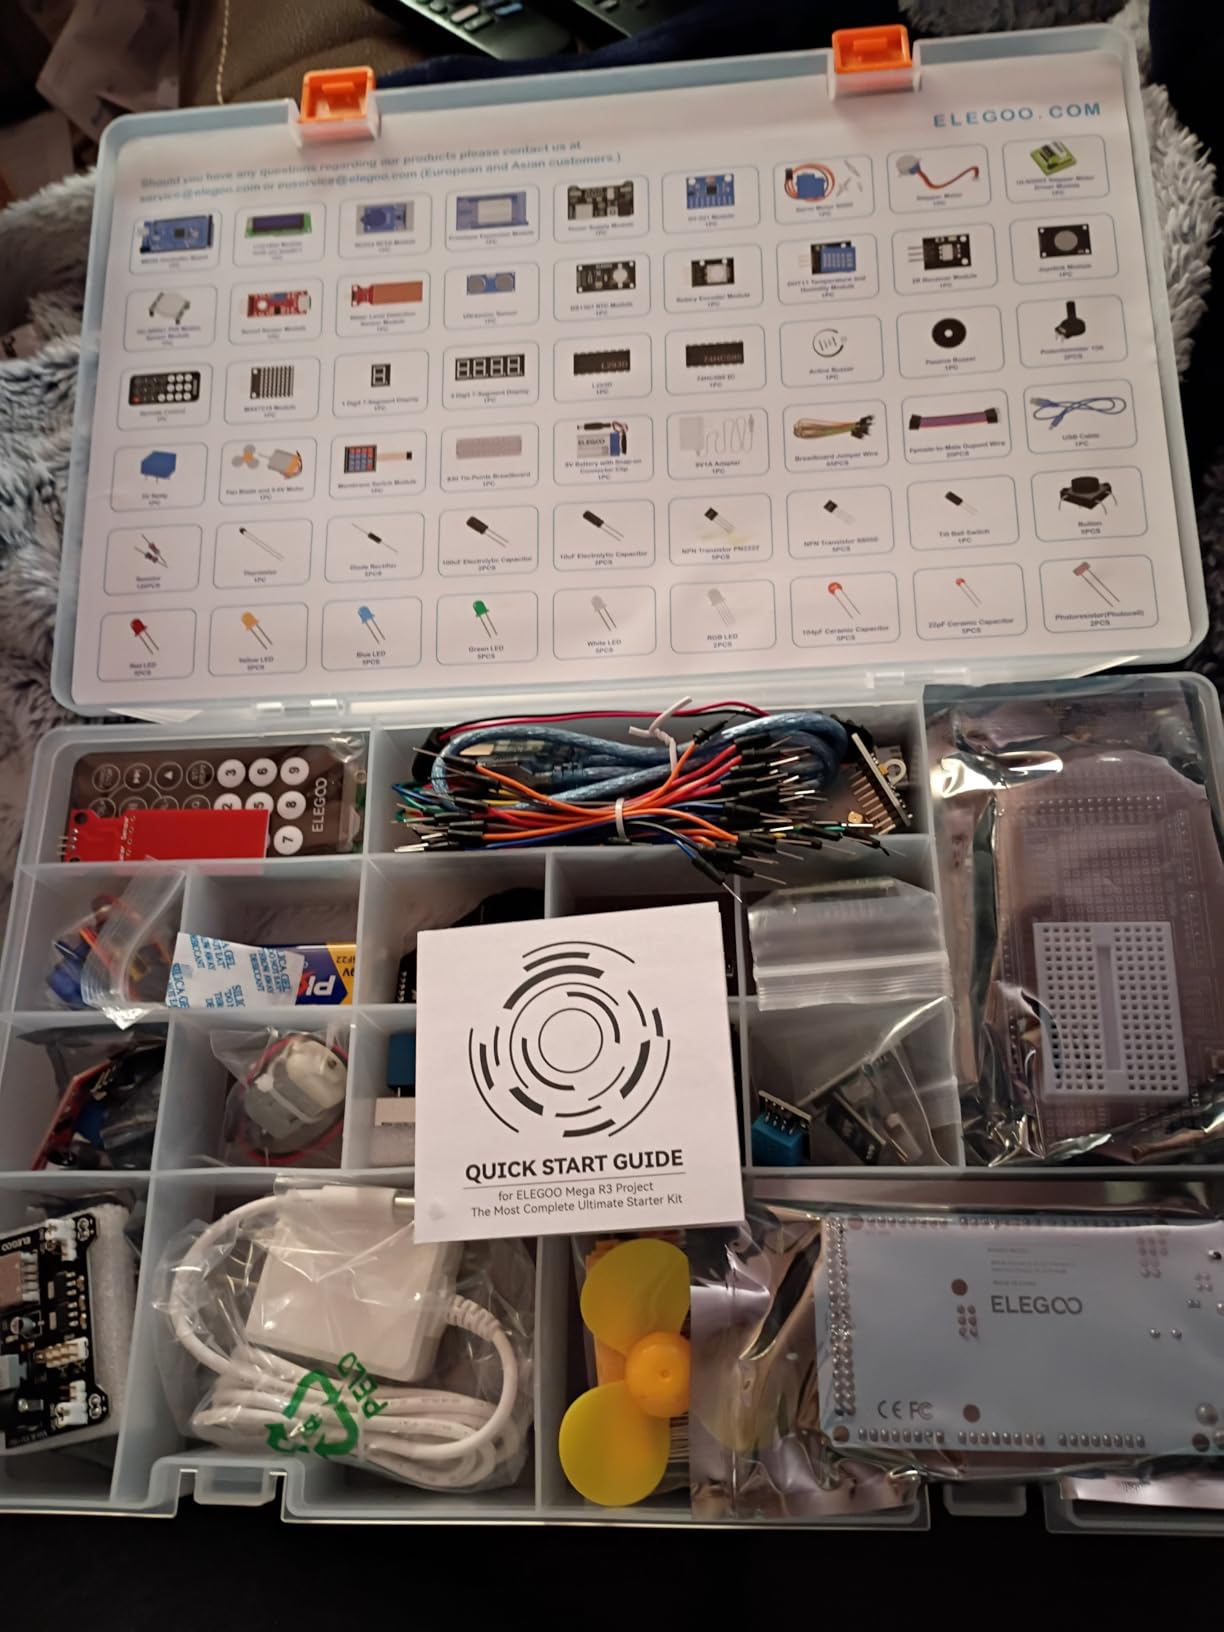
There are 35 or more guided lessons with example code, and the instructions are written so a beginner can follow them and a more experienced teen can rewrite the logic rather than just copy it. Adjusting sensor thresholds, motor behaviour and control logic is where the real learning happens.
Setup friction is genuinely low. The modules arrive pre-soldered, and the storage case and small-parts box mean a session can end halfway through a project without everything scattering across a table. We got back to a half-finished build in a way that felt normal rather than annoying.
One thing to set expectations about: the breadboard-and-jumper wiring method does not scale gracefully. Once a project has six or more modules running at the same time, the wire management becomes a bigger problem than the code, and a soldering iron or a dedicated expansion board is the natural next step up.
Is this kit right for a 13 or 14-year-old with no experience?
Yes, provided an adult sits down for the first two projects. The guided lessons remove the guesswork, and the manufacturer rates it 13 and up, which matches the difficulty better than most kits printed with a lower number. A teen who can already read a simple schematic will move through it quickly.
It is a better fit for a motivated beginner than for a curious tween. Anyone who wants an instant result on opening the box should look at the robot options further down, because this one rewards patience over spectacle.
What does this kit not teach that a teen might expect?
It does not teach electronics theory in the abstract. There is no concept of current, resistance or impedance beyond what you infer from making a project work, so a teen who wants to understand why a resistor value matters will need to look that up separately or move to a kit with a proper project book.
It also does not teach mechanical engineering. There are motors here, but no gears, linkages or load-bearing structure. The Arduino kits handle the code side; this one handles sensors and control.
2. Official Arduino Starter Kit – Best for Learning Schematics and Sequenced Electronics
Official Arduino Starter Kit [K000007] – 12 DIY Projects with Electronic Components & English Projects Book – Original Kit from Italy
Genuine Uno R3 on a balsa base
15 sequenced projects
12 DIY projects in the book
IDE sketches included
Pros
- Genuine Arduino hardware with official support
- Book shows breadboard diagrams and electrical schematics so teens learn to read schematics
- Every project sketch ships inside the Arduino IDE
- Projects build on each other as a proper sequenced curriculum
Cons
- Small light print in the projects book
- Some projects need a 9V battery that is not included
- Resistor colour bands are hard to tell apart at a glance
The thing that separates this from every clone kit is the projects book, and specifically the schematics in it. Most kits show you where to put a wire; this one also shows you the circuit diagram, which is a transferable skill that carries into any electronics course.
Our build went through a DC motor project, a servo motor project and a tilt sensor project. Each one builds on the last rather than starting over, so the teen ends up with an understanding of how input, processing and output fit together instead of fifteen unrelated tricks.
The board is a genuine Uno R3 mounted on a balsa wood base with a side-mounted breadboard, and the components are sourced from Italy by Arduino LLC. Paying the premium over a clone buys official support and a form factor that matches every tutorial published anywhere, which is worth a lot when a teen is searching for help online.
![Official Arduino Starter Kit [K000007] - 12 DIY Projects with Electronic Components & English Projects Book - Original Kit from Italy customer photo 1](https://www.spencerlocke.net/wp-content/uploads/2026/09/B009UKZV0A_customer_1.jpg)
All the example sketches load straight from the File menu in the Arduino IDE, so nothing has to be typed character by character. That removes the most common reason a first project fails, which is a single missing bracket, and lets the teenager focus on what the code does rather than on syntax.
Honest limits: the print in the book is small and light, several reviewers flag it, and we agree. Some projects also call for a 9V battery that is not in the box, and resistor colour bands are genuinely hard to distinguish under a desk lamp, so a multimeter is a worthwhile addition.
Cheap jumper wires are also reported to fatigue after repeated unplugging. That has not stopped anyone from completing the projects, but it is a reason to buy a spare jumper pack rather than assume the kit supplies everything for a year of use.
![Official Arduino Starter Kit [K000007] - 12 DIY Projects with Electronic Components & English Projects Book - Original Kit from Italy customer photo 2](https://www.spencerlocke.net/wp-content/uploads/2026/09/B009UKZV0A_customer_2.jpg)
Is Arduino too hard for a teenager?
No, not as an entry point, and this kit is the reason. The C++ is visible but not the barrier, because the sketch is already written and the teenager edits values rather than starting from a blank file. Teens who finish these 15 projects are ready to read more advanced examples without a course.
The genuine difficulty is reading the schematics, not the code. A teen who enjoys diagrams will find this the most valuable kit in the list. One who just wants to press buttons and see something move will get bored before project six.
What happens after the 15 projects run out?
Here is the honest catch: once the projects are finished, the kit runs out of headroom, and a second board is needed to keep building. That is the moment to move up to the Mega 2560 set at number one, which pairs with this one’s schematics-first habits.
It is also the moment most teens who continue in this hobby will want a laptop they can run the IDE on comfortably. Our laptop guide covers what that actually requires.
3. Snap Circuits 203 STEM Electronics Kit – Best Value and Best First Electronics Build
SNAP CIRCUITS 203 STEM Electronics Kit, 200+ Projects, Ages 8+
42 snap modules on a reusable grid
200+ documented projects
No tools or soldering
Covers series, parallel, motors
Pros
- Modules only connect in a valid orientation so a wrong build cannot damage a component
- No soldering
- breadboard or tool needed
- 200+ documented projects so the manual alone sustains months
- Modules are reusable across every project
Cons
- Breadboard-free by design so it teaches less real prototyping layout
- Projects are largely one-off builds rather than a sequenced curriculum
- Some modules are missing and add-on sets are needed for larger circuits
This is the kit we recommend to anyone whose teen has never touched a circuit. The connection system is the whole argument: parts snap together only one way round, so a mistake cannot burn out a component or create a short, and there is no wrong build to be disappointed by.
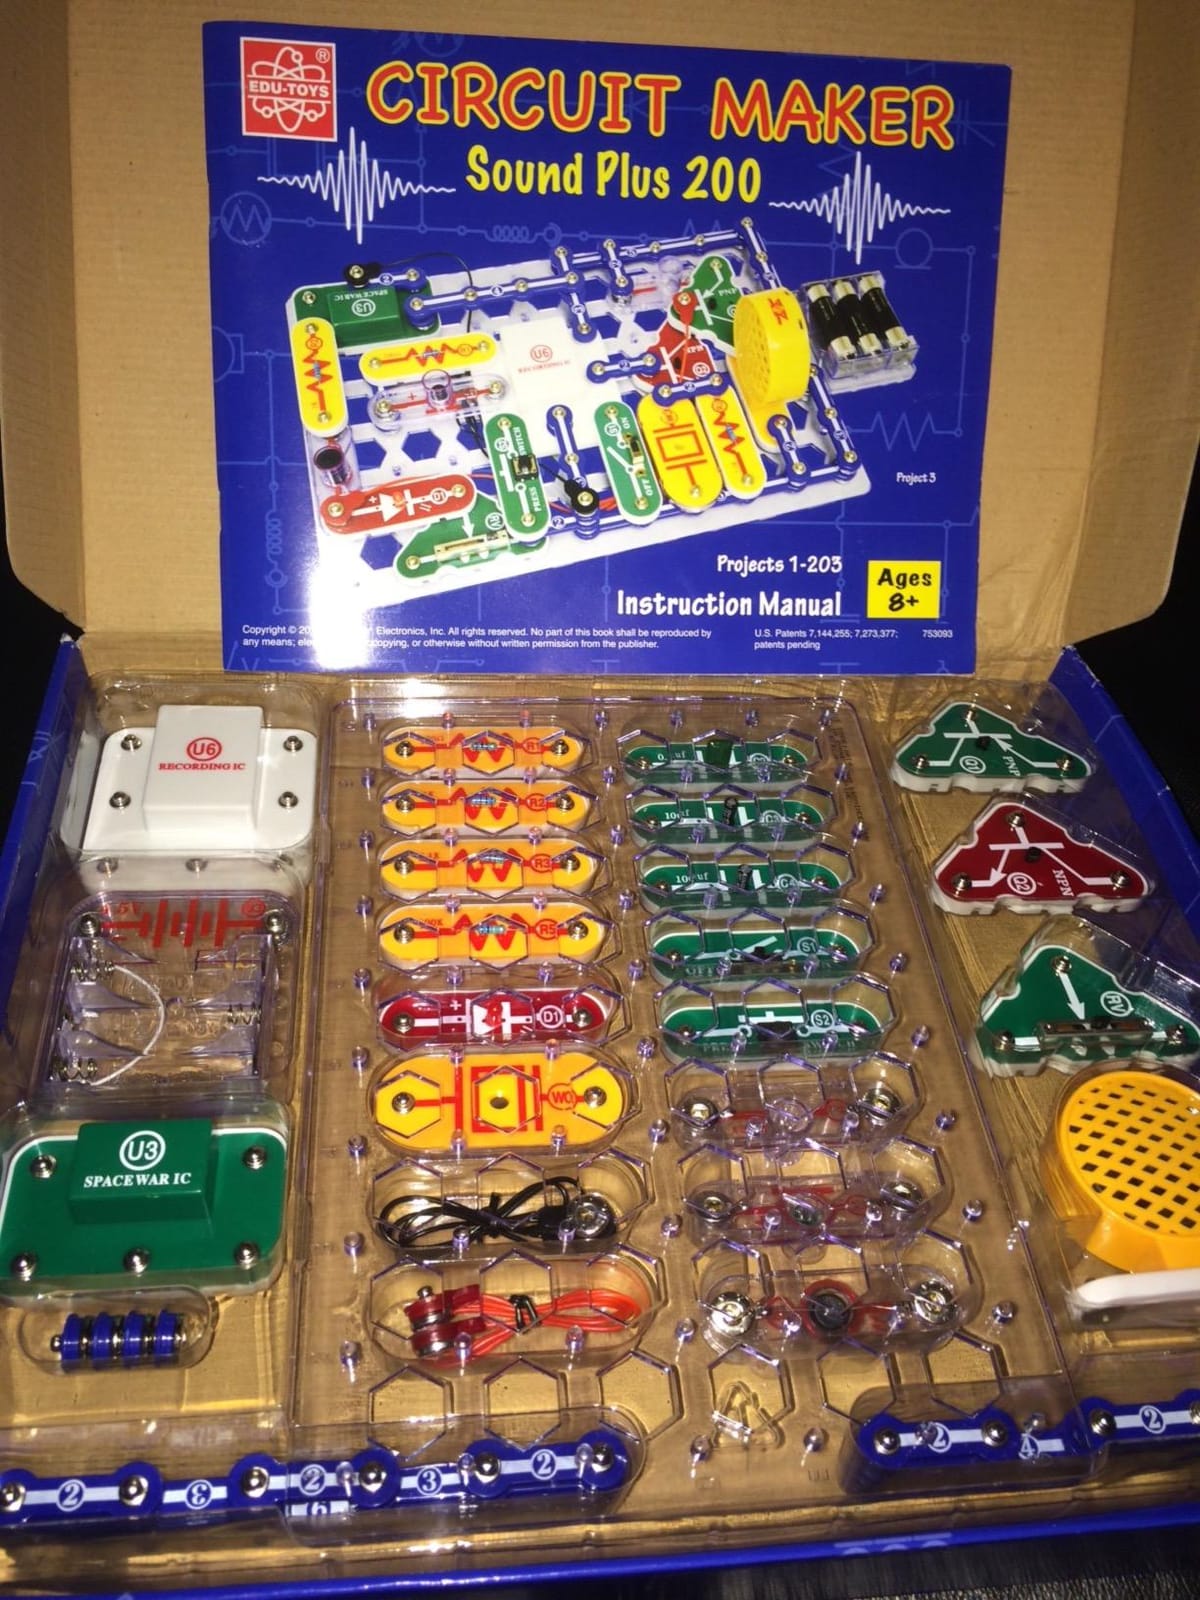
There are 42 snap modules on a reusable plastic grid base, with 200 or more documented projects including burglar alarms and a doorbell. We ran a series-and-parallel comparison early on and the difference in lamp brightness made the concept land in a way no explanation would have.
Because the modules are reused on every project, the same parts compound in value. Six months in, the kit is not a collection of finished toys but a box of parts a teenager can combine in ways the manual never anticipated, which is exactly the open-ended behaviour that keeps a hobby alive.
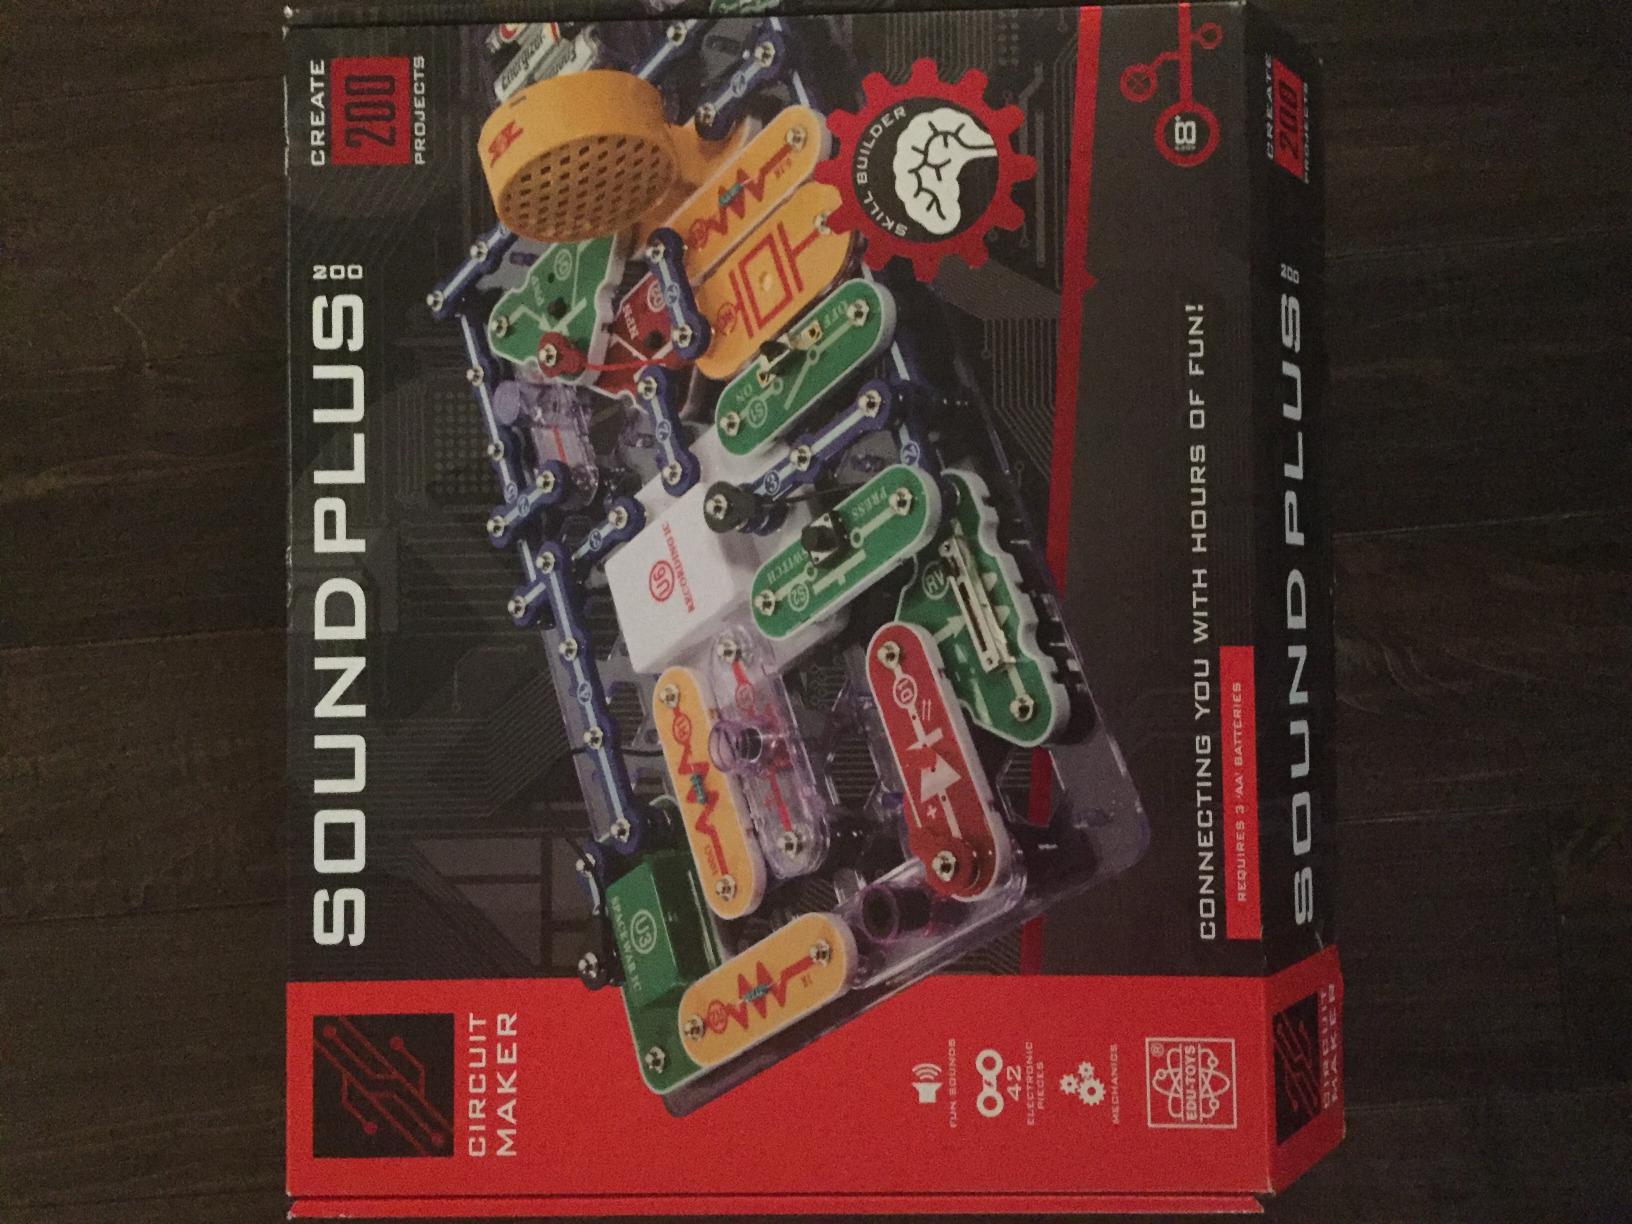
Snap Circuits sets also stack. The modules and grid work with other kits in the same range without changing platform, so buying a second set adds capability rather than creating a second drawer of incompatible parts. That is rare in this category and it is the strongest argument for this kit over a cheaper generic circuit kit.
The honest weakness is that it teaches less about real prototyping layout. There is no breadboard, so the teen never learns to lay out a circuit the way an engineer would in a lab, and the projects are largely one-off builds rather than a sequenced curriculum that compounds.
Some buyers also report missing modules and needing an add-on set to finish the larger circuits. Check the module count against the manual on arrival, which takes two minutes and avoids a frustrating mid-project stall.
Will a teenager find this kit too easy?
Possibly, and the printed 8+ rating is honest rather than misleading. A 13-year-old who has done snap-together building for years may burn through the manual in a few weeks. The fix is not a more advanced kit, it is building the circuits the manual only sketches, which is where the real thinking starts.
A teenager who has never seen a circuit will get considerably more from this kit in the first two months than from a coding robot, because nothing here depends on reading text or understanding syntax.
Is a screen needed for any of it?
No. Every project is completed with the physical parts alone, which makes this the safest pick for a family that wants engineering time away from screens. There is no app, no firmware update and no account to create.
If the goal is screen-free time specifically, also look at the mechanical options further down, which have the same advantage and teach a different branch of engineering.
4. ELEGOO UNO R3 Smart Robot Car Kit V4 – Best for Robotics and Coding
ELEGOO UNO R3 Smart Robot Car Kit V4 with Camera, Compatible with Arduino
UNO R3 plus ESP32 camera
Line tracking and obstacle avoidance
IR remote and app control
2000 mAh battery
Pros
- Pre-loaded working code so the car drives within minutes of assembly
- Keyed XH2.54 connectors make assembly about an hour
- Both the UNO R3 and the ESP32 board are programmable
- Three distinct behaviours to modify and debug
Cons
- Stock firmware drives motors without an acceleration ramp
- Only one expansion connector and the earlier V3 had more
- ESP32 module needs a USB-C cable that is not included
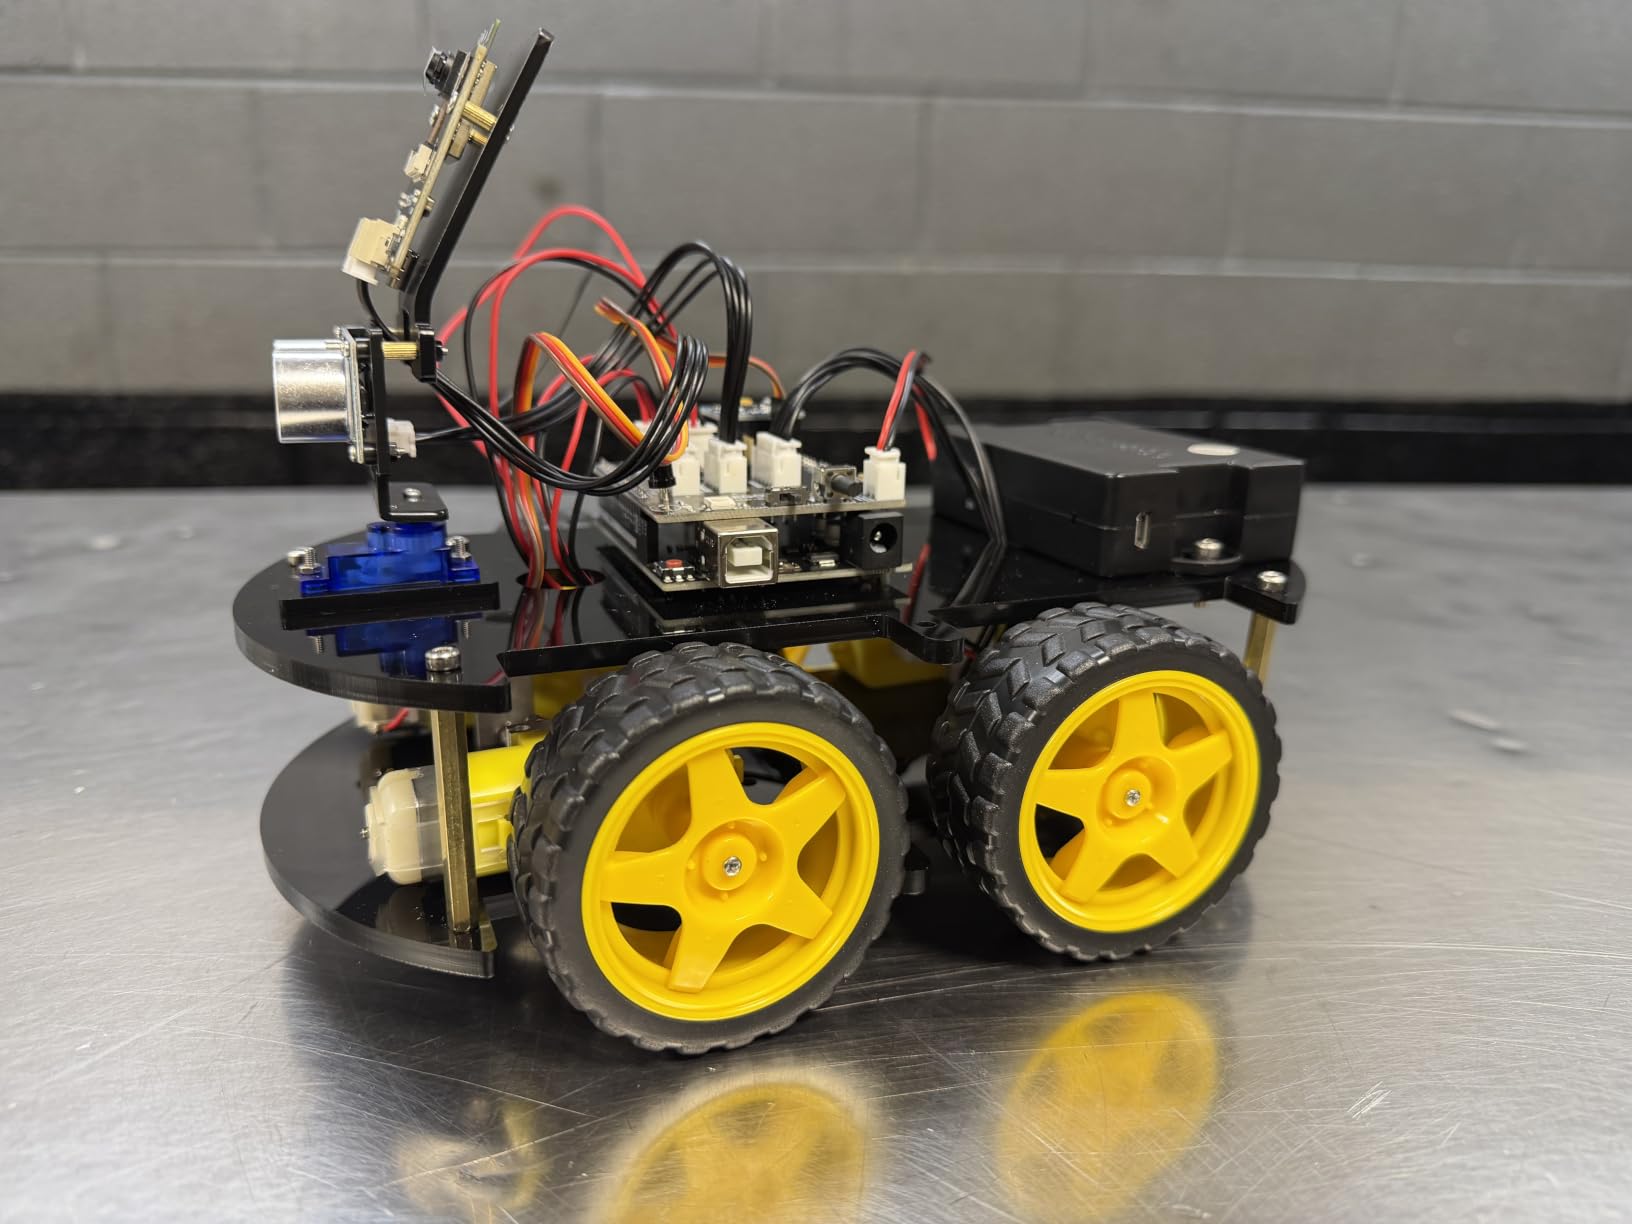
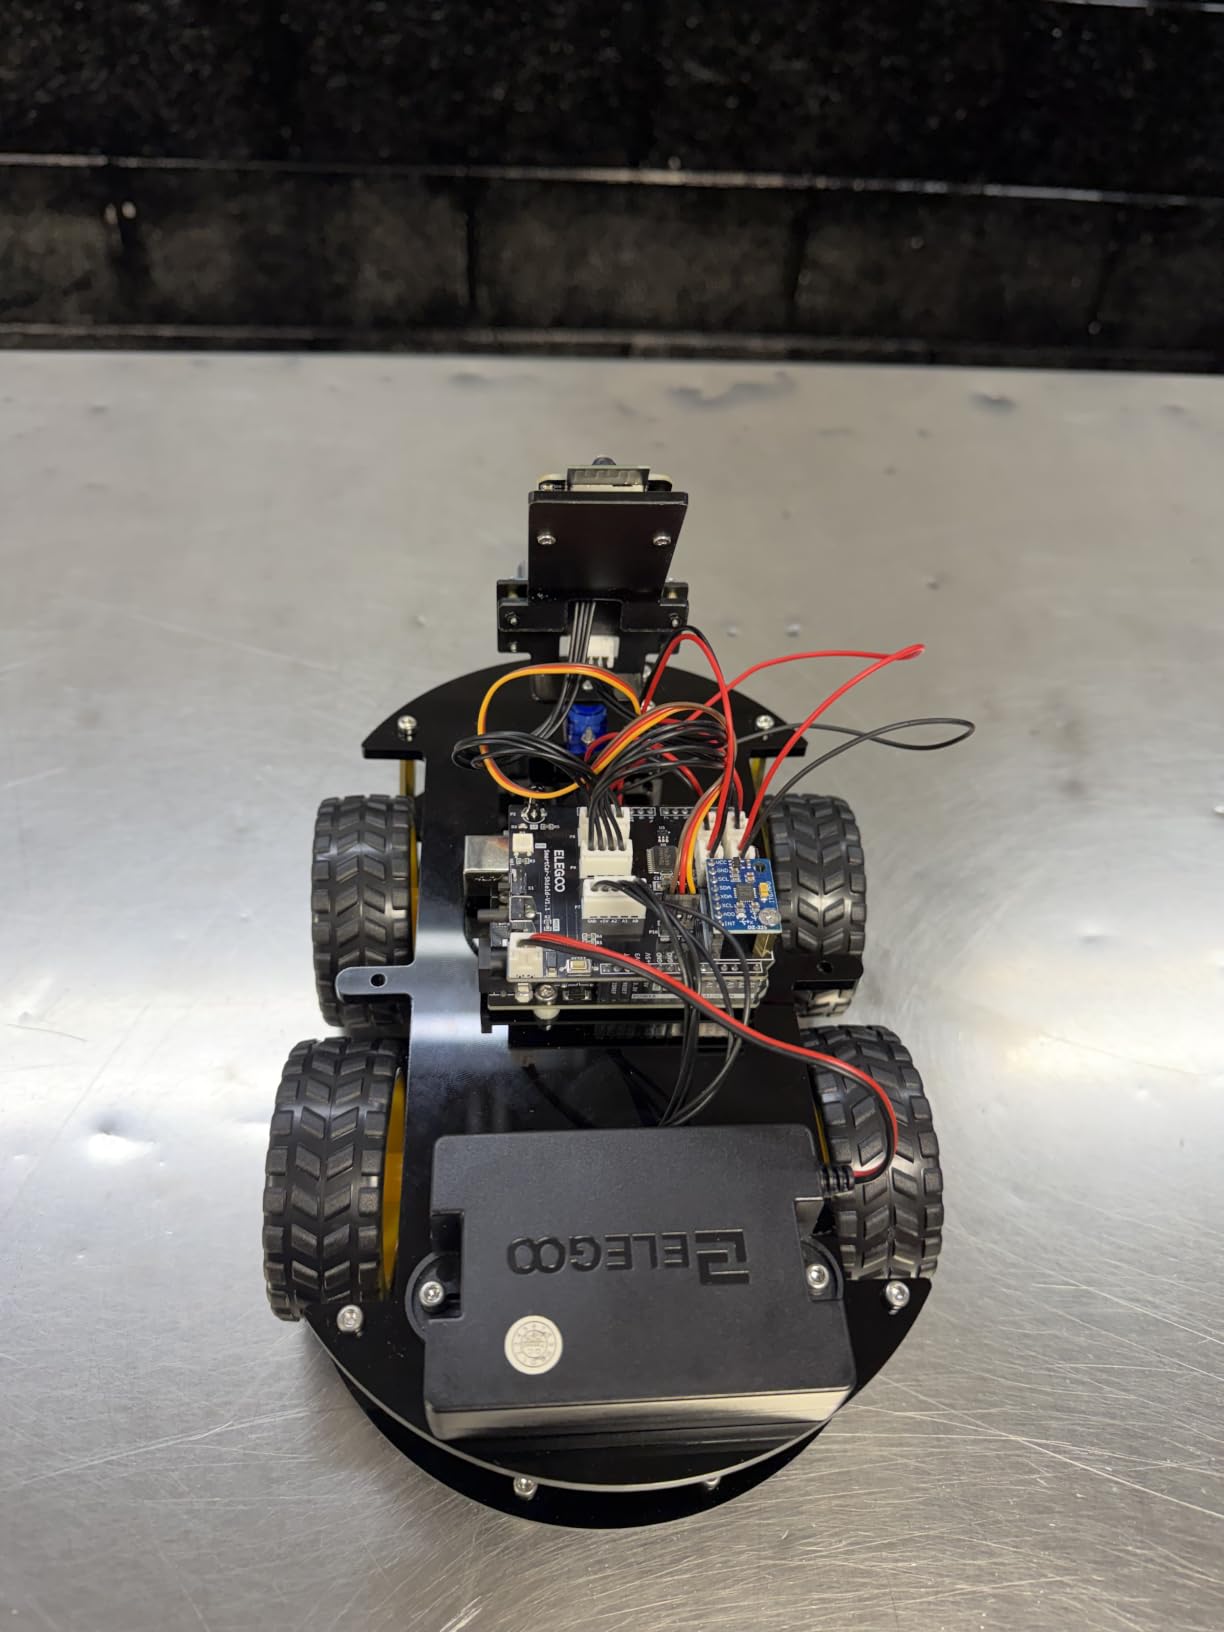
This is the most immediately satisfying kit to open, and the one we recommend for a 14-year-old who wants to see a robot do something on day one. The build is roughly an hour for most hands because the keyed XH2.54 connectors stop you plugging cables in backwards.
The architecture is the interesting part. A UNO R3 handles the driving logic while an ESP32-WROVER module handles the camera and Wi-Fi, and both are programmable, so a teen can work on motor control in the Arduino IDE and separately push a video stream to a phone or laptop.
Three behaviours are available out of the box: line tracking, ultrasonic obstacle avoidance and remote or app control, with live first-person video. Having three separate failure modes to debug is what makes this educational rather than decorative, because each one demands a different fix.
Instruction quality is the standout and is mentioned more than any other strength in the reviews, with the printed and downloadable manual frequently described as the best in this category. That matters for a teen who will be reading it alone.
The criticisms are about software polish, not hardware. Stock firmware has no motor acceleration ramp, so the car starts and stops abruptly, and the included app and firmware are basic, with Android Wi-Fi control requiring a manual channel change in our testing.
Two smaller gaps to know about: the ESP32 module needs a USB-C cable to reprogram and one is not in the box, and the camera sits at a fixed angle of roughly 45 degrees with no vertical gimbal control, which makes close-range obstacle viewing awkward.
Is this a good robot kit for a 14-year-old?
Yes, and it is our first answer to that question. The manufacturer rates it 12 and up, the parts are bagged and labelled, and the build is short enough that a 14-year-old can finish it in one sitting without an adult rescuing the final screws.
For a younger teen the Arduino IDE is the next challenge rather than the first. The pre-loaded code means nothing breaks on arrival, but a teen who has never opened a code editor will need the example programs as a starting point.
What do you wish the expansion options were?
Only one expansion connector is provided for adding sensors, and the earlier version of this kit had more, which is a genuine step backwards for anyone planning a bigger build. Budget for an expansion board before attempting multi-sensor projects.
Obstacle avoidance can also stall when the car meets an object at a shallow angle, and that is a sensor geometry limitation rather than a bug you can code around.
5. Makeblock mBot STEM Coding Robot – Best for a Quick First Build and a Coding Progression
Makeblock mBot STEM Coding Toys Robotics for Kids Ages 8-12
Scratch mBlock, then Arduino
Metal chassis, line-follow and avoid modes
100+ modules, LEGO parts
15-minute build
Pros
- Only robot here that moves from block coding to real Arduino C++
- Metal chassis at 0.93 kg rather than all-plastic
- Fifteen-minute build time
- Open expansion into 100+ modules and 500+ parts
Cons
- Needs 4 AA batteries and a CR2025 coin cell that are not included
- Manufacturer age band of 8-12 is elementary for a teen
- mBlock is a Scratch derivative so the Arduino step is a real jump in difficulty
Nobody finishes building this in an afternoon, which is the point. The mBot goes together in about fifteen minutes, and that short assembly changes the character of the experience: the teenager spends their time programming rather than sorting screws.
The reason this kit earns a place on the list is the progression path built into the software. A beginner programs it in mBlock, a Scratch derivative with a visual interface, and when that becomes limiting the same robot transfers to Arduino C++ without a change of hardware.
We tested the line-follow mode and the obstacle-avoidance mode, and both give a real sensor feedback loop. When the car overshoots a curve the fix is visible in the code, which turns a failure into a debugging lesson rather than a disappointment.
Expansion is the other strength. The platform is open source and works with more than 100 electronic modules and 500 parts, plus LEGO-compatible pieces, so a teen is not trapped in a closed accessory ecosystem. Three free apps plus coding cards and lessons cover the software side at no extra cost.
The practical warning: the robot needs four AA batteries and the remote controller needs a CR2025 coin cell, and none of them are included, so it is not runnable on arrival. That trips up a lot of disappointed gift recipients, so put fresh cells in the box before wrapping it.
The manufacturer age band of 8 to 12 and the listed use cases are correspondingly elementary, and the jump from a Scratch derivative to Arduino C++ is a genuine step up rather than a gentle one. That mismatch is worth naming before you buy: a teen bored by block coding does not need a cheaper robot, they need the Arduino side of this one.
Does this kit work for a teenager who is older than its age rating?
It does, provided you use the Arduino side rather than the default. A 15 or 16-year-old who has seen block coding will find mBlock simple and will need the Arduino IDE to stay challenged, but the metal chassis and the expansion platform mean the hardware does not limit them the way an all-plastic kit would.
Be realistic about the proprietary side. The module ecosystem is open in principle but Makeblock-branded in practice, so expansion parts add up faster than with a generic breadboard approach.
Is fifteen minutes of assembly a feature or a problem?
A feature if the goal is programming and a problem if the goal is mechanical understanding. There is very little assembly, so a teen who wants to learn how parts fit together will not find enough here and should pair it with a mechanical kit from further down.
Used alongside a mechanical kit, the pairing works well: one teaches structure, the other teaches control.
6. Teach Tech Mech-5 STEM Coding Robot – Best for Screen-Free Play
TEACH TECH Mech-5 STEM Coding Robot Building Kit for Kids Ages 10+
Five-link adjustable arm, motor driven
Snap-on buttons on a coding wheel
2 AAA batteries
All-plastic, 16 ounces
Pros
- Teaches linkage and gear-train mechanics directly rather than through electronics
- Screen-free coding means no IDE
- compiler or computer
- Five-link arm throws
- lifts
- kicks and draws from one build
Cons
- All-plastic arm and gear train limit mechanical advantage
- No branching
- loops or variables in the coding wheel
- Multi-hour assembly is steeper than the quick-build kits here
This is the only kit in the list where a teenager programs without a computer, a tablet or a phone. Snap-on buttons clip onto a physical coding wheel, and the robot repeats the sequence, so the link between an instruction and a movement is immediate and completely offline.
That makes it the best choice for a teen whose interest in screens is already limited, or for a family that wants engineering time that does not involve a display. Two AAA batteries are the only power it needs.
What it teaches is mechanical rather than electrical. A five-link arm driven by a motor means the teenager has to reason about linkage geometry and gear trains to make the arm throw, lift, kick or draw, which is a different and less commonly covered branch of engineering.
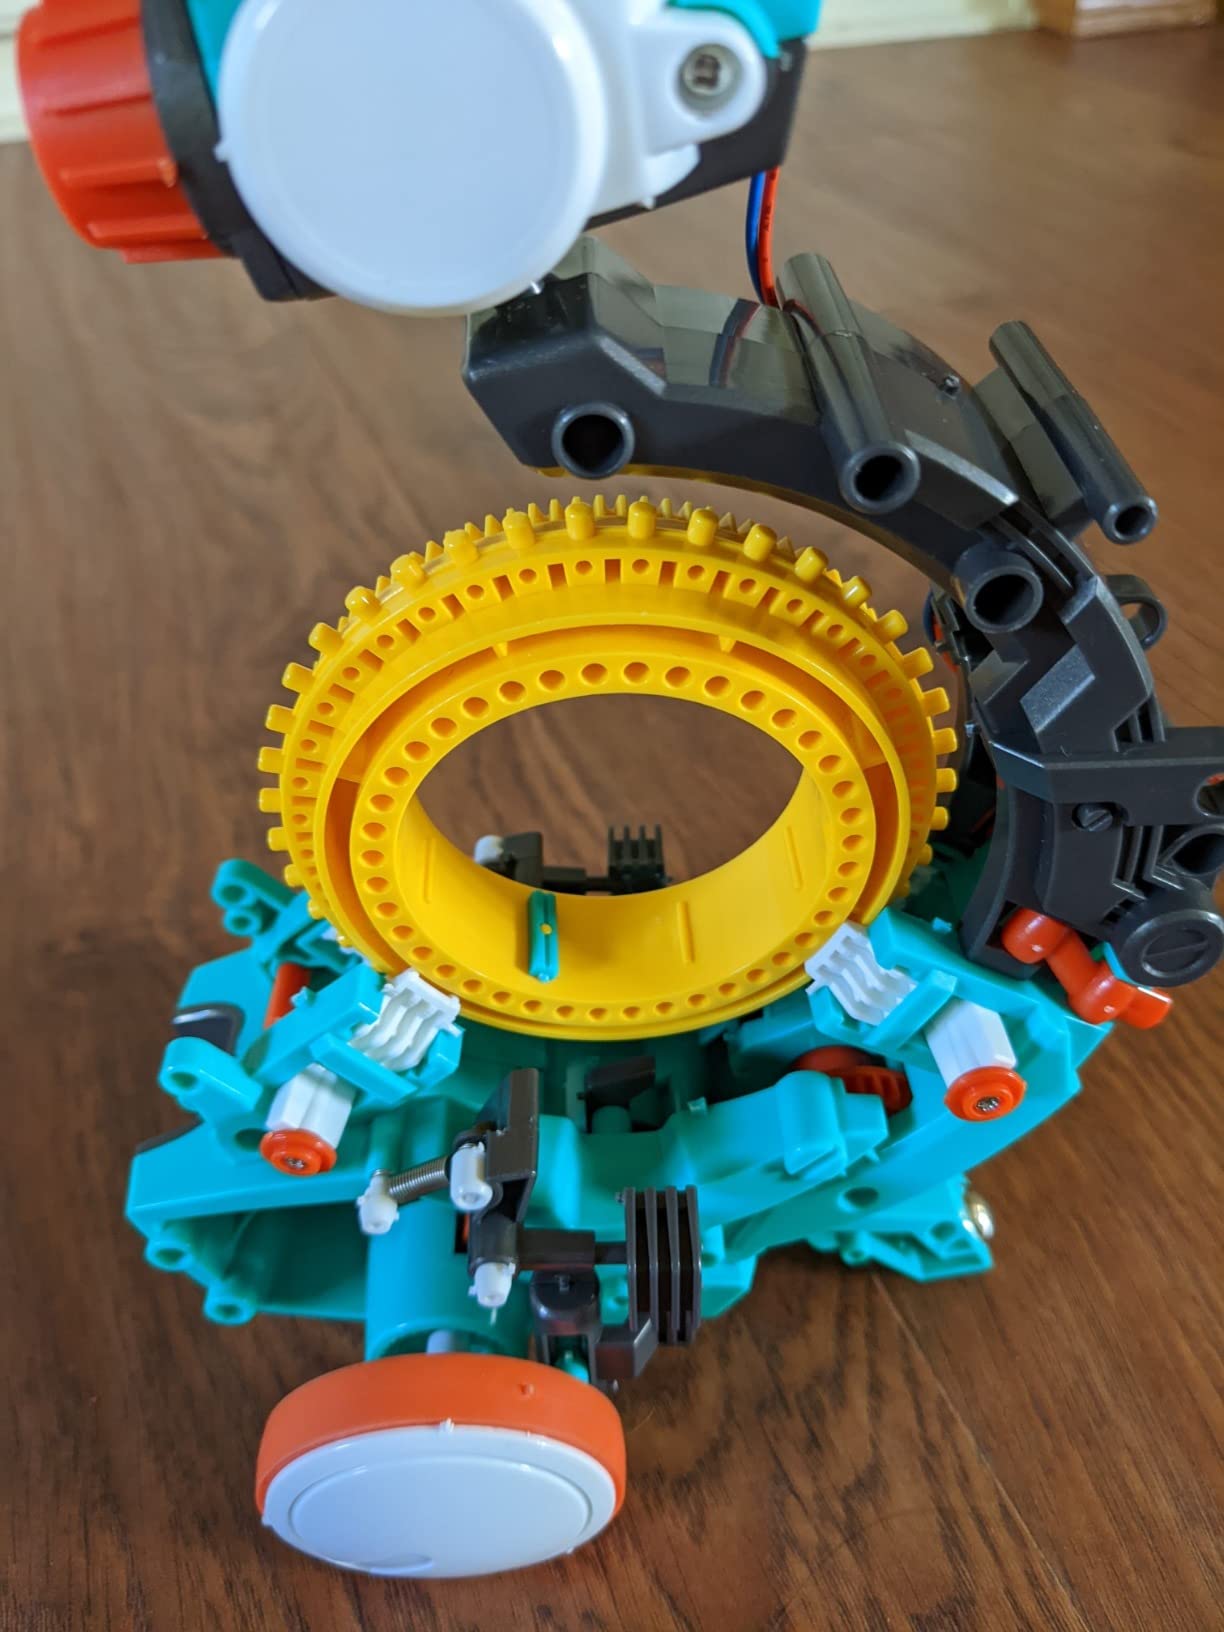
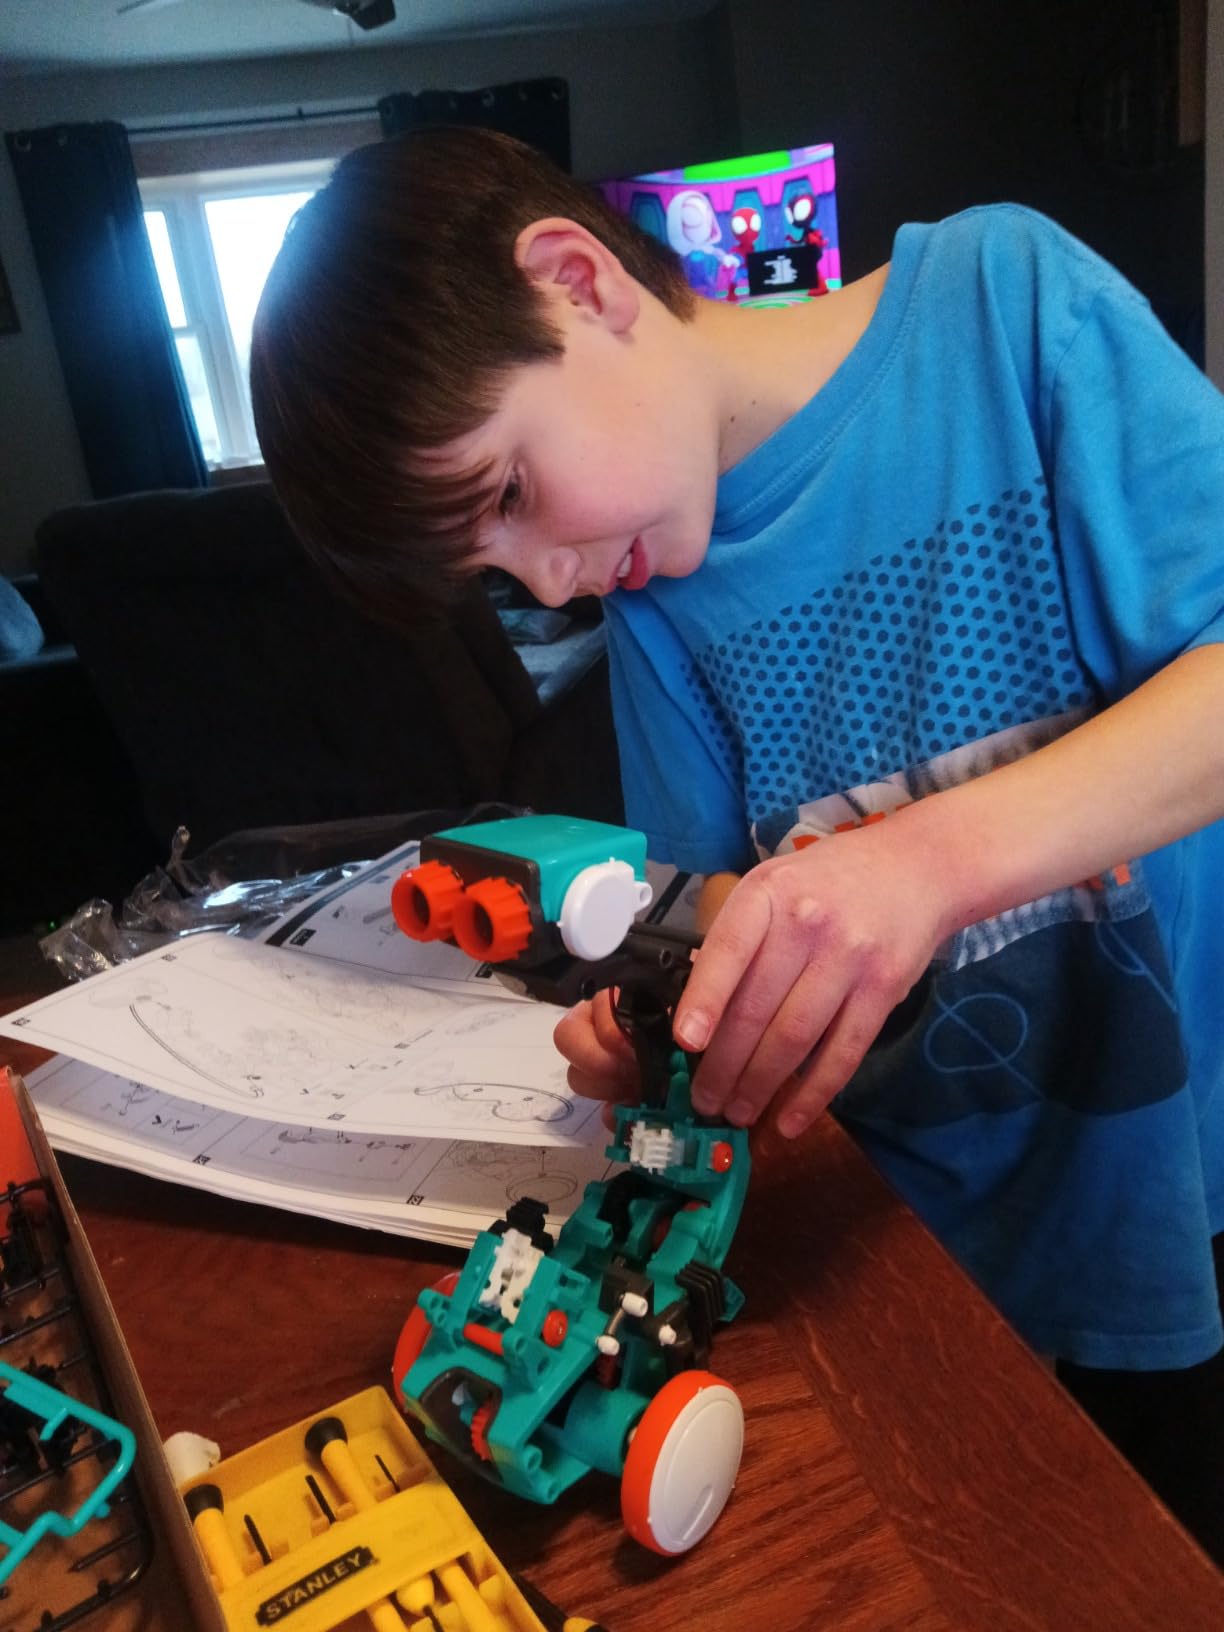
Assembly is the trade-off and it is a real one. The listing itself describes it as a genuine building project with multiple hours of build time, which is steeper than the fifteen-minute robot kits here and the most common subject of feedback in the reviews.
The construction is all plastic at 16 ounces, so the mechanical advantage available through the arm and gear train is limited compared with a metal-linkage kit. The gear teeth and joint strength are the parts most likely to disappoint a teen expecting industrial robustness.
The coding side has a hard ceiling. There is no branching, no loops and no variables, only an ordered sequence of button presses, so a teenager who quickly asks what happens after the last step needs a different kit to progress.
What age is this actually right for?
The box says 10 and up, which we think is accurate rather than flattering. A 13-year-old who is new to building will find the multi-hour assembly genuinely challenging, and it helps to set aside an afternoon rather than attempt it in short sessions.
A 15 or 16-year-old who has already built a robot kit will find the coding wheel too limited, but the mechanical arm work is still worthwhile as a one-off build with a parent.
Is a screen-free kit better than a coding kit for a teenager?
For the first three months, often yes, because the built-in limitation of a physical code wheel keeps the feedback loop tight. After that, most teens want more expressive control, and that is when a programmable robot or a microcontroller kit makes more sense.
The pragmatic answer is to use this one first and move to a coding kit second, in that order.
7. Thames and Kosmos Structural Engineering – Best for Structural Physics
Thames & Kosmos | Structural Engineering: Bridges & Skyscrapers | Science & Engineering Kit | Build 20 Models | Learn about Force, Load, Compression, Tension | Parents’ Choice Gold Award Winner, Blue
287 interchangeable pieces
20 models showing force and load
36-page manual
Intermediate level
Pros
- Only kit here that load-tests real structures so failure modes are observed
- 287 pieces let a builder redesign a truss rather than follow a fixed blueprint
- Focused on one idea across 20 models
- Used in physics and mechanics classes
Cons
- Connections are tight and pieces can crack at the joint after about a year
- Included removal tools do not grip the pieces properly
- String-based models such as suspension bridges need adult help
This is the only kit in the roundup where a structure is deliberately loaded until it fails, and that changes how the physics is learned. Watching a truss buckle teaches something a diagram of compression and tension cannot.
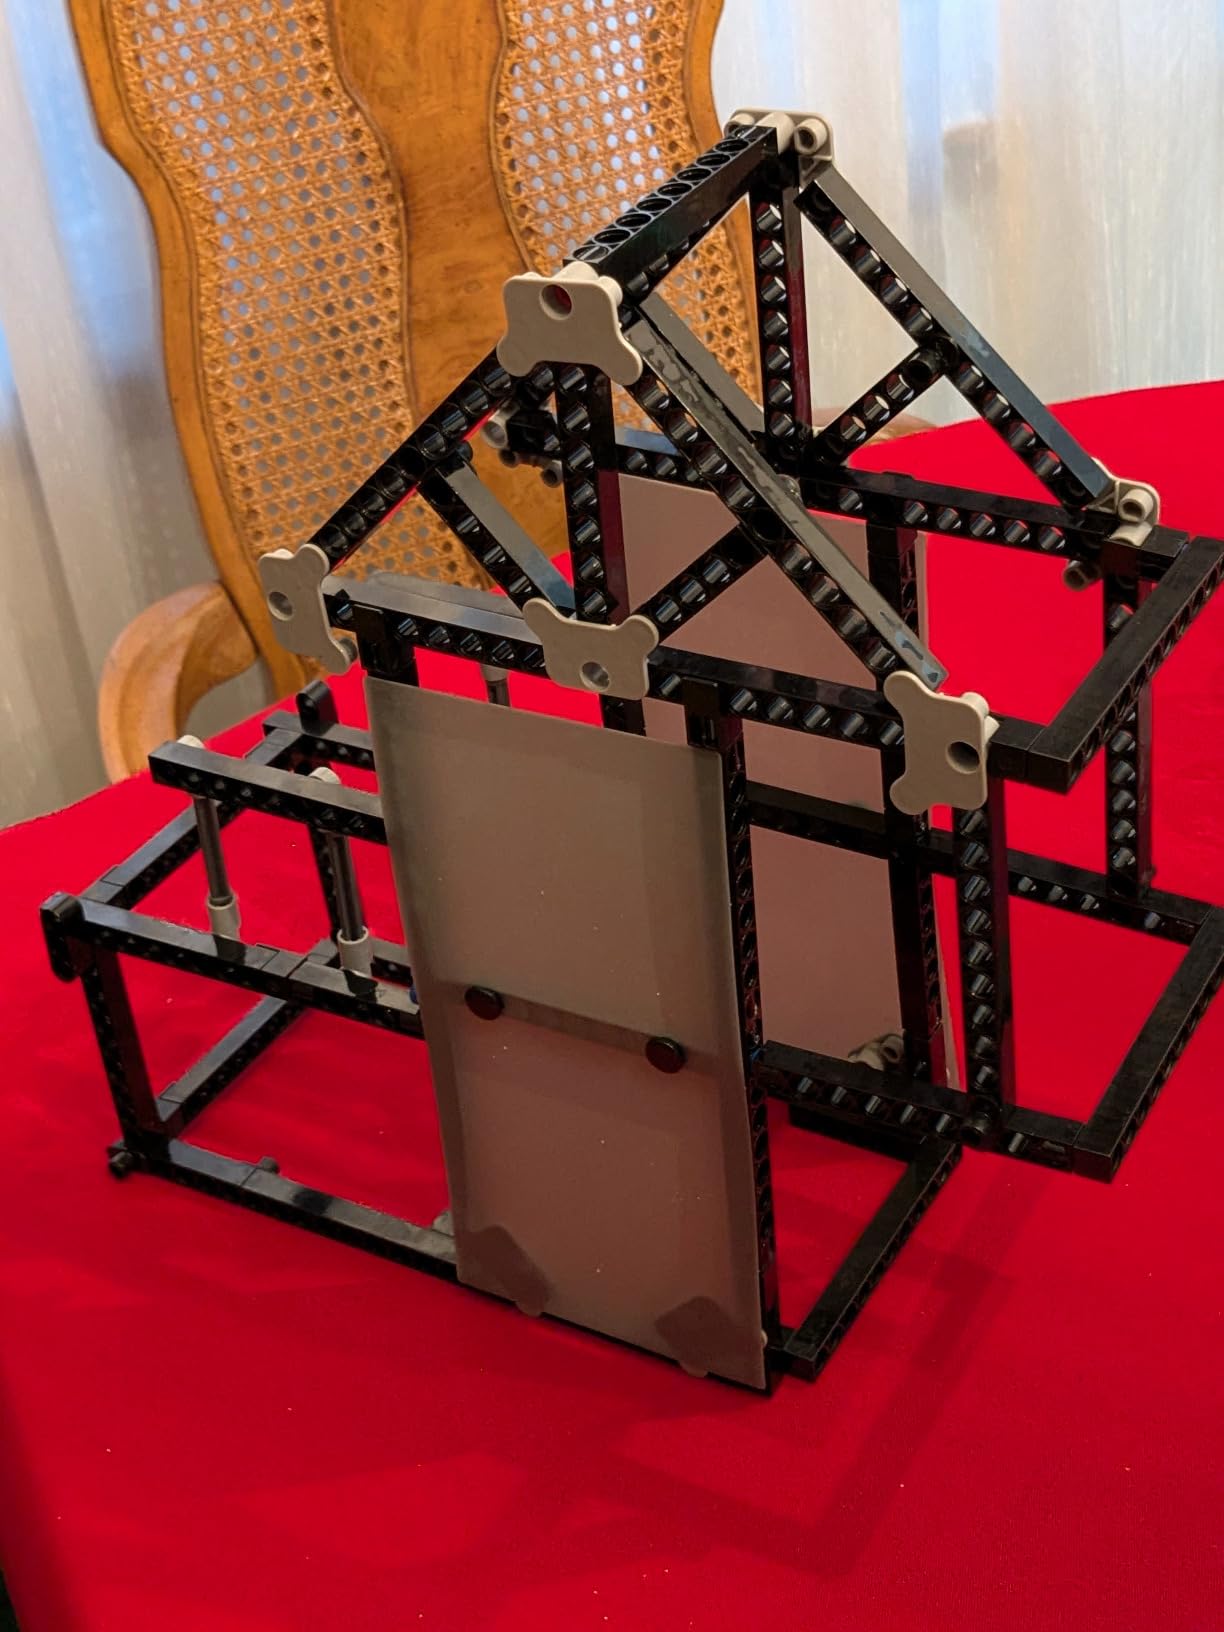
There are 285 or more interchangeable pieces and 20 documented models, with each one demonstrating force, load, compression and tension. Our build covered a truss bridge and a tower, and the redesign step is the real lesson: the pieces can be reconfigured rather than followed as a single blueprint.
Twenty models held on a single idea is the right scope here. Statics is not a subject a teenager absorbs from variety, and the concentration means a genuinely shaky bridge has a specific, findable cause rather than a vague sense of not being right.
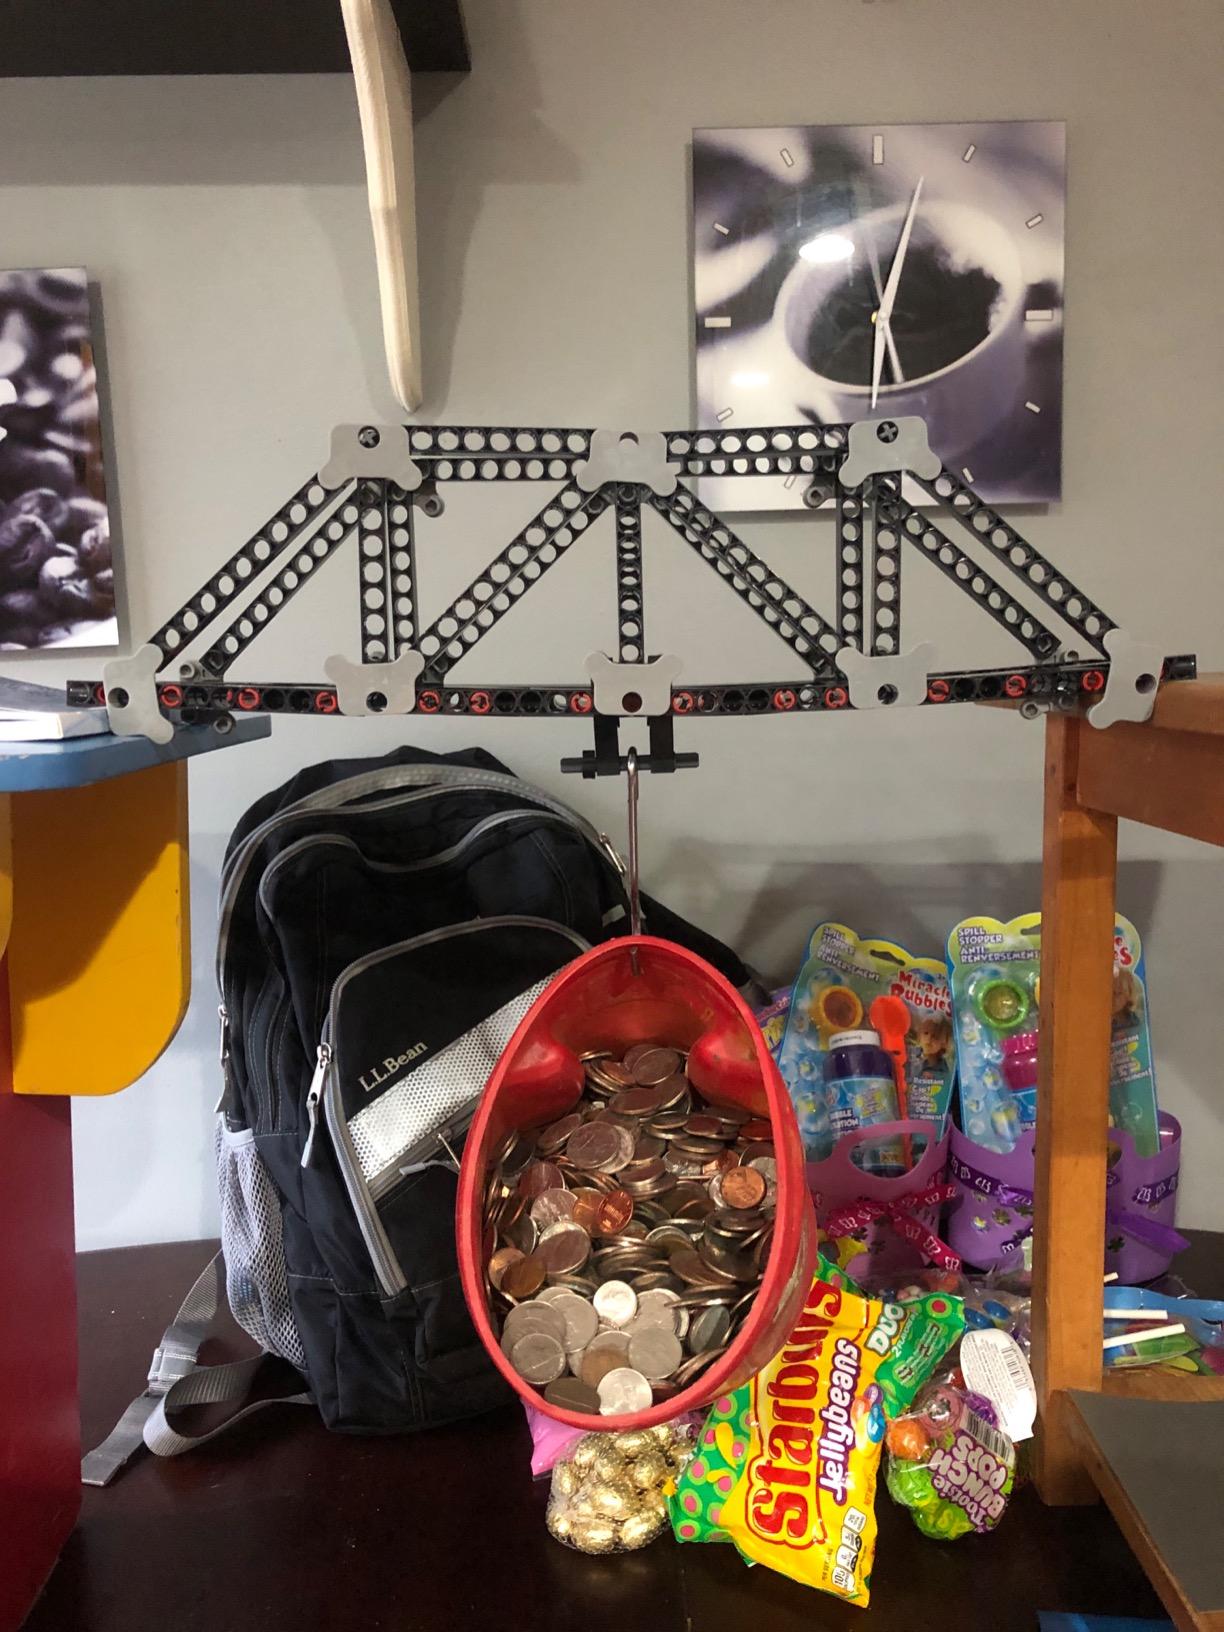
The 36-page illustrated experiment manual sits alongside an assembly guide and pairs each model with an explanation of the forces involved. It is marked as an intermediate skill level, which is a fair description for a teen who has already done a beginner snap-together kit.
Durability is the recurring complaint and it deserves space. Connections are tight and reviewers report pieces cracking at the joint after roughly a year of regular use, which is a long time to get out of a plastic structural kit that gets handled hard.
Two smaller issues: the yellow removal tools included do not grip the pieces properly, so disassembly is genuinely difficult, and the string-based models such as the suspension bridges need an adult’s hands. Instructions are in English only.
Does the printed age rating of 8 to 14 undersell it?
It does slightly, and this is a good example of the age-label mismatch parents describe. The manufacturer rates it 8 to 14, but the 20-model scope and the intermediate skill marking make it a solid fit for a 14 or 15-year-old rather than an 8-year-old, and a younger builder will likely get through the models in a few sessions.
The small snap-fit plastic parts are a genuine risk with younger hands, since a forced build can snap a component and there is no spare-parts programme.
How long does the kit hold interest?
Longer than most, because redesigning a failing structure has no natural end point. A teenager who starts optimising span and load will still be changing the model a year later, which is the best retention signal we saw in any kit here.
Pair it with a calculator and the concepts become quantitative. Our engineering calculator guide covers the scientific models worth having on the desk alongside it.
8. PATHFINDERS Leonardo da Vinci Catapult Kit – Best First Mechanics Project
PATHFINDERS STEM Leonardo da Vinci Catapult Kit
Precision laser-cut wood
Trebuchet-style lever arm
About one hour to assemble
400 g total weight
Pros
- Laser-cut wood gives a real lever-arm mechanism to measure and iterate on
- Shortest build in this roundup at about one hour
- No batteries
- motors or electronics to debug so failures point to the physics
- Rated 14 and up which makes it suited to a teen
Cons
- Single mechanism with no sensor or logging capability
- Launch power depends on elastic tension and arm geometry that the kit cannot measure
- Narrower scope than the multi-project kits here
This is the shortest build in the roundup at around an hour, and for a first mechanics project that is the entire point. The precision laser-cut wooden pieces need no tools at all, which means a teenager can start immediately rather than waiting for a weekend with a workshop free.
What it gives you is a working trebuchet-style catapult with a real lever arm, and that arm is adjustable. Changing its length and counterweight and observing the difference is the whole physics lesson, and the design-your-own format is what keeps a builder iterating rather than building once and stopping.
There is a specific benefit to the absence of electronics here. No batteries, no motors and no firmware means a failed launch points at the physics rather than a loose wire, and a teenager learns to isolate a variable before reaching for a debugger.
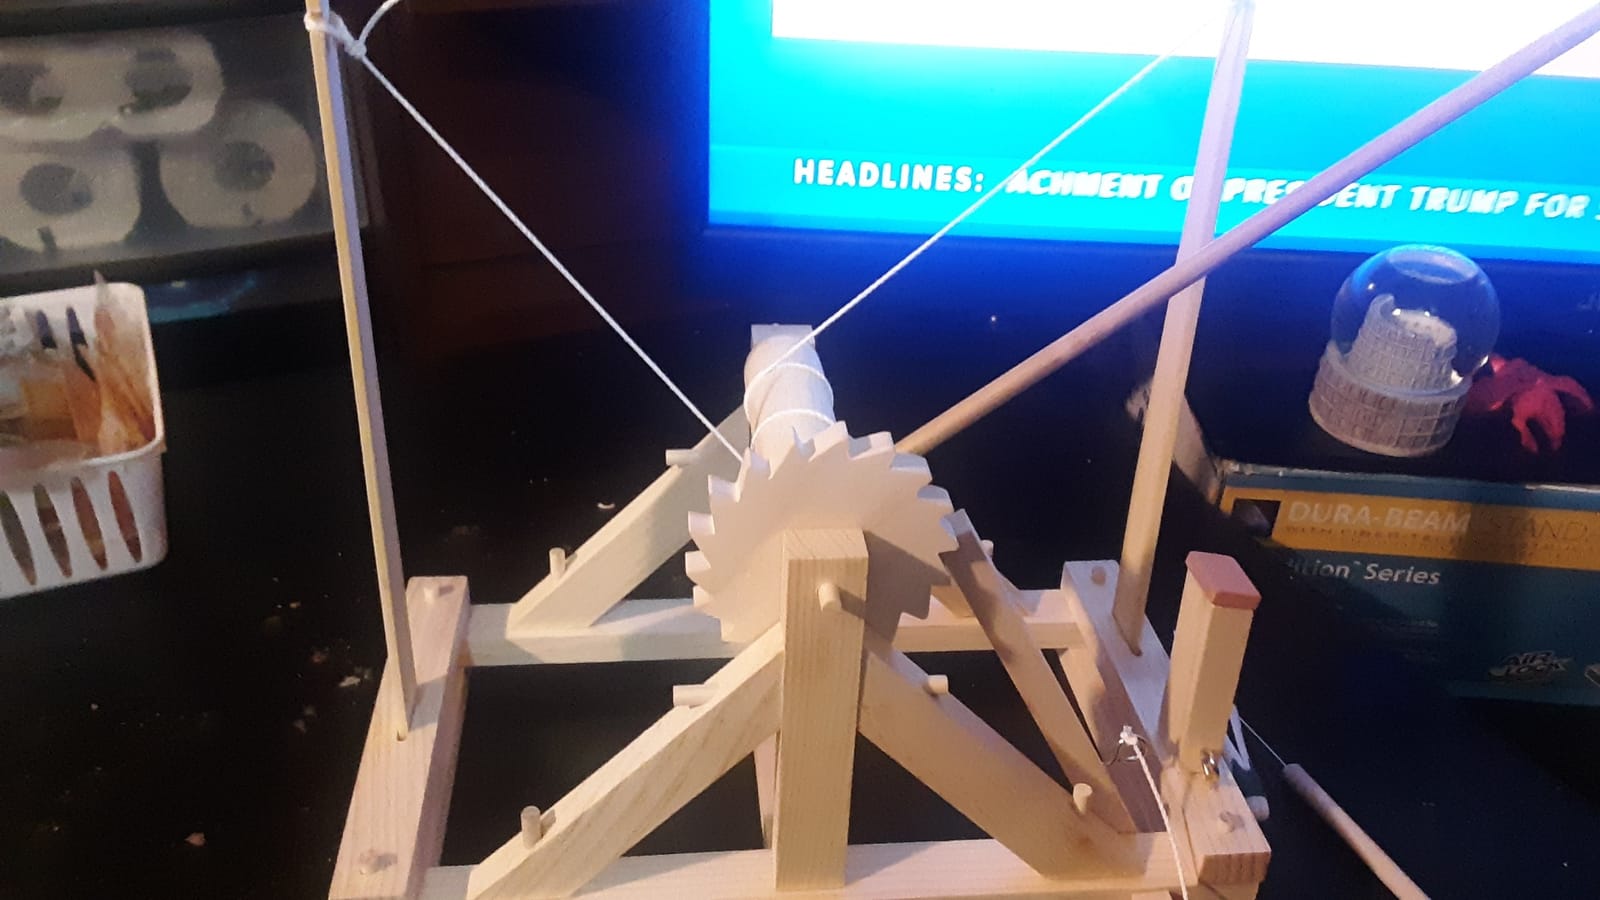
The rating spread is unusually tight at 4.6 across 2203 reviews, with only about 2 percent one-star, which tells you this design rarely disappoints. The manufacturer rates it 14 and up, and the Renaissance engineering framing gives it a story a teenager will actually repeat to friends.
It is also light at 400 g, which makes it easy to move from a desk to a workbench, and the weight is a good demonstration of a stored elastic potential converting into launch energy.
The honest limitation is scope. This is a single mechanism with no sensor, no data logging and no way to measure launch force precisely with what is in the box, so a teen who wants to record and compare results will need to add a stopwatch and a ruler themselves.
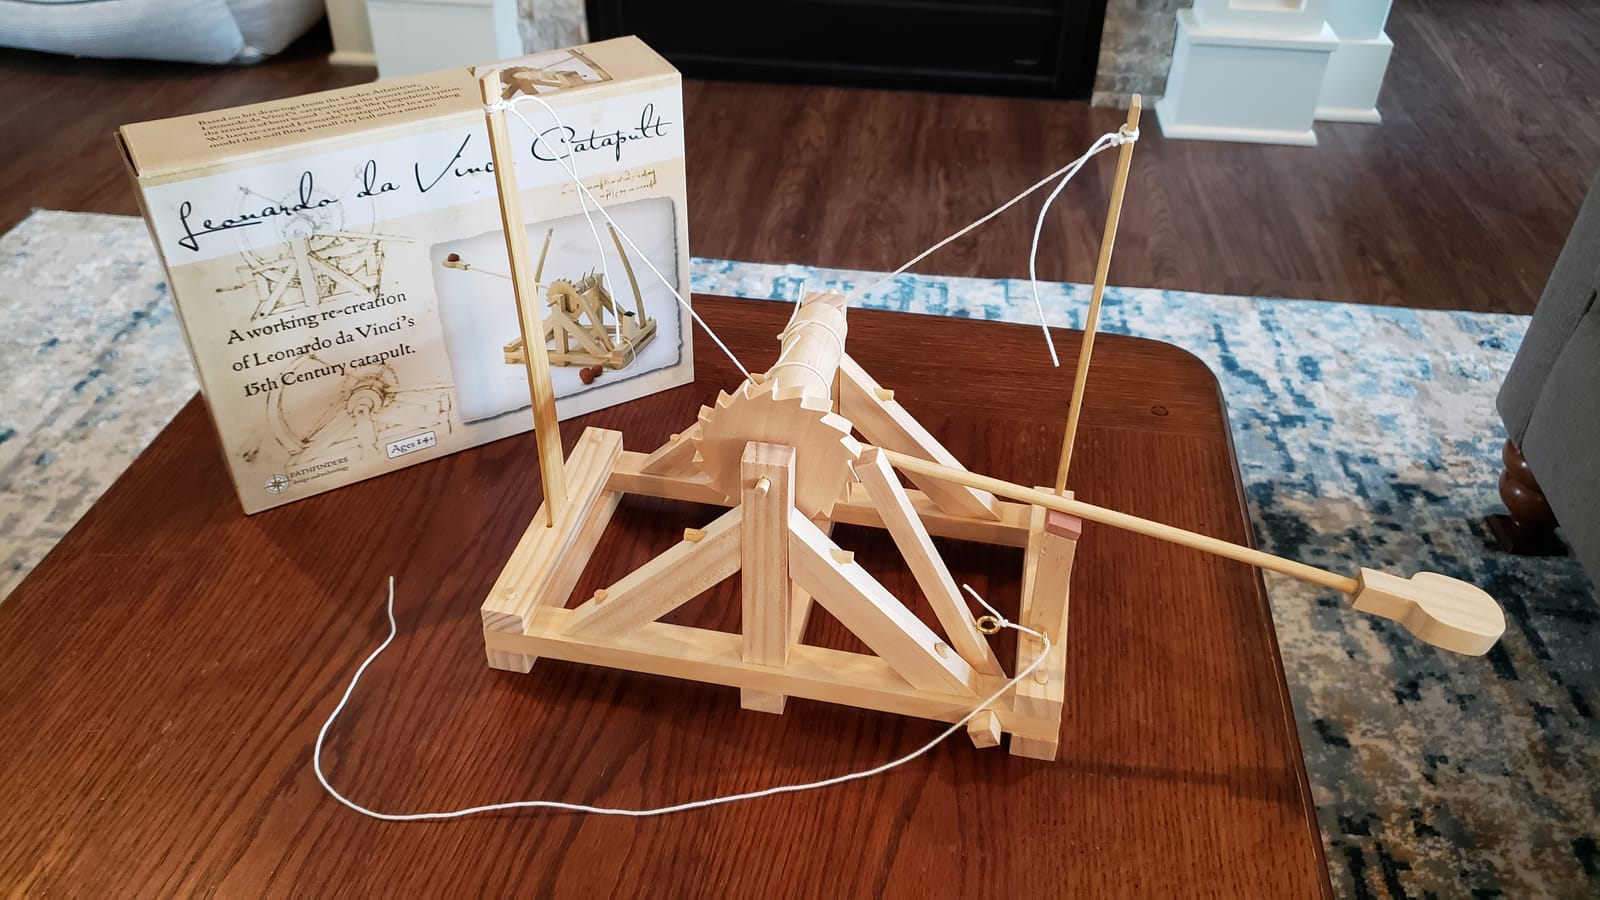
Is one hour of assembly enough to hold a teenager’s attention?
It depends entirely on what happens after assembly, and here the answer is yes, because the mechanism is tunable rather than finished. Our build went through several arm-length and counterweight changes before the launch stopped being disappointing, which took considerably longer than the initial hour.
It is a good birthday or holiday gift for a teen who wants something that works and has no software to install.
What does this kit pair well with?
It pairs naturally with the structural engineering set at number seven, since one teaches energy conversion in a mechanism and the other teaches load distribution in a structure. Together they cover most of a first-year mechanics course without any electronics at all.
Add a stopwatch and a measuring tape and the pair becomes a genuine experiment station rather than two toys.
9. Thames and Kosmos Mega Cyborg Hand – Best Budget Pick for Pneumatics
Thames & Kosmos Mega Cyborg Hand STEM Experiment Kit | Build Your Own GIANT Hydraulic Amazing Gripping Capabilities Adjustable for Different Sizes Learn Pneumatic Systems
Hydraulic pistons via syringe
No motors or batteries
Adjustable joints, three configs
Fits a range of hand sizes
Pros
- A genuinely working hydraulic mechanism and the only fluid-pneumatic build here
- Runs on hand pressure so there is no firmware and no charging
- Adjustable joints let a builder tune grip force and finger angle
- Three configurations including a claw
Cons
- Assembly reported at three to four hours even with help
- No spares for the cylinders or piston seals
- Parts must be popped from a sprue frame and the leaving edges can need sanding
No motors, no batteries, no charging. You squeeze a syringe, fluid pressure travels through the tubing, and the hydraulic pistons move a hand-sized mechanical gripper that will lift an object. It is the only genuinely fluid-driven mechanism in the list and the cheapest way into pneumatics.
It is a Toy Association Steam Toy of the Year winner, and that award is deserved. The three configurations cover a right hand, a mirrored version and a claw, and every finger joint is angle-adjustable, so a teenager can tune grip force and finger geometry rather than accepting a fixed shape.
Sizing is adjustable to fit a range of human hands, which means the build outlasts the age it was bought for. For a younger teen who may grow out of a fixed-geometry toy, that is a real and unusual advantage.
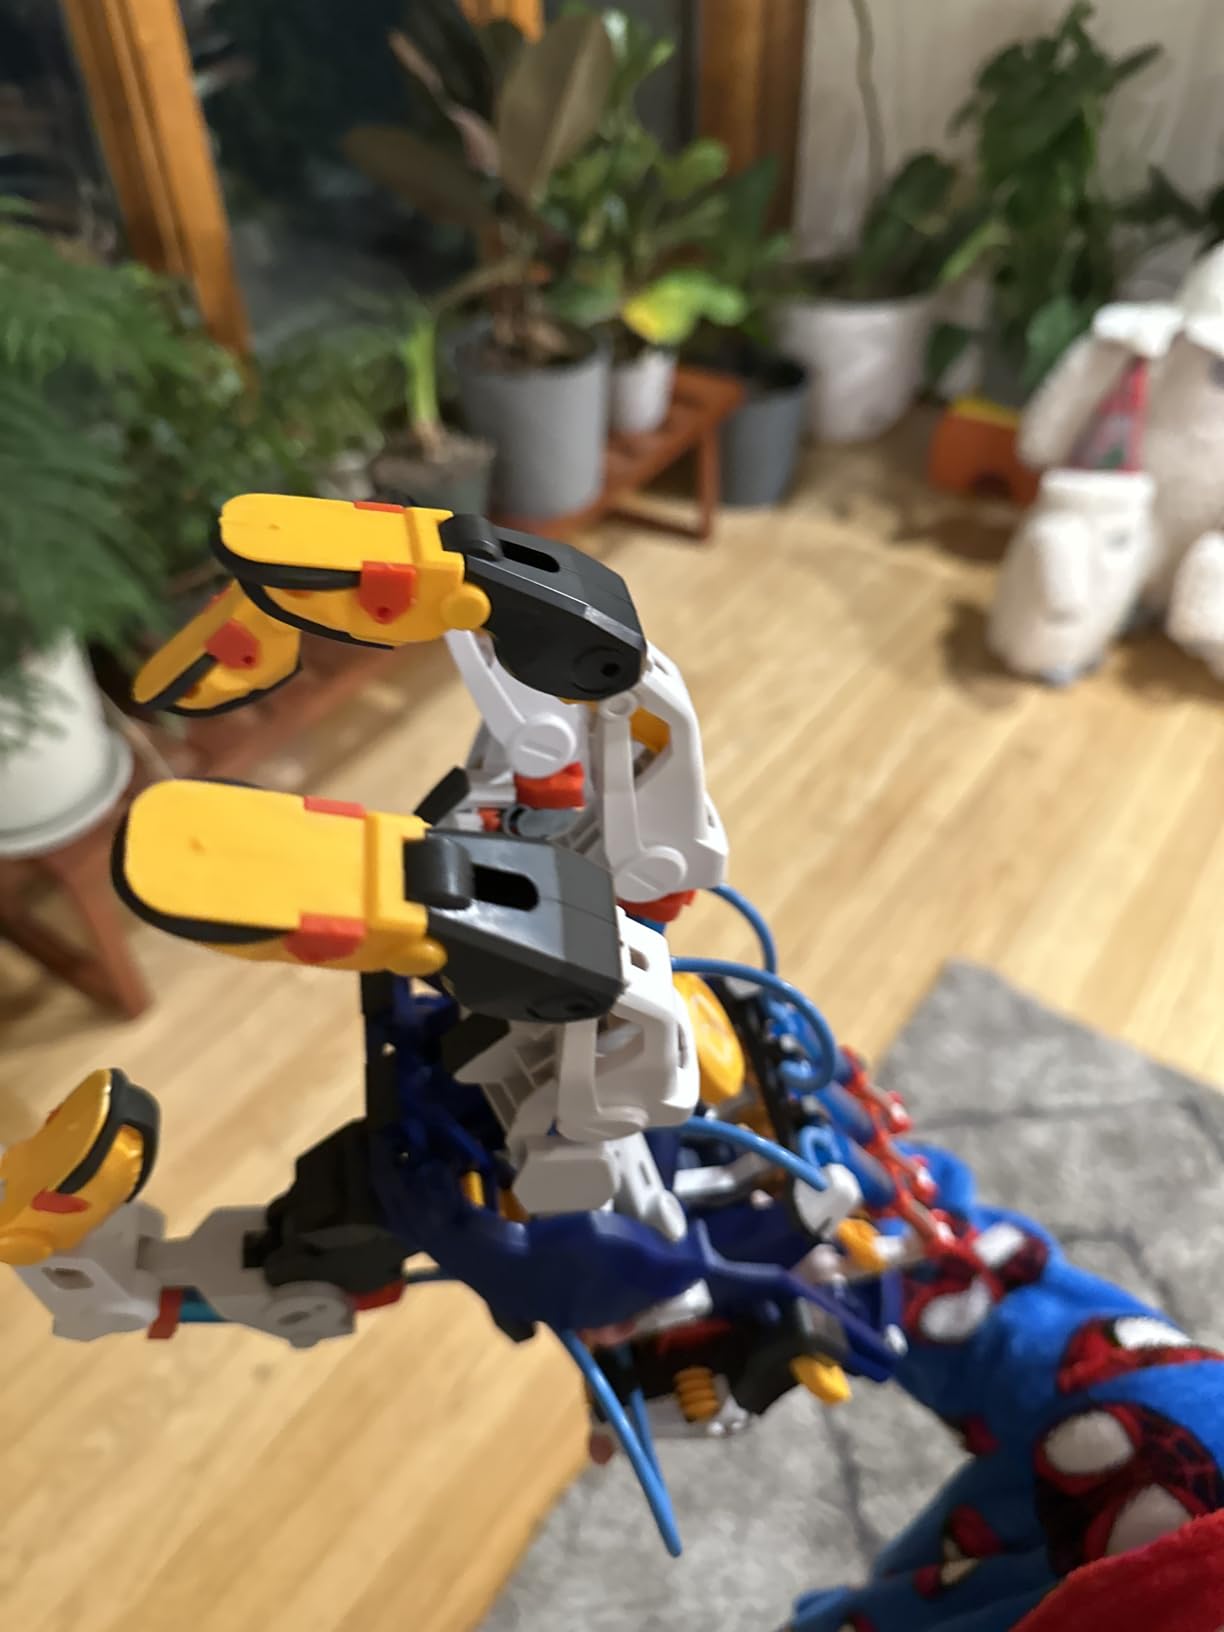
Assembly is the obstacle. Reviews report three to four hours even with help, which makes it the longest build here, and families with children under 10 describe it as requiring two adults. A teenager who wants a serious project rather than a fast result will enjoy that; a younger child will not finish it alone.
Parts are moulded onto a sprue frame and have to be popped out, and the leaving edges can be sharp enough to need sanding. That is a fifteen-minute job with a file before any assembly starts, and it is worth doing outdoors or over a bin.
There is no spare-parts programme for the cylinders or piston seals, so a failed seal ends the build until replacements are sourced. Manufacturer support is repeatedly praised for sending cylinders and seals in about a week, which softens but does not remove the problem.
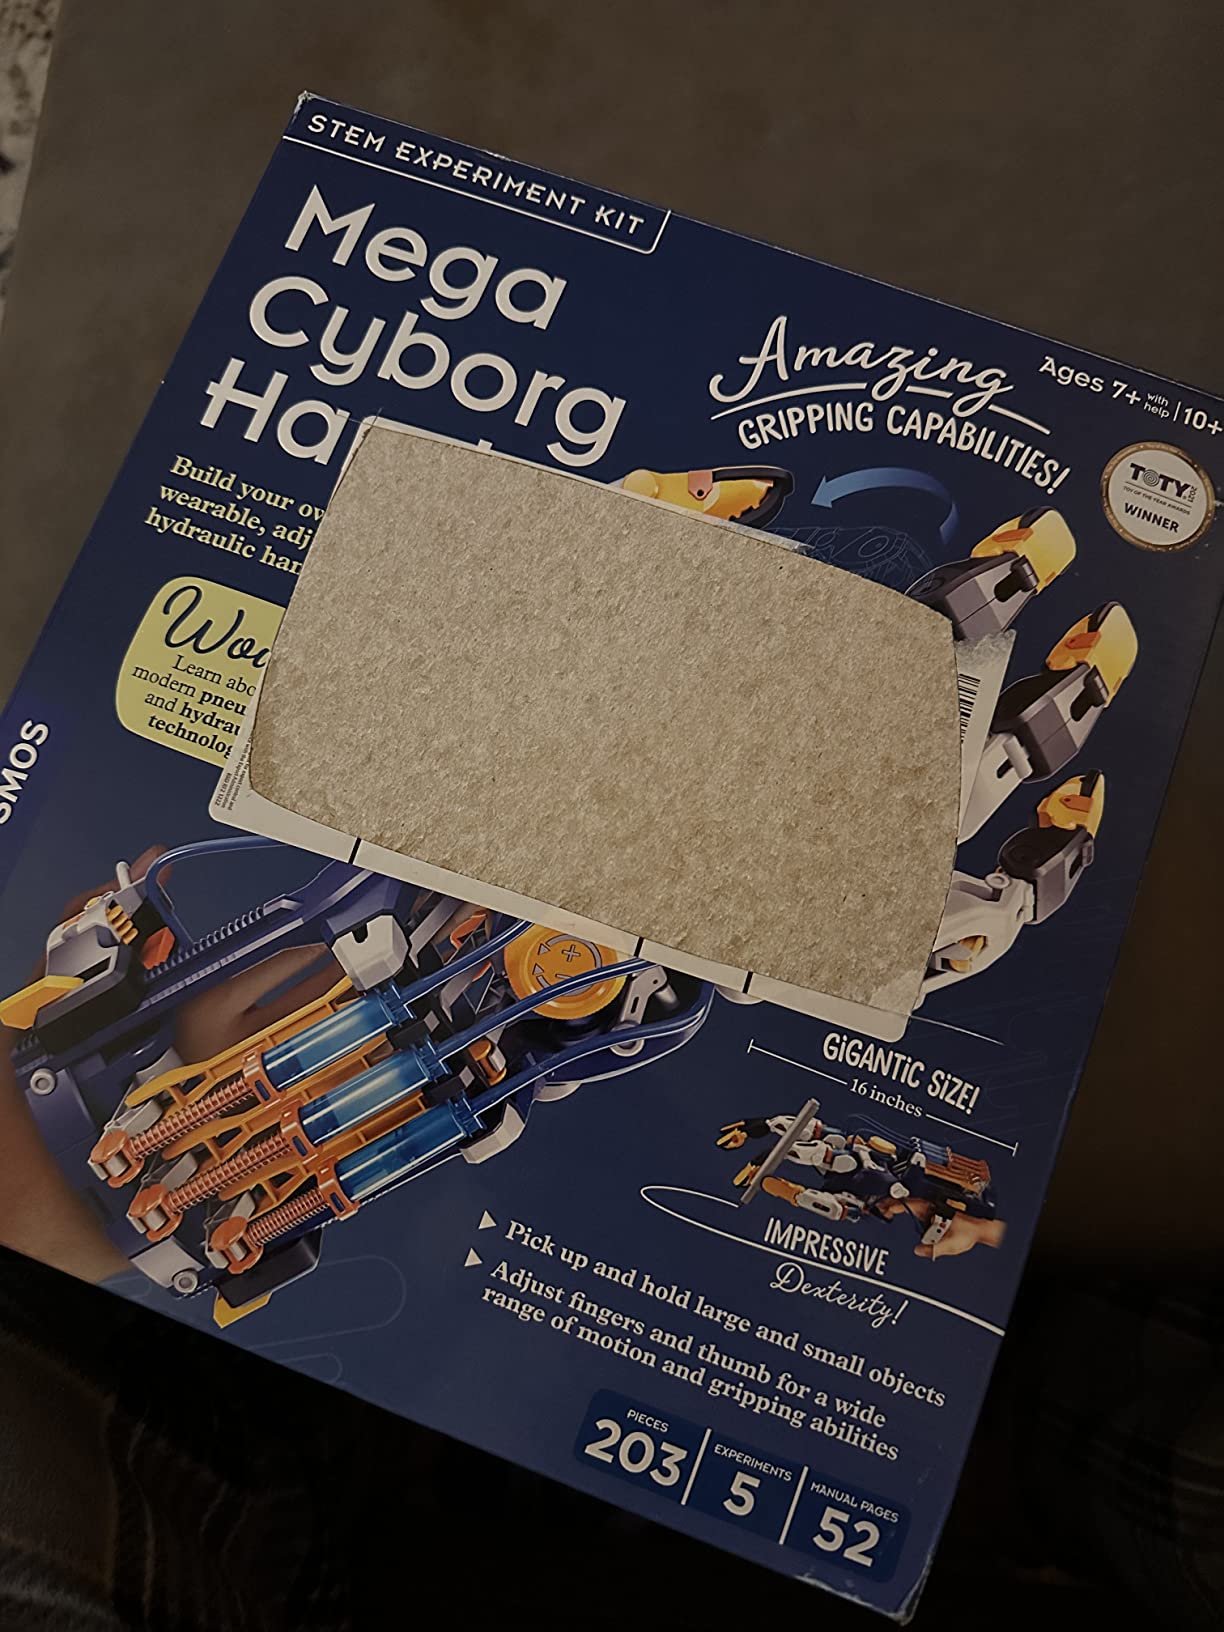
Is a hydraulic hand kit a real engineering lesson?
Yes. Pneumatics is a genuine branch of mechanical engineering used in industrial robotics and automotive assembly, and the kit manual explicitly connects the build to that industrial application. A teenager who understands this mechanism has grasped a concept that appears in factory automation.
What it does not teach is control logic. There is no sensing, no programming and no feedback, so this belongs alongside an electronics kit rather than replacing one.
Will younger hands be able to work it once built?
Sometimes not. Because the hand is driven by squeezing a syringe, smaller or weaker hands can struggle to actuate it after the build is finished, and a parent may need to demonstrate for a while. The adjustable geometry helps, but the required hand force does not reduce.
For a 13-year-old it works comfortably. For a younger sibling sharing the same toy, expect to have to help.
10. Thames and Kosmos Roller Coaster Engineering – Best for Energy and Motion
Thames & Kosmos | Roller Coaster Engineering STEM Kit | Design, Build, Experiment w/ Working Models | Explore Physics, Forces, Motion, Energy, Velocity & More | Solve Building Challenges
Coaster models with chain lift
32-page manual with experiments
Open-ended track design
No batteries needed
Pros
- Open-ended track design lets a builder iterate on drop height
- loop radius and speed
- Chain lift gives a real potential-to-kinetic energy loop rather than a plain gravity slide
- Using coins as variable mass is an unprompted experiment
- Building system is reusable so new track designs follow the challenge models
Cons
- Launch ramp and car wheel mounts reported cracking within days
- Joints separate easily and need firm pushing
- Listed for ages 6 upward so the challenge content stops short of teen level
The chain lift is what separates this from a marble run. Lifting the carriage up and letting it drop produces a genuine conversion of potential energy into kinetic energy that repeats on every run, and a teenager can watch the effect of changing the drop height in a way a flat slope never shows.
Track design is open-ended rather than fixed. Multiple shapes and sizes can be built, so the natural activity after the challenge models is redesigning a loop that is too tight or a hill that is not high enough, which is iteration rather than completion.
The 32-page full-colour manual pairs step-by-step assembly with scientific explanations and controlled experiments. Weights in the carriage work as a variable mass, and several reviewers independently describe adding coins as the experiment that made the physics stick.
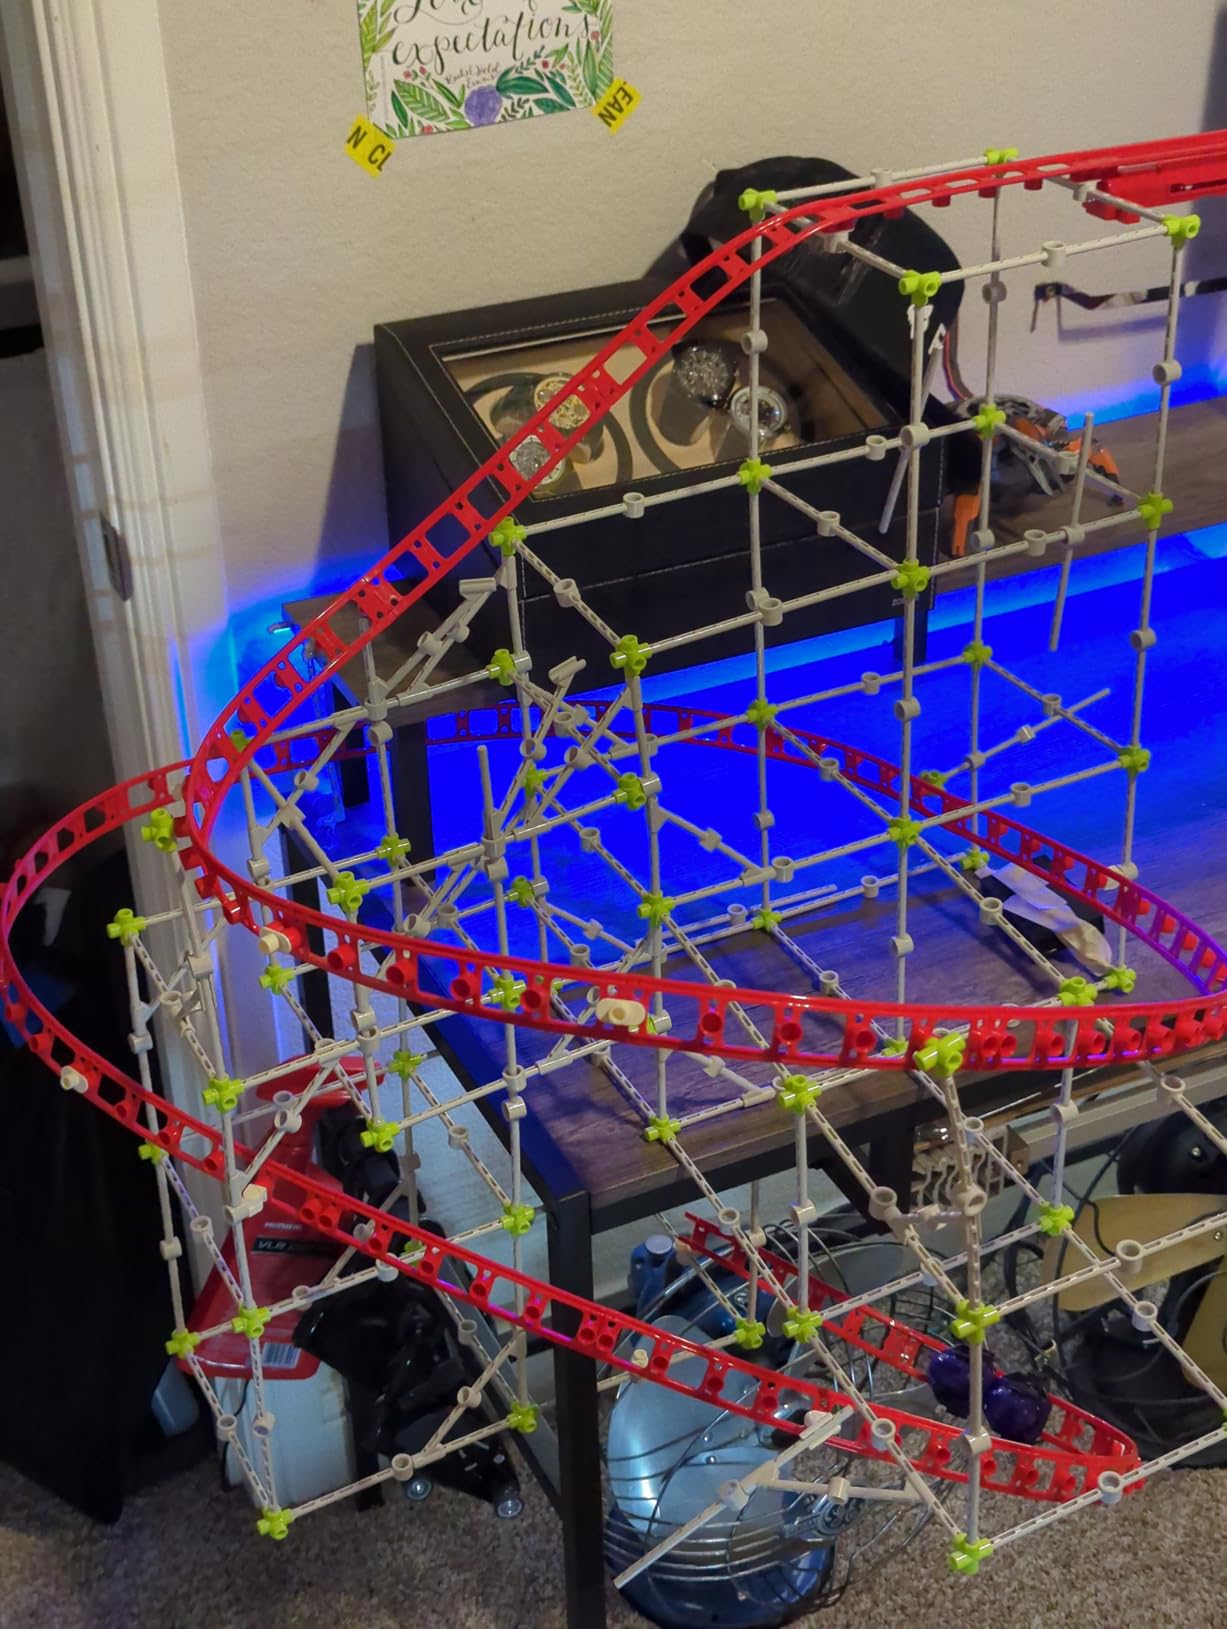
No batteries are required. Gravity supplies the energy, so there is no firmware, no app and nothing to charge, and the plastic building system is reusable once the challenge models are finished.
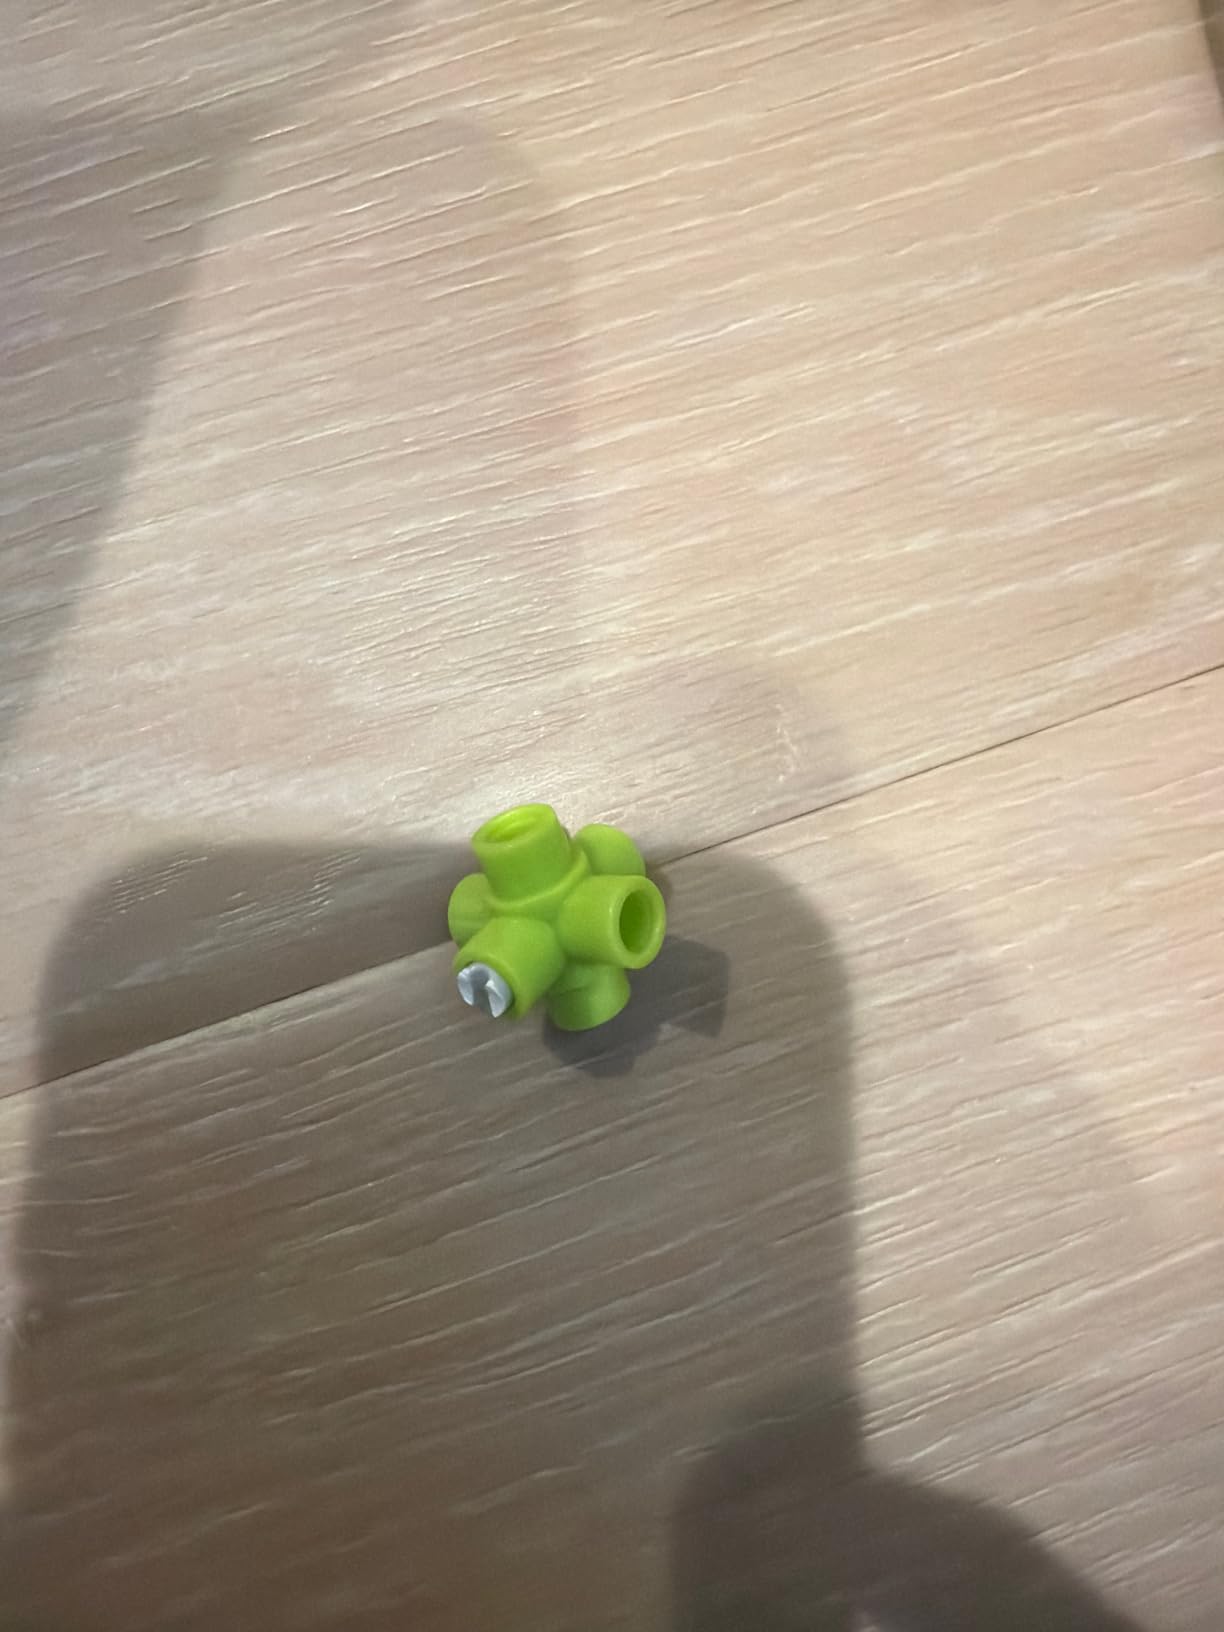
Durability is the clear weakness and it is reported across multiple reviews. The launch ramp and the carriage wheel mounts are reported cracking within days of use, and joints separate easily enough that a track can come apart mid-run unless pushed firmly into place.
There are also no replacement parts offered for a broken ramp, which is a real problem for a kit whose appeal depends on repeated high-load runs. Treat the track as something to tune rather than something to run flat out, and check the joints before each descent.
Is this kit challenging enough for a teenager?
The physics is, the challenge content is not. The manufacturer lists it for ages 6 and upward, so the guided material stops well short of teen-level, and a 15 or 16-year-old will run out of structure quickly and have to invent their own experiments.
Teens who do that tend to enjoy it more than the younger builders, because an unstructured track with a stopwatch is a far better experiment than a guided one.
How does this compare with the catapult and structural kits?
It is the weakest of the three mechanical kits in terms of build quality, and we rank it last for that reason rather than for its educational value. The catapult at number 8 is more durable and the structural set at number 7 has a much larger review base behind its durability complaints.
Choose this one for the energy chain and the chain lift specifically. Choose the others for a build that will survive a year of regular handling.
How to Choose an Engineering Kit for Teens in 2026
The single most common mistake is buying on the printed age rating. Ratings describe the youngest child who can complete the build with help, not the age at which the kit stays interesting. Work through these six questions instead, in order.
Choosing by age band
For a 13 or 14-year-old with no STEM experience, start with something that produces a working result quickly: the Snap Circuits set at number 3 removes every barrier to a first circuit, and the mBot at number 5 builds in about fifteen minutes. Both reach a working state before patience runs out.
For a 15 or 16-year-old, the difficulty should come from the program rather than the assembly. The Arduino kits at numbers one and two are the right register, because the teens who quit on screws would have finished the mechanical builds a long time earlier.
For a 17 or 19-year-old, treat the kit as a platform rather than a product. The Mega 2560 set and the mBot both have documented expansion paths, and the schematic-reading habits from the official Arduino kit transfer directly to any subsequent electronics work.
Choosing by budget tier
At the lowest tier, expect a single mechanism with no electronics. The catapult kit and the cyborg hand both sit here, and both teach real physics for very little. They are strong birthday gifts, but they will not hold a teen who has already decided they want to build robots.
In the mid tier sit most of the mechanical and circuit kits: the structural engineering set, the snap modules, the Teach Tech arm and the roller coaster. This band gives the best value per hour of engagement in our testing, and it is where most of these kits land.
The upper tiers buy headroom rather than entertainment. The official Arduino kit buys genuine hardware and a manual worth keeping, and the Mega 2560 set buys pins and memory so a project does not need a second board. Neither is a toy budget decision, so set expectations with the recipient.
Choosing by experience level
Block-based coding means drag-and-drop visual programming where blocks snap together like the physical kits. Text-based coding means writing syntax in an editor, and the Arduino IDE sits in that second category even though it has helpful error messages.
Start with block coding if the teen has never programmed. The mBot is the clearest example because the same robot runs in both worlds, which lets a teenager move up on their own schedule rather than being told they are ready.
Start with text-based coding if the teen has already used Scratch for longer than a month or has a class in computer science. The Arduino kits are written for exactly that, and the 35 guided lessons in the Mega 2560 set assume a willingness to read code as well as change it.
What to skip and why
Skip platforms whose parent brand has left the market, whatever the price looks like. The recurring forum worry about programmable robot kits is not about difficulty, it is about buying a box that depends on software nobody is maintaining any more, and a dead app means the kit becomes a very expensive static model.
Skip multi-generation robotics ecosystems on a trend rather than on a roadmap. The classic programmable brick approach raised the same concern years ago for the same reason, and the lesson generalises: check whether the current generation has a community and a release history before committing.
Skip any kit whose instructions exist only as a thin printed booklet with no downloadable version. Our best builds were the ones where the guidance could be reopened on a phone at the bench, and that capability matters more for long-term engagement than an extra sensor.
Where this hobby leads next
The clearest progression runs from a mechanical or circuit kit to a programmable robot and then to a competition or a club. A teenager who finishes any of the Arduino kits here can read a microcontroller datasheet, and that is the actual gateway to everything after it.
Competition teams are the most direct route. Regional and high school robotics programmes use platforms close to the kits above, and a teen arriving with line-following and obstacle-avoidance experience from a kit like number 4 is meaningfully ahead of a newcomer.
Open-source microcontroller platforms are the other branch, and they are where the skills genuinely compound, because everything learned transfers to the next board without a new ecosystem to learn. Our monitor recommendations are worth a look if the teen ends up doing schematic or CAD work at a larger screen later.
Safety notes worth reading before buying
Check the recommended age against the youngest child who might handle the kit. Small snap-fit parts and screws are the main concern, and several kits here warn explicitly that forcing a joint can snap a component with no spare-parts programme to replace it.
Sets that need wiring carry a soldering and battery-care angle. Kits with lithium-ion packs or coin cells should only ever be charged with the supplied charger, and coin cells are a genuine ingestion risk around very young siblings, so store them out of reach.
Finally, set a session expectation. A multi-hour build abandoned halfway is the most common way these kits end up in a cupboard, and a teenager told in advance that the build is a weekend job will plan for it.
Frequently Asked Questions
What is a good robot kit for a 14-year-old?
The ELEGOO UNO R3 Smart Robot Car Kit V4 is our first recommendation for that age. It builds in about an hour, arrives with working code so the car drives immediately, and offers line tracking, obstacle avoidance and live video as three separate behaviours to debug. Both its main board and its camera module are programmable, and the manufacturer rates it 12 and up. A teen with no coding experience can modify the example programs without breaking the build.
What are the best engineering kits for teenagers?
It depends on which branch of engineering the teen is drawn to. For electronics and microcontrollers the ELEGOO Mega 2560 Complete Starter Kit and the Official Arduino Starter Kit lead, offering 35 or more guided projects and 15 sequenced projects respectively. For robotics and coding the ELEGOO UNO R3 robot car and the Makeblock mBot are strongest. For structural and mechanical physics the Thames and Kosmos Structural Engineering set is the pick, and for pneumatics the Mega Cyborg Hand.
Do engineering kits need a tablet or phone?
Some do and some do not. Any Arduino-based kit in this list needs a computer running the Arduino IDE, and the ELEGOO robot car additionally needs a phone or laptop on the same network for Wi-Fi control and video. The Snap Circuits 203, the Teach Tech Mech-5, the catapult kit, the cyborg hand and the roller coaster set all work with no screen at all, which makes them the better choice for a family limiting screen time.
Are engineering kits worth it for teens?
They are worth it when the kit produces a working result and can be changed. Every kit here is built rather than pre-assembled, so the teenager owns the mechanism and can modify it, and the value comes from that iteration rather than from the finished object. The kits worth avoiding are the ones where the only outcome is the single build the manual describes, because the hobby ends the moment the model works once.
How long does it take to build an engineering kit?
It depends heavily on the kit. The Makeblock mBot assembles in about fifteen minutes and the PATHFINDERS catapult takes roughly an hour, while the Mega Cyborg Hand is reported at three to four hours even with help. The Arduino starter kits sit in the middle, with session-based assembly the norm. Plan for a weekend on the longer builds rather than expecting an evening.
Is Arduino too hard for a teenager?
No, not as a starting point. The Official Arduino Starter Kit is designed for beginners, and all of its example sketches load directly from the Arduino IDE so nothing has to be typed from scratch. The genuine difficulty is reading the schematics in the projects book, not the code. Teens who finish all 15 projects can read more advanced examples without a formal course, and can then move up to the Mega 2560 kit for more pins and memory.
What age is an engineering kit actually appropriate for?
Treat the printed rating as the youngest age that can finish with help, not as a target. Several kits here are marked 8 and up yet suit a 14 or 15-year-old far better, and the roller coaster set is listed for ages 6 upward while its guided content clearly stops short of teen level. Judge by whether the challenge comes from the idea or from the assembly, and pick the side a given teen enjoys.
The Best Engineering Kits for Teens in 2026: Final Verdict
The ELEGOO Mega 2560 Complete Starter Kit is the best of the best engineering kits for teens in 2026, because it pairs the highest rating in the group with the widest hardware headroom and the most review volume behind it. Nothing else here combines 200-plus components, 35 guided lessons and enough pins to keep a multi-sensor project on one board.
Pick the Smart Robot Car Kit V4 for immediate results, the Snap Circuits 203 for a first electronics build with no barriers, and the official Arduino Starter Kit for a teen who wants to learn to read schematics. Whichever one you choose, give a weekend to the build and check the age label against the challenge level rather than against the number on the box.