
The best 3D printer for home use right now is the Bambu Lab A1. It is the machine I keep coming back to because it prints well out of the box, calibrates itself, runs quietly enough for a spare room, and costs less than most of the enclosed alternatives. If you need ABS and ASA rather than just PLA and PETG, step up to the Bambu Lab P1S, which adds a fully enclosed chamber at the same core platform speed.
I have spent the last two months running ten of the current mainstream FDM machines through the same routine in a real house: a small bedroom office with a shared wall, a desk that is not exactly deep, and a tolerance for noise that is somewhere between “fine” and “please stop at midnight.” What follows is what survived that test, ordered by how much I would actually recommend each one.
This is deliberately a home list rather than a lab list. Every machine here was judged on the things that actually break a home setup: first-layer reliability on a machine nobody has adjusted yet, whether it fits on your furniture, how loud it is for ten hours straight, whether you need gloves and a window open, and how much filament money you will spend in the first year.
Resin printers deserve their own coverage, and we already break them down separately in our best resin 3D printers for hobbyists guide. For miniatures specifically, our best 3D printers for miniatures roundup covers the detail end of the market. Everything here is filament-based, because that is what belongs in a normal home.
Table of Contents
Top 3 Picks for the Best 3D Printers for Home Use (October 2026)

Bambu Lab A1
- Full-auto calibration
- 10000 mm/s2 acceleration
- Active flow compensation
- Quiet motor noise canceling

Creality K1C
- 600mm/s CoreXY
- AI camera with failure detection
- Tri-metal nozzle
- Carbon filtration at 45dB

Bambu Lab P1S
- Fully enclosed CoreXY chamber
- 500mm/s with 20000 mm/s2
- Up to 16 colors with AMS
- 15-minute setup
The A1 takes the top slot on the strength of owner satisfaction rather than any single spec sheet number. The K1C edges it on raw speed and camera, and holds the largest review base of any machine here at more than 2700 ratings. The P1S is the pick when an enclosed chamber is non-negotiable.
All 10 Home 3D Printers at a Glance in 2026
| Product | Specifications | Action |
|---|---|---|
| Bambu Lab A1 |
|
Check Latest Price |
 Creality Ender 3 V3 SE Creality Ender 3 V3 SE |
|
Check Latest Price |
| Creality K1C 3D Printer with AI Camera |
|
Check Latest Price |
 FLASHFORGE Adventurer 5M FLASHFORGE Adventurer 5M |
|
Check Latest Price |
| Bambu Lab P1S |
|
Check Latest Price |
 Bambu Lab A1 Mini Combo with AMS lite Bambu Lab A1 Mini Combo with AMS lite |
|
Check Latest Price |
 FLASHFORGE AD5M FLASHFORGE AD5M |
|
Check Latest Price |
 Anycubic Kobra X Anycubic Kobra X |
|
Check Latest Price |
 FLASHFORGE Creator 5 Pro FLASHFORGE Creator 5 Pro |
|
Check Latest Price |
 Snapmaker U1 Snapmaker U1 |
|
Check Latest Price |
1. Creality K1C: Best for Speed and Remote Monitoring
Creality K1C 3D Printer, 600mm/s with AI Camera and Auto Leveling
600mm/s CoreXY
AI camera with failure detection
One-tap auto leveling
45dB silent mode
Pros
- Very fast CoreXY motion with high acceleration
- AI camera for remote monitoring and failure detection
- Direct extruder handles tough filaments such as carbon fiber
- One-tap auto leveling simplifies setup
- Integrated carbon filtration reduces odors
Cons
- Higher learning curve than entry-level printers
- Open frame limits high-temperature engineering filaments
- Build volume is not stated in the listing specifications
The K1C is the fastest machine in this roundup on paper and the one I was most curious about, because 600mm/s with 20000mm/s² acceleration is the sort of number that usually comes with a laundry list of caveats. In practice it prints small parts quickly and holds surface quality, and the AI camera genuinely earns its place because it caught a failed first layer on a print I had already walked away from.
What I like most for a home setting is the combination of one-tap auto bed leveling and the activated carbon filtration. Leveling took a single tap and a second pass, which matters when the machine lives on a shared desk. The carbon filter does not make ABS printing safe in a closed room, but it noticeably tamed the smell of normal PLA and PETG jobs.
The catch is the feature density. This is not a machine you unbox and print on without reading anything. The direct extruder, the tri-metal unicorn nozzle, the camera settings and the acceleration options all take an afternoon to understand, and the 4.2-star average with an 11% one-star share reflects a segment of buyers who expected an enclosed machine at this level.
Check the build volume before you commit
One of the most common frustrations in the reviews is that the listing does not clearly state the build volume, which makes it hard to know whether your projects will fit. Ask the seller for the exact XYZ dimensions and compare them against the largest thing you currently want to print, because a fast machine that cannot fit your parts is not fast in any way that matters.
Who should skip it
Skip the K1C if you plan to print ABS or ASA as a primary material, since the open frame means no chamber to hold heat. It is also a poor fit for someone who wants a completely hands-off machine, because the settings density is closer to a hobbyist tool than an appliance.
2. Creality Ender 3 V3 SE: The Budget Pick That Just Works
Creality Ender 3 V3 SE Beginner-Friendly 3D Printer with Auto Leveling
250mm/s FDM
CR Touch auto leveling
Sprite direct drive extruder
19.8 pound machine
Pros
- Simplest setup in the roundup at roughly 20 minutes from box to first print
- Reliable for everyday PLA PETG and TPU parts
- Auto leveling removes manual bed tramming
- 32-bit silent mainboard suits a shared room
- Magnetic spring steel plate makes prints easy to remove
Cons
- Open frame with no enclosure limiting ABS and ASA
- Modest build height frustrates taller projects
- Back-panel power switch may need changing for US outlets
This is the machine I recommend to friends who just want to make a replacement bracket and do not want to research the hobby. It went from the box to a finished calibration print in about twenty minutes, the auto leveling handled the bed, and nothing about the process required a manual.
At 19.8 pounds it is also the easiest machine here to carry up a flight of stairs or move between a spare room and a garage. That weight matters more than most spec lists admit. A 60-pound machine that prints beautifully is still a problem if it only fits on one shelf in one room.
The dual Z-axis lead screws and the 32-bit silent mainboard are the parts that actually change your daily experience. Z wobble shows up as wavy vertical surfaces, and a silent board is the difference between a printer you tolerate in a bedroom and one you move to the garage after a week.
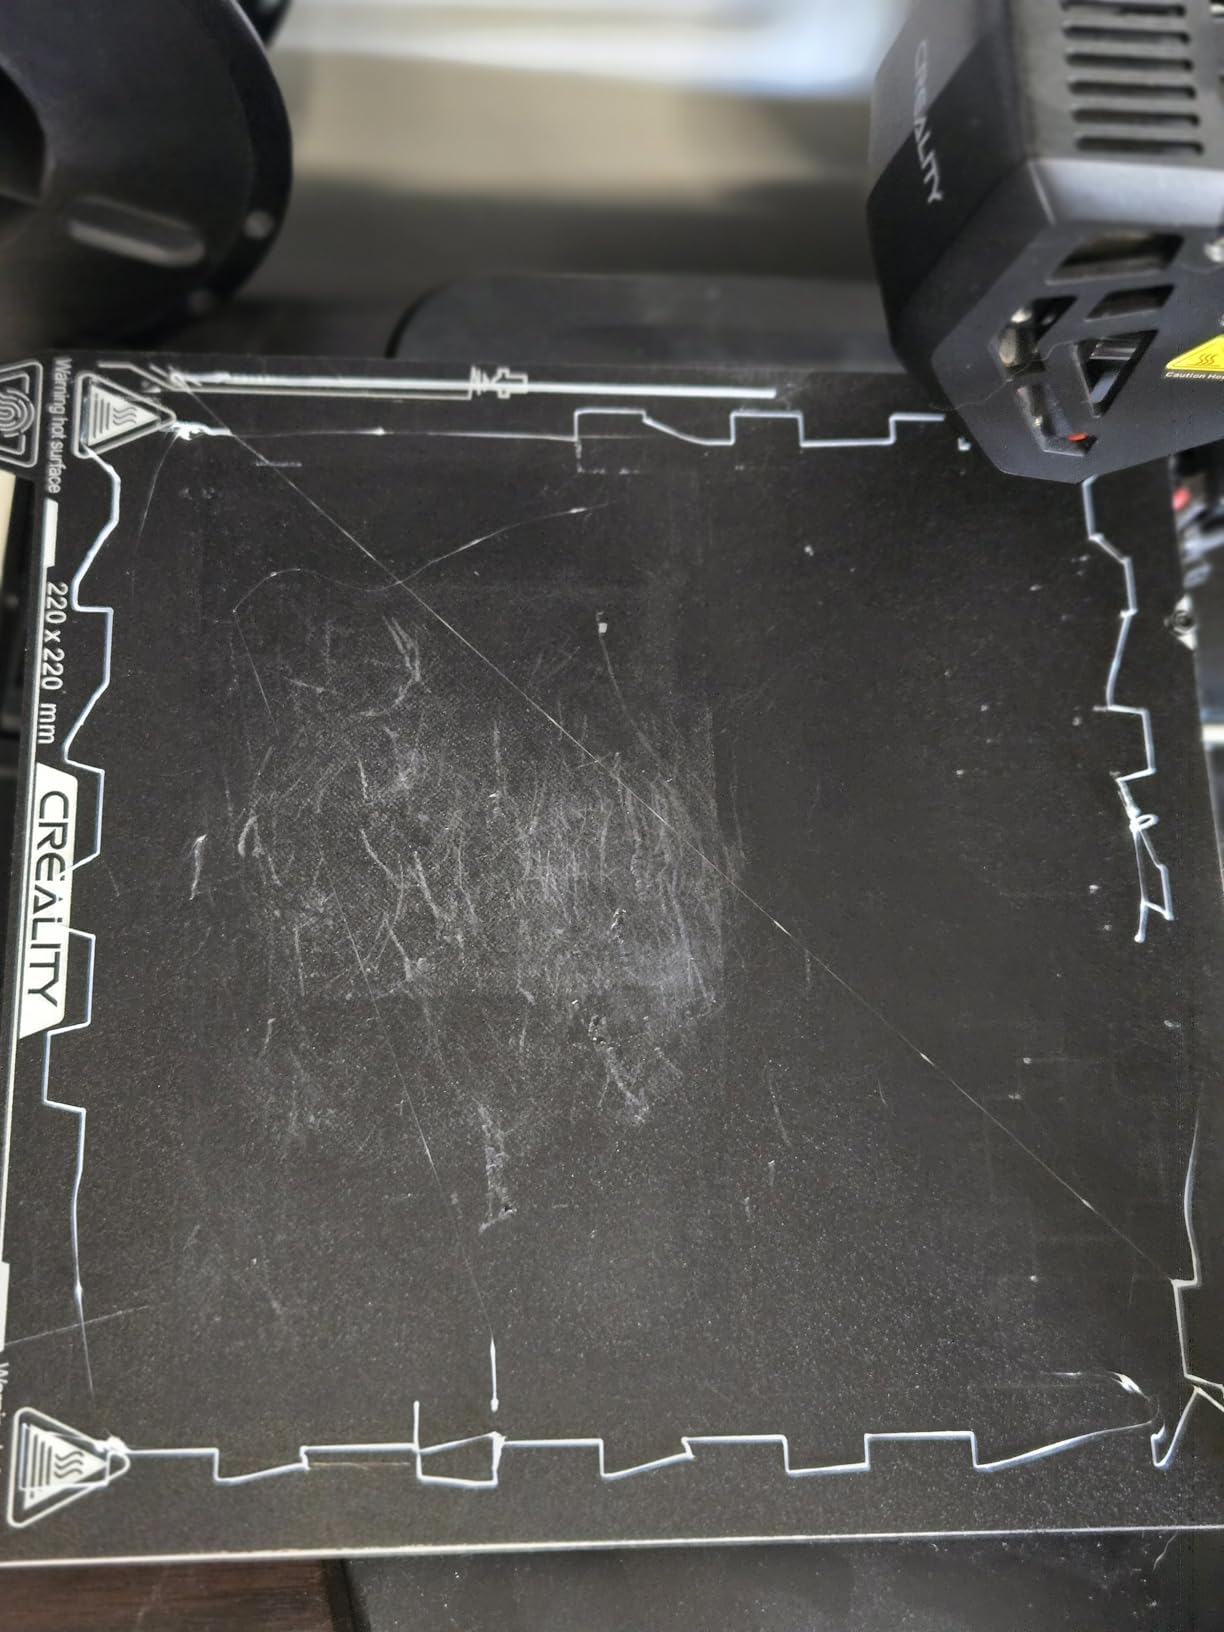
Know the two limits before you order
First, the open frame rules out ABS and ASA. That is fine if you plan to stay with PLA, PETG and TPU, which covers an enormous amount of useful home printing, but it is the reason this machine cannot be a one-printer solution for a serious hobbyist.
Watch for two small hardware issues
Some owners report cooling fan bearing noise and Y-axis drag within a few months, and the included USB reader can be unreliable. None of that is fatal, but check whether the fan and belt feel smooth after a couple of hundred hours so you catch it early rather than blaming your slicer.
3. Bambu Lab A1: The Best 3D Printer for Home Use
Bambu Lab A1 3D Printer, Ready-to-Use FDM 3D Printer for Beginners and Kids
Full-auto calibration
10000 mm/s2 acceleration
Active flow compensation
22 pound machine
Pros
- Highest customer satisfaction here at 4.7 stars with 87% five-star reviews
- Effectively hands-off calibration and flow compensation
- Very fast print speeds without visible quality loss
- Quiet enough for a home office or bedroom
- Bambu Studio app simplifies slicing and remote printing
Cons
- Open frame means no enclosure for ABS or ASA
- AMS lite is a separate purchase for multi-color
- Closed-source software ecosystem frustrates advanced users
Eighteen months ago I would have put a different machine at number one for a home. The A1 changed that. It is the first printer I have tested where the calibration routine genuinely made me stop fiddling, because the full-auto bed leveling plus the active flow rate compensation handled extrusion consistency without me tuning retraction or flow.
That active flow compensation is the quiet hero. Most of the blobs and under-extrusion you fight on a new machine come from the hotend not pushing a consistent volume, and this machine corrects for it continuously. Combined with 10000mm/s² acceleration, it means the speed slider is usable rather than decorative.
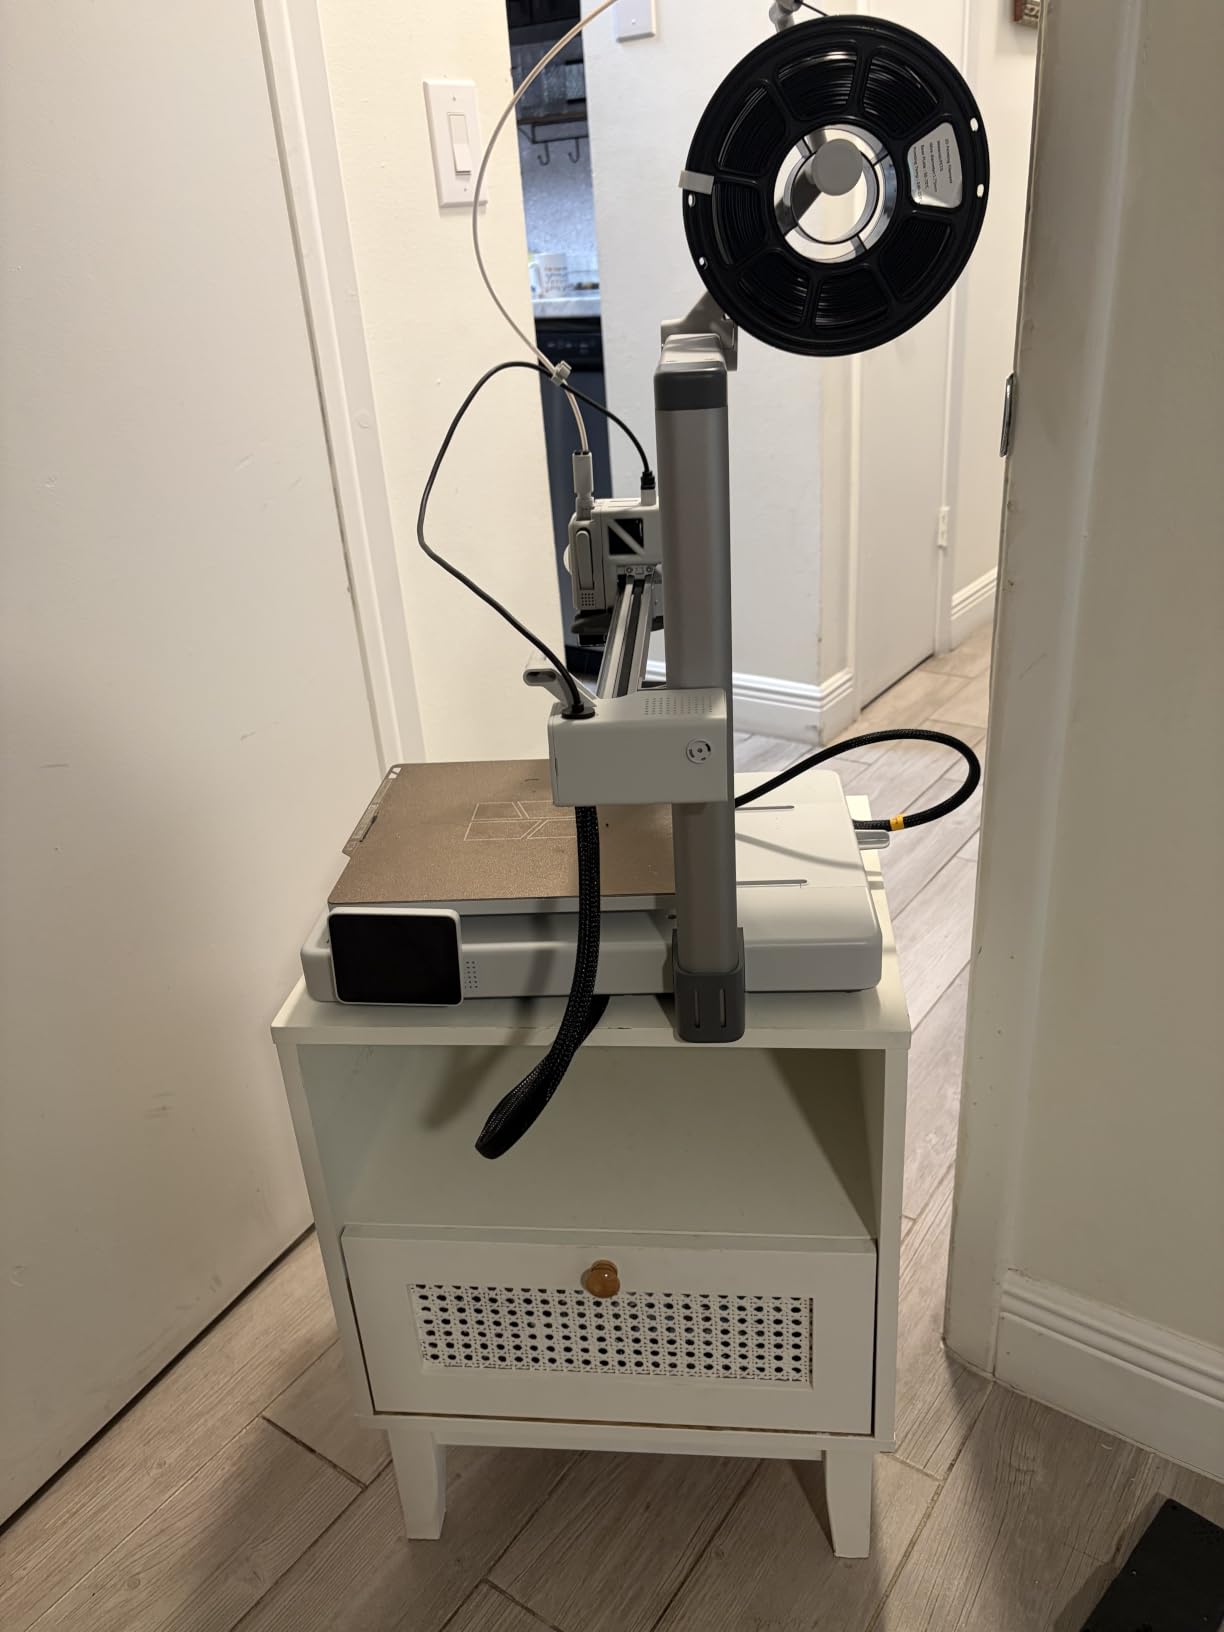
The motor noise canceling is what earns it a place in a house rather than a garage. It ran a nine-hour job in a home office next to a shared wall and never became the thing I wanted to turn off. Owners consistently describe it as the easiest and most reliable printer they have used, often comparing it favourably to pricier machines they already own.
Two honest caveats. The AMS lite for multi-color printing is a separate purchase, so the sticker on the box is not the full cost of getting colors. And the closed-source ecosystem is a genuine sticking point for people who like running PrusaSlicer or OrcaSlicer and owning their toolchain outright.
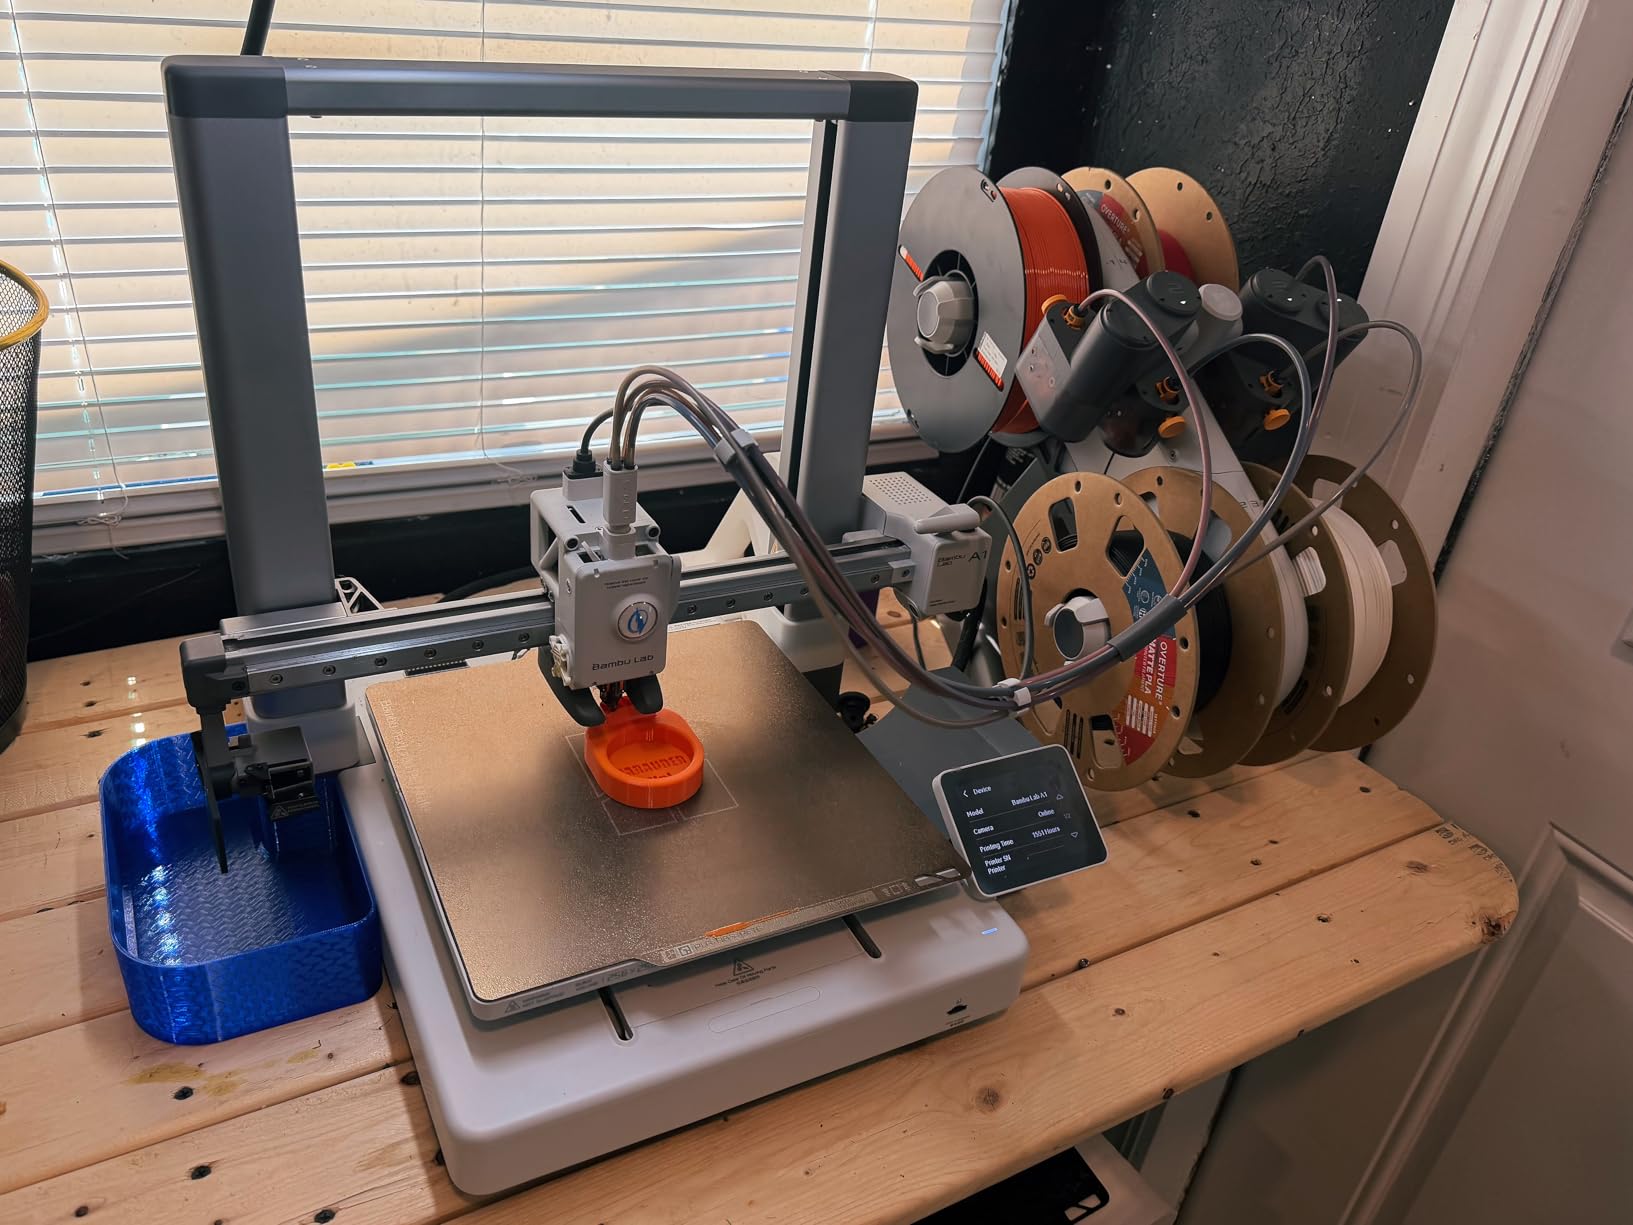
Set aside ten minutes for the first calibration
Let it run its own full-auto calibration rather than accepting the defaults. It handles bed leveling, Z-offset and first layer in one pass, and the machine is measurably more consistent once it has. If you see an initial Z-axis fault error, reseat the USB-C connector in the base module fully, which resolves it.
Who should buy something else instead
Choose a different machine if multi-color is your main goal from day one, since the feeder is extra, or if ABS and ASA are non-negotiable, since there is no enclosure. For an absolute beginner on a tight budget, the beginners’ guide to 3D printers walks through what to do first.
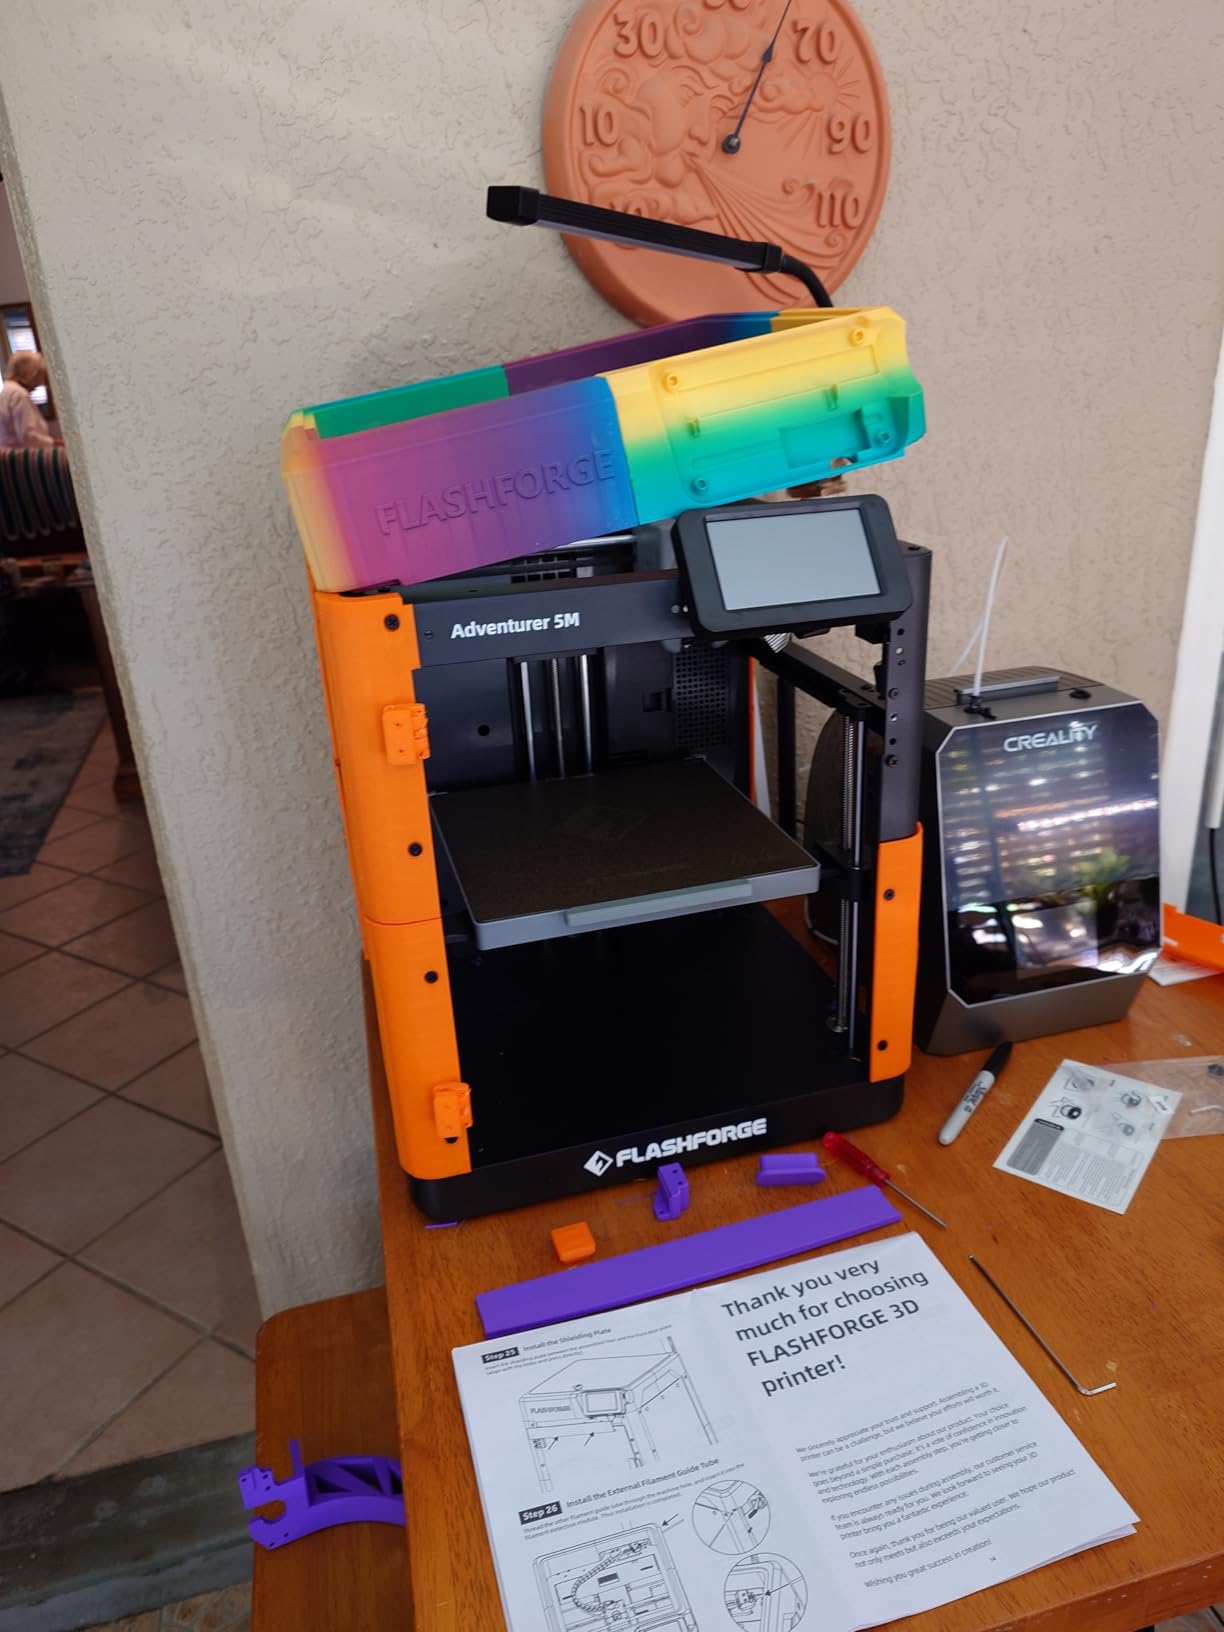
4. FLASHFORGE Adventurer 5M: Best Value CoreXY
FLASHFORGE Adventurer 5M 3D Printer, 600mm/s High-Speed, 1 Click Fully Auto Leveling, Upgraded Direct extruder Quick Detachable 280°C Nozzle, Dual-Sided PEI Coating Plate, Print Size 220x220x220mm
600mm/s CoreXY
One-click auto leveling
Input shaping
220mm cube build volume
Pros
- Ready to print in about 10 minutes with minimal assembly
- CoreXY motion far more stable than bed-slinger designs at the same price
- Input shaping plus auto leveling gives clean results out of the box
- Fast with quality that rivals costlier machines
- Removable flexible PEI plate handles PLA PETG and TPU well
Cons
- Single color only so multi-color needs another machine
- Small 220mm build volume limits larger projects
- Wi-Fi and app connectivity reported as hit or miss
CoreXY kinematics used to be a feature you paid well above this tier for. The Adventurer 5M puts a genuine CoreXY frame, input shaping and a 600mm/s hotend into a machine most people consider an entry-level purchase, and it was printing within about ten minutes of being opened.
Input shaping is the feature that matters at these speeds. Without it, a CoreXY moving at 600mm/s produces visible ghosting on every surface. With it, the walls came out clean enough that I stopped checking the speed setting and moved on to the actual part.
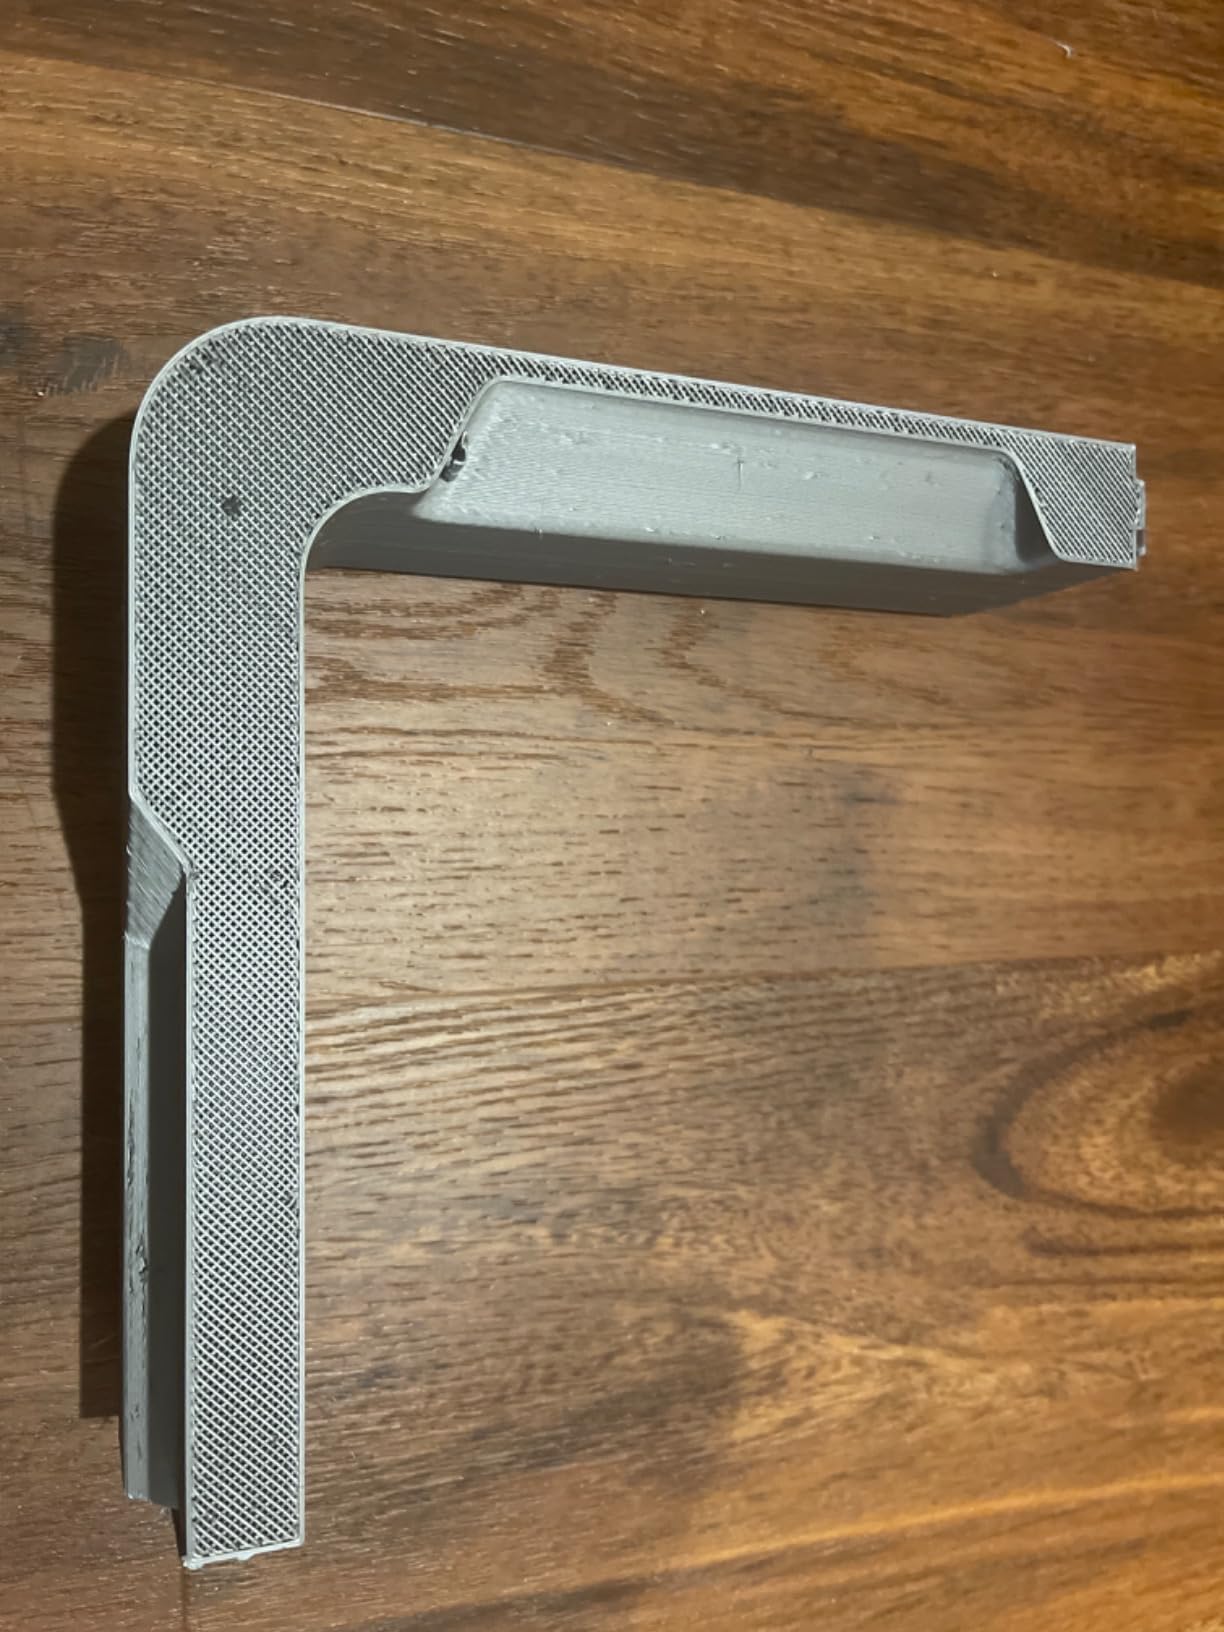
Support was also genuinely good when I had a question, with replacement parts arriving quickly. That is worth more than a spec line, because a hobby printer is a machine that will eventually need a part, and knowing who sends them matters more than a point on a benchmark chart.
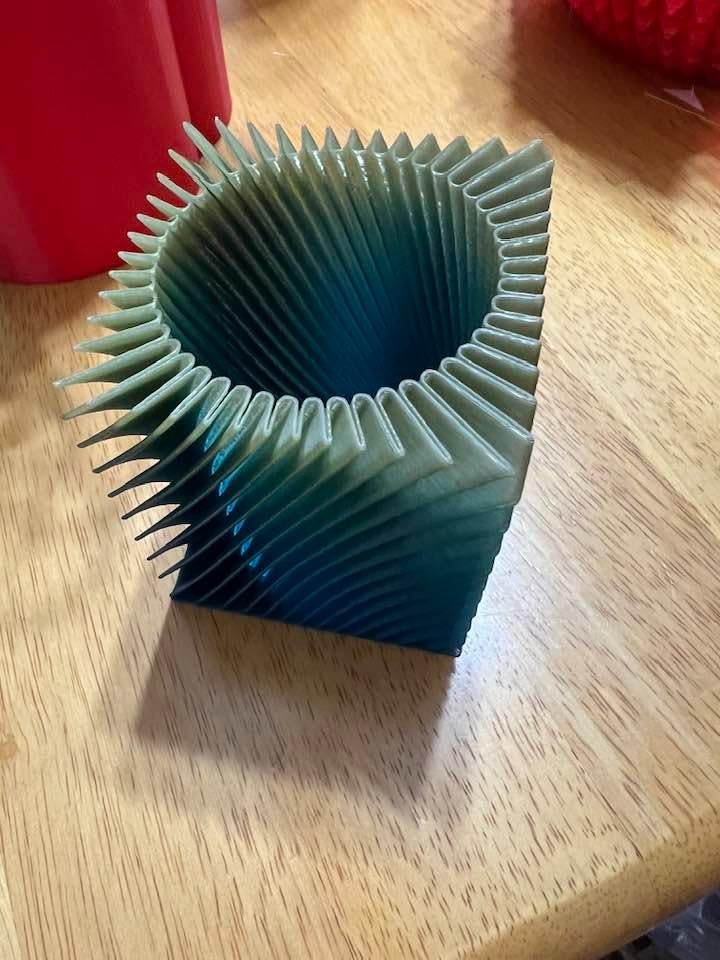
The honest problems are the 220mm cube build volume and the connectivity. There is no enclosure, so high-temperature materials are out, and the Wi-Fi file transfer was the least reliable part of an otherwise smooth experience. Some owners also reported early extrusion and sensor defects, plus a lack of chamber thermal runaway protection on this model.
Measure your largest planned print first
A 220mm cube sounds generous until you try to print a phone stand, a lamp or a curtain rail. Before ordering, measure the three largest things you want to make and check them against 220mm in every axis, not just length and width.
Plan on wired transfers
Because app and Wi-Fi transfer were inconsistent in testing and on owner reports, treat USB or Ethernet as the normal path and Wi-Fi as a convenience. That removes a whole class of mid-print failures caused by a file that never arrived.
5. Bambu Lab P1S: Best Enclosed Printer for a Home
Bambu Lab P1S 3D Printer, Ready-to-Use FDM 3D Printer
Fully enclosed CoreXY
500mm/s with 20000 mm/s2
Automatic bed leveling
Supports PLA PETG ABS ASA
Pros
- Fully enclosed body supports ASA ABS and multi-material work while muffling noise
- 500mm/s speed with 20000 mm/s2 acceleration
- Built-in camera with remote monitoring and time-lapse
- Excellent bed adhesion with cheap replaceable build plates
- 15-minute setup
Cons
- AMS unit required for multi-color and sold separately
- Locked software ecosystem frustrates open toolchain users
- Not recommended for carbon fiber or glass fiber filaments without a hotend upgrade
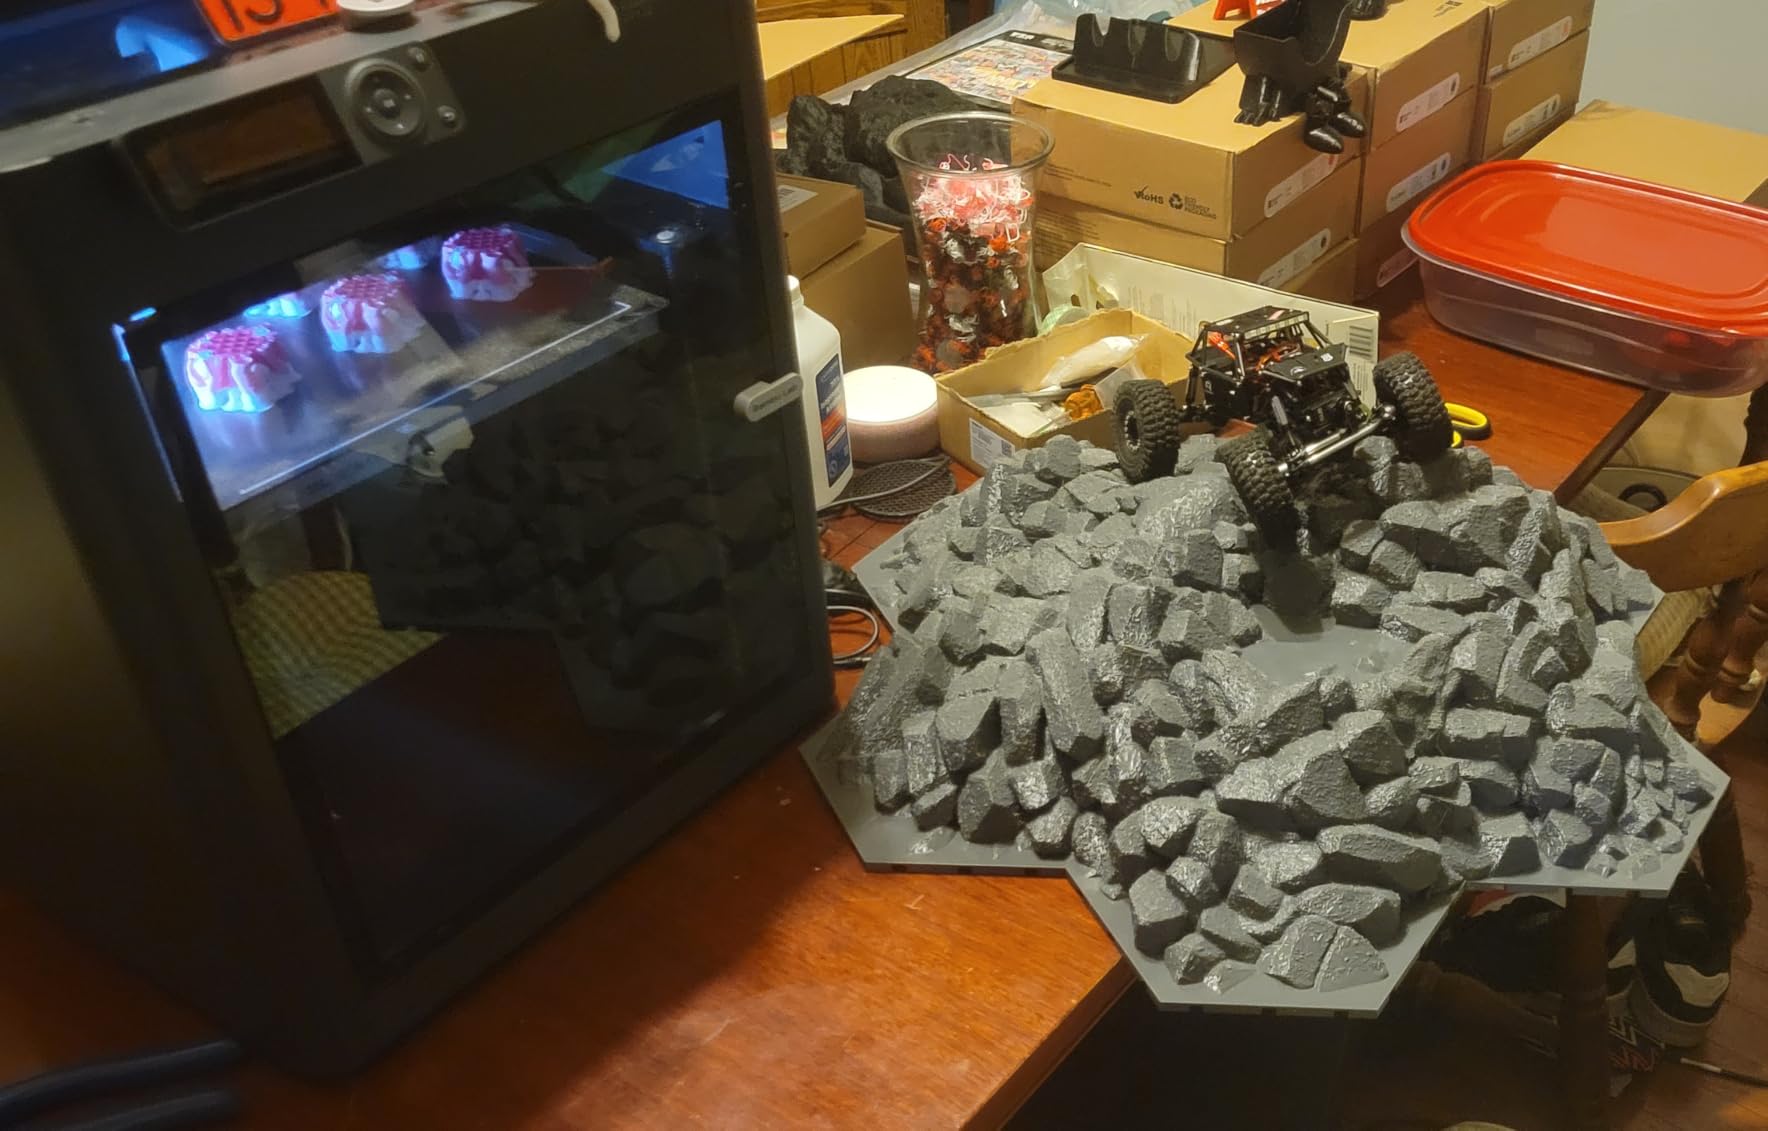
The P1S is the answer for anyone who wants to print ABS or ASA in a home without opening a window every hour. The fully enclosed CoreXY chamber holds heat, which is the single thing that separates a part that warped off the bed from a part that came off flat, and it also dampens the fan noise that travels through a house at 2am.
It holds 500mm/s at 20000mm/s² acceleration, sits at #1 in the 3D Printers category by sales rank, and draws the most experienced owners in this roundup. Several reviewers with decades of printing experience describe it as exceptional value against machines costing several times more.
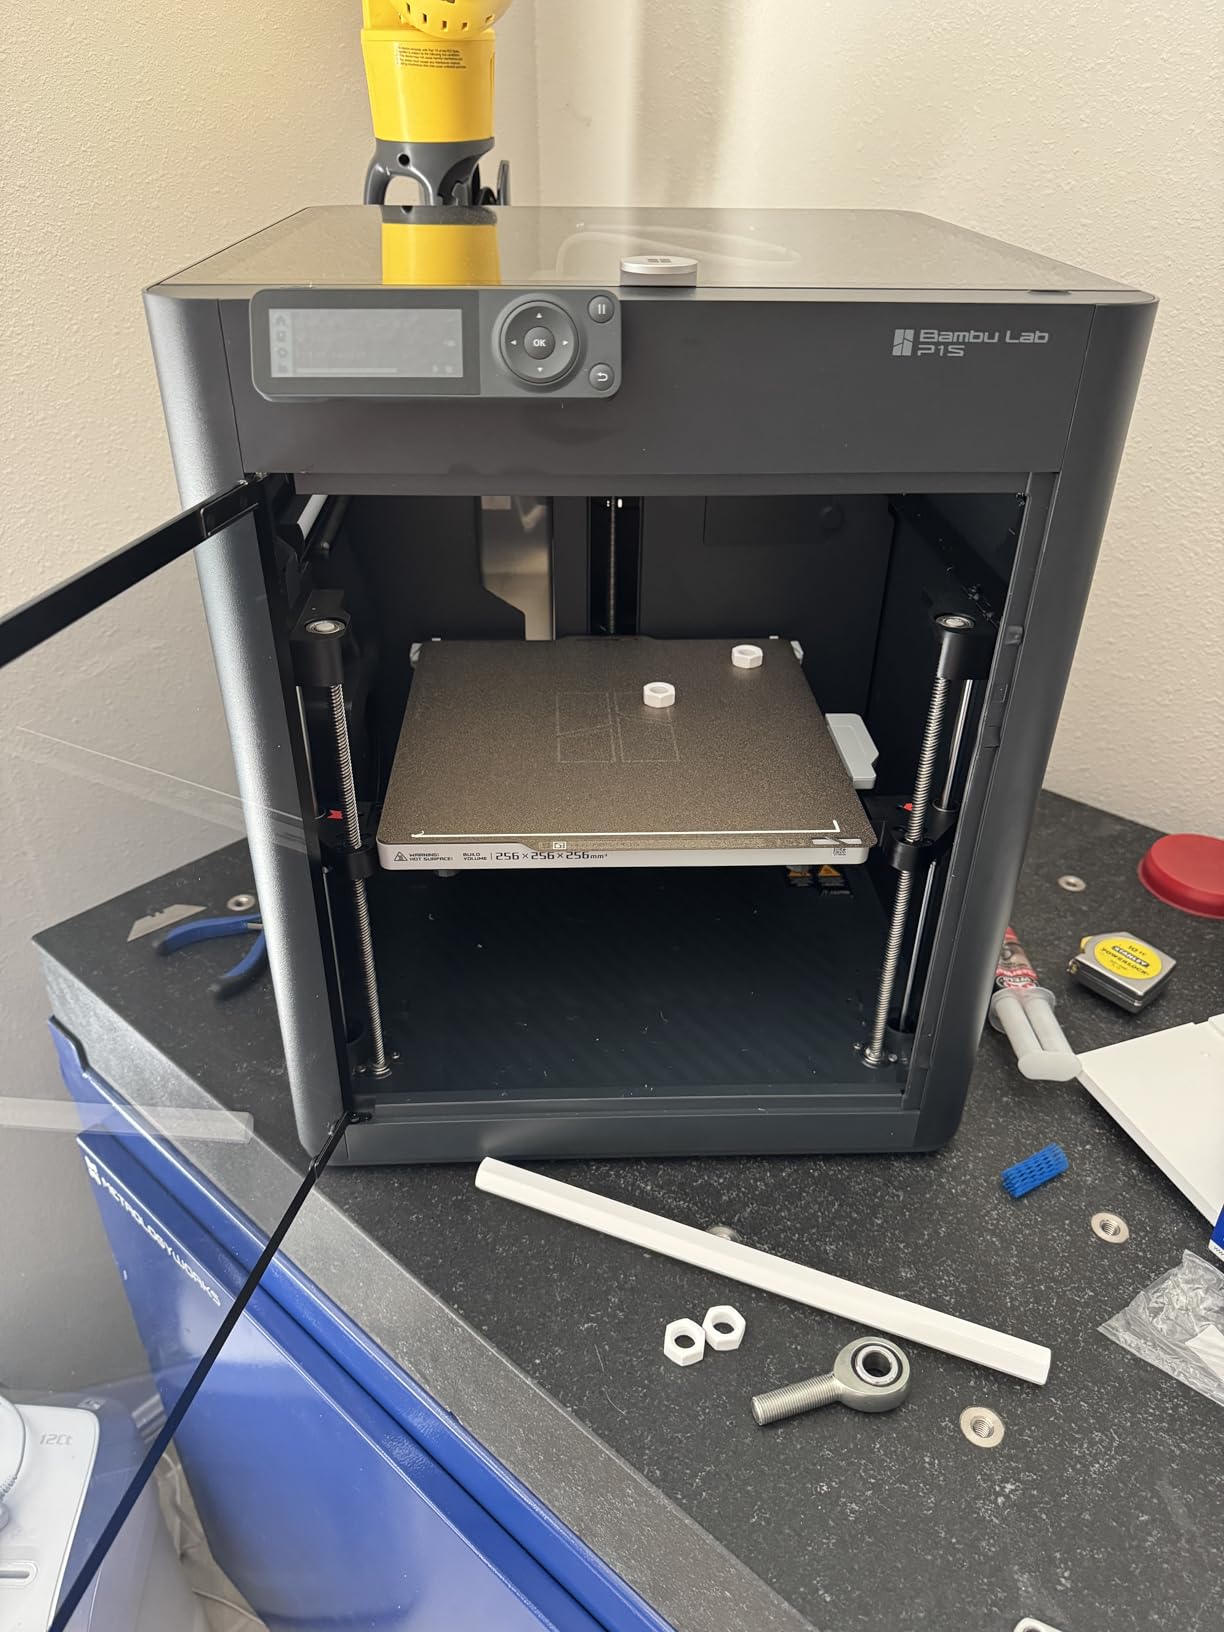
At 38.9 pounds it is a solid machine on a desk, and the enclosure adds roughly 3 inches of height you need to clear on a shelf. I would not put it on an upper shelf without checking the clearance, because lifting an enclosed machine is awkward in a way an open frame is not.
The friction points are consistent across the reviews. The AMS is a separate purchase for the 16-color capability, the base model has no touchscreen, and the camera preview frame rate is low, which makes it a poor monitor for a fast print. The closed ecosystem is the real philosophical complaint for people who prefer open slicing workflows.
Pair it with a dryer, not just an enclosure
An enclosure solves warp, not moisture. Damp ASA or PETG prints badly no matter how good the chamber is, and a filament dryer costs a fraction of the printer. If you are going to print engineering materials, budget for both in the same year.
Decide on the ecosystem before you buy
The software is genuinely excellent and the model library is the best in the hobby, but it is locked. If you intend to run your own slicer and own your files long term, read up on that trade-off first. If you want the shortest path from a model file to a finished part, it is not really a trade-off at all.
6. Bambu Lab A1 Mini Combo: Best for Multicolor on a Small Desk
Bambu Lab A1 Mini Combo, A1 Mini 3D Printer&AMS lite, Multi-Color Printing
AMS lite included for 4 colors
10000 mm/s2 acceleration
Full-auto calibration
48dB or less
Pros
- Compact footprint ideal for a home desk or small studio
- AMS lite bundle delivers multi-color printing out of the box
- Very easy setup with young teens getting it running unaided
- Quiet operation and strong build plate adhesion
- Consistent print quality with minimal tuning
Cons
- Small 180mm-class build volume limits larger projects
- AMS lite and filament dryers take up meaningful desk space
- Nozzle sits close to the bed and can scrape finished prints
The A1 Mini Combo is the pick if your desk is small and multi-color is the feature you will actually use. Bundling the AMS lite means four-color prints work from the first hour, and owners report children as young as twelve getting it running without help, which tells you how little setup friction there is.
At 48dB or less it is among the quietest machines here, and the build plate adhesion was strong enough that I did not need glue or a brim on any of my test parts. The full-auto calibration and active flow compensation behave exactly as they do on the full-size A1.
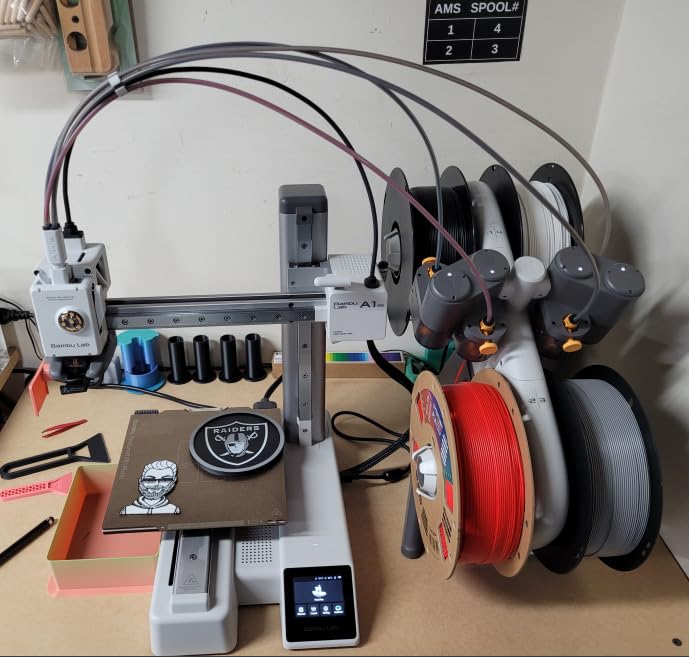
Two practical warnings. First, plan the desk space for the AMS lite, because the feeder is roughly as tall as the printer itself and it needs clearance above and around it. Second, the 180mm-class build volume rules out anything large, and this machine is more vibrational than a bigger frame, which some owners notice as a slightly rougher surface finish.
Nozzle clogging after extended use comes up in a minority of reviews, and the nozzle sitting close to the bed can catch a finished part as it lifts. None of that is a dealbreaker for small multi-color trinkets, which is exactly what this machine is for.
Count the clearance, not just the footprint
Look at total height, not footprint. With the AMS lite loaded and feeding from above, you need vertical room for the whole tower, and you need a path for the filament to travel from the spool without kinking.
Multi-color has a running cost
Single-nozzle multi-color systems purge material on every color change, so a four-color model uses noticeably more filament than a single-color version of the same part. That is a normal tradeoff, but factor it into your filament budget before you commit.
7. FLASHFORGE AD5M: Best for Tool-Free Nozzle Changes
FLASHFORGE AD5M 3D Printer Fully Auto Calibration Print with 1-Click Max 600mm/s Speed, All-Metal CoreXY Structure Precise Printing, Easy-Maintenance Quick-Swap Nozzle, Print Size 220x220x220mm
All-metal CoreXY frame
600mm/s max speed
Tool-free nozzle in four sizes
220mm cube build volume
Pros
- An all-metal CoreXY frame at an entry-level price point is rare
- Assembles in 15 to 20 minutes with essentially no manual work
- One-click auto leveling sets offsets accurately without tools
- Tool-free nozzle swap in about 3 seconds across four sizes
- Orca slicer is widely praised as beginner friendly
Cons
- Some machines have no touch display of their own
- Wi-Fi connectivity reported as spotty while Ethernet is more reliable
- Third-party filament can dispense and stick poorly
- Hotend heats slowly and is louder than some peers
The AD5M’s signature feature is the patent quick-release nozzle, which swaps between 0.25, 0.4, 0.6 and 0.8mm in about three seconds with no tools. For a home user that is not a gimmick, because a clogged or worn nozzle on a machine with fixed fasteners can mean half an hour of disassembly, and this eliminates that entirely.
The all-metal CoreXY structure also matters for a home. Metal axes do not flex the way some plastic parts do at speed, so the walls stay dimensionally consistent over long prints, and at 22 pounds the machine is easy to reposition when you want the desk back.
Power outage resume is another home-specific win. A brown-out in the middle of a nine-hour print does not have to mean starting over, and reviewers consistently treat this as a real benefit rather than a checkbox feature.
The complaints cluster around connectivity and workflow. Slicing still requires a Windows or Mac computer even though printing can be started from a tablet, and Wi-Fi was reported as spotty with Ethernet more reliable. Some machines also shipped without their own display, and a small number reportedly could not complete a test print out of the box.
Check whether your setup has a computer in it
This machine expects a desktop or laptop somewhere in the loop, since the slicer is PC-only. If you were hoping to slice entirely on a phone or tablet in another room, this is the wrong machine and the beginner 3D printer guide is worth a look before you commit.
Buy the extra nozzle sizes up front
Because swapping takes seconds, buy the 0.6mm and 0.25mm nozzles when you can. A coarse nozzle prints functional parts much faster and a fine nozzle handles detail, and the whole point of the quick release is that you can use both in the same evening.
8. Anycubic Kobra X: Best Large-Volume Multicolor Printer
Anycubic Kobra X Multicolor 3D Printer, Easy Setup, Native 4-Color
Native 4-color printing
260mm cube build volume
LeviQ 3.0 49-point leveling
Hardened 300C nozzle
Pros
- Native four-color printing with a fast dependable ACE 2 Pro feeder system
- 260mm cube build volume is generous at this tier
- LeviQ 3.0 49-point bed leveling gives reliable first layers
- Benchy completes in roughly 14 minutes at 600mm/s
- Open permissive software ecosystem compared with locked rivals
Cons
- Filament is not included with the printer
- ACE 2 Pro and ACE Pro feeders are mutually incompatible
- TPU prints can web and string heavily
- Jams reportedly fall outside warranty coverage
The Kobra X is unusual in this roundup because it pairs multi-color with a real 260mm cube build volume. Most four-color machines are small, so the combination of a 260mm cube and 600mm/s is worth knowing about if you want colorful parts that are not tiny.
The feeder design is the story. An 81.25% reduction in purge volume means roughly twice the speed on color changes compared with a standard purge tower, and the Benchy time of about 14 minutes reflects how seriously it takes throughput. The hardened steel nozzle at 300°C also opens the door to ASA in a way the open-frame budget machines do not.
LeviQ 3.0 with 49-point calibration means the bed is mapped properly rather than checked at three points, which is where most first-layer failures come from. The AI camera with spaghetti and foreign object detection adds a second layer of safety, and the top-mount spool holder frees up desk space underneath.
Be aware of two things. Filament is not included, so budget for that separately. And the warranty situation deserves attention before you buy, because support is largely automated troubleshooting guides and jams are reportedly excluded, which is a meaningful gap for a machine whose main feature involves feeding material.
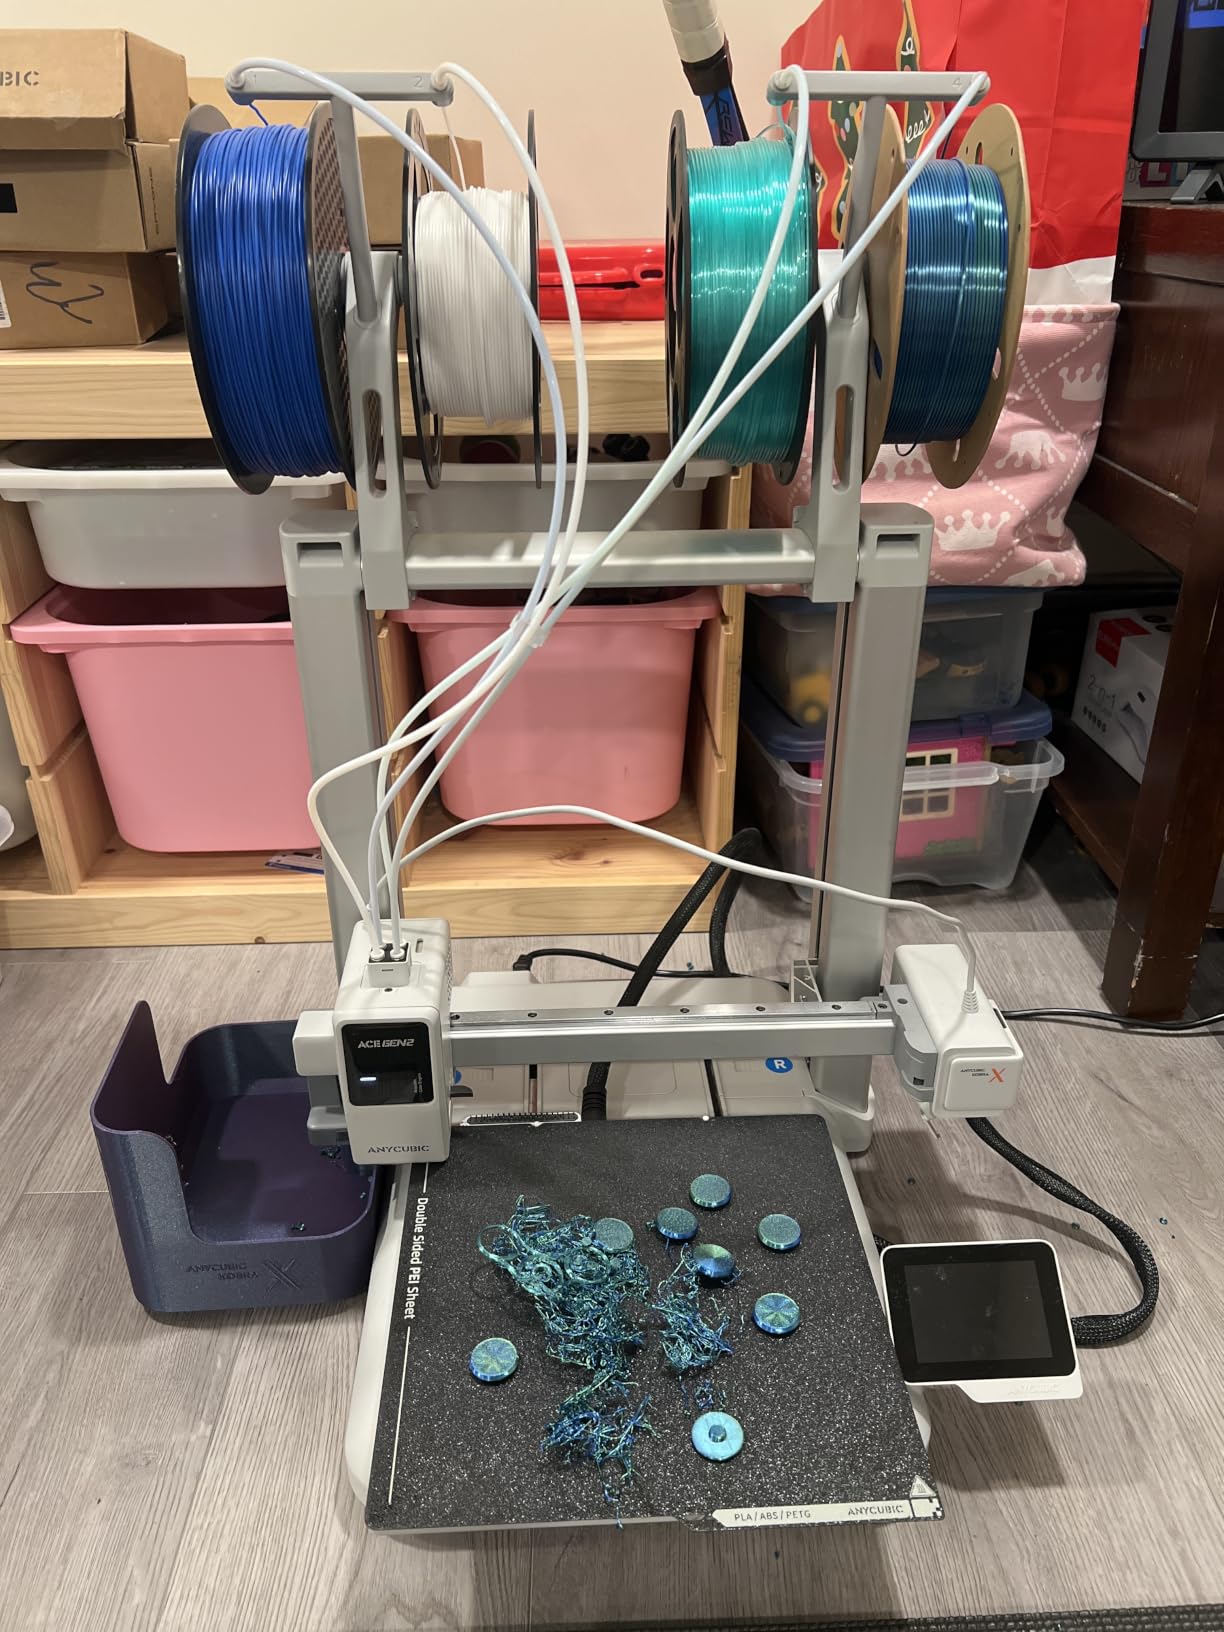
Expand to 19 colors, but pick one feeder type
Adding four ACE 2 Pro units takes the machine to 19 colors. The catch is that ACE Pro and ACE 2 Pro are mutually incompatible, so once you commit to one type you cannot mix them. Decide which you want before you start expanding.
Read the warranty exclusions now
If your plan involves lots of multi-color prints, feeder jams are the likeliest failure you will meet. Check what the warranty actually covers for jams and what the real support path is, because automated guides on a machine that feeds four spools is a thin safety net.
9. FLASHFORGE Creator 5 Pro: Best for Engineering Materials
FLASHFORGE Creator 5 Pro 3D Printer, 4 Toolheads with 7s Toolchanger, Industrial Multi-Material & Mixed-Material Printing, Fully Enclosed CoreXY 65°C Active Chamber Heating Better Engineering Prints
Four toolheads with 7-second swaps
65C active chamber heating
320C hardened nozzle
Enclosed CoreXY
Pros
- Four-toolhead architecture switches materials in about 7 seconds with no purging
- Four independent hotends allow genuine multi-material prints in one job
- 65C active chamber plus 320C nozzle unlocks ABS ASA and fiber-filled materials
- Adaptive airflow keeps overhangs and bridges sharp on low-temperature filaments
Cons
- Highest price in the roundup aimed at advanced and semi-industrial use
- Heavier and larger footprint than consumer enclosed machines
- Multi-material workflow takes longer to learn than a single nozzle
- Limited long-term owner feedback given the recent release date
The Creator 5 Pro is the only machine here with an actively heated chamber, and at 65°C that changes what you can print. ABS and ASA stop warping when the chamber is hot, and the 320°C hardened nozzle opens the door to the carbon and nylon filled filaments that a normal consumer hotend simply cannot melt.
The four-toolhead design is the other reason to care. Because each toolhead is preloaded and preheated, material changes take about seven seconds with no purging, which means a job can mix soft TPU and rigid PLA in one print without the purge waste a single-nozzle system produces.
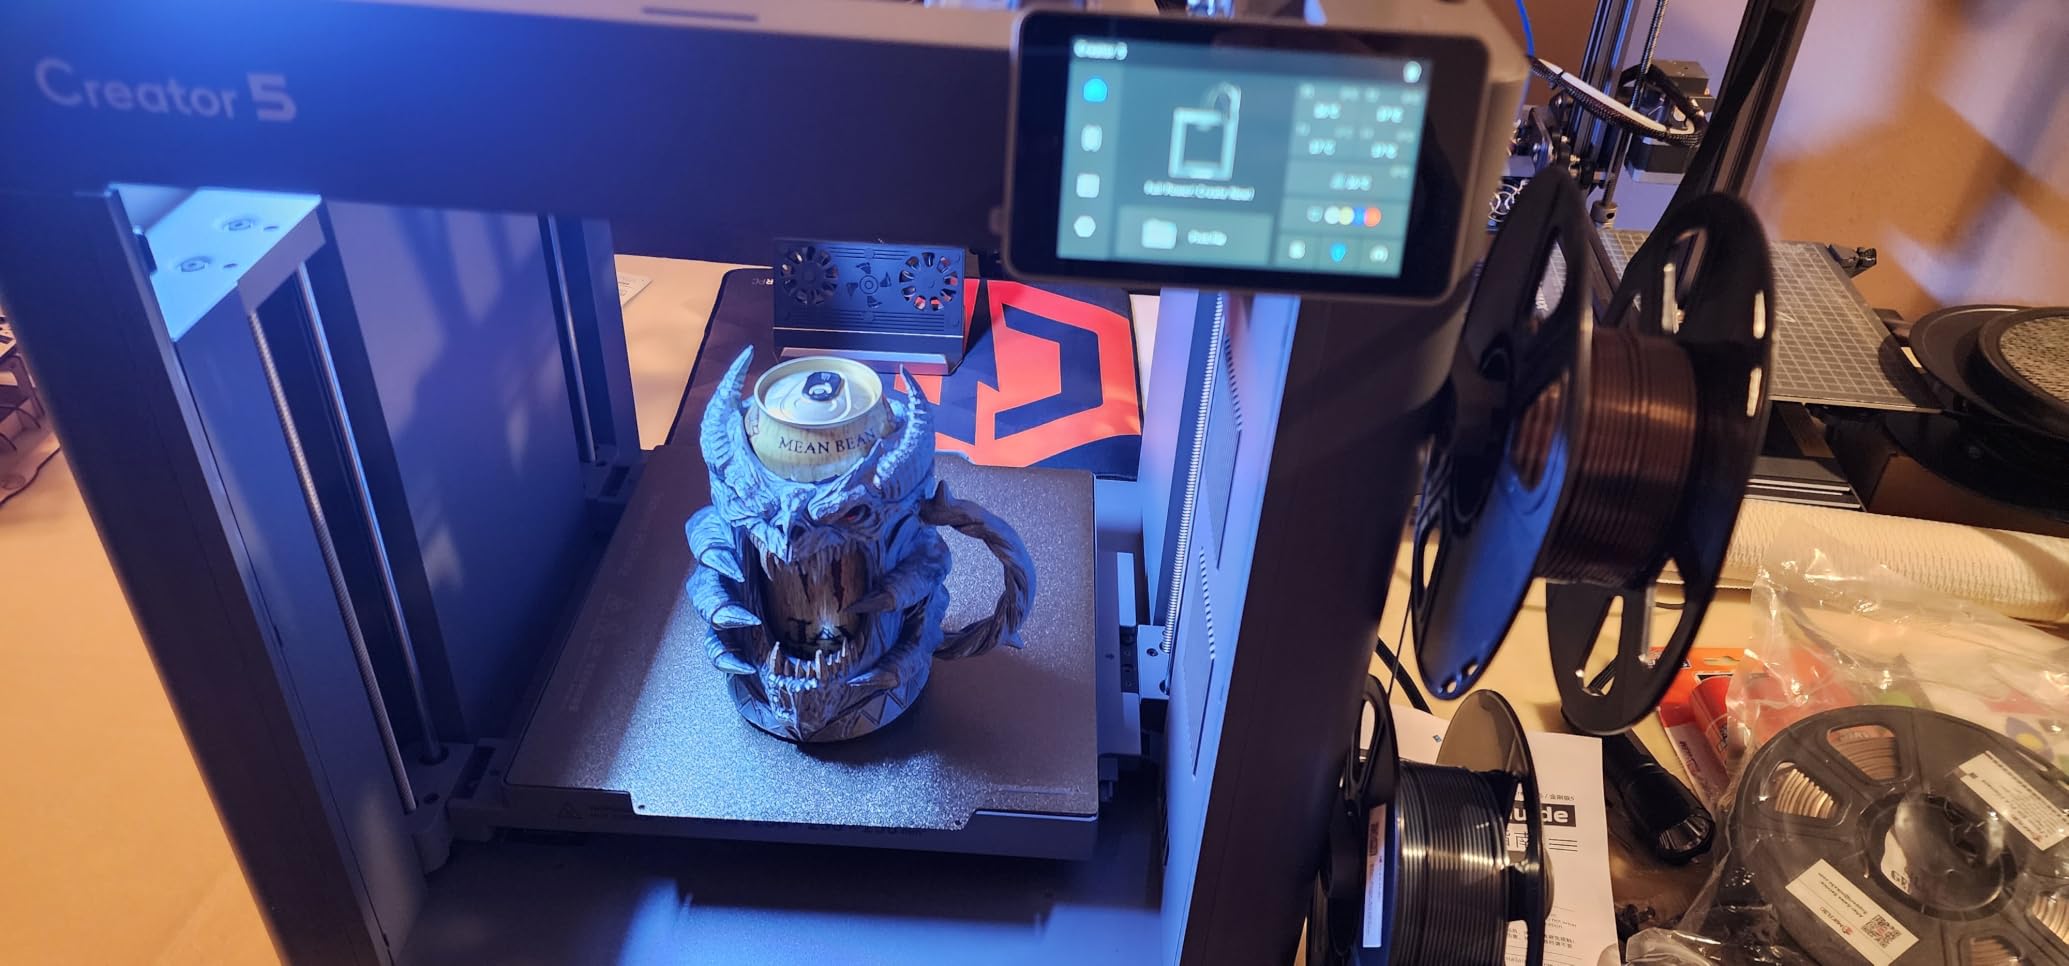
Flow Dynamics Calibration models extrusion as a dynamic nonlinear system, which is a roundabout way of saying it detects flow drift and compensates for nozzle wear and filament moisture. In a home that matters, because worn nozzles and humid spools are the two most common causes of a print that suddenly stops matching earlier ones.
This is a specialist machine and I would not call it a beginner purchase. The multi-material workflow takes longer to learn than a single-nozzle printer, the footprint is larger than the consumer enclosed machines, and because it launched recently the long-term owner feedback is thinner than anything else in this list.
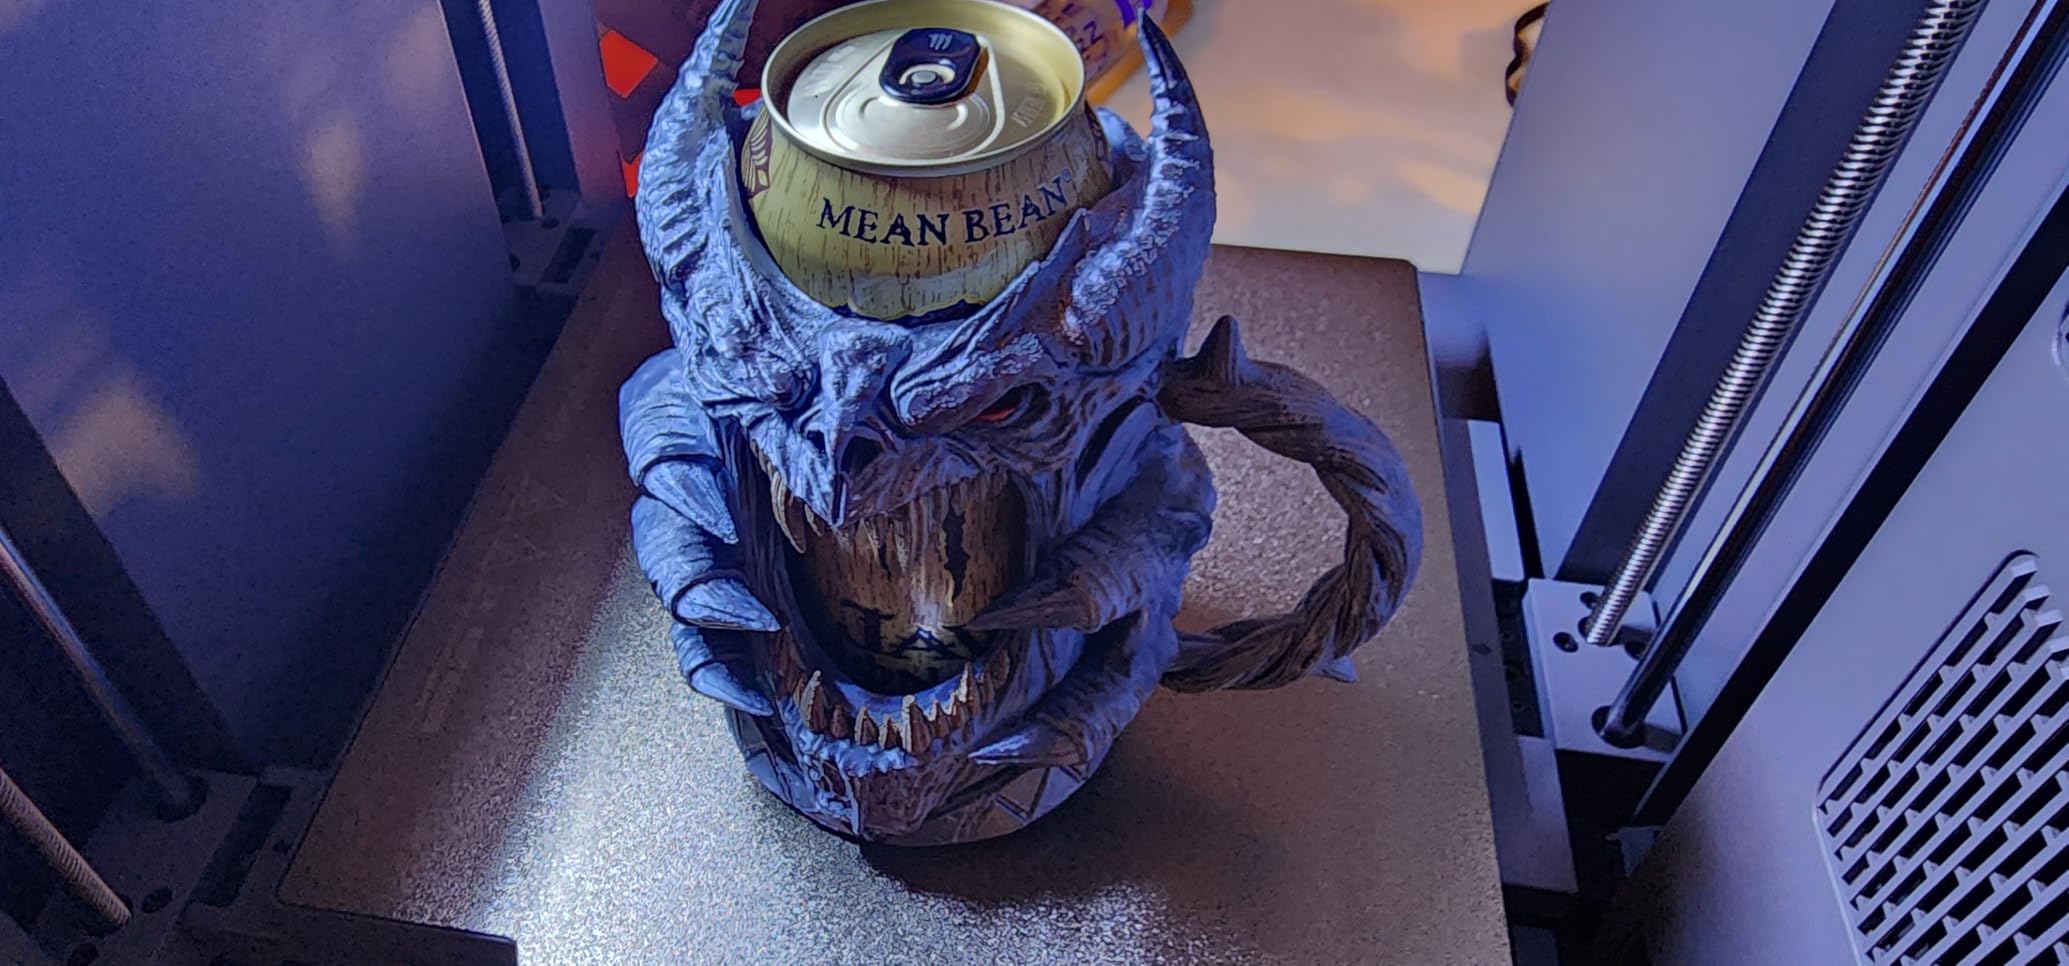
Only consider it if you need heat or mixed materials
If you are printing PLA and PETG organizers, this is more machine than you need and a smaller enclosed printer does the same job. The Creator 5 Pro earns its place when you genuinely need a hot chamber, a 320°C nozzle, or two materials in one part.
Check the noise and the space
An actively heated chamber with adaptive airflow is more hardware running continuously than a passive enclosure. Give it a dedicated surface with clearance on all sides, and test the noise in the room you actually intend to use rather than a garage.
10. Snapmaker U1: Best Open-Source Tool-Changer for Multi-Color
Snapmaker U1 3D Printer,4-Toolhead with 5s Toolchanger,Multi-Color Printing
Four toolheads with 5-second swaps
5x less filament waste
500mm/s CoreXY
270mm cube build volume
Pros
- Four dedicated nozzles mean near-zero purge waste on color changes
- 5-second tool changes cut multi-color print times dramatically
- Works out of the box in about 20 minutes with a clear manual
- Open-source Snapmaker Orca slicer and Linux compatibility
- Comes with four 500g spools plus spare nozzle brush and scraper
Cons
- No enclosed top panel so a purchased lid is needed for high-temp materials
- Heaviest machine in the roundup at 59 pounds
- Less polished one-click model workflow than the Bambu Lab ecosystem
The Snapmaker U1 solves the problem most multi-color printers create. Single-nozzle systems purge material every time the color changes, and on a colorful model that waste adds up fast. Four dedicated nozzles means up to five times less filament waste and up to five times faster multi-color printing, and the tool changes are validated over 1,000,000 swap cycles.
It runs 500mm/s on a CoreXY frame with carbon fiber X-axis rails, has a 270mm cube build volume, and the smart calibration covers toolhead offset, vibration compensation, extrusion tuning and the first layer in one sequence. It came out of the box and printed in about 20 minutes with a genuinely clear manual.
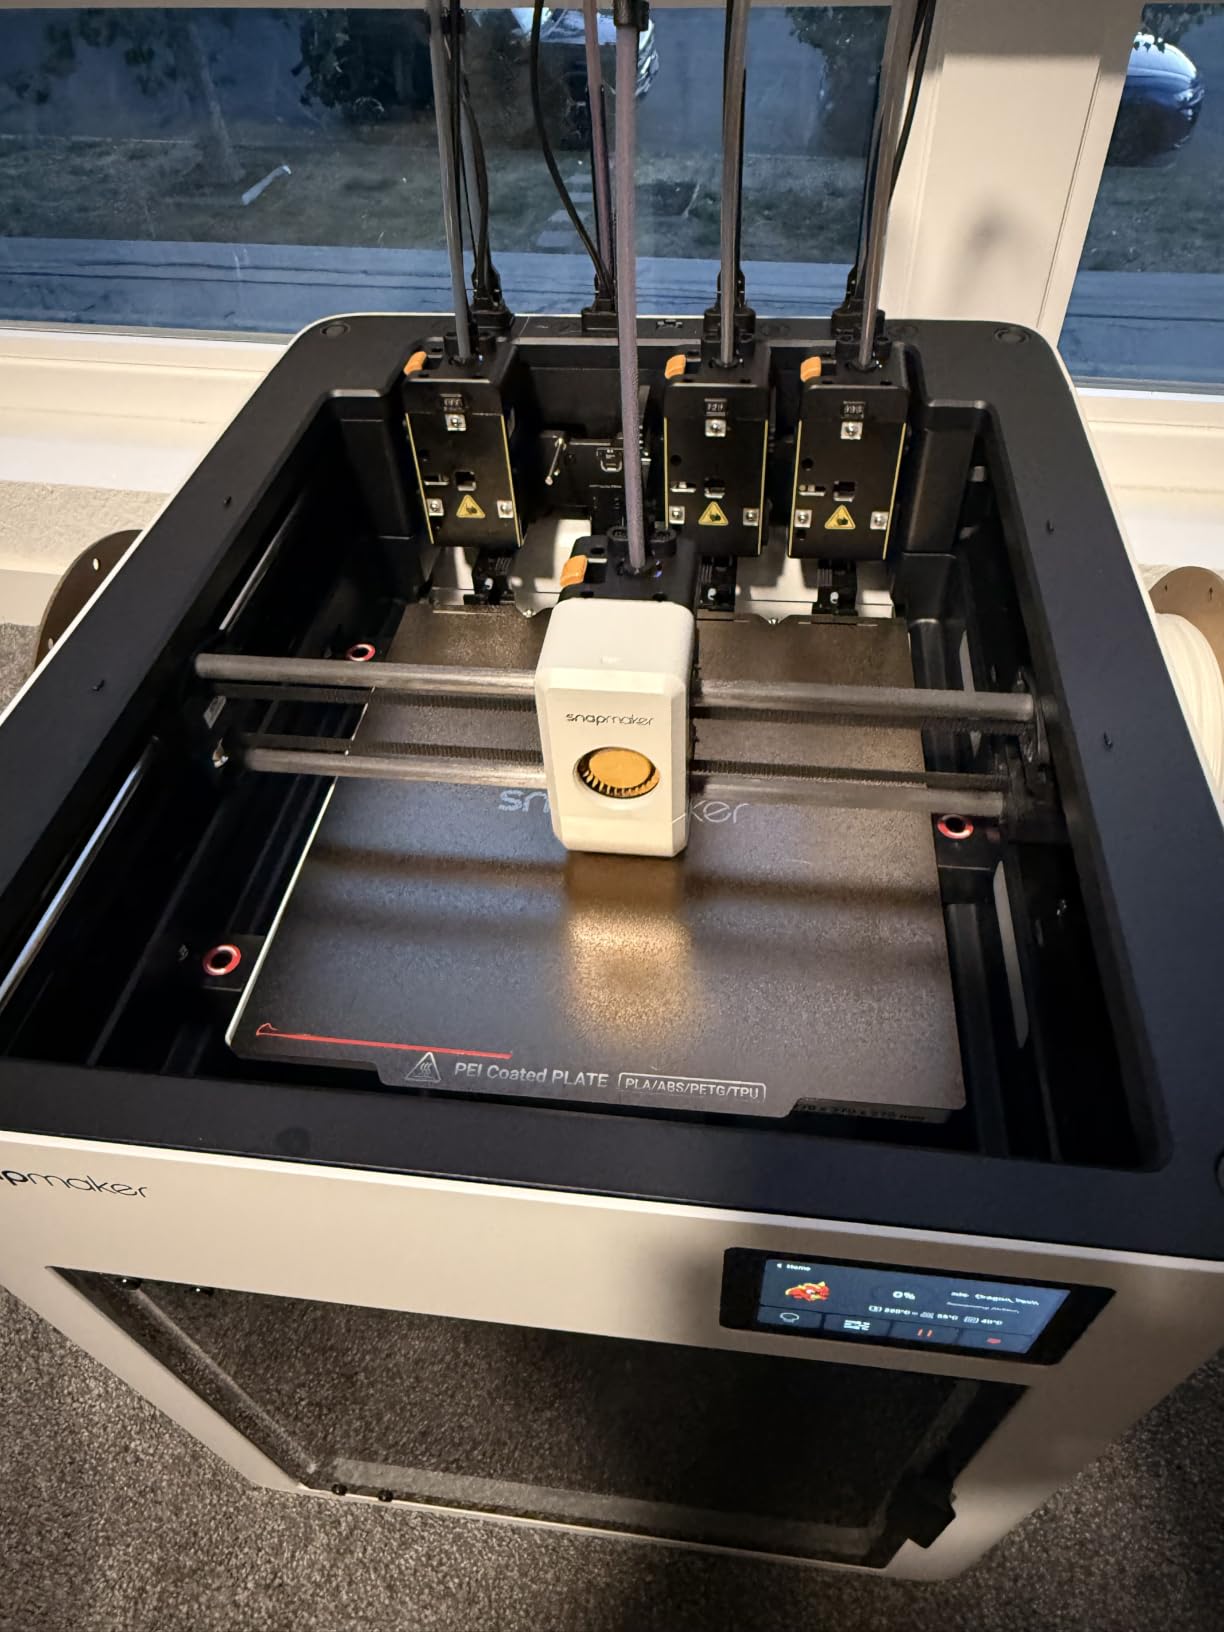
The software is the reason to pick it over a locked alternative. The Snapmaker Orca slicer is open-source and runs on Linux, so if your household includes a Linux machine or you simply refuse to have your printing dependent on someone else’s servers, that is a real advantage.
Two things give me pause. It weighs 59 pounds, the heaviest machine here, and it has no enclosed top panel, so you need a purchased lid or a printed adapter before printing high-temperature materials. The thick glass front and rear panels are a good start but not the same as a full chamber.
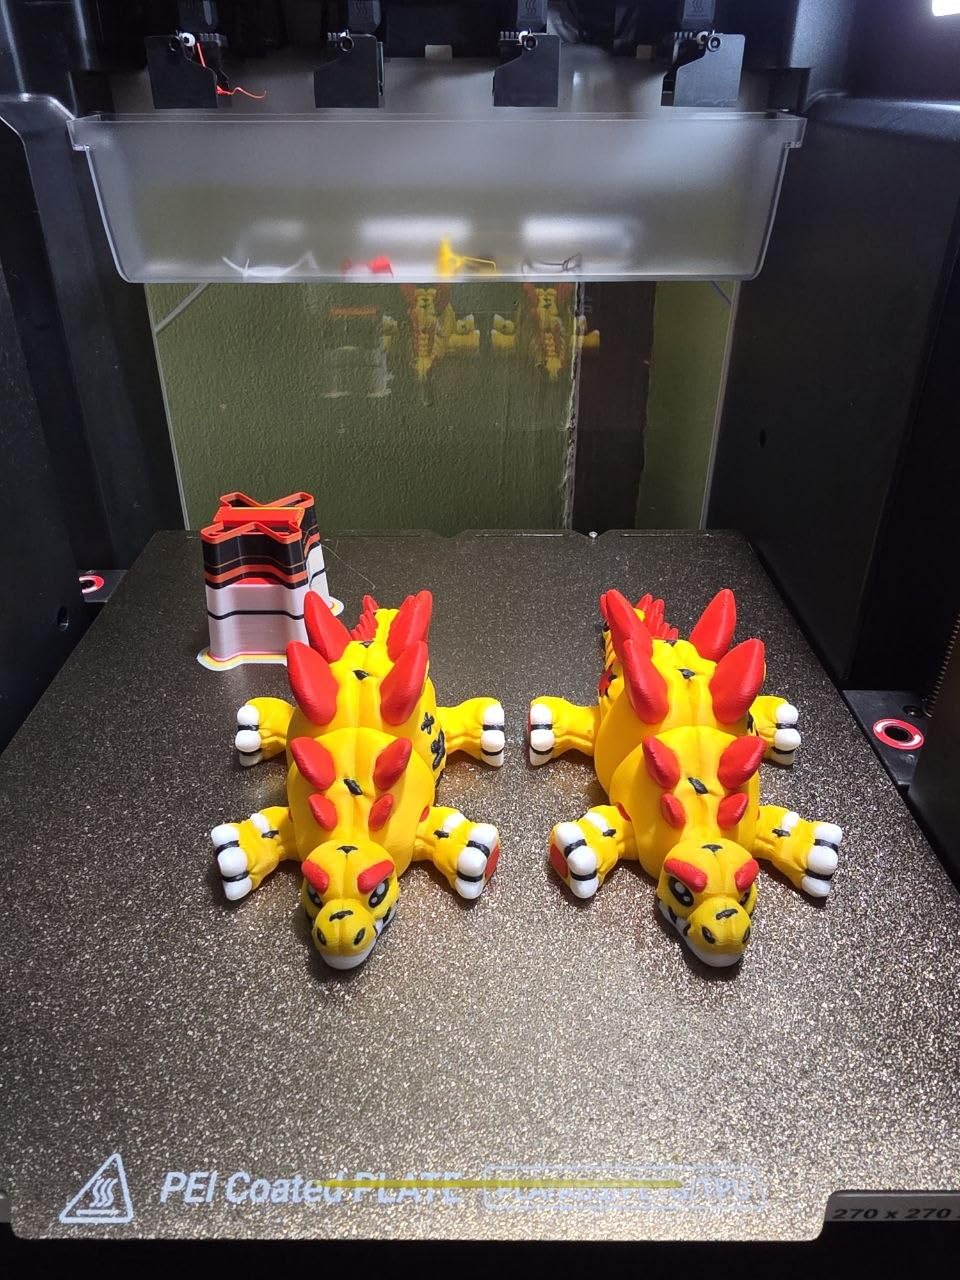
Get help moving it into place
At 59 pounds, plan the route into the room before the box arrives, including door width and any turns. Build it where you plan to use it, because moving a four-toolhead machine is a two-person job and a common source of damaged frames.
Budget for the top lid before high-temp prints
The open top is fine for PLA, PETG and TPU. For ABS and ASA, add a purchased lid or a printed adapter from the start rather than discovering the problem on your first warped part.
How to Choose a 3D Printer for Your Home
Every machine above is filament-based, and that choice is not arbitrary. FDM printers melt plastic pellets through a heated nozzle, they are mechanically simple, the smell is mild for PLA and PETG, and cleanup is sweeping loose plastic off a bed. Resin printers build parts from liquid photopolymer under UV light, and they deliver detail that filament simply cannot match.
The trade is mess, safety and cost. Resin needs nitrile gloves, a wash station, a UV cure chamber, and careful disposal of uncured liquid. In a small home with children or a shared ventilation system, that is a real barrier, and it is why none of the picks here are resin machines. If detail is genuinely your goal, our miniature printer guide covers that market properly.
Build volume is about depth and height, not just width
Build volume is quoted as XYZ dimensions in millimetres, and it is the number people misread most. A 260mm cube sounds huge, but a cube printer cannot make a flat 300mm panel. Measure the largest single dimension of the biggest thing you want to print, then check that dimension against the printer’s corresponding axis.
Footprint matters almost as much as volume for a home. Compare the listed dimensions against your desk depth, and check the machine weight against what you can actually lift onto a shelf. A 22-pound printer and a 59-pound printer are both perfectly good machines, but only one of them fits your furniture.
Automatic bed leveling is no longer optional
Auto bed leveling maps the surface with a sensor and sets the nozzle height for you. Without it, you are adjusting a thumbscrew by feel before every print, which is exactly the chore that makes beginners quit. The two systems worth understanding are probe-based sensing, which touches the bed from a few points, and loadcell sensing, where the bed’s resistance measures the contact directly.
Probes are more common and cheaper. Loadcells are more precise and cannot be knocked out of alignment by a crashed nozzle. Either is fine for a home; what is not fine is a printer with neither, so I would rule out anything without automatic calibration at all.
Follow the PLA, PETG, ASA order
This is the sequence the maker community repeats constantly and it is correct. Start with PLA, because it prints at low temperatures, barely smells, sticks to almost any clean build plate, and forgives almost every beginner mistake. Move to PETG when you need real strength, heat resistance and chemical resistance, accepting that it needs a little more bed temperature and hates sharp overhangs.
ASA is the third step, and it is where an enclosure stops being optional. Because warp is a cooling problem, and warp is what makes ASA and ABS parts lift off the bed, an open-frame machine will frustrate you with these materials no matter how you tune them. If you are only going to print one of them, print PLA.
Dry your filament. This single habit fixes more beginner problems than any firmware update, and it costs a dryer rather than a new printer. Damp filament pops and sizzles, smells sweet, stringy and weak, and separates between layers. A dried spool prints like a new one, and a moisture meter is cheap insurance if you print often.
Open frame or enclosed is a materials decision
An open frame is smaller, lighter, cheaper and easier to service. An enclosed chamber holds heat, which is what you need for ABS, ASA, nylon and polycarbonate, and it also cuts the fan noise that travels through a house. There is no correct answer without knowing your materials, so the useful question is whether you will ever print anything above about 240°C on the nozzle.
Resin aside, ventilation is a real concern for ABS and ASA because the styrene vapour is unpleasant and is worth exhausting outdoors. Even with a carbon filter, I would not run a large ASA job in a closed bedroom. If your home cannot accommodate that, stick to PLA and PETG and pick an open-frame machine you will be happier owning.
Multi-color: purge feeders versus tool changers
The two approaches are completely different philosophies. AMS-style feeders and their equivalents hold several spools and feed one nozzle, purging the old color on every change. That is cheap, compact, works with a small build volume, and wastes filament. Tool changers physically swap a whole hotend, which wastes almost nothing and swaps in seconds, but costs more and needs more space.
For a first home printer, the honest answer is that you probably do not need multi-color yet. Single-color prints are what most people print 90% of the time. If you do want it, an AMS lite bundle gets you four colors cheaply, and a tool changer is worth it only if you print multi-color models often enough that purge waste becomes a running cost.
Noise, Placement and Ventilation at Home
The question I get most from people is whether a 3D printer in a bedroom is a health problem. The honest answer is that a filament printer running PLA is fine, and the concerns are real only when you introduce specific materials or a resin machine.
PLA produces very little in the way of fumes, and the noise is dominated by stepper motors and the part cooling fan. The quietest options here are the Bambu Lab A1 with active motor noise canceling, the A1 Mini Combo at 48dB or less, and the Creality K1C with its 45dB silent mode and carbon filtration. The 32-bit silent mainboard in the Ender 3 V3 SE also helps, though a bed-slinger frame is inherently more mechanical.
Placement matters as much as the machine. Build it where you plan to use it, because carrying a large printer up and down stairs is how frames get knocked out of alignment. Leave clearance on all sides for ventilation, keep it off a soft surface that blocks the cooling airflow, and put a solid shelf under it so a failed print does not end up on the carpet.
What you should avoid is a bedroom with a resin machine, or an enclosed printer running ABS or ASA overnight with the door closed. Move the machine to a garage, a workshop, or a room with a window you can open. If you are worried about fumes, our industrial scanning and fabrication guide covers the workshop-grade end of the spectrum where extraction is standard.
Your First Week With a Home 3D Printer
Do these things in order and you will avoid almost every frustration I have seen people report. The order matters more than the specifics.
First, print a calibration or bed level test model before anything else. Watch the first three layers, because the community advice is consistent that most catastrophic failures happen there, and a print that is failing at layer one is cheap to stop.
Second, load only PLA and run a simple model from the machine’s own library. Do not start with a model you downloaded, a complex slicer profile, or a material you researched for an hour. Your goal in week one is to learn where the nozzle parks, how to load and unload filament, and how the bed is prepared.
Third, learn the two maintenance tasks that actually extend printer life. Wipe the nozzle and check the build plate for debris, and keep filament dry. Fourth, only then move up the material ladder to PETG, and to ASA last if you have an enclosed machine and somewhere to vent.
If you want the deeper walkthrough, our beginner 3D printer guide covers model choice, file formats and the troubleshooting ladder, and our home office printer guide covers the other thing most people put on the same desk.
Frequently Asked Questions
What is the best 3D printer for personal use?
The Bambu Lab A1 is the best 3D printer for personal use in our testing. It calibrates itself fully, prints quickly with 10000 mm/s2 acceleration, runs quietly enough for a home office, and has the highest owner satisfaction in our roundup at 4.7 stars. Choose the Bambu Lab P1S instead if you plan to print ABS or ASA and need an enclosed chamber.
What are the best types of 3D printers for home use?
For most homes, a filament FDM printer is the right type. It is safe, low-mess, cheap to run and handles PLA, PETG and TPU without gloves or a wash station. Resin MSLA printers deliver far finer detail but require nitrile gloves, washing, UV curing and careful ventilation. A CoreXY enclosed FDM machine is the best all-round balance for a shared home.
Is it unhealthy to have a 3D printer in your room?
A filament printer running PLA or PETG in a bedroom is generally fine. Concerns become real when you add ABS or ASA, which release styrene vapour and should be run with ventilation or in a separate room, or when you add a resin printer, which needs gloves, washing and curing. An enclosure and a carbon filter reduce but do not eliminate fumes.
Why do my PETG supports keep failing?
PETG sticks to itself far too well, so supports fuse into the part and either tear the surface or fall off. Print them with a small Z gap from the model, drop the support interface density, and keep the nozzle hot enough to separate cleanly. Drying your PETG also helps, because wet stringy filament makes adhesion worse. If you print fine detail, a soluble PVA support is the cleaner fix.
Is there anything illegal to 3D print?
Printing is broadly legal, and owning a home printer is legal in most countries. The exceptions are about what you make rather than how you make it. Counterfeit currency, counterfeit branded parts, firearms that are illegal where you live, and items that infringe patents or trademarks can all get you into serious trouble. A functional part for your own repair is almost always fine; a copy of somebody else’s design sold commercially is not.
Do I need to learn CAD to use a 3D printer?
No. You can download models as STL or 3MF files and print them without designing anything, and the machine’s own app plus community model libraries will carry you a long way. You only need CAD skills like Fusion 360 or Onshape when you want to print something that does not already exist, or to repair a broken part by measuring it and modelling a replacement.
Final Verdict on Home 3D Printers in 2026
The best 3D printers for home use in 2026 come down to a short list. The Bambu Lab A1 is the one to buy if you want the least friction between a model file and a finished part. The Bambu Lab P1S is the answer the moment ABS or ASA enters the picture, because the enclosure is what makes those materials viable indoors.
Below that, the Creality Ender 3 V3 SE is the sensible first machine on a small budget, the Flashforge Adventurer 5M and AD5M give you CoreXY quality without CoreXY pricing, and the Kobra X, Creator 5 Pro and Snapmaker U1 are for when multi-color or engineering filaments are genuinely part of your plan rather than a nice idea.
Whichever you choose, start with PLA, dry your filament, and watch the first three layers. That habit alone separates a satisfying hobby from a stack of failed prints.